Tools & materials you'll need
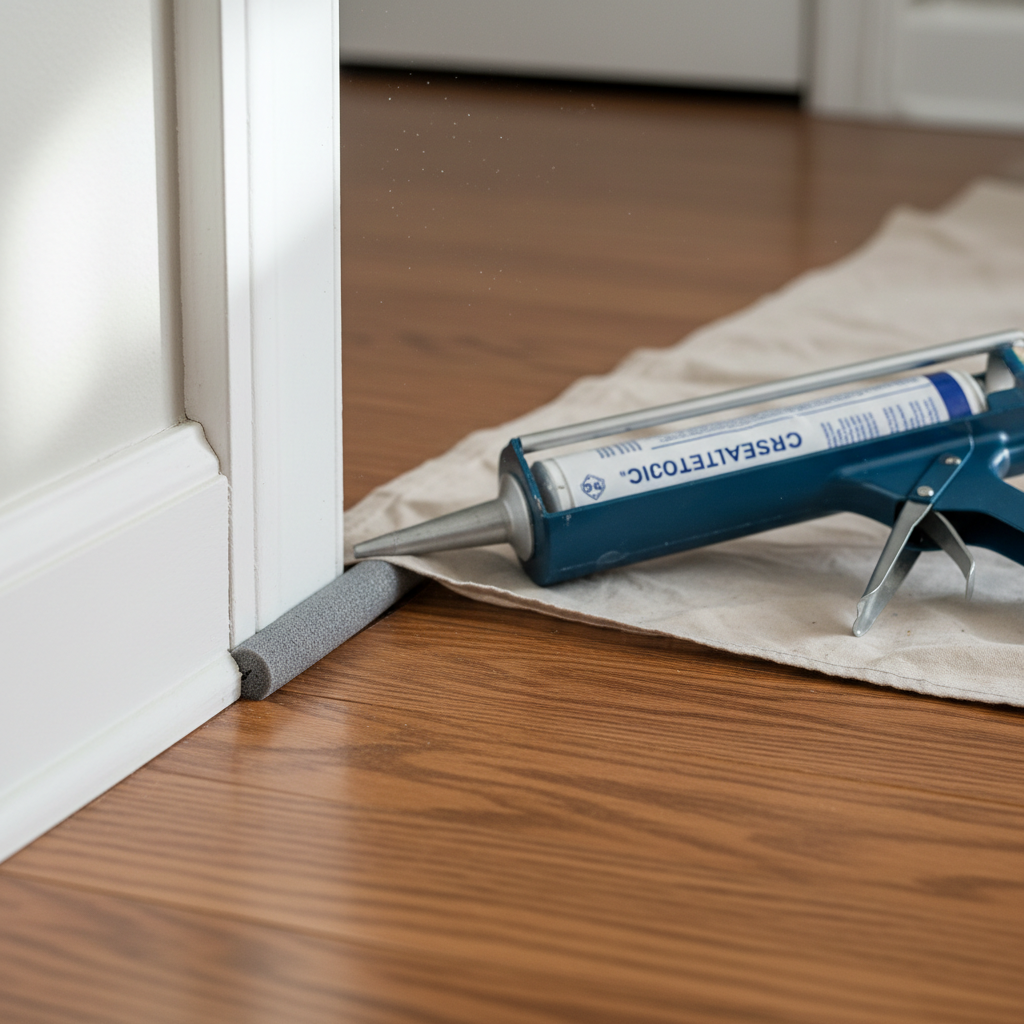
Affiliate links- AmazonDripless Caulk Gun1 · A 'dripless' model helps prevent messes.
- Amazon5-in-1 Painter's Tool or Putty Knife1 · For pressing the backer rod into place.
- AmazonUtility Knife1 · For cutting the caulk tube tip.
- AmazonShop Vacuum with Crevice Tool1 · Essential for cleaning the gap properly.
- AmazonDamp RagsSeveral · For tooling and cleanup.
- AmazonKnee Pads1 pair · Highly recommended for comfort.
As an Amazon Associate FixlyGuide earns from qualifying purchases — at no extra cost to you. Prices and availability are accurate as of publication and subject to change.
'''
Quick Answer
The gap between your baseboard and floor in winter is caused by the wood trim and the framing of your house contracting in the cold, dry air. To fix it properly, don't just fill the void with caulk. First, insert a compressible foam 'backer rod' into the gap, pushing it about 1/8-inch below the surface. This creates a uniform depth and prevents the caulk from sticking to the subfloor (a failure point called 'three-point adhesion'). Then, apply a high-quality, flexible elastomeric or siliconized acrylic caulk over the backer rod. This creates a durable, hourglass-shaped seal that can stretch and compress with seasonal changes, preventing the crack from reappearing each year.
The Problem
You notice it every winter. A dark, unsightly line materializes along the floor, a definite gap separating the bottom of your pristine white baseboards from the edge of your beautiful hardwood or laminate. It’s a drafty little canyon that collects dust, pet hair, and crumbs. You might have even tried to fix it last year, pumping a whole tube of caulk into the abyss only to find the crack reappeared, sometimes looking even worse with cracked, peeling caulk.
This isn't a sign of shoddy construction; it's a predictable, physical reaction your home has to the changing seasons. The problem is that this gap isn't just ugly. It can reduce your home's energy efficiency by allowing cold air to infiltrate the living space. For homes on a concrete slab or over a crawlspace, it can also be an entry point for pests. And aesthetically, it just makes a finished room look unfinished and neglected.
How It Works: The Science of Gaps & Caulk
To understand the fix, we first need to understand the physics at play. Most building materials, especially wood and wood-based products like MDF (Medium Density Fiberboard), are hygroscopic. This means they absorb and release moisture from the air, causing them to expand and contract.
- Summer: Humidity is high. Your home's framing, subfloor, and wood trim absorb this moisture and swell, becoming slightly larger. When trim is installed in summer, everything is at its most expanded state. The gap is non-existent.
- Winter: The air becomes much drier, especially once your furnace starts running. The wood and other materials release their stored moisture and contract, literally shrinking. The baseboard pulls upward with the wall framing, and the floor may contract as well, opening up that tell-tale gap.
This is where most DIY fixes go wrong. A homeowner sees a 1/4-inch gap and logically reaches for a tube of caulk to fill it. The problem is that caulk is not designed to be a thick, deep filler. When you pump caulk into a deep gap, it sticks to the top surface (the baseboard), the back surface (the wall/subfloor), and the bottom surface (the flooring). This is called three-point adhesion.
Caulk is designed to work in tension, like a rubber band, stretching between two points. When it’s stuck on three sides, it can’t stretch effectively. As the house continues to move, the caulk, which is often too thick to cure properly in the middle anyway, simply rips and tears itself apart.
Enter the professional’s secret weapon: Backer Rod. This simple-looking foam rope is the key to a permanent fix. By inserting the backer rod into the gap first, you accomplish two critical things:
- You eliminate three-point adhesion. The caulk now only sticks to the baseboard and the floor. It can no longer stick to the subfloor below, allowing it to stretch and move freely between just two points.
- You control the caulk depth. The ideal shape for a caulk joint is an hourglass, where the caulk is thinner in the middle and wider at the adhesion points. This maximizes its flexibility (known as "joint movement capability"). Backer rod allows you to create this perfect profile, ensuring the caulk is applied at a consistent, effective thickness (typically half the width of the gap).
By using backer rod, you are turning a failed filler application into a high-performance expansion joint, allowing your home to breathe and move without tearing your trim apart.
Step-by-Step Fix
SAFETY FIRST: While this is a low-risk job, it’s always wise to wear safety glasses to protect from caulk splashes and knee pads for comfort. Ensure the area is well-lit so you can see your work clearly.
Step 1: Assess and Measure the Gap Wait for the driest part of winter when the gap is at its widest. Use a tape measure to determine the width of the gap. It will likely vary along the wall. Note the widest measurement; you will use this to select your backer rod.
Step 2: Thoroughly Clean the Gap Caulk needs a perfectly clean, dust-free surface to adhere properly. Use the crevice tool on your vacuum to suck out all dust, debris, and pet hair from the gap. Afterward, wipe the bottom edge of the baseboard and the adjacent flooring with a damp cloth. Allow the area to dry completely.
Step 3: Select Your Backer Rod and Caulk This is the most crucial step.
- Backer Rod: Choose a closed-cell foam backer rod that is about 25% larger in diameter than the widest part of your gap. For a 1/4" gap, you'd use a 3/8" backer rod. This ensures it will fit snugly and stay in place without needing adhesive.
- Caulk: Do not use cheap painter's caulk. You need a high-quality, flexible sealant. Look for products labeled "elastomeric," "siliconized acrylic," or state they are for "large gaps" and have a high "joint movement capability" (often rated as +/- 25% or even +/- 50%). Choose a paintable version if you plan to paint your trim.
Step 4: Insert the Backer Rod Unspool the backer rod, but do not stretch it. Start at one end of the wall and use a non-marring tool, like a 5-in-1 painter’s tool or a plastic putty knife, to press the rod into the gap. Your goal is to set the top of the rod about 1/8" to 1/4" below the top edge of the floor. Keep this depth consistent along the entire length.
Step 5: Apply Painter's Tape (Optional) For a flawless, razor-sharp caulk line, apply painter's tape to the floor, about 1/8" away from the baseboard. Apply another strip to the face of the baseboard, about 1/8" up from the bottom. This creates a perfect channel for your caulk bead.
Step 6: Prepare the Caulk Gun Using a utility knife, cut the tip of the caulk tube at a 45-degree angle. The size of the opening should be just slightly wider than the gap you are filling. Puncture the inner foil seal using a stiff wire or the tool built into the caulk gun.
Step 7: Apply the Caulk Bead Starting at one end, hold the caulk gun at a 45-degree angle and "push" the bead of caulk into the taped-off channel. Apply steady pressure to the trigger and move at a consistent speed. You want to apply enough caulk to completely fill the channel, covering the backer rod and making solid contact with the baseboard and the floor.
Step 8: Tool the Caulk Joint Immediately after applying the caulk, you need to "tool" it to create a smooth, concave surface. You can use a caulk-tooling device, or the classic method: your finger. Dip your finger in a cup of water and run it smoothly along the bead. Don’t press too hard; you just want to smooth the surface and press the caulk firmly against the tape lines.
Step 9: Remove the Painter's Tape This must be done while the caulk is still wet. Carefully pull the painter's tape off, pulling it at a 45-degree angle away from the fresh caulk line. This will leave behind a perfect, sharp, professional-looking joint.
Step 10: Cure and Clean Up Use a damp rag to clean up any caulk that may have gotten onto surrounding surfaces. Respect the caulk’s cure time listed on the tube. Avoid touching it or getting it wet until it is fully cured, which can take 24-72 hours or more depending on the product and conditions.
Common Causes
- Seasonal Humidity Change: The number one cause. Low indoor humidity in winter from heating systems shrinks wood products.
- House Settling: All houses settle, especially in the first 5-10 years. This can create and exacerbate gaps in trim.
- Material Mismatch: Different materials expand and contract at different rates. If your wood floor contracts more than your MDF baseboard, a gap will appear.
- Improper Installation: Trim installed in the peak of a humid summer might be fit too tightly, causing it to buckle. Trim installed in winter might not have been properly caulked against seasonal expansion, leading to future problems.
Common Mistakes to Avoid
- Just Filling With Caulk: This is a temporary, ugly fix that will fail. You are just wasting caulk and setting yourself up to do the job again.
- Using the Wrong Caulk: Using a rigid or low-flexibility caulk (like cheap painter's caulk) is guaranteed to crack and pull away.
- Using the Wrong Size Backer Rod: Too small and it will fall into the void; too large and you won't be able to insert it without deforming the rod or the trim.
- Skipping the Cleaning Step: New caulk will not stick to dusty, dirty surfaces. The joint will fail almost immediately.
- Tooling with a Dry Finger: This will create a mess, pulling and smearing the caulk instead of smoothing it.
- Waiting to Remove Tape: If you let the caulk dry on the tape, removing the tape will pull the caulk out of the joint and ruin your hard work.
Cost & Time Breakdown
| Item | DIY Cost | Professional Cost | Notes |
|---|---|---|---|
| Materials | $20 - $60 | Included in Labor | Includes one tube of high-quality caulk, backer rod, and painter's tape. |
| Tools | $10 - $25 | N/A | Assumes you need to buy a caulk gun. |
| Labor (DIY) | Free | $150 - $500 | Professional cost varies by room size and total linear feet. |
| Total DIY | $30 - $85 | ||
| Total Pro | N/A | $150 - $500+ |
Time Estimate (DIY): For a standard 12' x 12' room, expect this project to take approximately 2-3 hours, including setup, cleaning, application, and cleanup.
Tips & Prevention
- Wait for Winter: Perform this fix when the gap is at its widest to ensure the joint can handle the maximum range of movement.
- Control Your Humidity: A whole-house humidifier can keep your indoor humidity more stable year-round, minimizing the expansion and contraction cycles that cause these gaps in the first place.
- Don't Over-Tool: When smoothing the caulk, one or two smooth passes is ideal. Going over it repeatedly can make a mess and remove too much product.
- Cut the Tip Right: Start with a smaller opening on your caulk tube. You can always make it bigger, but you can't make it smaller.
When to Call a Professional
While fixing a seasonal baseboard gap is a great DIY project, there are times when it’s a symptom of a larger issue. Call a professional if you notice:
- Very Large Gaps: Gaps consistently wider than 1/2 inch.
- Uneven Floors: The gap is more like a triangle, indicating a floor is slanting.
- Other Structural Signs: You also have doors that stick, windows that are hard to open, or new cracks appearing in drywall or plaster. These could be signs of foundation issues requiring a structural engineer.
- You Lack the Time: It's a straightforward but meticulous job. A professional painter or handyman can execute it perfectly and quickly. '''
Recommended for DIYers & woodworkers
Sponsored
The Top 20 Tools for Workshops of Any Budget
No stationary machines or power tools required — plus 3 fundamental tools that can't be bought at any price.
Get the free guide
Ted's Woodworking — The #1 Woodworking Resource
Detailed instructions, dimensioned drawings, materials & cutting lists, and 3D schematics for every skill level.
See the plansSponsored: links above are affiliate links. FixlyGuide may earn a commission on qualifying purchases — at no extra cost to you.
Frequently asked questions
Why can't I just fill the baseboard gap with caulk?+
Caulk will fail in a deep gap. It will adhere to the baseboard, floor, and subfloor (three-point adhesion), preventing it from stretching as the house moves. It will also cure improperly and eventually crack and pull away. Using a backer rod first solves both of these problems.
What is the best type of caulk for baseboard gaps?+
Look for a high-quality, flexible sealant. The best options are labeled as 'elastomeric' or 'siliconized acrylic.' These are designed to stretch and accommodate joint movement, which is essential for a long-lasting fix. Ensure it is paintable if you plan to paint your baseboards.
If I fix the gap in winter, will it squeeze out in the summer?+
No. When correctly done with a backer rod and flexible caulk, the hourglass-shaped joint is designed to handle both compression and expansion. As the house swells in the summer humidity, the flexible caulk will simply compress into the space. A quality elastomeric caulk can handle this without issue.
Can I do this fix during the summer?+
It is strongly recommended to wait until winter when the gap is at its widest. If you fix it in the summer when the gap is closed, you are not addressing the issue. The materials will still contract next winter, and the gap will simply reappear next to your new caulk line.


Discussion
Loading comments…