Tools & materials you'll need
Affiliate linksAs an Amazon Associate FixlyGuide earns from qualifying purchases — at no extra cost to you. Prices and availability are accurate as of publication and subject to change.
Quick Answer
Floating shelves often sag due to improper anchoring in drywall, insufficient stud engagement, or incorrect weight distribution. The key to a secure installation is accurately locating studs, using heavy-duty toggle anchors when studs aren't available, and distributing weight evenly across suitable fasteners to prevent the shelf from pulling away from the wall. Proper planning and material selection are crucial to a stable, long-lasting shelf installation, even in drywall-only scenarios.
The Problem
You meticulously installed those sleek, modern floating shelves, eager to display your treasured decor. But within weeks, or even days, you notice it: the tell-tale slight tilt, the ominous gap opening between the shelf and the wall, the slow but inevitable sag. This isn't just an aesthetic issue; it's a structural failure that can lead to items crashing down, wall damage, and a constant source of frustration. The problem almost always boils down to how the shelf is anchored into the drywall, a material notorious for its lack of inherent strength. Homeowners often underestimate the forces at play – the leverage of a long shelf, the cumulative weight of books or dishes, and dynamic loads from picking up or placing items – expecting standard drywall anchors to bear the brunt when they simply aren't designed for such stress.
This article will walk you through the common mistakes made during floating shelf installation into drywall and provide clear, actionable steps to prevent and fix sagging, ensuring your shelves remain level and secure for years to come. We’ll focus on proper stud finding, selecting the right heavy-duty anchors for when studs aren't accessible, and techniques to maximize holding power even in challenging situations. You'll learn how to identify the precise points of failure and reinforce your shelves against common causes of structural collapse.
How It Works
To understand why floating shelves sag, it's essential to grasp how they’re typically supported and the limitations of drywall. Floating shelves are designed to appear as if they're emerging directly from the wall, with no visible brackets. This is achieved through a hidden mounting system, usually consisting of a metal rod or plate that attaches to the wall and slots into the back of the shelf. The shelf's stability relies entirely on the strength of this wall attachment.
Drywall, or gypsum board, is an interior wall covering made of gypsum plaster pressed between two sheets of thick paper. It's excellent for creating smooth, paintable surfaces but offers very little structural integrity on its own. A standard 1/2-inch drywall panel can only support a few pounds per screw when fastened directly. This is why standard screws driven directly into drywall will pull out under even moderate weight or leverage. The paper and gypsum crumble, and the screw loses its grip.
Wall studs, typically 2x4 or 2x6 lumber, are the structural framework behind the drywall. They are strong enough to hold significant weight. The ideal scenario for floating shelf installation is to fasten the mounting hardware directly into at least two studs. This provides the most robust support. However, studs are usually spaced 16 or 24 inches on center, meaning a shelf often cannot align perfectly with two studs, or a desired shelf location might fall entirely between studs.
When studs aren't available, various types of drywall anchors are used to bridge the gap. These anchors work by expanding behind the drywall (like toggle bolts or molly bolts) or by biting into the drywall itself (like self-drilling anchors). While some heavy-duty toggle anchors can provide significant pull-out strength, they are still limited by the strength of the drywall itself. Exceeding an anchor's shear or pull-out rating, or concentrating too much weight on a single anchor point, will inevitably lead to drywall failure and a sagging shelf. The leverage of the shelf, particularly with longer or deeper shelves, exacerbates the stress on the anchors, pulling them downwards and outwards.
Step-by-Step Fix
1. Assess the Damage and Remove the Shelf — Carefully evaluate the extent of the sag, noting if anchors have pulled out, if the shelf itself is damaged, or if the mounting hardware is bent. Clear all items from the shelf, then carefully lift the shelf off its mounting bracket or remove the screws holding it to the wall bracket. This initial inspection is crucial for planning your repair.
- Safety Note: Always remove items from a sagging shelf before attempting any repairs to prevent them from falling and causing injury or further damage.
2. Repair Damaged Drywall (If Needed) — If anchors have torn large holes in the drywall, you’ll need to patch these before re-installation. For small holes, use spackling paste. For larger holes (over 1 inch), cut a clean square around the damage, insert a drywall patch kit (which usually includes a self-adhesive mesh patch and backing plate), apply joint compound, sand smooth, and prime. Allow ample drying time for each layer of joint compound.
- If the hole is too large (over 6 inches) or near a corner, consider a small piece of mesh-backed drywall and a wider application of joint compound for a stronger, seamless repair.
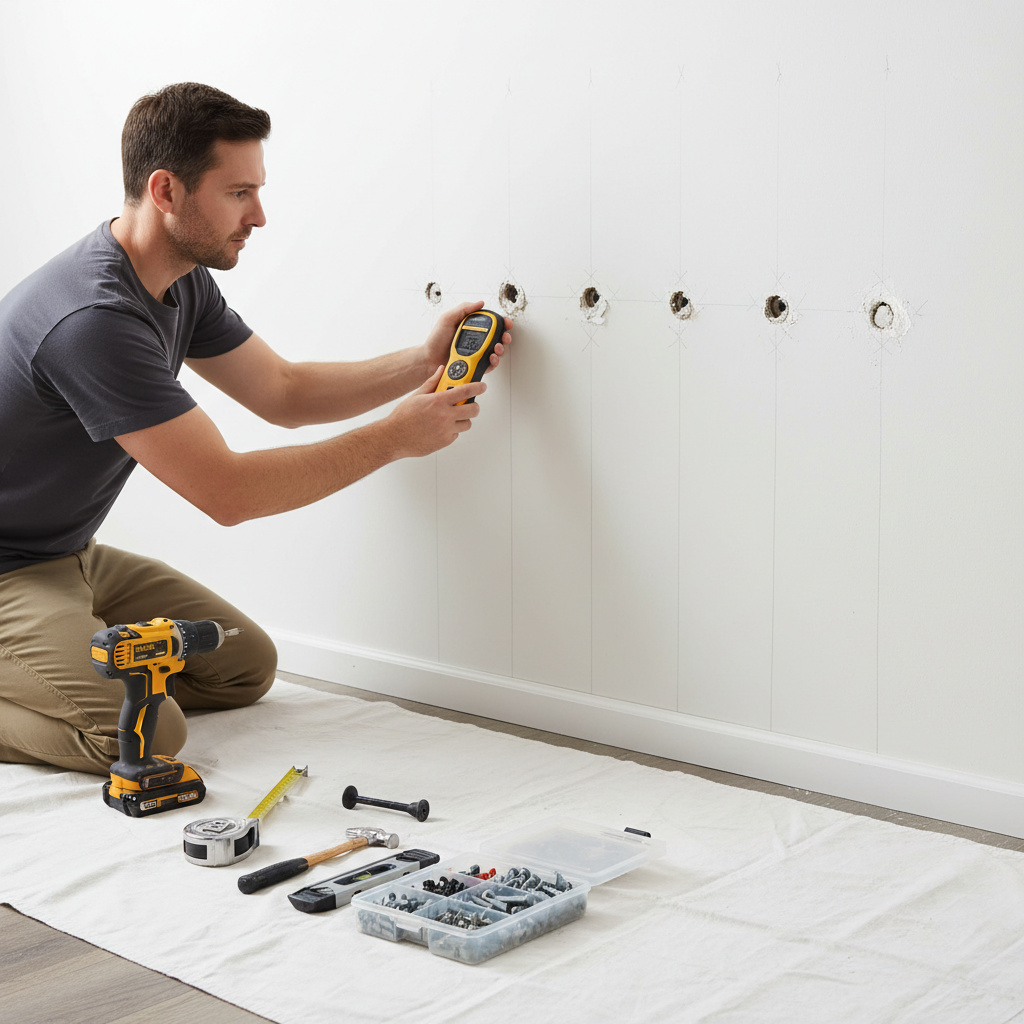
3. Locate and Mark Studs Accurately — Use a reliable stud finder to locate at least two studs behind where your shelf will be mounted. Scan horizontally along the wall at the desired height. Mark the center of each detected stud with a pencil. Repeat the scan a few inches above and below your initial mark to confirm the stud's vertical path. This is the absolute strongest point to anchor your shelf.
- Pro Tip: For greater accuracy, use a magnetic stud finder which detects screws/nails in the studs, or drill a small pilot hole (smaller than your anchor screw) to confirm stud presence. Patch these if you miss.
4. Position Mounting Bracket and Mark Anchor Points — Hold the shelf's mounting bracket against the wall at your desired height, ensuring it is perfectly level using a spirit level. Transfer the stud markings onto the bracket if they align. For mounting points not aligning with studs, mark these precisely for heavy-duty drywall anchors.
- Ensure aesthetic placement: Consider the visual balance and functionality of the shelf before committing to placement. Use painter's tape to visualize the shelf's footprint.
5. Drill Pilot Holes for Studs — If anchoring directly into a stud, pre-drill pilot holes through the mounting bracket and into the center of the stud. The drill bit should be slightly smaller than the shank of your lag screw or mounting screw to ensure a strong bite. Always use screws long enough to penetrate at least 1.5 inches into the stud.
- Don't overtighten: When driving screws into studs, tighten until snug. Overtightening can strip the wood or deform the bracket.
6. Install Heavy-Duty Drywall Anchors (Between Studs) — For any mounting points that fall between studs, install appropriate heavy-duty drywall anchors. Toggle bolts (also known as
Related Articles
Keep troubleshooting with these hand-picked guides from FixlyGuide:
- The #1 Mistake Homeowners Make Installing Floating Shelves (and How to Fix It) — Discover the crucial error many DIYers make when mounting floating shelves into drywall and learn the simple steps to ensure a secure, sag-…
- The 3 Hidden Reasons Your Floating Shelf Sags (and the Easy Fix) — Discover the real reasons your floating shelves sag and learn the simple, effective fixes to ensure they stay level and secure in drywall.
- The 3 Hidden Mistakes That Make Floating Shelves Sag (and How to Fix Them) — Prevent floating shelves from sagging in drywall by avoiding common installation mistakes and using the right anchors and techniques.
- The 1 Common Mistake That Makes Drywall Patches Obvious (And How to Fix It) — Learn the common pitfall in drywall repair that leaves unsightly patches and how to achieve a seamless, invisible fix every time.
- The #1 Mistake Homeowners Make Installing Floating Shelves (and How to Fix It) — Discover the most common error DIYers make when mounting floating shelves into drywall and how to ensure your shelves are sturdy and secure.
- Is Your Gutter Sagging After Every Storm? The Hidden Flaw Most Homeowners Miss — Discover the overlooked reason your gutters sag after every storm and learn the lasting fix that most homeowners miss.
Recommended for DIYers & woodworkers
Sponsored
The Top 20 Tools for Workshops of Any Budget
No stationary machines or power tools required — plus 3 fundamental tools that can't be bought at any price.
Get the free guide
Ted's Woodworking — The #1 Woodworking Resource
Detailed instructions, dimensioned drawings, materials & cutting lists, and 3D schematics for every skill level.
See the plansSponsored: links above are affiliate links. FixlyGuide may earn a commission on qualifying purchases — at no extra cost to you.
Frequently asked questions
Why do my floating shelves keep sagging?+
Floating shelves typically sag due to insufficient anchoring in drywall, especially if studs aren't utilized. Common culprits include using weak drywall anchors, not hitting studs, or improper weight distribution that overstresses the mounting points, causing the drywall to tear or anchors to pull out.
What's the best way to secure a floating shelf to drywall without studs?+
When studs aren't available, the best way to secure a floating shelf is with heavy-duty toggle bolts or snap toggles. These anchors expand behind the drywall, creating a much larger bearing surface and distributing the load more effectively than traditional anchors. Ensure you choose anchors rated for the combined weight of the shelf and its intended contents.
How much weight can a floating shelf hold in drywall?+
The weight a floating shelf can hold in drywall depends heavily on the type and number of anchors used, and whether any anchors hit studs. If mounted solely into drywall with heavy-duty toggle anchors, a typical shelf might hold 20-50 pounds distributed evenly. If mounted into two studs, it can often hold 50-100+ pounds. Always check the weight rating of your specific shelf hardware and anchors.
Can I use standard drywall anchors for floating shelves?+
No, standard plastic conical or self-drilling anchors are generally not strong enough for floating shelves. Floating shelves exert significant leverage (pulling force) on their mounting points, which these anchors cannot withstand over time. Always opt for heavy-duty toggle bolts, snap toggles, or direct fastening into studs.


Discussion
Loading comments…