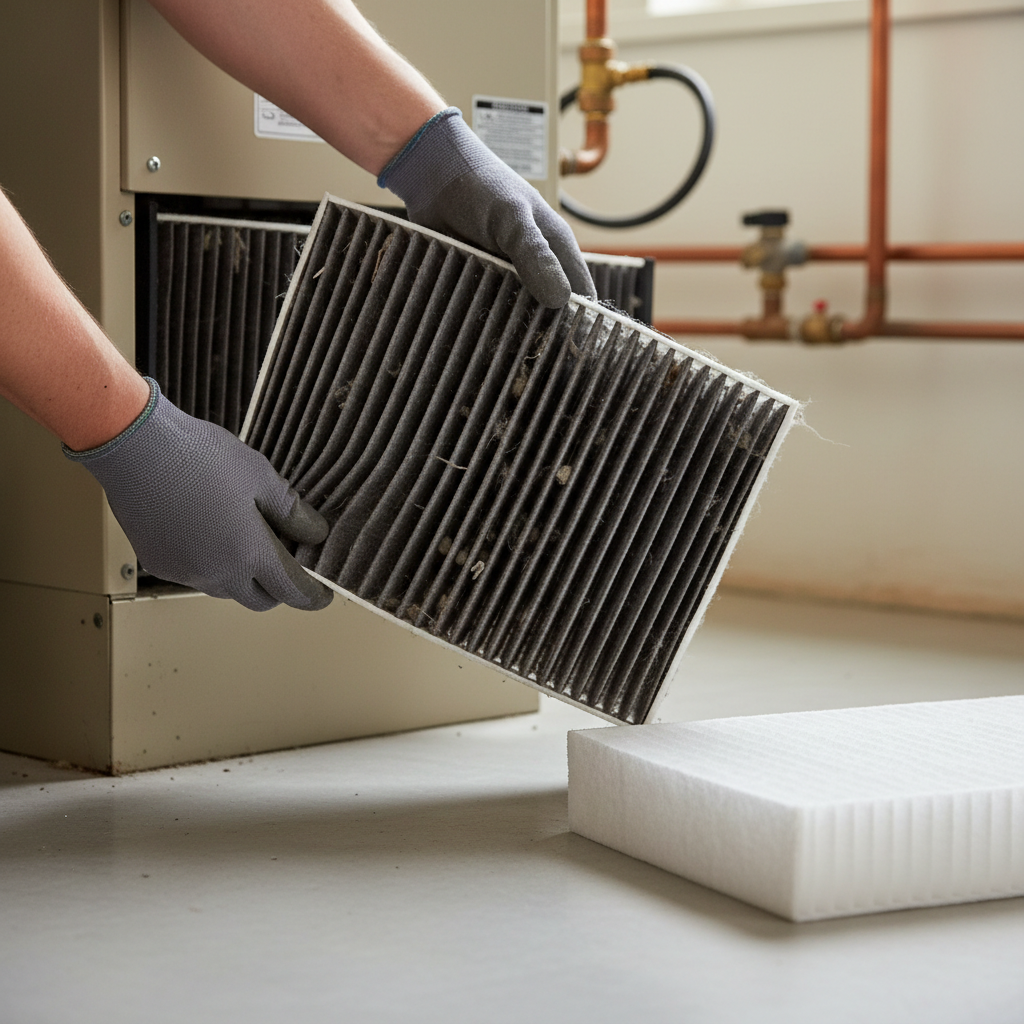
- Pets: Dogs and cats shed dander and hair, rapidly clogging filters. Multiple pets or long-haired breeds exacerbate this.
- High Occupancy: More people in a home means more shed skin cells, dust, and general biological particles contributing to filter loading.
- Allergies & Asthma: Individuals with respiratory sensitivities require cleaner air, meaning filters accumulate pollen, mold spores, and other allergens more quickly.
- Heavy Cooking: Frequent cooking, especially frying or baking, releases grease particles and microscopic food debris into the air that can get trapped in filters.
- Smoking: Tobacco smoke particles are extremely small and sticky and will quickly foul a filter, even making it smell.
HVAC · High energy usage
| Project category | HVAC |
|---|---|
| Problem type | High energy usage |
| Trade required | HVAC |
| Urgency | Planned project |
| Safety risk | Low safety risk |
| DIY suitability | DIY for experienced homeowners |
| Cost category | High cost |
| Typical timeline | Assessment within weeks; replacement planned off-season |
| Contractor type | Licensed HVAC technician |
Repair option
Duct sealing, insulation, and a tune-up before touching the equipment.
Replacement option
High-efficiency replacement sized by a load calculation, not a rule of thumb.
Common causes
- Aging, low-efficiency equipment
- Leaking ducts losing conditioned air
- Insufficient attic insulation
- Oversized system short-cycling
Relevant tools:project cost estimatorrepair or replace
Published July 18, 2026Last updated August 17, 2026
Tools & materials you'll need
Affiliate links- AmazonVacuum cleanerfor cleaning around the filter slot
As an Amazon Associate FixlyGuide earns from qualifying purchases — at no extra cost to you. Prices and availability are accurate as of publication and subject to change.
Quick Answer
Most homeowners should aim to change their HVAC filter every 30 to 90 days. However, factors like pets, allergies, daily cooking, construction dust, and even the type of filter you use can significantly impact this schedule. A good rule of thumb for a typical household with no pets is every 90 days, while homes with pets or allergy sufferers may need a change as frequently as every 30-45 days. Ignoring this simple maintenance task is a leading cause of increased energy consumption, reduced indoor air quality, and premature HVAC system failure.
The Problem
Many common homeowner complaints — mysteriously high energy bills, inconsistent cooling or heating, excessive dust accumulation, and even strange noises from the HVAC system — often trace back to a single, overlooked culprit: a dirty air filter. It's easy to forget about, hidden away in a return vent or the furnace unit itself. Out of sight, out of mind. But a clogged filter is like trying to breathe through a pillow; it chokes your HVAC system, forcing it to work dramatically harder to pull air through the accumulated grime. This struggle leads to a cascade of expensive problems, from higher utility costs to eventual system breakdowns that could have been easily prevented.
How It Works
Your home's heating, ventilation, and air conditioning (HVAC) system operates by circulating air. The furnace or air handler draws air from your living spaces through return vents, pulls it across a filter, conditions it (heats or cools), and then pushes it back out through supply vents. The air filter's job is crucial: it captures airborne particles like dust, pet dander, pollen, mold spores, and even microscopic pollutants before they enter the sensitive components of your furnace or air conditioner's indoor coil.
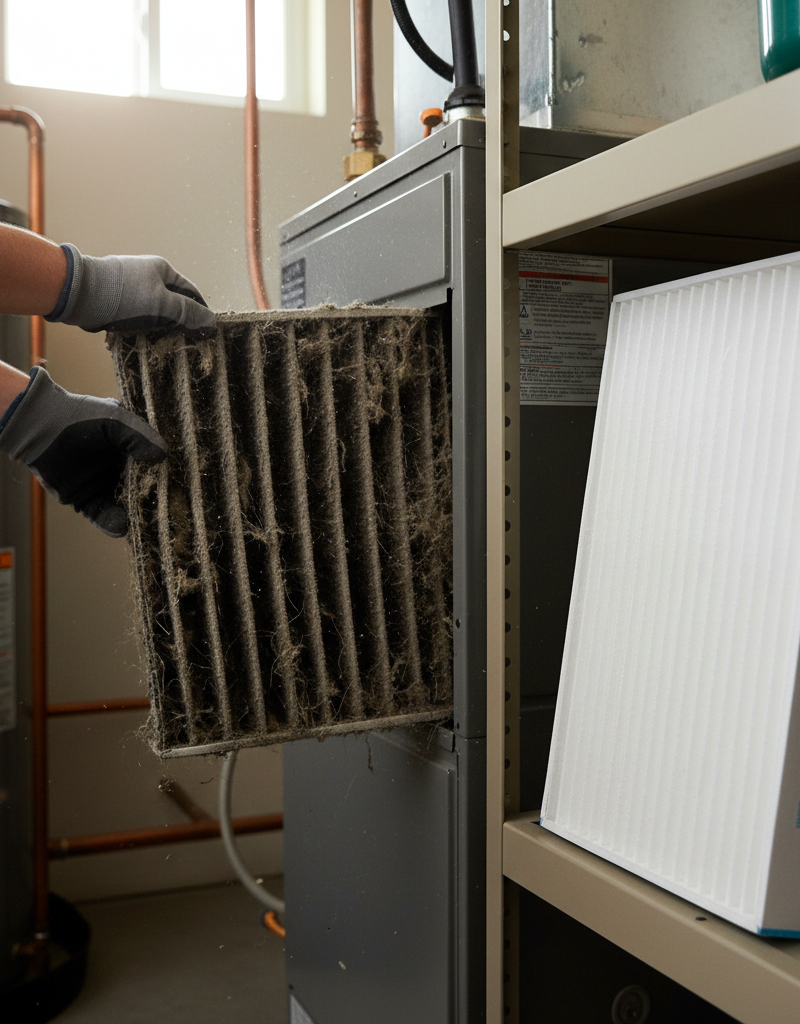
When the filter is clean, air flows freely, allowing the blower motor to operate efficiently and the coils to exchange heat effectively. The system can easily reach and maintain your desired thermostat setting. However, as the filter accumulates dirt and debris, the tiny pores in its material become blocked. This restriction creates what's known as static pressure, making it much harder for the blower motor to pull air through. Think of it like a vacuum cleaner bag; the fuller it gets, the less suction it has. The motor strains, drawing more electricity, and the airflow over the evaporator coil in your AC unit or the heat exchanger in your furnace is significantly reduced. This reduced airflow can cause the evaporator coil to freeze in AC mode or the furnace to overheat, leading to safety shutdowns or even permanent damage. The system struggles to properly condition the air, resulting in longer run times, uneven temperatures, and ultimately, higher energy bills and a shorter operational lifespan for your HVAC unit.
Step-by-Step Fix
Here’s how to correctly identify your filter type and replace it, making sure your HVAC system can breathe easy.
1. Locate Your Filter — Inspect potential spots.
Most HVAC filters are located in one of two places: within the return air vent in your ceiling or wall, or in a dedicated slot at the blower unit (furnace/air handler) itself. Check both locations. If it's in a return vent, there will typically be clips or latches to open the grille. If it's at the unit, look for a slot that's often labeled or obviously designed for a filter.
- If you have multiple return vents: Only one main return will likely house the filter. Check the largest one first.
2. Identify the Filter Size and Type — Note crucial information.
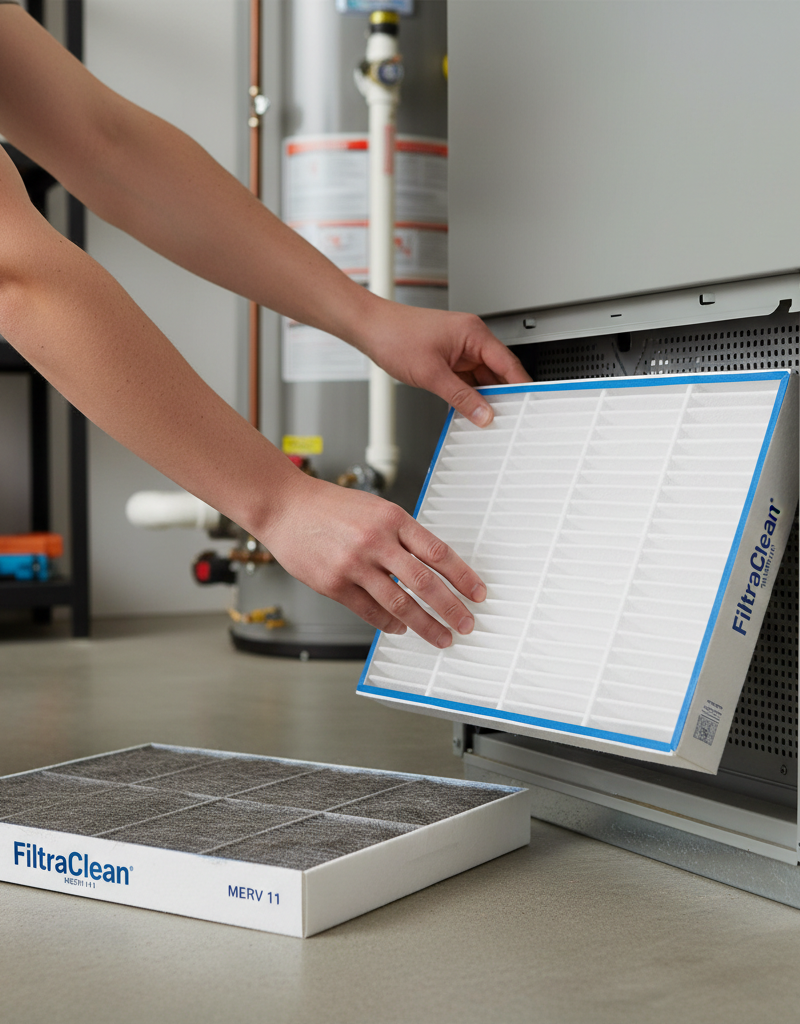
Carefully pull out the existing dirty filter. On the cardboard frame, you'll find printed numbers indicating its dimensions (e.g., 20x25x1) and often an arrow for airflow direction. You might also see a MERV rating (Minimum Efficiency Reporting Value), typically between 1 and 16. A higher MERV rating means better filtration but can sometimes restrict airflow more, especially for older systems.
- MERV rating considerations: For most homes, a MERV 8-11 is a good balance of air quality and airflow. If you have severe allergies, consider MERV 13, but consult an HVAC pro if your system is old to ensure it can handle the increased static pressure.
- Arrow direction: Crucial for proper air flow. The arrow should point IN THE DIRECTION OF THE AIRFLOW, which is usually towards the furnace/air handler, away from the return duct.
3. Purchase the Correct Replacement Filter — Match size and consider MERV.
Armed with your filter size and desired MERV rating, head to your local hardware store or order online. Buying multi-packs is often more economical. Ensure the new filter is exactly the same size as the old one – even a slight difference can lead to air bypassing the filter.
- Material matters: Pleated filters (usually MERV 8+) offer much better filtration than older fiberglass filters (typically MERV 1-4) without significantly impacting airflow in most modern systems.
4. Power Down Your HVAC System — Safety first.
Before installing the new filter, turn off your HVAC system at the thermostat. For added safety, you can also flip the circuit breaker that controls your furnace or air handler. This prevents the system from accidentally starting up while your hands are near moving parts.
- Safety Note: Always ensure the system is completely off before working on any internal components. This prevents accidental startup or injury from the blower motor.
5. Place the New Filter — Mind the arrow.
Insert the new filter into the slot, making absolutely sure the airflow arrow on the filter's frame points in the correct direction – towards the furnace/air handler unit. Improper directional installation renders the filter ineffective and can still restrict airflow.
6. Restore Power and Test — Confirm proper operation.
Close any latches or covers, then return to your thermostat and turn the system back on. Set it to either cool or heat, depending on the season, and listen for smooth operation. You should notice improved airflow from your vents and potentially a quieter blower motor.
- If you hear unusual noises: Turn the system off immediately and re-check the filter installation. Ensure it's not rattling or obstructing any components.
Common Causes
Here are some of the primary reasons your HVAC filter gets dirty, necessitating more frequent changes:
- Pets: Dogs and cats shed dander and hair, rapidly clogging filters. Multiple pets or long-haired breeds exacerbate this.
- High Occupancy: More people in a home means more shed skin cells, dust, and general biological particles contributing to filter loading.
- Allergies & Asthma: Individuals with respiratory sensitivities require cleaner air, meaning filters accumulate pollen, mold spores, and other allergens more quickly.
- Heavy Cooking: Frequent cooking, especially frying or baking, releases grease particles and microscopic food debris into the air that can get trapped in filters.
- Smoking: Tobacco smoke particles are extremely small and sticky and will quickly foul a filter, even making it smell.
- Construction/Renovation: Dust from sanding, drywall work, or demolition is a major filter killer and requires daily or weekly changes during active projects.
- Dusty Environment: Living near a busy road, in an arid climate, or a home with older carpeting can introduce more airborne dust.
- Open Windows/Doors: While great for fresh air, this also introduces more outdoor pollutants and dust into your home's air circulation.
Common Mistakes
Avoiding these common missteps will save you money and headaches:
- Forgetting to Check the Arrow: Installing a filter backward (arrow pointing away from the furnace/air handler) severely restricts airflow, rendering it inefficient and potentially damaging the blower motor.
- Using the Wrong Size Filter: A filter that's too small leaves gaps that allow unfiltered air to bypass the system, negating its purpose. A filter that's too large won't fit at all.
- Defaulting to the Highest MERV Rating: While a higher MERV (like 13+) offers superior filtration, it can create excessive static pressure that older or less powerful HVAC systems can't handle. This forces the blower motor to strain, leading to premature failure and higher energy use. Consult your system's manual or an HVAC pro before upgrading past MERV 11.
- Ignoring the Filter Until a Problem Arises: Waiting for reduced airflow, strange noises, or higher bills means your system has already been suffering and wasting energy for too long.
- Not Changing Filters During Construction: Dust from home improvement projects is exceptionally fine and abundant. Leaving the same filter in will quickly clog it and push dust into your ductwork and sensitive HVAC components.
- Not Checking Monthly in High-Impact Homes: If you have pets, allergies, or a busy household, a quarterly check is insufficient. Monthly visual inspections are key to determining your true replacement rhythm.
Cost & Time Breakdown
| Task | DIY cost | Pro cost | Time |
|---|---|---|---|
| Purchase new filter | $5-$30 | Included in svc | 5 minutes |
| Replace filter | $0 | Included in svc | 1-2 minutes |
| Professional inspection/Tune-up | N/A | $75-$200 | 30-60 minutes |
Tips & Prevention
- Set a Reminder: Use a calendar reminder, a smartphone app, or write the date on the filter frame itself when you install it. Some smart thermostats can even send reminders.
- Buy in Bulk: Stock up on filters when they're on sale. This ensures you always have the right size on hand and can save money.
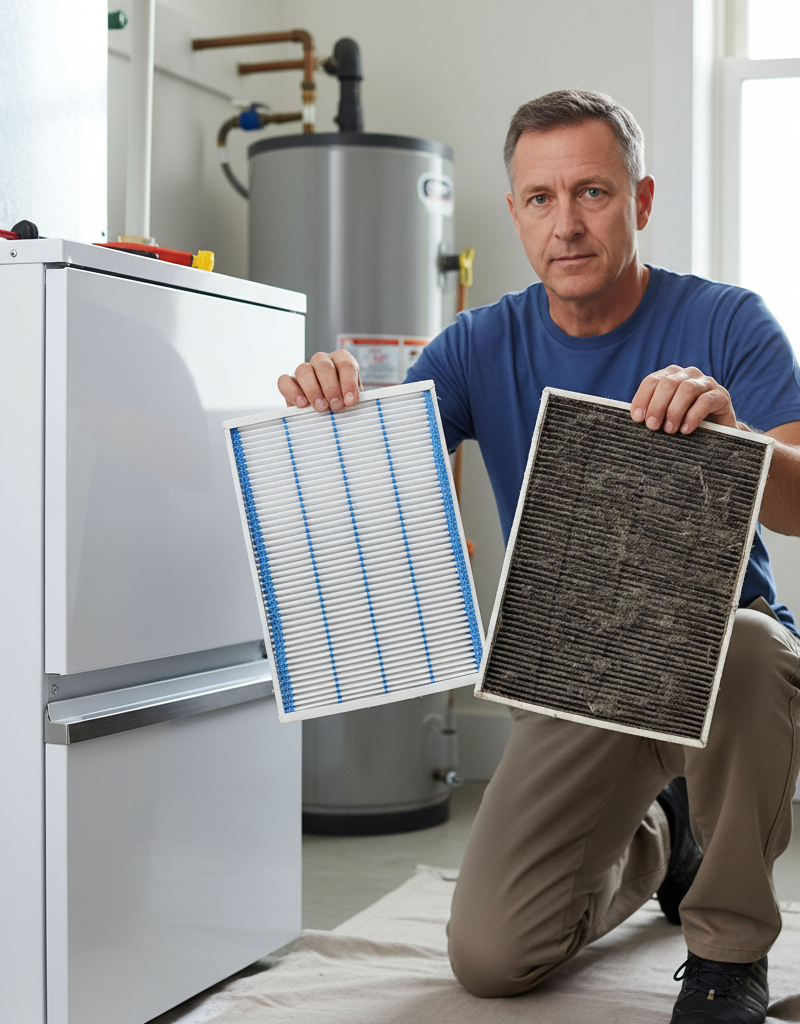
- Visually Inspect Monthly: Even if your schedule says quarterly, a quick visual check monthly confirms the reality of your home's dust accumulation. Hold the filter up to a light source; if you can't see light through it, it's time to change.
- Vacuum Nearby Return Vents: Periodically vacuum the grille of your return air vents to prevent larger dust bunnies from getting pulled into the filter.
- Maintain Overall Cleanliness: Regular dusting and vacuuming in your home reduce the overall amount of airborne particles, thus extending filter life.
- Consider a Whole-Home Air Purifier: For severe allergies or high dust, a dedicated air purifier can supplement your HVAC filter and improve overall indoor air quality without over-straining your HVAC system.
When to Call a Professional
While changing air filters is a straightforward DIY task, there are instances when you should call an HVAC professional. If you find your filters clogging excessively fast despite a clean home and no obvious sources, it could indicate ductwork issues or an improperly sized system. If, after changing the filter, your system still runs loudly, experiences significantly reduced airflow, or fails to heat or cool effectively, there's likely a deeper underlying problem that a new filter can't fix. This could include a faulty blower motor, a frozen evaporator coil (which can be caused by prolonged filter neglect), or a refrigerant leak. An HVAC technician can diagnose these complex issues, perform a professional cleaning of internal components (like the evaporator coil), and ensure your entire system is operating safely and efficiently. Never attempt to diagnose or repair internal electrical or refrigerant components yourself; these require specialized tools, knowledge, and licensing.
Related Articles
Keep troubleshooting with these hand-picked guides from FixlyGuide:
- The #1 HVAC Mistake Making Your Energy Bills Soar (It's Not What You Think) — Discover the crucial HVAC filter mistake that's quietly inflating your energy bills and damaging your system, and how a simple change can s…
- The #1 HVAC Mistake Costing You Hundreds (And How Often to Really Change Your Filter) — Discover the crucial mistake most homeowners make with HVAC filters, leading to higher energy bills, poor air quality, and system damage. L…
- The 3 Hidden Reasons Your HVAC Filter Needs Changing More Often (Beyond 90 Days) — Discover the crucial factors that dictate how often you truly need to change your HVAC filter, extending system life and improving air qual…
- The #1 Mistake Homeowners Make With HVAC Filters (And How Often to Really Change Them) — Discover the crucial mistake most homeowners make with HVAC filters and the specific schedule you should follow to avoid costly HVAC issues…
- The Secret Reason Your Thermostat Lies (and 5 Fixes That Actually Work) — If your thermostat isn't reaching its set temperature, understanding the underlying cause is key to a comfortable home and lower energy bil…
- That Ceiling Stain Isn't a Leak: 5 Hidden Causes — A mysterious ceiling stain can be alarming, especially when there's no active leak. The real culprits are often hidden issues like attic co…
Repair or replace your HVAC system?
Plug in four numbers and see which choice holds up financially.
Free and instant. Educational guidance only — not a quote, inspection, or professional diagnosis.
Estimate your own project cost
National averages are a starting point. Enter your details for a range that fits your house.
HVAC replacement cost
- Equipment$2,200 – $3,800
- Installation labor$1,200 – $2,500
Always insist on a Manual J load calculation — sq-ft sizing is only a rough check. Federal heat-pump rebates may reduce cost significantly.
Educational estimate only — always confirm with written local bids.
What should this project cost?
Enter your project details for a realistic cost range before you call anyone.
Service calls and common repairs run $150–$900; full system replacement typically $6,000–$12,000.
- Regional adjustment
- National average
- Labor share (typical)
- ~$1,935
- Quotes to collect
- 3 written estimates
Educational estimate based on national averages — not a binding quote. Always confirm with written local estimates.
Fixly Project Decision Box
- DIY difficulty
- Advanced
- Estimated time
- Homeowner checks 20–30 minutes
- Cost level
- Moderate
Main tools / materials
- Clean air filter
- Garden hose for condenser coils
- Shop vac for the condensate line
When to stop and call a pro
- Burning smell, smoke, or a tripping breaker
- Refrigerant lines iced over or hissing
- Any work inside the sealed refrigerant circuit (EPA-licensed only)
- Gas smell near a furnace — leave and call the utility
Need professional help?
Find an HVAC Pro Near YouRepair or replace?
Run the age, cost ratio, and repair history through the calculator before you commit.
Free, no signup required. Estimates are educational guidance, not a quote or an inspection.
Frequently asked questions
How often should I change my HVAC filter?+
For most homes, every 30-90 days. Homes with pets, allergies, or high dust levels should change filters closer to every 30-60 days. Less busy homes without pets might extend to 90 days, but monthly visual checks are recommended.
What happens if I don't change my HVAC filter?+
Ignoring filter changes leads to reduced airflow, forcing your HVAC system to work harder and consume more energy. This increases utility bills, shortens the system's lifespan, diminishes indoor air quality, and can cause costly component failures like a frozen AC evaporator coil or an overheated furnace.
What MERV rating should I use for my HVAC filter?+
For most residential homes, a MERV 8 to MERV 11 filter provides a good balance of air filtration and HVAC system efficiency. Higher MERV ratings (13+) offer superior filtration but can restrict airflow, potentially straining older or less powerful systems. Check your system's manual or consult an HVAC professional before using filters above MERV 11.
Discussion
Loading comments…