Tools & materials you'll need
Affiliate linksAs an Amazon Associate FixlyGuide earns from qualifying purchases — at no extra cost to you. Prices and availability are accurate as of publication and subject to change.
Quick Answer
The most common mistake when caulking a bathroom sink is failing to remove all old caulk and properly prepare the surfaces. This leads to poor adhesion, gaps, and premature failure. To fix it, meticulously remove every every trace of old caulk, clean and dry the surfaces thoroughly, then apply a fresh bead of 100% silicone caulk using proper technique for a durable, watertight seal.
The Problem
You've noticed it – a subtle darkening, perhaps some mold growth, or even worse, a faint water stain on your vanity cabinet beneath the bathroom sink. The culprit? Failed caulk. What looks like a simple line of sealant around your sink is actually a critical barrier, protecting your vanity, floor, and even preventing mold and mildew growth in hidden, damp spaces. Many homeowners apply new caulk right over old, or don't clean the surface well enough, leading to a seal that looks good for a week but fails quickly. This isn't just an aesthetic issue; it's an integrity issue that can lead to significant water damage, rot, and costly repairs down the line. A leaky caulk line is an open invitation for water to seep into your vanity, damage the wood, and create a breeding ground for mildew and unpleasant odors. Addressing this properly isn't just about appearance; it's about protecting your home's structure and your investment.
How It Works
Caulk, in its simplest form, is a flexible sealant used to fill gaps and create watertight or airtight seals between two surfaces. Around your bathroom sink, its primary job is to prevent water from seeping into the small gap between the sink's rim and the countertop, or between the countertop and the wall. When water gets into these spaces, it can cause significant damage to the underlying materials, such as the wood of your vanity cabinet or the drywall behind the sink. Most caulk used in bathrooms is either acrylic latex (often siliconized for better performance) or 100% silicone. Acrylic latex caulk is easier to work with and clean up with water, but it's less durable and less resistant to mold than silicone. 100% silicone caulk offers superior waterproofing, flexibility, and mold resistance, making it the preferred choice for high-moisture areas like bathrooms. However, it's stickier and requires mineral spirits for cleanup. The caulk adheres to the surfaces, creating a bond that moves slightly with temperature and humidity changes without cracking. When applied correctly, this elastic barrier repels water, directs spills into the sink basin, and keeps moisture out of vulnerable areas. The key to its effectiveness lies in a clean, dry, and properly prepared surface, ensuring maximum adhesion and a long-lasting seal that can withstand the daily rigors of a busy bathroom.
Step-by-Step Fix
Before you start, ensure you have good ventilation in the bathroom. Open a window or turn on the exhaust fan. Always wear appropriate personal protective equipment like gloves and eye protection.
-
Prep the Area & Gather Your Tools — Clear everything off your countertop around the sink. Lay down a drop cloth or old towels on the floor and inside the sink to catch debris and protect surfaces. Ensure you have all your tools and materials ready to go; once you start applying caulk, you want to work continuously.
- Tools Check: Caulk removal tool, utility knife, putty knife, masking tape, caulk gun, clean rags, bucket of warm soapy water, mineral spirits (for silicone caulk cleanup), paper towels.
-
Score & Cut Existing Caulk — Using a utility knife, carefully score along both the top and bottom edges of the old caulk bead. Hold the knife at a shallow angle to avoid scratching the sink or countertop. This breaks the seal and makes removal easier.
- Safety First: Always cut away from your body. A fresh, sharp blade makes this task safer and more effective.
-
Scrape Away Old Caulk — Use a caulk removal tool or a stiff putty knife to scrape away the scored caulk. Apply firm, consistent pressure. For stubborn sections, you might need to re-score or use gentle heat from a hairdryer to soften it (be cautious with heat around plastic or laminate).
- Pro Tip: Work in small sections, peeling up strips as you go. Don't rush this step; leftover caulk will compromise the new seal.
-
Remove Residual Caulk & Gunk — Once the bulk of the old caulk is gone, you'll likely have a thin residue remaining. For silicone caulk, use a little mineral spirits on a rag and rub the area to dissolve the film. For acrylic caulk, warm soapy water and a scrub brush or a specialized caulk remover can work wonders. Ensure every last piece and film is removed.
- If this doesn't work: Stubborn residue might require a plastic razor blade scraper, being extremely gentle to avoid damaging the sink or counter surface.
-
Clean & Dry Surfaces Thoroughly — This is perhaps the most crucial step. Use an all-purpose cleaner or a solution of bleach and water (1 part bleach, 10 parts water) to clean the entire area where the new caulk will go. Scrub away any mold, mildew, soap scum, or dirt. Rinse thoroughly with clean water and then dry the surfaces completely with a clean cloth. Allow adequate air drying time, ideally several hours, or even use a hairdryer on a cool setting to ensure all moisture is gone. Caulk will not adhere properly to damp or dirty surfaces.
-
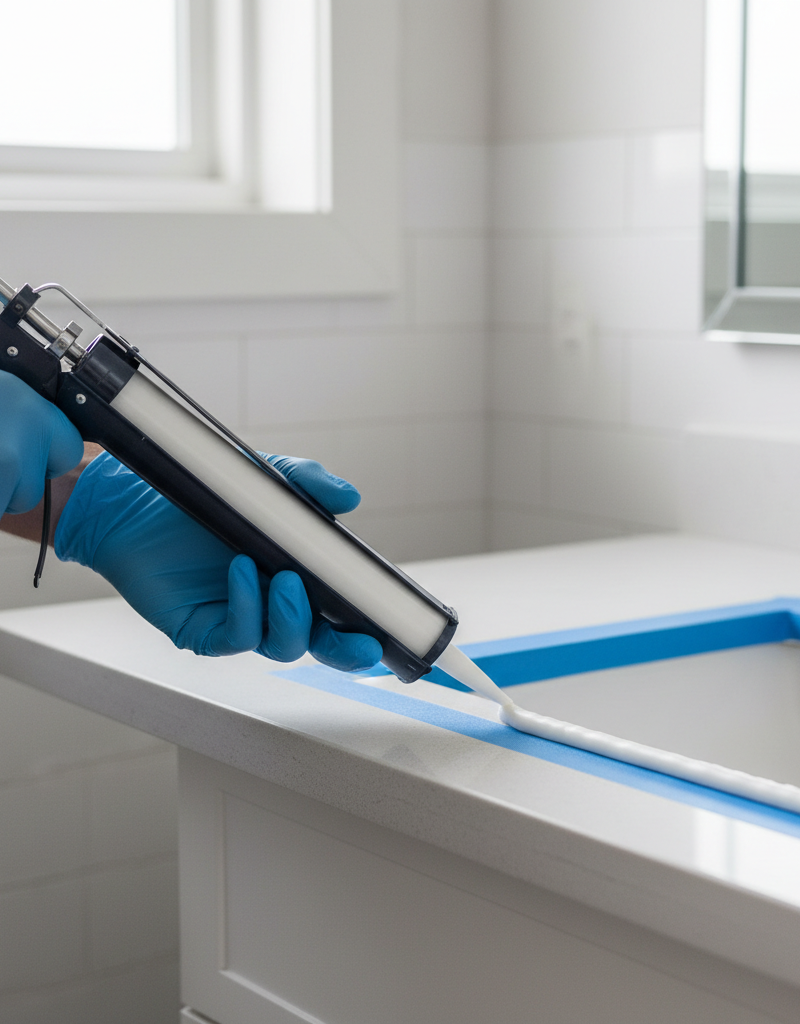
Apply Painter's Tape (Optional but Recommended) — For a perfectly straight caulk line, apply painter's tape along both sides of the gap you intend to caulk. Leave a consistent gap that matches the desired width of your caulk bead. This acts as a guide and makes cleanup significantly easier.
-
Prepare the Caulk Tube — Cut the tip of the caulk tube at a 45-degree angle, making an opening just wide enough for the bead you want to apply (usually about 1/8 to 1/4 inch). Puncture the inner seal with the long rod on your caulk gun or a wire coat hanger.
-
Load & Test Caulk Gun — Pull back the plunger on your caulk gun, insert the tube, and push the plunger forward until it makes contact. Squeeze the trigger a few times to get the caulk flowing onto a scrap piece of cardboard or paper towel. This ensures a consistent flow before you start on your sink.
-
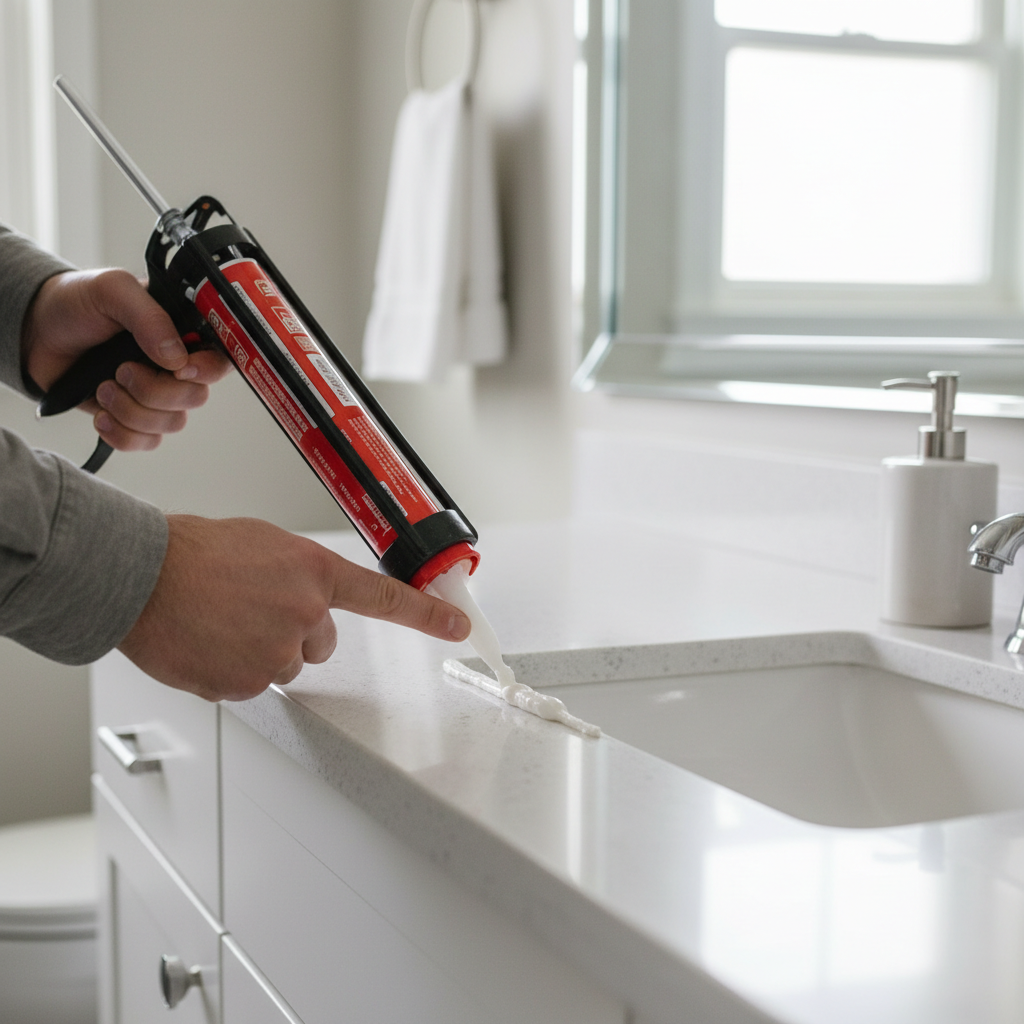
Apply a Smooth, Even Bead — Position the tip of the caulk tube at the beginning of your seam. Apply steady, consistent pressure to the trigger while slowly and smoothly drawing the caulk gun along the seam in one continuous motion. Aim for an even, consistent bead. Try to complete each side of the sink in one pass.
- Technique Tip: Push the caulk into the seam rather than pulling it. This forces the caulk deeper into the gap for better adhesion.
-
Tool the Caulk Bead — Immediately after applying the caulk (before it skins over, usually within 5-10 minutes), smooth the bead with a caulk tool, your gloved finger (dipped in a little soapy water for silicone, or just water for latex), or a plastic spoon. This pushes the caulk into the seam and creates a concave, professional-looking finish. Remove any excess caulk on your tool or finger as you go.
-
Remove Tape & Clean Up — If you used painter's tape, carefully peel it away immediately after tooling the caulk, while the caulk is still wet. Pull it at a 45-degree angle away from the caulk line. Clean up any squeezed-out caulk with a damp rag (for acrylic latex) or mineral spirits (for silicone). Wipe down your tools.
-
Cure Time — Allow the caulk to cure completely before exposing it to water. Check the manufacturer's instructions on the caulk tube, but generally, this means 12-24 hours for
Related Articles
Keep troubleshooting with these hand-picked guides from FixlyGuide:
- The #1 Mistake Homeowners Make Caulking a Bathroom Sink (And How to Fix It) — Discover the most common caulking mistake homeowners make around bathroom sinks and how to achieve a waterproof, professional-looking seal…
- The #1 Mistake Homeowners Make When Their AC Drain Clogs (And The $5 Fix) — Discover the most common error homeowners make when tackling a clogged AC drain line and learn a simple, inexpensive solution to prevent co…
- The #1 Mistake Homeowners Make with a Slow Kitchen Sink (And Its Dead Simple Fix) — Before you reach for harsh chemicals, learn the most common, easily fixable reason your kitchen sink is draining slowly and how to fix it y…
- The Surprising Culprit Behind Your Refrigerator's Water Leak (It's Not Always the Ice Maker) — Discover the most common, often overlooked reason your refrigerator is leaking water and how to fix it with simple steps.
- The #1 Mistake When Your Dishwasher Won’t Drain (And How to Fix It in 20 Minutes) — Discover the most common reason your dishwasher isn't draining and how to troubleshoot and fix it yourself in under half an hour.
- The #1 Caulk Mistake That Leads to Mold (And How to Fix It Right) — Discover the most common caulk mistake that causes frustrating mold growth around your bathtub and learn the simple, effective way to recau…
Get the print-ready PDF of this guide
A clean, ad-free, printable version you can keep on your phone or pin to the workshop wall. Free with a FixlyGuide account.
- Print-optimized layout
- Tools, materials & every step included
- Saved to your account
Frequently asked questions
How often should bathroom sink caulk be replaced?+
Bathroom sink caulk should ideally be inspected annually and replaced every 3-5 years, or sooner if you notice cracking, peeling, discoloration, or mold growth. High-quality 100% silicone caulk generally lasts longer than acrylic latex caulk.
What kind of caulk is best for a bathroom sink?+
For bathroom sinks, 100% silicone caulk is highly recommended. It offers superior water resistance, flexibility, and mold/mildew resistance compared to acrylic latex sealants. Look for products specifically labeled for 'kitchen and bath' or '100% silicone sealant for wet areas.'
Can I caulk over old caulk?+
No, you should never caulk over old caulk. New caulk will not properly adhere to old caulk, leading to a weak bond, cracking, and premature failure. Always remove all existing caulk and thoroughly clean the surface before applying a new bead for a durable, watertight seal.
How long does caulk need to dry before getting wet?+
The drying or 'cure' time for caulk varies by product. For most bathroom caulks, it's generally recommended to avoid exposure to water for at least 12-24 hours. Some 100% silicone caulks may require up to 24-48 hours for a full cure. Always check the specific manufacturer's instructions on the tube.


Discussion
Loading comments…