
Tools & materials you'll need
Affiliate linksAs an Amazon Associate FixlyGuide earns from qualifying purchases — at no extra cost to you. Prices and availability are accurate as of publication and subject to change.
Quick Answer
Your garbage disposal still smells after running it because simple flushing doesn't remove the root cause: a stubborn, greasy film combined with tiny food particles that cling to the grinding components and splash guard. This mixture fosters bacteria growth, creating a biofilm that produces persistent, foul odors. The popular citrus-and-ice trick is effective because it provides a two-pronged attack. The ice cubes act as a powerful mechanical scrubber, with their sharp, frozen edges physically scouring the gunk from the impeller blades and chamber walls. Simultaneously, the natural acids in the citrus peels cut through grease, neutralize odors, and leave a fresh scent behind.
The Problem
It’s a smell that’s frustratingly familiar to many homeowners. You’ve cleaned the kitchen, taken out the trash, and run the garbage disposal, expecting a fresh, neutral scent. Instead, a phantom odor wafts up from the sink drain—a pungent, sour, and unmistakable smell of decay. You try running more water through it, maybe tossing in a few lemon peels, but the smell returns, sometimes within minutes. This persistent stench makes your kitchen feel unclean, no matter how much you scrub the counters. The odor seems to mock your cleaning efforts, a stubborn reminder of meals past. It’s not just the memory of last night's salmon or onions; it's a deeper, more complex funk that suggests something is fundamentally wrong inside the dark, hidden chamber of your disposal. This is the core problem: your garbage disposal smells even when it’s empty because it’s not truly clean.
How It Works
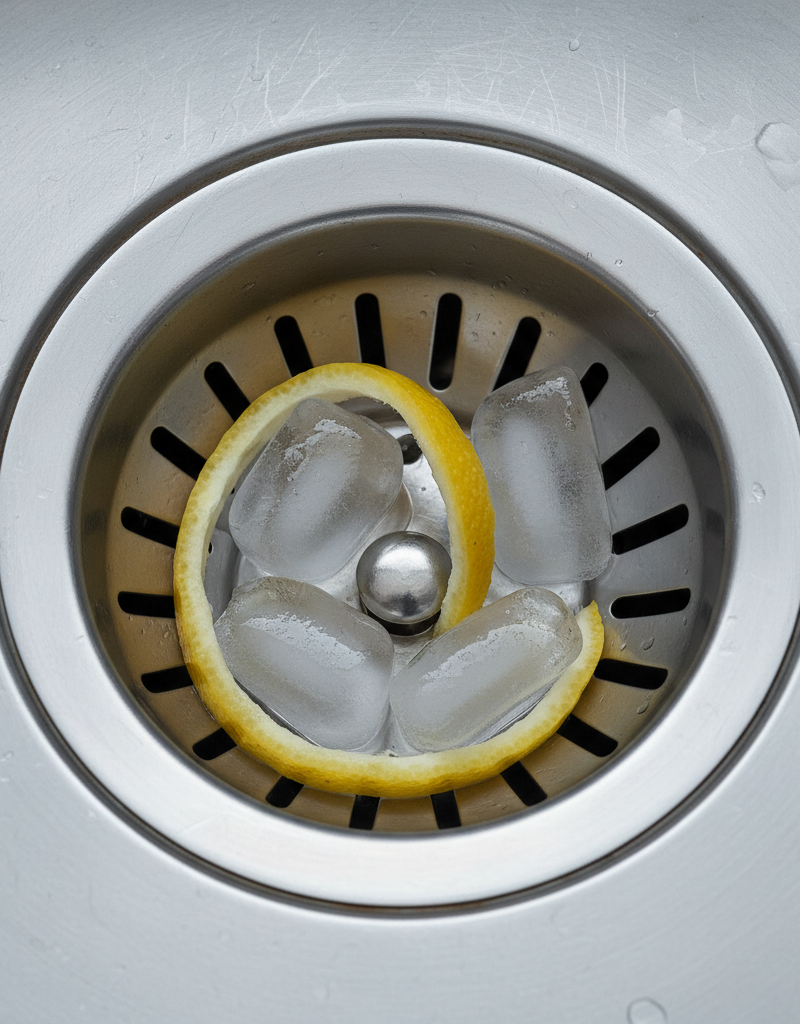
A garbage disposal doesn’t use sharp blades like a blender. Instead, it relies on a spinning metal plate, called an impeller plate, with two small, blunt "lugs" or "blades." Centrifugal force pushes food waste against a stationary, perforated ring (the grind ring) on the outside of the chamber. This process shreds, pulverizes, and liquefies the waste until it’s small enough to pass through the holes of the grind ring and wash down the drain. The problem is that not everything washes away cleanly. A sticky, invisible film of grease, starches, and microscopic food particles builds up on the impeller plate, the lugs, the chamber walls, and especially on the underside of the rubber splash guard. This coating, known as biofilm, becomes a breeding ground for bacteria, which are the source of the foul odor.
The ice-and-citrus method is a classic for a reason: it addresses both the mechanical and chemical aspects of the problem. When you grind a large volume of hard, frozen ice cubes, they don't just clatter around. They act as a powerful, abrasive slurry. The sharp, jagged edges of the crushed ice physically scour the surfaces inside the grinding chamber, chipping away at the hardened biofilm and dislodging trapped food particles much more effectively than water alone. As the citrus peels are pulverized alongside the ice, they release citric acid and essential oils. The citric acid is a natural degreaser that chemically breaks down the greasy components of the biofilm, while the fragrant oils neutralize malodors on contact, providing an immediate deodorizing effect and leaving a fresh, clean scent in their wake.
Step-by-Step Fix
SAFETY FIRST: Before starting any cleaning, ensure the garbage disposal switch is in the OFF position. For added safety, consider turning off the corresponding breaker at your home's electrical panel. Never put your hand inside the garbage disposal. Wear protective gloves.
1. Initial Flush & De-Clog — Begin by running cold water for about 30-60 seconds and then turning on the disposal. Let it run with the cold water to clear out any loose, lingering debris from the last use. This initial flush ensures you aren't just packing old food down. Once clear, turn off the disposal but let the water run for another 30 seconds.
2. The Baking Soda Soak — Turn off the water. Pour approximately 1/2 cup of baking soda directly into the garbage disposal opening. Baking soda is a fantastic natural cleaner and odor absorber. Don't add water yet; let the powder sit in the chamber and on the splash guard for 30 minutes to an hour to absorb lingering, foul-smelling acidic odors.
3. The Vinegar Fizz — After the baking soda has rested, pour 1 cup of white vinegar down the disposal. This will cause a fizzing and bubbling reaction. This chemical reaction helps to loosen grime and break down more of the stuck-on food and grease that the baking soda has been working on. Let it foam and fizz for about 5-10 minutes.
4. The Hot Water Flush — While the vinegar and baking soda are still reacting, heat a large pot or kettle of water until it is very hot (but not boiling). Carefully pour the hot water down the drain to flush away all the debris, grease, and cleaning solution that the fizzing action has loosened. This helps to liquefy and wash away greasy buildup.
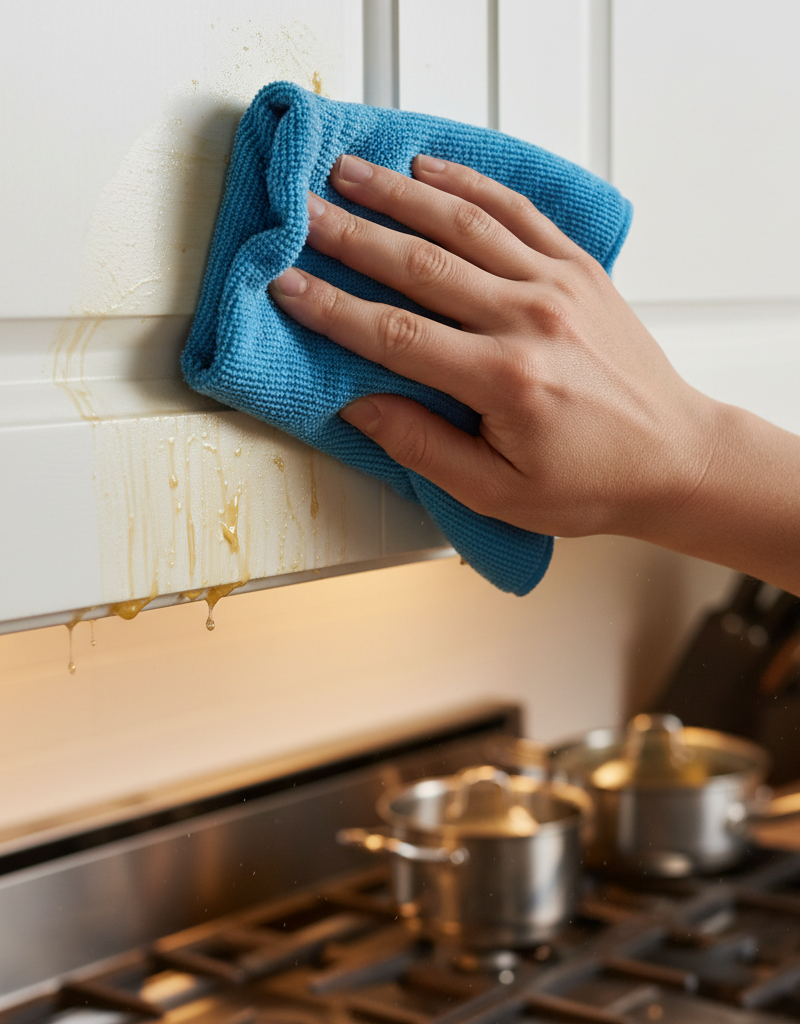
5. Scrub the Splash Guard — This is a critical and often-missed step. The underside of the rubber splash guard is a primary culprit for trapping smelly gunk. Put on your cleaning gloves. Using a long-handled bottle brush or a dedicated disposal brush, apply a small amount of dish soap. Meticulously scrub the top and, most importantly, the underside of each rubber flap, reaching down as far as you safely can into the disposal chamber.
6. Rinse and Repeat Scrub — Run cold water and briefly turn on the disposal to rinse away the soap and dislodged grime from your scrubbing. You may be surprised what comes loose. For best results, repeat the scrubbing process a second time to ensure the splash guard is completely free of its smelly biofilm coating.
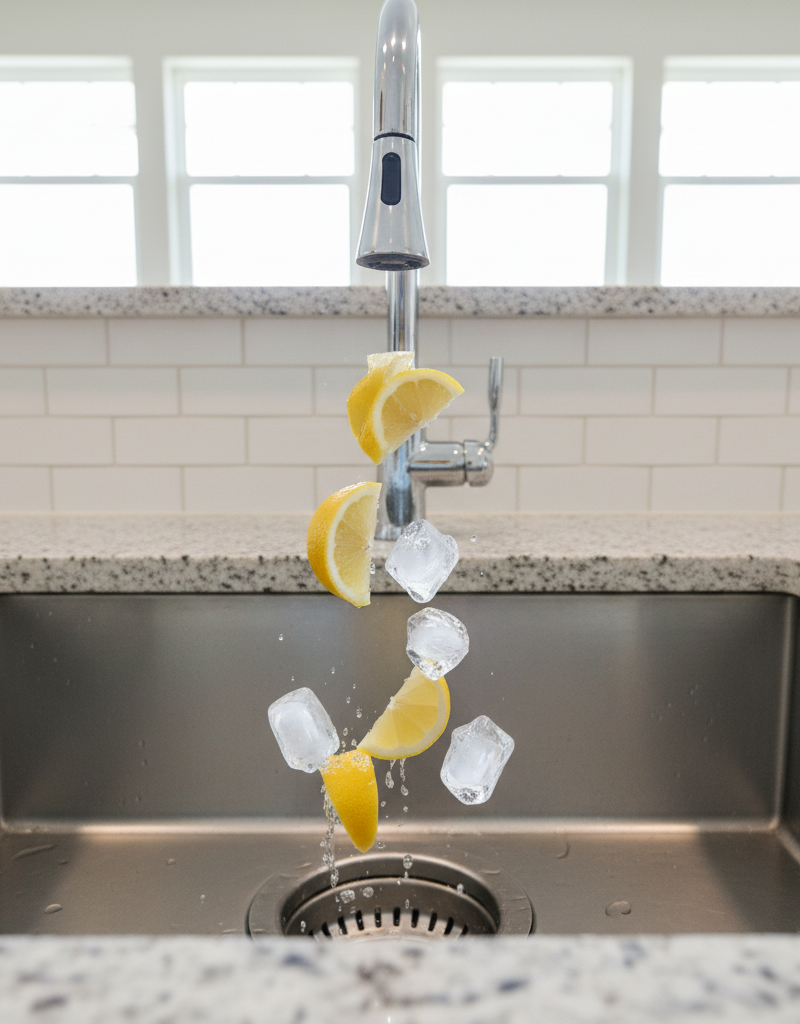
7. The Ice Cube Scour — This is the mechanical cleaning step. Fill the disposal chamber completely with ice cubes—at least 2 to 3 cups. The more ice, the more effective the scouring action. Don't be shy here; pack them in.
8. The Citrus Blast — On top of the ice, add about 1 cup of citrus peels. Lemon, lime, or orange peels all work wonderfully. For an extra abrasive and deodorizing punch, you can also add a tablespoon of coarse salt, like rock salt or kosher salt. The salt adds another layer of grit to the scrubbing process.
9. Grind and Flush — Turn on a steady stream of cold water. With the water running, turn on the garbage disposal. You will hear a significant amount of loud grinding and crunching—this is a good sign. This is the sound of the ice violently scrubbing the chamber walls and impeller lugs. Continue grinding until the noise subsides and you hear only the motor and the water, which indicates all the ice and peels have been pulverized. Let the cold water run for another 30 seconds to flush everything completely through the pipes.
Common Causes
- Insufficient Water Flow: Not using enough water during and after grinding is a primary cause of odors. Water is essential to liquefy food waste and carry it completely through the plumbing. Without it, a thick, sludge-like paste can form and stick to the chamber and pipes.
- Grinding the Wrong Foods: While disposals are robust, they are not invincible. Avoid grinding large quantities of starchy or fibrous materials like potato peels, banana peels, pasta, rice, and celery stalks. These can create a sticky, glue-like paste that clogs the system and feeds bacteria.
- Biofilm Buildup: This is the most common cause. Over time, a slimy layer composed of bacteria, grease, and microscopic food particles forms on all the internal surfaces of the disposal. This biofilm is the factory that produces the persistent foul odors.
- Trapped Debris in the P-Trap: Sometimes the smell isn’t from the disposal itself, but from decaying food trapped in the P-trap—the U-shaped pipe under the sink. If the disposal chamber is clean, this is the next place to look.
- Warm Water Rinsing: Using hot water when grinding food can be counterproductive. Hot water melts fats and greases, allowing them to coat the inside of your pipes. When the water cools further down the line, the grease solidifies, creating a sticky trap for other debris and a source of rancid smells.
Common Mistakes
- Using Harsh Chemicals: Pouring bleach or ammonia-based drain cleaners into your disposal is a dangerous mistake. These chemicals can damage the plastic and metal components of the unit and the seals, leading to leaks. Most critically, never mix bleach with ammonia or any other cleaner, as this can create toxic chloramine gas.
- Not Cleaning the Splash Guard: Ignoring the rubber baffle at the drain opening. This is one of the dirtiest parts of the entire sink, as it’s the first point of contact for all food and is constantly subject to splash-back, allowing gunk to accumulate on its underside.
- Overloading the Unit: Shoving too much food waste into the disposal at once. This prevents the impeller from getting up to speed and properly grinding the waste. It leads to incomplete grinding, larger food chunks being left behind, and potential clogs.
- Putting Your Hand in the Disposal: Never, under any circumstances, should you place your hand inside the grinding chamber, even when the unit is off. A faulty switch or accidental bump could cause serious injury. Use tongs or pliers to retrieve a dropped item.
- Grinding Non-Food Items: Attempting to grind bones, coffee grounds, eggshells in large amounts, or non-food items can lead to clogs and damage the unit. While ice is safe and effective for cleaning, other hard objects are not.
- "Forgetting" to Run It: Infrequent use allows any small bits of food left inside to sit and rot. It's better to run the disposal for a few seconds every day with cold water, even if you haven't put much down it, to keep the parts clear.
Cost & Time Breakdown
| Task | DIY Cost | Pro Cost | Time |
|---|---|---|---|
| Basic Cleaning (Baking Soda, Vinegar) | $1 - $3 | N/A | 45-75 minutes |
| Full Deep Clean (Ice, Citrus, Brush) | $5 - $15 (for a good brush) | $100 - $175 | 1.5 - 2 hours |
| Clearing a Clogged P-Trap | $2 - $5 (for a bucket) | $125 - $200 | 1 hour |
| Diagnosing & Fixing a Persistent Odor | $0 | $150 - $250+ | 2-3 hours |
| Replacing a Faulty/Leaking Disposal | $100 - $300 (unit cost) | $250 - $500 | 2-4 hours |
Tips & Prevention
- The Daily Flush: At the end of each day, run the disposal for 10 seconds with a strong flow of cold water. This simple habit helps clear out any small particles that may have collected.
- Grind in Stages: When you have a lot of food scraps, feed them into the disposal gradually with the cold water running, rather than stuffing the chamber full all at once.
- Harness the Power of Cold: Always use cold water when grinding food. Cold water keeps fats and greases solid, so they can be chopped up and flushed away. Hot water melts them, allowing them to coat and clog your pipes.
- Weekly Ice & Citrus Scrub: Make the ice-and-citrus treatment a weekly ritual. It takes less than two minutes and is the single most effective way to prevent biofilm from ever taking hold.
- Cut Scraps Small: Cut larger food scraps into smaller, more manageable pieces before putting them in the disposal. This helps the unit run more efficiently and ensures a more complete grind.
- Use It or Lose It: Run your disposal regularly. Even if you don't have scraps, turning it on with a stream of water for a few seconds prevents rust and corrosion and clears the line.
When to Call a Professional
While this deep cleaning process resolves most odor issues, there are times when a professional plumber is necessary. If you’ve thoroughly cleaned the disposal, scrubbed the splash guard, and flushed the P-trap, but a persistent sewer-like smell remains, you may have a bigger issue. This could indicate a problem with the drain line’s venting system or a significant clog deep within your home’s plumbing. If the disposal is leaking water from the bottom, it often means the internal seals have failed, and the entire unit needs to be replaced. Additionally, if the disposal hums but doesn't spin, or if it makes a loud, metallic, rattling noise, there may be a foreign object (like a piece of metal) jammed inside or the motor may have seized. Do not repeatedly try to run it in these cases. For any of these issues—persistent smells despite cleaning, leaks, humming without spinning, or severe mechanical noises—it's safest and most effective to call a licensed plumber.
Frequently asked questions
Can I use coffee grounds to clean my garbage disposal?+
It's a common myth, but it's not recommended. While coffee grounds can temporarily help deodorize, they don't get flushed away easily and can accumulate in your pipes, contributing to clogs over time. The ice method is far more effective for cleaning.
How often should I deep clean my garbage disposal?+
A full deep clean, including scrubbing the splash guard and using the baking soda and vinegar method, should be done every 1-2 months. The ice and citrus peel scouring method is gentle enough to be done weekly to prevent buildup.
Is it safe to use bleach to kill the smell in my garbage disposal?+
No, you should avoid using bleach. It can be corrosive to the metal and rubber parts of the disposal and can create dangerous toxic gas if mixed with other cleaners. Natural methods like baking soda, vinegar, ice, and citrus are safer and more effective.
What does it mean if my disposal just hums?+
A humming sound usually means the motor is getting power but the impeller plate is jammed. Turn off the power at the switch and breaker, then look for a foreign object. Many disposals have a small socket on the bottom where you can insert a hex wrench (often included with the unit) to manually turn the blades and free the jam.
Discussion
Loading comments…