Tools & materials you'll need
Affiliate linksAs an Amazon Associate FixlyGuide earns from qualifying purchases — at no extra cost to you. Prices and availability are accurate as of publication and subject to change.
Quick Answer
If your garbage disposal smells even after running it, it's likely due to stubborn food waste and bacterial slime clinging to the grinding chamber walls and blades. The popular citrus and ice trick works by using the abrasive action of ice to scrub the internal components while the citric acid from the peels helps to deodorize and break down grease. This combination effectively dislodges the decaying organic matter that water alone can't flush away, neutralizing the source of the foul odor.
The Problem
A phantom smell is haunting your kitchen. You've run the garbage disposal, flushed it with water, and even tossed in a few lemon peels, but a persistent, foul odor still wafts up from the sink drain. It’s a common and frustrating issue for homeowners. The smell, often a pungent mix of sour, decaying organic matter, suggests that simply running the disposal isn’t enough. The problem isn’t the appliance’s ability to grind; it’s the residue it leaves behind. Microscopic food particles, grease, and fats get flung against the walls of the grinding chamber, the underside of the rubber splash guard, and the impellers themselves. Over time, this film of organic matter becomes a breeding ground for bacteria, mold, and mildew. This biofilm is the true source of the stubborn stench. You can’t see it, but you can certainly smell it, especially in warmer weather which accelerates decomposition. The issue is compounded by the very design of the disposal; it’s a dark, moist environment, the perfect incubator for smelly microbial growth.
How It Works
The citrus-and-ice trick is more than just a folk remedy; it’s a surprisingly effective mechanical and chemical cleaning process. The magic lies in the combination of abrasion and deodorization. When you feed a handful of ice cubes into the disposal, they act as a powerful, yet safe, abrasive. As the impellers spin at roughly 1,725 RPM, they shatter the ice and sling the hard shards against every interior surface. This is a physical scouring action, much like using a scrub brush, that forcibly dislodges the caked-on food sludge and bacterial biofilm from the grinding chamber walls and the blades (or more accurately, the impellers). The ice effectively scrapes the surfaces clean in a way that water alone cannot.
Simultaneously, the citrus peels (lemon, lime, or orange) release citric acid and essential oils as they are pulverized. The citric acid is a natural cleaning agent that helps to break down grease and other organic materials, weakening their grip on the disposal’s surfaces. The oils are powerful natural deodorizers that neutralize the foul smells produced by the bacteria, replacing them with a fresh, clean scent. The cold from the ice also helps to solidify any greasy or oily buildup, making it easier for the ice shards to break it up and for the entire slurry to be flushed away down the drain. It’s a one-two punch: the ice provides the brawn, and the citrus provides the chemical and olfactory finesse.
Step-by-Step Fix
1. Disconnect Power — Before doing any work, ensure the garbage disposal is turned off at the wall switch. For absolute safety, unplug the unit from the outlet under the sink or turn off the corresponding breaker in your home's electrical panel. Never put your hands or any object into the disposal unless you are 100% certain the power is disconnected.
2. Initial Flush — Run a strong stream of cold water into the sink for about 30 seconds. This helps to loosen any fresh debris and wet the interior surfaces, preparing them for the deep clean.
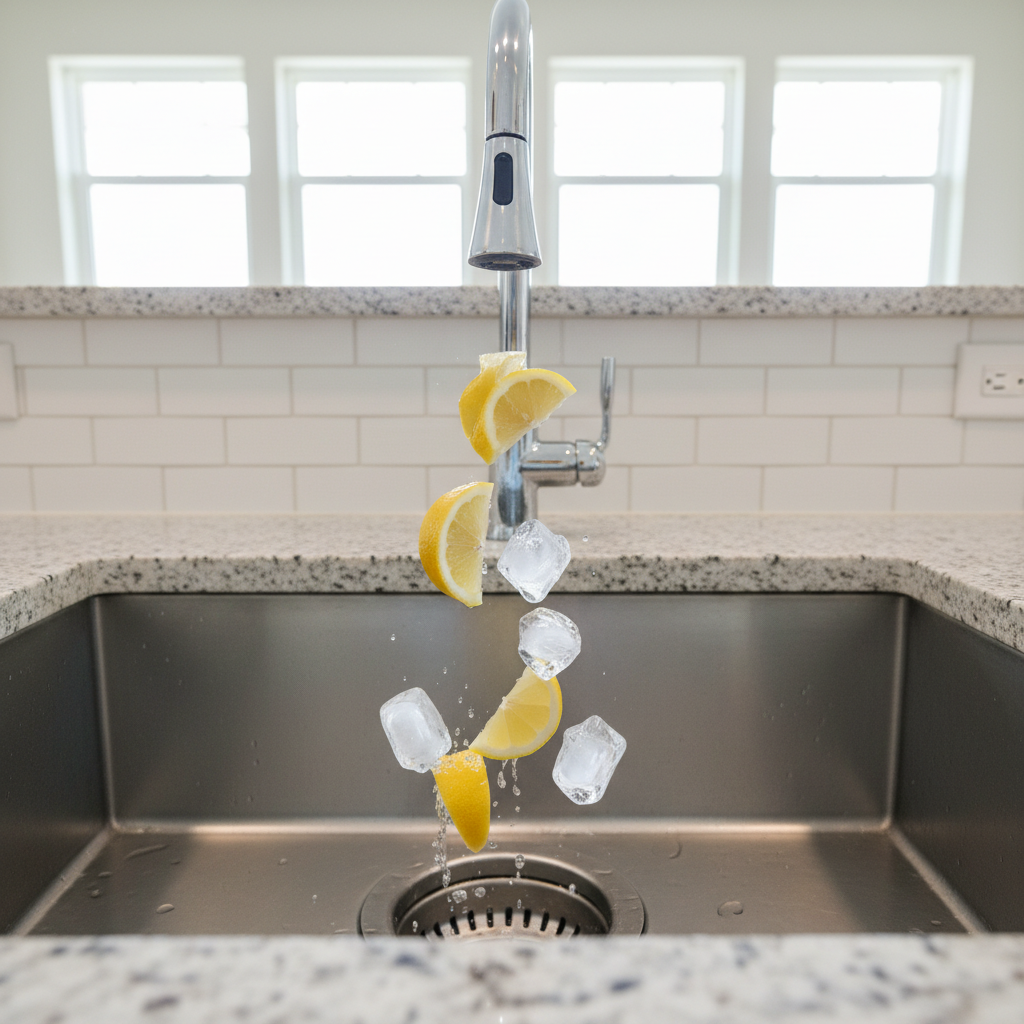
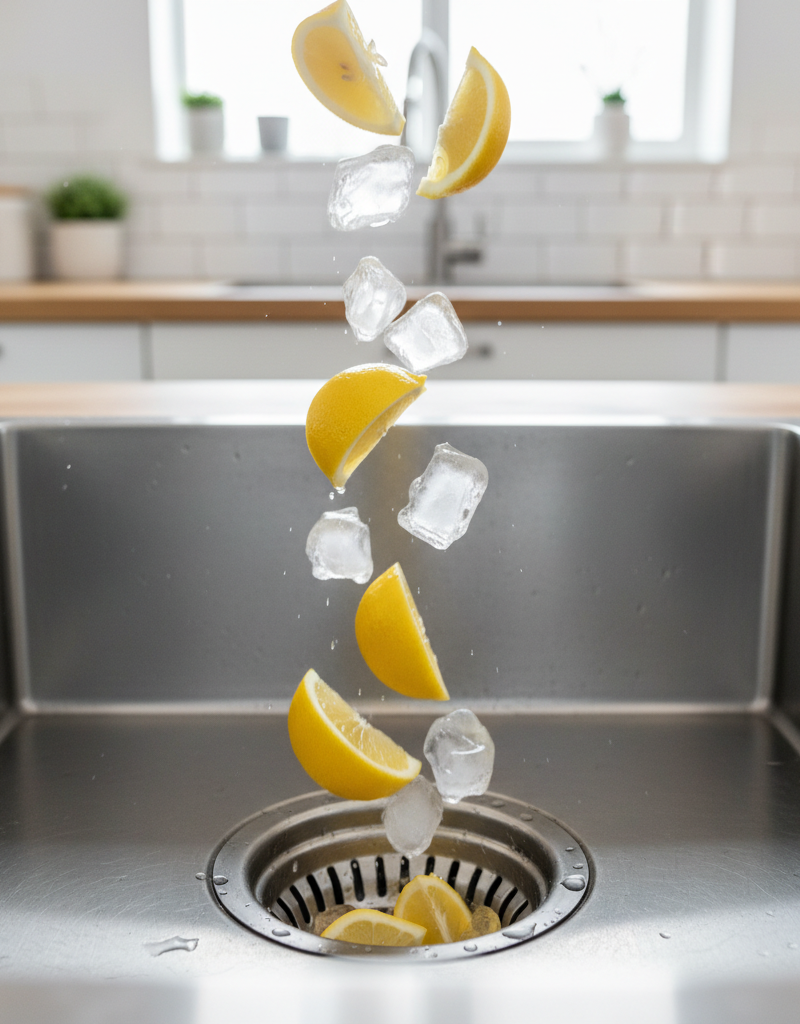
3. Prepare the Ice and Citrus — Gather two to three cups of ice cubes and the peels from one or two lemons or other citrus fruits. The hardness of the ice is key, so use solid cubes, not crushed ice. Cut the peels into one-inch pieces to ensure they are easily processed by the disposal.
4. Add Ice and Citrus — With the cold water still running at a moderate flow, turn the disposal on. Carefully push the ice cubes and citrus peels into the disposal. The combination of running water and the grinding of the ice-citrus mixture will create a powerful cleaning slurry.
5. Listen to the Grind — Let the disposal run until you no longer hear the sound of ice being crushed. This typically takes 30-60 seconds. The noise will be loud and powerful; this is the sound of the ice doing its job scouring the grinding chamber.
6. Thoroughly Flush Again — Once the grinding noise stops, continue to run the cold water for another 60 seconds. This is a critical step to ensure all the dislodged gunk, ice fragments, and pulverized peels are completely flushed out of the disposal and down the main drain line, preventing a new clog.
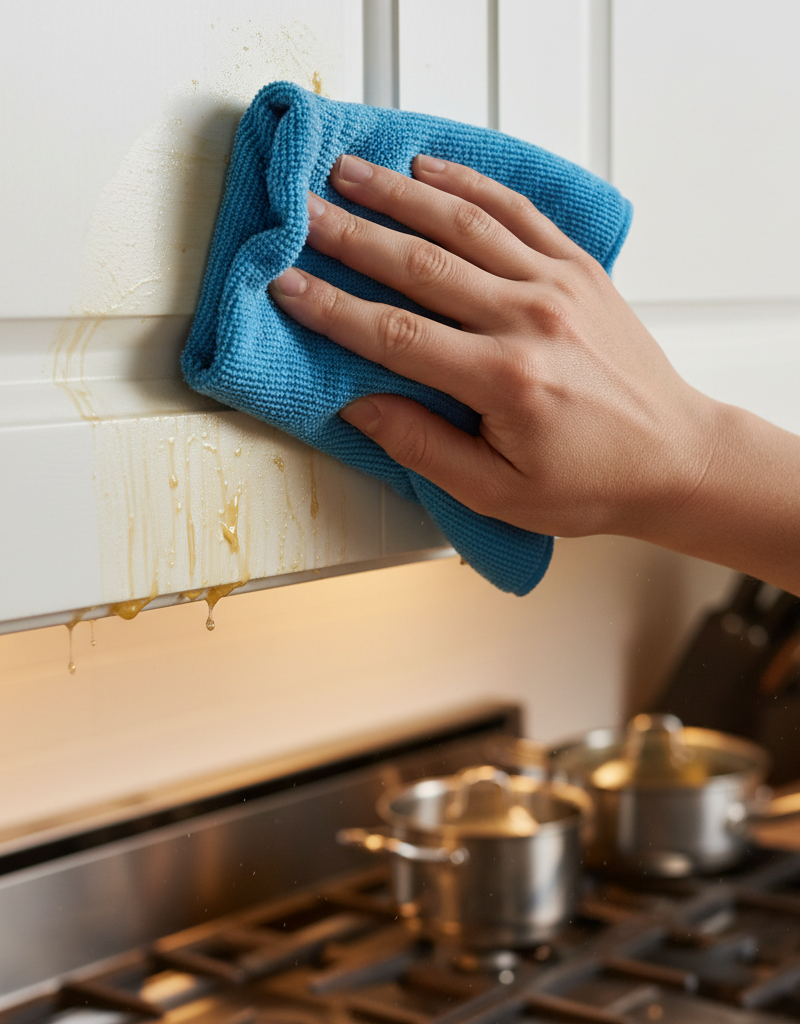
7. Clean the Splash Guard — Turn off the power again. The underside of the rubber splash guard (the baffle) is a primary culprit for odors. Put on a pair of cleaning gloves. Use a long-handled scrub brush and a solution of dish soap and water or a vinegar-baking soda paste to thoroughly scrub the underside of each rubber flange. You will likely be surprised by the amount of black sludge that comes off.
8. Baking Soda and Vinegar Fizz — For a final deodorizing treatment, turn the power back on. Pour about a half-cup of baking soda into the disposal, followed by one cup of white vinegar. The mixture will immediately begin to fizz and bubble. Let it sit for 10-15 minutes to break down any remaining fatty acids and neutralize odors.
9. Final Hot Water Flush — After the fizzing subsides, plug the sink and fill it with two to three inches of very hot water. Add a squirt of dish soap. Unplug the sink and turn on the disposal simultaneously. This powerful flush of hot, soapy water will carry away any residue from the baking soda and vinegar and help dissolve any remaining grease.
10. Air It Out — Leave the sink clear and allow the disposal to air dry. The improved smell should be immediately noticeable. Running the disposal for a few seconds every so often when it’s not in use can help keep the chamber dry.
Common Causes
- Insufficient Water Flushing: Not using enough water during and after grinding is the most common cause. A weak flow won't create enough force to carry all the pulverized food particles down the drain, leaving them to decay.
- Grinding Starchy and Fibrous Foods: Foods like potato peels, banana peels, pasta, and rice swell with water and can form a thick, sludge-like paste that clings to the disposal’s interior.
- Grease and Oil Buildup: Pouring fats, oils, and grease down the drain is a cardinal sin of plumbing. These liquids solidify on the cool metal surfaces of the disposal and pipes, trapping food particles and creating a rancid-smelling coating.
- Infrequent Use: If a disposal isn't used regularly, any small particles left inside have more time to decompose and breed bacteria. Regular use keeps the chamber cleaner.
- Neglecting the Splash Guard: The flexible rubber baffle at the sink opening is a prime location for slime and mold to accumulate on its underside, as it's rarely cleaned.
Common Mistakes
- Using Hot Water During Grinding: While it seems logical to use hot water to melt grease, it actually liquefies it, allowing it to spread and coat the inside of your pipes further down the line where it will then solidify and cause clogs. Always use cold water when grinding.
- Putting Your Hand in the Disposal: Never, under any circumstances, put your hand into the grinding chamber, even if you think the power is off. Use tongs or pliers to retrieve a foreign object after confirming the power is disconnected at the breaker.
- Overloading the Unit: Forcing too much food waste into the disposal at once can jam the motor and prevent it from grinding effectively, leaving large pieces of food to rot.
- Using Harsh Chemical Drain Cleaners: Caustic chemicals can damage the plastic and metal components of your garbage disposal and are harmful to the environment. They can also be dangerous if they splash back.
- Ignoring a Jam: If the disposal hums but doesn't spin, it's jammed. Don't keep running the motor as this can burn it out. Unjam it using the Allen wrench that came with the unit (or a standard 1/4-inch Allen wrench) from the bottom.
- Grinding Non-Food Items: Disposals are only for biodegradable food waste. Bones, coffee grounds (in large amounts), eggshells (contrary to popular belief, they don't sharpen blades), and non-food items can damage the unit or cause clogs.
Cost & Time Breakdown
| Task | DIY Cost | Pro Cost | Time |
|---|---|---|---|
| Deep Cleaning (Ice & Citrus) | $2 - $5 | N/A | 15-20 minutes |
| Cleaning the Splash Guard | $0 - $7 (for a brush) | N/A | 5 minutes |
| Unjamming a Disposal | $0 | $100 - $175 | 10 minutes |
| Replacing the Splash Guard | $10 - $25 | $125 - $200 | 20-30 minutes |
| Repairing a Minor Leak | $5 - $15 | $150 - $250 | 1-2 hours |
| Complete Disposal Replacement | $150 - $400 (for unit + putty) | $350 - $650 | 2-4 hours |
Tips & Prevention
- Grind in Batches: Don't overload the disposal. Feed food waste in small batches with a steady flow of cold water.
- The 30-Second Rule: After the grinding sound stops, continue running cold water for at least 30 seconds to ensure everything is flushed completely down the main sewer line.
- Weekly Ice Treatment: You don't need to wait for a bad smell. Once a week, grind a tray of ice cubes to keep the grinding chamber scoured and free of buildup.
- Use Citrus Peels Regularly: After squeezing a lemon for a recipe, toss the peels into the disposal. This provides regular, low-level deodorizing.
- Cut Up Large Items: Cut large or tough food scraps into smaller pieces before feeding them into the disposal to help the unit work more efficiently and prevent jams.
- Run It Regularly: Even if you don't have food to grind, briefly run the disposal with cold water every few days to prevent rusting and keep parts moving freely.
When to Call a Professional
While most odors and minor jams are easy DIY fixes, certain situations warrant a call to a qualified plumber. If you've performed a thorough cleaning and the smell persists, there could be a deeper issue, such as a clog in the P-trap or drain line beyond the disposal unit itself. A professional has the tools, like a drain auger, to clear these more stubborn blockages safely. If your disposal is leaking, it’s often best to call a pro. Leaks can originate from several places—the sink flange, the dishwasher connection, or the discharge pipe—and a plumber can correctly diagnose the source and replace the faulty gasket or seal. Persistent humming or jamming, especially in an older unit, often signals that the motor is failing. Finally, if you hear excessive or unusual metallic noises, it could mean a foreign object is stuck or internal components are broken. In these cases, attempting a DIY fix could cause more damage. For any electrical issues or if you're uncomfortable with the replacement process, a professional ensures the job is done safely and correctly, preventing leaks and electrical hazards.
Frequently asked questions
How often should I clean my garbage disposal?+
A quick daily flush with cold water is recommended. For a deep clean using the ice and citrus method, aim for once every 1-2 weeks to prevent odor buildup. If you use your disposal heavily, a weekly cleaning is ideal.
Can I use coffee grounds to clean my disposal?+
Contrary to popular belief, coffee grounds are not good for your disposal or pipes. While they have a strong, pleasant smell, they don't get flushed easily and can accumulate in pipes, contributing to clogs. It's best to compost or throw them away.
Are eggshells good for sharpening disposal blades?+
This is a common myth. Garbage disposals don't have blades; they have impellers that are blunt. The membrane of the eggshell can stick to the grinding chamber, and the ground shells act like sand, potentially accumulating in pipes and causing clogs rather than cleaning.
What should I do if my garbage disposal is humming but not running?+
A humming sound usually indicates a jam. Turn off the power at the switch and the breaker. Look for a small hexagonal hole on the very bottom of the unit. Insert the small wrench that came with the disposal (or a 1/4" Allen wrench) and turn it back and forth to manually dislodge the jam. Then, press the red reset button, also usually on the bottom of the unit.

Discussion
Loading comments…