- The refrigerator doesn't work.
- There's water under the kitchen sink.
- The garage door won't open.
- The seller removed something you expected to remain.
- An agreed repair doesn't appear finished.
General remodeling · Renovation planning
| Project category | General remodeling |
|---|---|
| Problem type | Renovation planning |
| Trade required | General contracting |
| Urgency | Planned project |
| Safety risk | Low safety risk |
| DIY suitability | Pro recommended |
| Cost category | Major investment |
| Typical timeline | Design and permitting often 2–4 months before work starts |
| Contractor type | General contractor |
Repair option
Phase the work and fix the building envelope first.
Replacement option
Full renovation with permits, design, and a general contractor.
Common causes
- Space no longer fits how the household lives
- Resale preparation
- Deferred maintenance stacking up
Relevant tools:project cost estimatorcompare quoteshome improvement material prices
Published August 28, 2026Last updated August 28, 2026
Tools & materials you'll need
Affiliate linksNo materials required.
As an Amazon Associate FixlyGuide earns from qualifying purchases — at no extra cost to you. Prices and availability are accurate as of publication and subject to change.
Quick Answer
The final walkthrough isn't a formality — it's your last chance to confirm the home's condition matches what you agreed to buy. Bring your inspection report, test plumbing (faucets, sinks, toilets, showers), HVAC, lights, accessible outlets and included appliances, verify agreed repairs were actually completed, confirm included items are still present, walk the exterior, and photograph anything new. If something's wrong, document it and contact your real-estate professional before closing — not after.
You've Made the Offer. Now Don't Rush the Last Step.
You've made the offer.
Negotiated the price.
Completed inspections.
Signed what feels like 4,000 documents.
Closing day is almost here.
Then comes something buyers sometimes treat like a formality:
The final walkthrough.
You walk through the house. Kitchen looks good. Bedrooms are empty. Seller is gone. You take a couple of pictures.
Ten minutes later: "Looks good!"
Not so fast.
Your final walkthrough isn't the time to admire where the couch is going. It's your opportunity to look at the property again shortly before closing and determine whether its condition is consistent with what you're expecting under your transaction.
Because you don't want your first night as a homeowner to include discovering:
- The refrigerator doesn't work.
- There's water under the kitchen sink.
- The garage door won't open.
- The seller removed something you expected to remain.
- An agreed repair doesn't appear finished.
- Or my personal favorite: "Was that giant hole in the wall there before?"
Here's what I'd check.
Important: Real-estate contracts, walkthrough rights and remedies vary. This checklist is general homeowner guidance, not a substitute for your purchase agreement, real-estate professional, inspector, attorney or other appropriate professional.
First: Understand What the Final Walkthrough ISN'T
The final walkthrough generally isn't intended to replace your home inspection. A professional inspection occurs earlier for a reason.
You're not trying to become a structural engineer, electrician, plumber, HVAC technician, roofer and foundation specialist — all in 45 minutes.
Instead, you're looking for things such as:
- Has the property's condition materially changed?
- Are agreed-upon items still present?
- Were agreed repairs apparently completed?
- Are major systems and fixtures behaving as expected?
- Did anything happen after the inspection?
That's a much more manageable mission.
1. Bring Your Inspection Report
Don't rely on memory.
If your inspection identified a leak beneath the bathroom sink and the seller agreed to address it... guess where you're going? Under the bathroom sink.
Bring documentation relating to agreed repairs or concessions so you know what you're checking.
2. Bring Your Phone Charger
Seriously. This is one of the simplest tools you can carry.
You can use it to test accessible standard outlets where appropriate. Plug it in. Does the phone charge? Move to another.
This doesn't replace professional electrical testing, and it won't tell you whether the wiring behind the wall is correct. But it can identify obvious non-functioning receptacles.
3. Turn On the Faucets
Don't just admire the countertops. Run water.
Check kitchen, bathrooms, utility sinks and other accessible fixtures. Look underneath while the water is running.
You're watching for drips, leaks, unexpectedly poor drainage, unusual behavior — water where water shouldn't be.
4. Fill the Sinks
Here's a better plumbing check. Put the stopper in. Add some water. Then drain it. Look underneath.
Sometimes a drain connection only reveals a problem when a larger amount of water passes through it.
Again, you're not performing a plumbing inspection. You're looking for obvious changes or problems.
5. Flush Every Toilet
Yes. Every one.
Don't assume because the house passed inspection weeks ago that nothing could have changed.
Flush. Watch. Listen. Does it continue running? Does water appear around the fixture? Does the toilet move unexpectedly?
One flush takes seconds.
6. Check Around Toilets
Look at the floor. Look for discoloration, moisture, swelling and movement.
If a toilet rocks significantly, note it. Don't repeatedly tighten random bolts during somebody else's final walkthrough. Document the concern.
7. Run the Shower
Turn it on. Let it run. Check water flow, drainage, visible leakage around the enclosure, and hot and cold operation. If there's a bathtub, operate it as appropriate too.
8. Look at the Ceilings Again
This one is important.
Your inspection happened three weeks ago. What happened since then? Maybe a major storm, a plumbing leak, HVAC condensation, another event.
Look for new stains, new discoloration, sagging and recent-looking patches. If you see something that wasn't documented before, photograph it.
9. Open the Cabinets Under Every Sink
Do this while plumbing fixtures are running. Use your phone flashlight.
Look for moisture, dripping, stains, swelling, buckets and fresh towels.
A bucket underneath plumbing deserves a question.
10. Test the HVAC
Depending on weather, system design and professional guidance, verify the HVAC appears to operate as expected.
Don't abuse equipment by rapidly switching between heating and cooling modes. But confirm the system you're expecting to receive isn't obviously nonfunctional. Listen for unusual behavior.
And remember: "It turns on" isn't the same thing as a complete HVAC evaluation. That's why inspections matter.
11. Check the Thermostat
Simple. Is it there? Does it appear powered? Does it communicate with the system as expected?
If the home had a specific smart thermostat that was supposed to remain, verify that too.
12. Turn On Lights and Fans
Walk room by room. Lights. Ceiling fans. Bathroom exhaust fans. Built-in lighting. Exterior fixtures where appropriate.
Again: you're looking for obvious changes.
13. Test Included Appliances
Your contract determines what stays. If appliances are included, operate them appropriately.
Examples may include the refrigerator, dishwasher, range, oven, microwave, garbage disposal, and washer/dryer if included.
Don't just confirm they're physically sitting there. Confirm the included items appear to function.
14. Open Every Window You Reasonably Can
Windows can reveal surprises. Check whether they open, close, lock, stay in position and have obvious new damage.
You don't need to dismantle anything. But a window that worked during inspection and is now cracked deserves attention.
15. Open and Close Exterior Doors
Front door. Back door. Patio door. Other exterior doors.
Check operation, locks, visible damage, broken glass and major changes. Don't immediately assume every sticky door indicates a structural problem. But document anything significantly different.
16. Test the Garage Door
If the property has one: open it, close it, and verify agreed remotes or controls are present.
Don't interfere with safety systems or intentionally create hazardous conditions to "test" them yourself. A professional inspector may have evaluated those components earlier.
17. Look Inside the Garage
Garages become seller storage zones during moving. By final walkthrough: what remains?
If the property was supposed to be emptied according to your agreement, check it. Old paint. Furniture. Construction debris. Trash. Chemicals. Random lumber.
You don't necessarily want to inherit somebody else's disposal project.
18. Check the Attic Only If It Can Be Done Safely
This is not "climb across ceiling joists in your dress shoes before closing."
If there's a safely accessible attic area and you're comfortable viewing it from an appropriate location, look for obvious changes such as new water intrusion. But don't risk injury. Your professional inspection should have handled detailed attic evaluation.
19. Look at the Floors
Now that furniture is gone, you may see things that were previously covered.
Look for unexpected damage, large stains, missing flooring, significant new scratches and areas previously hidden by rugs.
This doesn't necessarily mean you have a contractual remedy. It means: notice and document before closing.
20. Look Behind Where Large Furniture Used to Be
That giant entertainment center is gone. What's behind it?
Maybe a perfect wall. Maybe large damage. Maybe moisture staining. Maybe an unfinished patch.
Furniture can conceal things simply because that's where furniture sits. An empty house gives you a different view.
21. Check Agreed Repairs Individually
This deserves more than "Seller said everything was done."
Create a list:
- Repair #1: Bathroom leak. Check it.
- Repair #2: Damaged window. Check it.
- Repair #3: Electrical correction. Review documentation and observable condition as appropriate.
- Repair #4: HVAC service. Review any agreed documentation.
If a repair requires expertise to verify, consider whether your inspector or an appropriate professional should re-evaluate it. Don't pretend you can verify technical work you don't understand.
22. Look Outside Again
Walk the property. Look for obvious changes involving roof areas visible safely from the ground, siding, windows, fences, decks, trees, drainage and exterior equipment.
Why? Because things happen between inspection and closing. Storms don't care about your closing date.
23. Check for Items You Expected to Stay
This can become a surprisingly emotional closing-day argument.
You loved the dining-room chandelier. Now it's gone.
Whether an item should remain depends on the agreement and applicable real-estate rules. Don't guess. Review your contract and transaction documents.
Examples worth verifying when applicable: light fixtures, window treatments, appliances, mounted equipment, garage remotes and other specifically included items.
24. Look for Items That Should Have LEFT
The opposite problem. Seller moved out but left a broken refrigerator in the garage, old mattresses, paint cans, a pile of bricks, construction debris, half a shed full of junk.
If possession/condition requirements are addressed by your agreement, confirm the property meets them.
Don't assume "we'll figure it out after closing." If it matters, address it through the appropriate people before closing.
25. Take Pictures
Before leaving, document the home's condition — particularly agreed repairs, new concerns, included items and areas where questions exist.
Don't photograph simply to start a fight. Photograph so everyone can discuss the same thing.
Instead of "There was a stain," you have a dated photograph of the stain. Documentation makes conversations easier.
🚨 What If You Find a Problem?
Here's where buyers can make a mistake. They find something, panic, then declare: "WE'RE NOT CLOSING!"
Slow down.
The appropriate response depends on your contract, the nature of the problem, agreed repairs, timing, local law and transaction circumstances.
Contact your real-estate agent, attorney or other appropriate transaction professional promptly. Possible situations may be handled very differently. A missing garage remote isn't the same as major new water damage. Context matters.
Don't Let Excitement Rush You
This is hard. Your closing appointment is in two hours. You've already imagined where the couch goes, where the kids sleep, where the grill sits. You want the keys.
That's exactly why you need a checklist.
Emotion says: LET'S GO! Checklist says: "We haven't tested the upstairs bathroom yet."
Listen to the checklist.
The 30-Minute Final Walkthrough Strategy
If time permits, divide the house into systems:
| Pass | What you check |
|---|---|
| First: Water | Faucets, sinks, toilets, showers, visible drains, leaks |
| Second: Electrical / Mechanical | Lights, fans, HVAC, thermostat, accessible outlets, included appliances |
| Third: Building | Ceilings, walls, floors, windows, doors |
| Fourth: Agreement | Repairs, included items, removed items, cleanliness/condition expectations |
| Fifth: Exterior | Roof from ground, siding, deck, fence, drainage, exterior equipment |
Now you're not wandering around randomly.
The Biggest Final Walkthrough Mistake
I'd argue it's this: assuming the inspection means you don't need to look again.
Your inspection showed you the house then. Your final walkthrough shows you the house now. Those can be weeks apart. Things happen.
The final walkthrough gives you another opportunity to observe the property before the transaction is completed. Use it.
What NOT to Do During the Walkthrough
- ❌ Start repairing things yourself.
- ❌ Dismantle electrical equipment.
- ❌ Climb onto the roof.
- ❌ Damage the property while "testing" something.
- ❌ Assume every imperfection is a deal-breaking defect.
- ❌ Ignore something important because closing is only an hour away.
- ❌ Rely entirely on memory.
And don't turn your final walkthrough into a second DIY home inspection. Use the professionals involved in your transaction when expertise is required.
BONUS: Ask Where These 7 Things Are
If you don't already know, learn the locations of:
- Main water shutoff
- Electrical panel
- HVAC filter
- Thermostat
- Water heater
- Exterior hose connections
- Relevant utility/emergency shutoffs appropriate to the home
Knowing where critical equipment is located becomes extremely useful after the house becomes yours. Especially the first time something leaks.
Your First 24 Hours as a Homeowner
Once you receive the keys, consider handling basic security and safety items appropriate to the property. Depending on the home, that may include:
- Changing/rekeying exterior locks
- Updating garage/access codes
- Confirming smoke alarms
- Confirming carbon monoxide alarms where appropriate
- Locating fire extinguishers
- Locating shutoffs
- Reviewing HVAC filters
- Saving contractor/service records
- Creating a home-maintenance folder
Don't spend Day 1 worrying about paint colors while you still don't know where the water shutoff is.
Start a Home File
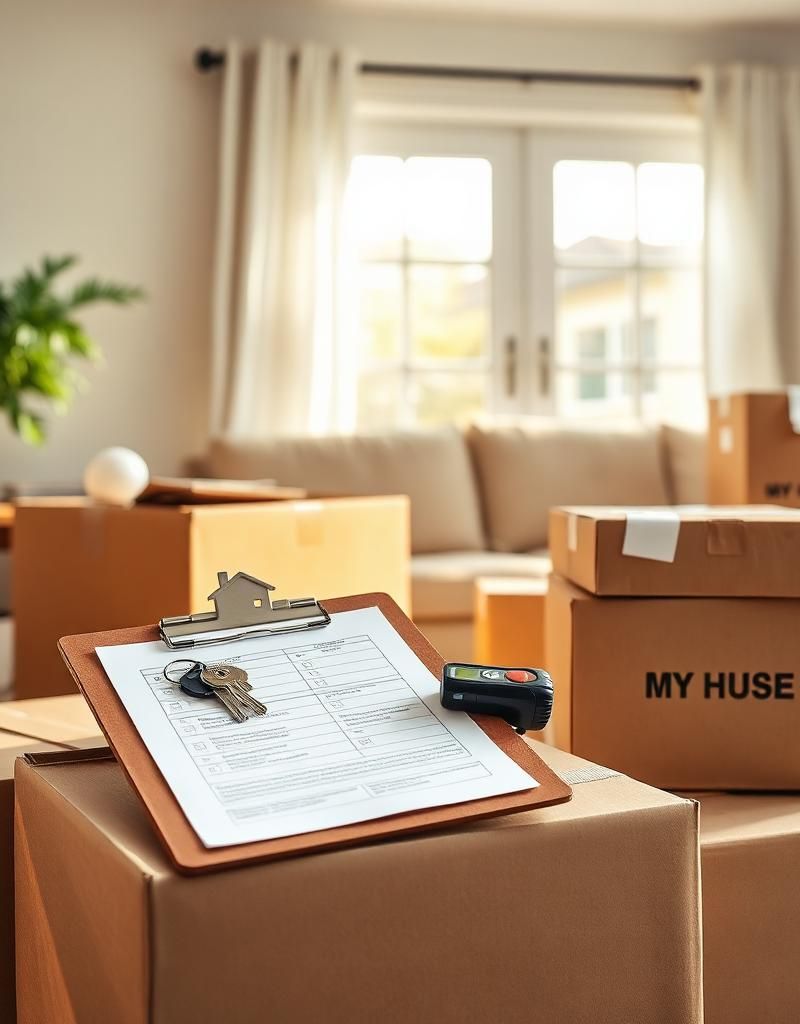
This is one of my favorite homeowner habits. Create a folder — "MY HOUSE" — and save your inspection report, closing documents, surveys, warranties, appliance manuals, contractor invoices, repair receipts, paint information, roof records, HVAC records, photos and permits where applicable.
Over ten years, this becomes incredibly useful. And when you eventually sell? Future-you will be glad you did it.
The Fixly Guide Final Walkthrough Checklist
Save this before closing:
- ☐ Inspection report available
- ☐ Agreed repairs reviewed
- ☐ Faucets tested
- ☐ Sinks drained
- ☐ Under-sink areas checked
- ☐ Toilets flushed
- ☐ Showers/tubs checked
- ☐ Ceilings checked
- ☐ Lights/fans checked
- ☐ HVAC operation observed
- ☐ Thermostat checked
- ☐ Included appliances checked
- ☐ Windows checked
- ☐ Exterior doors checked
- ☐ Garage door checked
- ☐ Floors checked
- ☐ Empty-room walls checked
- ☐ Garage checked
- ☐ Exterior visually reviewed
- ☐ Included items present
- ☐ Seller belongings/debris addressed as applicable
- ☐ New damage documented
- ☐ Photos taken
- ☐ Important shutoffs located
- ☐ Questions raised BEFORE closing
Screenshot that.
Final Thought
You're about to spend $250,000. $400,000. Maybe $700,000+ on a house.
Don't spend the final walkthrough deciding where your television goes. Spend it looking at the house you're actually about to buy.
Run the water. Flush the toilets. Look under the sinks. Check the ceilings. Test what's appropriate. Review the repairs. Walk outside. Take pictures. Ask questions.
And if something doesn't look right: speak up before you get the keys — not after.
You don't need to be a contractor. You don't need to understand every system. You simply need to pay attention.
Because once that house becomes yours... so do the problems that come with owning it.
🏠 Your Turn
Buying a home — or already finding projects in the one you just bought?
Fixly Guide helps homeowners understand repairs, maintenance, project costs and when it's time to bring in a professional. Follow Fixly Guide for practical homeowner tips, contractor advice, maintenance checklists, repair warning signs and information that can help you take better care of your home.
Know someone buying a house? Send them this checklist before their final walkthrough.
Your seasonal maintenance checklist
The small jobs that prevent the expensive repairs. Tick them off — progress saves on this device.
Free, no signup. Skip anything that requires roof access or working near live electrical.
What should this project cost?
Enter your project details for a realistic cost range before you call anyone.
Cost depends heavily on which system turns out to be the source.
- Regional adjustment
- National average
- Labor share (typical)
- ~$1,620
- Quotes to collect
- 3 written estimates
Educational estimate based on national averages — not a binding quote. Always confirm with written local estimates.
Stay ahead of the next repair
Turn this guide into a schedule you will actually follow.
- Is this a safe DIY job?Check permits, tools, and risk before you start the steps below.Open
- Estimate this projectGet a cost range for your scope and ZIP before you call anyone.Open
Free, no signup required. Estimates are educational guidance, not a quote or an inspection.
Recommended for DIYers & woodworkers
Sponsored
The Top 20 Tools for Workshops of Any Budget
No stationary machines or power tools required — plus 3 fundamental tools that can't be bought at any price.
Get the free guide
Ted's Woodworking — The #1 Woodworking Resource
Detailed instructions, dimensioned drawings, materials & cutting lists, and 3D schematics for every skill level.
See the plansSponsored: links above are affiliate links. FixlyGuide may earn a commission on qualifying purchases — at no extra cost to you.
Frequently asked questions
What should I check during a final walkthrough?+
Focus on the property's current condition, agreed repairs, included items and obvious operation of accessible fixtures, appliances and systems. Your purchase agreement and real-estate professionals should guide transaction-specific issues.
Is the final walkthrough another home inspection?+
Generally, it serves a different purpose. A professional inspection is a more detailed evaluation, while the final walkthrough lets buyers observe the property's condition closer to closing.
Should I test faucets during the final walkthrough?+
Checking accessible plumbing fixtures can help identify obvious changes such as leaks or drainage issues. If a technical concern appears, seek appropriate professional guidance.
What if I find damage during the final walkthrough?+
Document it and contact your real-estate professional or attorney as appropriate before closing. Your options depend on the contract, type of problem and local requirements.
Should I take pictures during the final walkthrough?+
Documenting significant concerns, agreed repairs and property condition can be useful if questions arise.

Discussion
Loading comments…