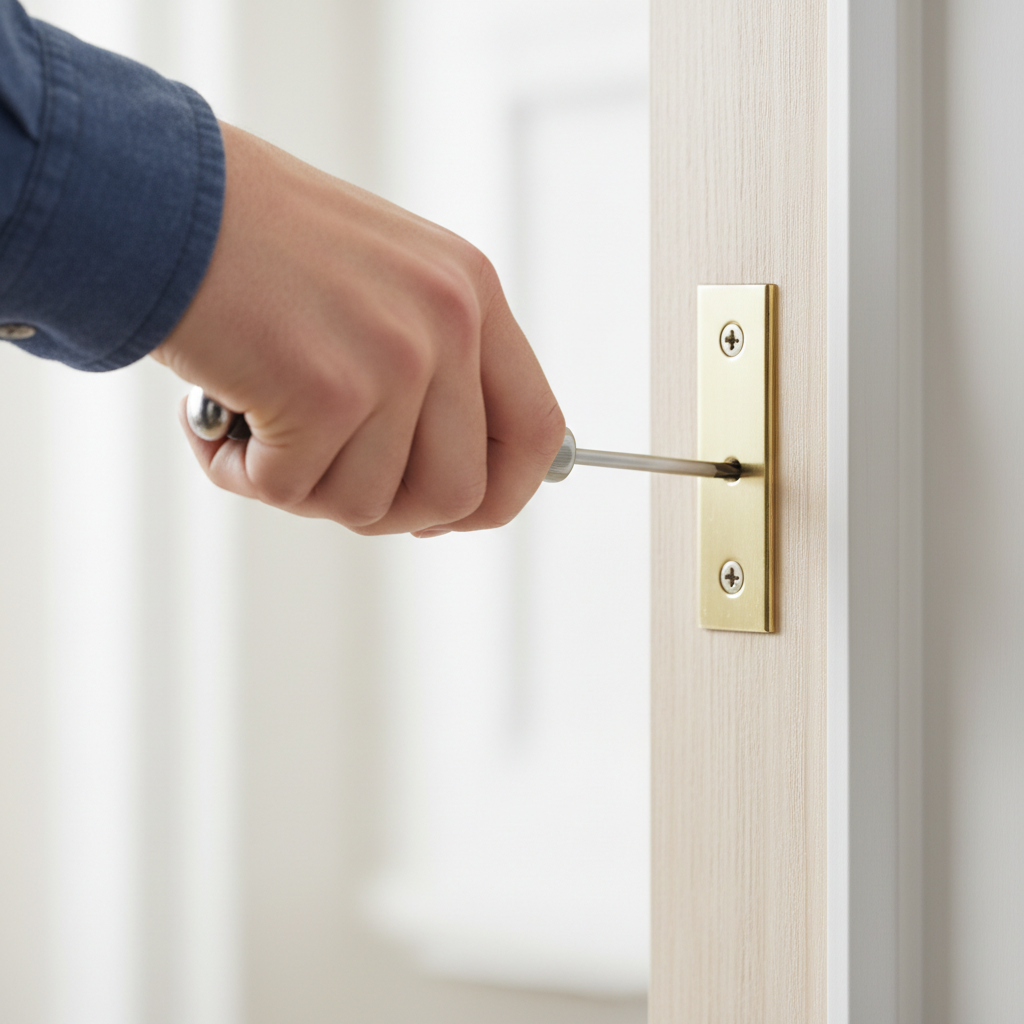
- Tools: Phillips head screwdriver (manual or powered), flashlight
- Safety: Always work carefully to avoid slipping and scratching the door or frame.
- If this doesn't work: If all screws are tight and hinges appear undamaged, proceed to Step 2.
Published May 23, 2026Last updated August 17, 2026
Tools & materials you'll need
Affiliate linksAs an Amazon Associate FixlyGuide earns from qualifying purchases — at no extra cost to you. Prices and availability are accurate as of publication and subject to change.
Quick Answer
Is your door dragging, sticking, or failing to latch? Don't assume you need a new door. Often, a sagging door is a simple consequence of loose hinge screws, stripped screw holes in the door frame, or even a subtle shift in the door's alignment. Most of these common problems can be quickly and effectively remedied with basic tools and a bit of homeowner know-how, usually within an hour and with minimal cost. Identifying the exact cause is key to applying the right fix and restoring your door to smooth, silent operation.
The Problem
Few things are more aggravating than a door that refuses to cooperate. Perhaps it scrapes across your beautiful hardwood floors, leaving an unsightly gouge with every swing. Maybe it snags and sticks at the top corner of the frame, demanding a shoulder shove to close. Or worst of all, it might stubbornly refuse to latch shut, compromising privacy and security. These are classic symptoms of a sagging door, and they're more than just minor inconveniences. A door that doesn't close properly can lead to increased energy bills as conditioned air escapes, accelerate wear and tear on both the door and its frame, and even create a fire hazard if it blocks an egress point. Ignoring the issue won't make it disappear; in fact, it will almost certainly worsen over time, potentially leading to more extensive and costly repairs.
How It Works
To understand why a door sags, it helps to visualize how it's designed to function. A typical interior or exterior door is suspended by two or three hinges, each secured to both the door slab and the door frame with screws. These hinges act as pivot points, holding the door's considerable weight (often 40-80 pounds for an interior door, significantly more for an exterior one) and allowing it to swing smoothly within the rectangular opening of the door frame. The door frame itself—comprising the hinge jamb, latch jamb, and head jamb—is built into the rough opening of your wall. For proper operation, the door must maintain a consistent, small gap (typically 1/8 inch to 3/16 inch) around its entire perimeter. This allows the door to swing freely without making contact with the frame.
When a door sags, this delicate balance is disrupted. The primary culprits are usually found at the hinges. Over time, the constant stress of the door's weight, coupled with repeated opening and closing, can cause the screws securing the hinges to loosen. As screws back out, the hinges can shift, allowing the door to drop slightly. If screws are overtightened or the wood quality is poor, the screw holes themselves can become stripped, meaning the threads no longer hold effectively. In exterior doors, changes in humidity cause the wood to expand and contract, which can also contribute to hinge loosening. Even a slight drop of an eighth-inch at the hinge side can translate to a noticeable drag or bind at the latch side, especially at the bottom corner, due to the leverage created by the door's size. Addressing these hinge-related issues is almost always the first and most effective step in correcting a sagging door.
Step-by-Step Fix
Here's how to diagnose and fix a sagging door, tackling the most common causes first.
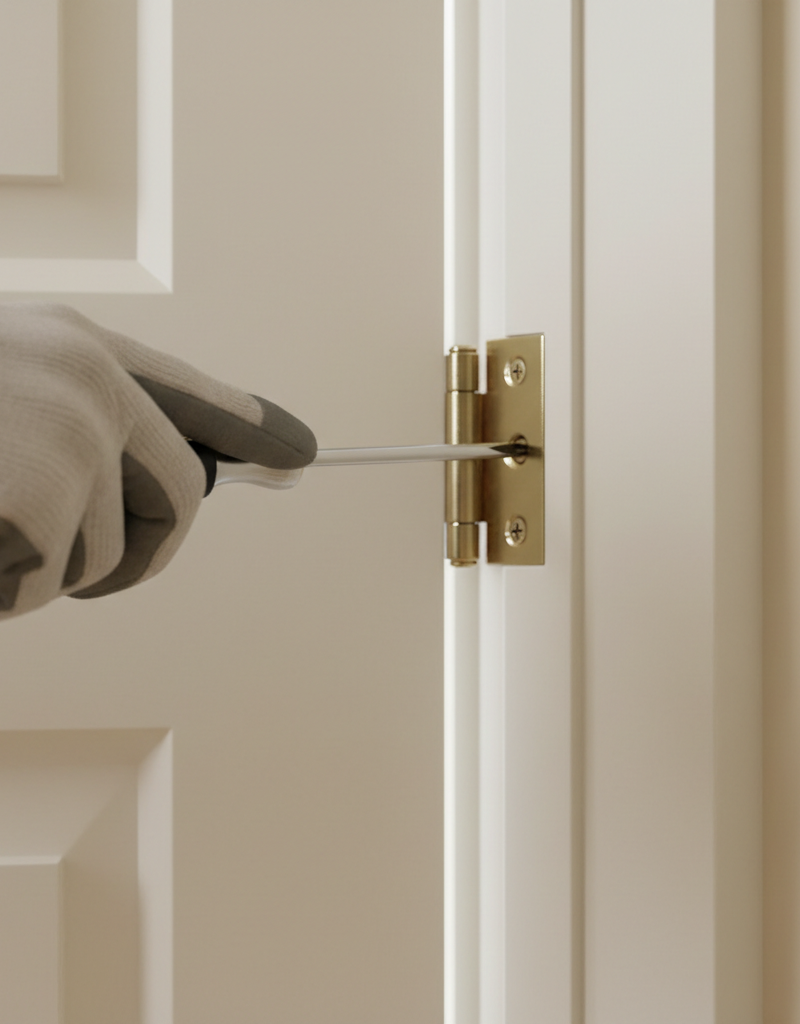
Step 1: Inspect the Hinges — Begin by thoroughly inspecting all hinges on the problematic door. Look for loose screws, screws that appear to have backed out slightly, or any signs of bent or damaged hinge leaves.
- Tools: Phillips head screwdriver (manual or powered), flashlight
- Safety: Always work carefully to avoid slipping and scratching the door or frame.
- If this doesn't work: If all screws are tight and hinges appear undamaged, proceed to Step 2.
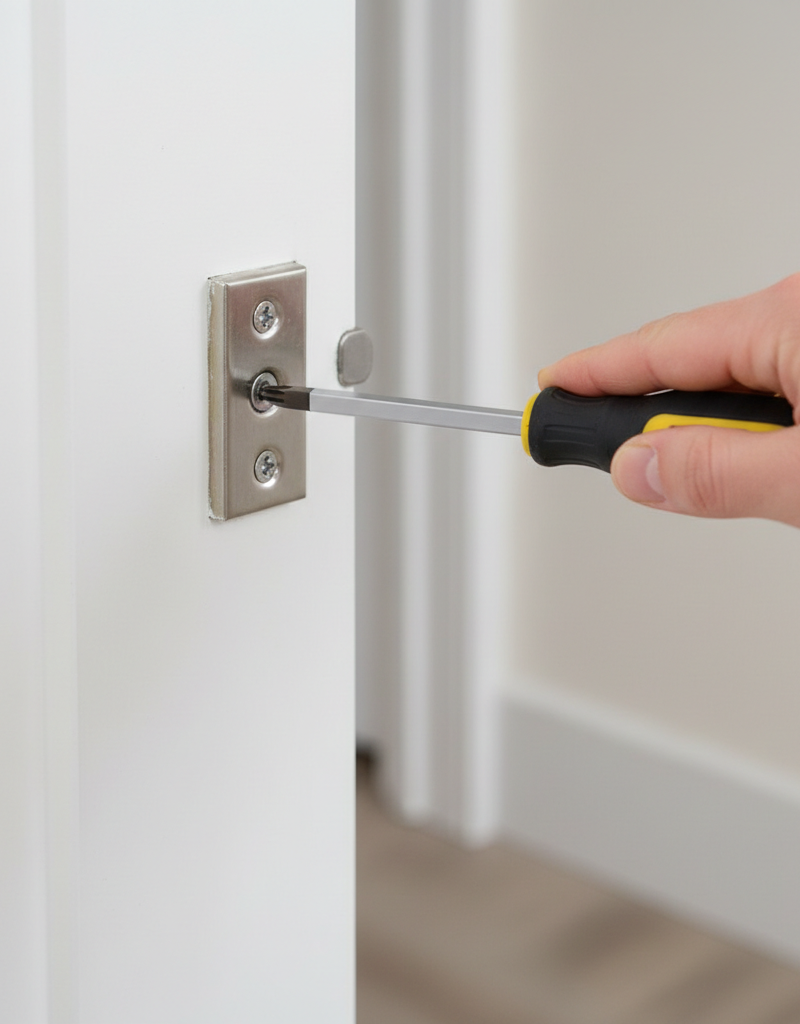
Step 2: Tighten All Screws — Start with the easiest fix: tightening every screw on every hinge. Use a screwdriver, rather than a power drill, to avoid overtightening and stripping the holes further. Turn until snug, but don't force it.
- Tools: Phillips head screwdriver
- Note: Pay close attention to the screws on the top hinge, as this hinge bears the most weight.
- If this doesn't work: If screws refuse to tighten or spin freely, the holes are likely stripped. Proceed to Step 3.
Step 3: Repair Stripped Screw Holes — If screws are stripped, you need to create new purchase for them. The simplest method is to insert wooden toothpicks or golf tees, dipped in wood glue, into the stripped hole before reinserting the screw.
- Materials: Wooden toothpicks or golf tees, wood glue
- Instructions: Break off the toothpicks flush with the surface after insertion. Let the glue dry for 15-30 minutes before reinserting the screw. This provides new wood fibers for the screw to grip.
- Alternative: For severely stripped holes, remove the hinge, drill out enlarged holes (e.g., 3/8-inch), insert wood dowels with wood glue, let dry, then redrill pilot holes and reattach the hinge.
Step 4: Use Longer Screws — Often, the factory screws used for hinges are too short (typically 3/4-inch). Replacing one or two screws in the hinge jamb (the side attached to the door frame) with longer 2 1/2-inch to 3-inch screws can anchor the hinge directly into the structural stud behind the frame, providing much greater support.
- Materials: 2 1/2-inch to 3-inch long wood screws (matching hinge finish, typically #9 or #10 gauge)
- Instructions: Remove one screw from each hinge (start with the top hinge), replace it with a longer screw, and drive it into the stud. Do not replace all screws with long ones, as this can affect hinge alignment. Do this for the top and middle hinges, and then check the door's alignment.
- Pro Tip: If you hit only drywall, try adjusting the screw insertion angle slightly until you feel it bite into a stud. Studs are typically located 1/2 to 3/4 inches behind the door frame.
Step 5: Shim the Hinges — If the door is still sagging or if it's binding on the latch side but the hinges are tight, shimming can adjust the door's position. This involves placing thin pieces of cardboard or specialized hinge shims behind the hinge leaves.
- Materials: Thin card stock, cardboard from a cereal box, or pre-made hinge shims
- Instructions: To lift the latch side of the door, shim the top hinge on the jamb side. To pull the bottom corner of the door away from the frame, shim the middle or bottom hinge on the jamb side. Remove the hinge screws, slide the shim behind the hinge leaf, then re-screw.
- Technique: Start with one shim and test the door. Add more shims gradually until the door closes correctly. Often, just a small adjustment makes a big difference. Avoid over-shimming, as this can cause new binding issues.
Step 6: Check for Frame Sag or Foundation Shift — While less common for interior doors, significant sagging or binding that isn't resolved by hinge adjustments might indicate a shifting door frame or even foundation movement. Look for visible cracks in the drywall above the door frame or bowing in the frame itself.
- Observation: Use a level to check the door frame for plumb and square. If the frame is significantly out of square or twisted, professional intervention may be required.
- Pro Callout: If you suspect foundation issues or severe frame distortion, consult a structural engineer or general contractor.
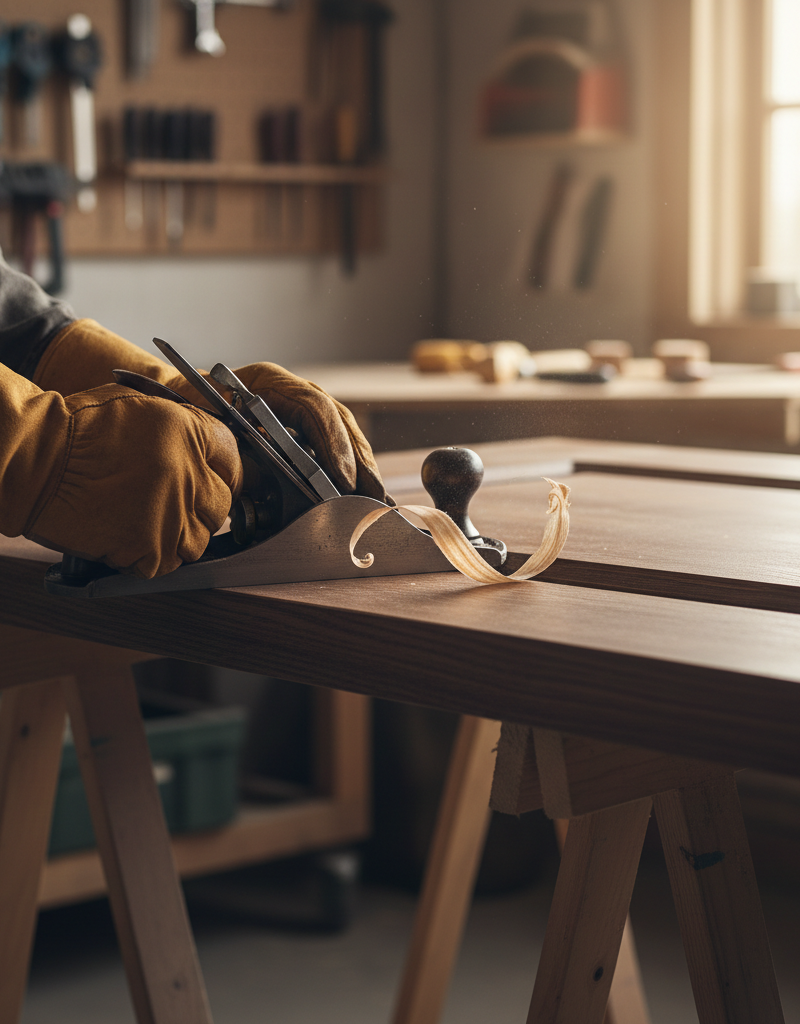
Step 7: Address Door Swelling — For exterior doors, especially in humid climates, the door slab itself can swell, causing it to bind. While not strictly
Related Articles
Keep troubleshooting with these hand-picked guides from FixlyGuide:
- The Hidden Reason Your GFCI Trips (It's Not Always a Faulty Outlet) — A continuously tripping GFCI outlet is a critical safety warning, often indicating moisture, a faulty appliance, or a wiring problem that r…
- The Secret to Lush Raised Beds? It's Not Just About How You Water — Smart irrigation for raised garden beds isn't just about automation; it's about delivering the right amount of water precisely when your pl…
- The 9 Sneaky Filters Stealing Your Home's Efficiency (And How to Fix It) — Unseen or neglected filters throughout your home can secretly inflate utility bills, degrade air quality, and lead to expensive appliance b…
- The 4-Hour — Transform your garden into a self-sufficient oasis with smart strategies for watering, weeding, and pest control, minimizing your effort.
- The Hidden Reason Your GFCI Trips (It’s Not Always a Bad Outlet) — A tripping GFCI outlet is a safety mechanism doing its job, often indicating a problem like moisture, a faulty appliance, or a wiring issue…
- Is Your Gutter Sagging After Every Storm? The Hidden Flaw Most Homeowners Miss — Discover the overlooked reason your gutters sag after every storm and learn the lasting fix that most homeowners miss.
Should you do this yourself?
Answer five quick questions before you start. Safety outranks savings every time.
Your experience with work like this
How high do you have to work?
Does the job involve any of these?
Will it need a permit?
Specialty tools
Free and instant. Educational guidance only — not a quote, inspection, or professional diagnosis.
What should this project cost?
Enter your project details for a realistic cost range before you call anyone.
Cost depends heavily on which system turns out to be the source.
- Regional adjustment
- National average
- Labor share (typical)
- ~$1,620
- Quotes to collect
- 3 written estimates
Educational estimate based on national averages — not a binding quote. Always confirm with written local estimates.
This article was independently written by FixlyGuide based on the source topic.
Frequently asked questions
Why does my door suddenly start sagging?+
Doors typically start sagging due to the constant stress on their hinges. Over time, hinge screws can loosen or their holes can strip, causing the door's weight to pull it out of alignment. Fluctuations in humidity can also cause wood to expand and contract, exacerbating the problem.
Can I fix a sagging door without taking it off its hinges?+
Yes, for most common sagging issues, you can fix the door without removing it. Tightening existing screws, replacing stripped screws with longer ones, or shimming hinges can often be done with the door in place, provided you have good access to the hinge screws.
What kind of screws should I use for door hinges?+
Standard door hinge screws are typically #9 or #10 wood screws. For repairing stripped holes or anchoring into wall studs, use longer screws (2 1/2 to 3 inches) of the same gauge to provide better grip and support.
How do I know if my door frame is the problem?+
If you've tightened all hinge screws, repaired stripped holes, and tried shimming, but the door still sags or binds, inspect the door frame. Look for visible cracks in the drywall around the frame, check if the frame itself is plumb and square with a level, or if there's any bowing. Significant frame distortion or cracks could indicate structural movement.
Discussion
Loading comments…