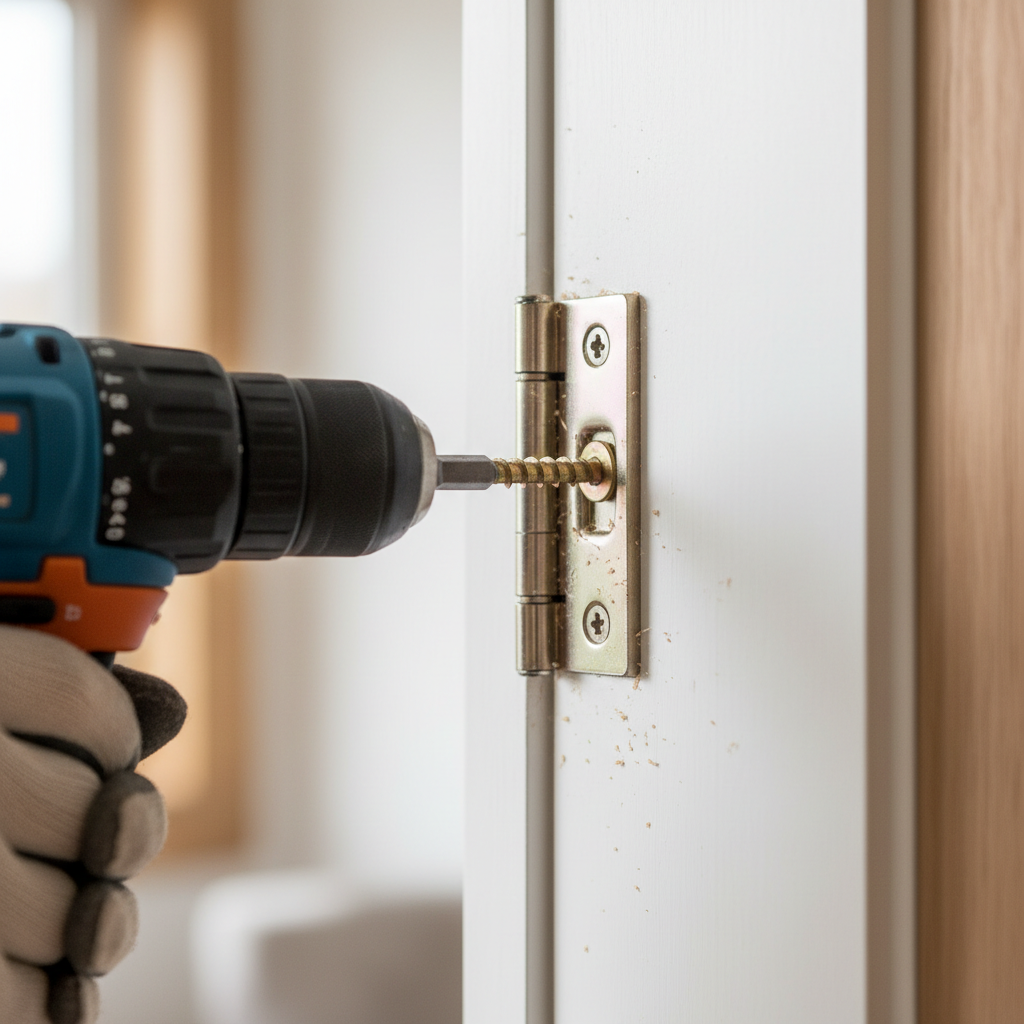
- Beginning with the top hinge on the frame side, remove one screw at a time. If the hole appears widened or the screw spins freely, it's stripped.
- Immediately reinsert the original screw into the newly reinforced hole. The wood and glue will provide new purchase for the screw threads.
- Repeat for all stripped holes, focusing on the top hinge first, then the middle, and finally the bottom if necessary.
- Safety Note: If removing multiple screws from one hinge, support the door with shims or a helper to prevent it from shifting dramatically or falling off entirely, especially if it's a heavy solid-core door.
Published May 22, 2026Last updated August 17, 2026
Tools & materials you'll need
Affiliate linksAs an Amazon Associate FixlyGuide earns from qualifying purchases — at no extra cost to you. Prices and availability are accurate as of publication and subject to change.
Quick Answer
A sagging door that rubs the frame, drags on the floor, or won't latch properly is usually a symptom of loose door hinge screws or stripped screw holes. The simple, homeowner-friendly solution involves replacing the short, original hinge screws with longer, 3-inch screws that can bite into the wall stud behind the door frame, providing a much more secure anchoring point. For severely stripped holes, a combination of wood glue and toothpicks or wood filler can create a solid base for even the original screws to hold.
The Problem
You've felt it—the annoying drag of a door rubbing against the threshold, the frustrating 'thud' as it catches the top of the door frame, or the persistent refusal of the latch to engage without a hefty shoulder bump. These aren't just minor inconveniences; they're tell-tale signs of a sagging door. Over time, the weight of the door, coupled with constant opening and closing, can exert significant stress on the hinges. The short screws typically used by builders, often installed hastily during construction, can vibrate loose or gradually pull out of the door frame's softer wood. As these screws lose their grip, the hinges no longer hold the door perfectly upright, allowing one side to droop. This slight tilt, often imperceptible to the naked eye at first, can throw the entire door out of square, leading to a cascade of problems from cosmetic damage to impaired functionality and even reduced home security.
How It Works
To understand why a door sags and how to fix it, it's helpful to visualize the anatomy of a door installation. A typical interior door is secured to the door frame by two or three hinges. Each hinge consists of two leaves (plates) connected by a pin. One leaf is screwed into the door's edge, and the other into the door frame's jamb. The door frame itself is built into the rough opening of the wall and, ideally, is securely fastened to the wall studs (the vertical wooden beams forming the skeletal structure of your walls).
When a door sags, the primary culprit is almost always the hinge screws attached to the door frame, specifically at the top hinge. The top hinge supports the majority of the door's weight, making it the most vulnerable to loosening over time. The original screws supplied with standard door hinges are often quite short, typically 3/4 inch to 1 inch. These short screws are designed to grip only the relatively thin wood of the door jamb. However, behind the jamb typically lies a wall stud. If these short screws fail to reach and penetrate the stud, or if they only barely nick it, they rely solely on the jamb wood for support. Wood, especially common pine used in jambs, can degrade around screw threads over years of use, aggravated by humidity changes, house settling, and the sheer leverage of a heavy door. As the holes enlarge and the threads lose their purchase, the hinge can shift, causing the door to drop. The door then pivots slightly on the remaining, more secure hinges, creating the visible symptoms of sagging: rubbing, sticking, and misalignment. The mechanical advantage gained by using a longer screw is that it bypasses the potentially compromised jamb wood entirely and anchors directly into the solid, load-bearing stud, redistributing the door's weight more effectively and preventing further slippage.
Step-by-Step Fix
1. Gather Your Tools and Materials — Having everything ready before you start saves time and prevents interruptions.
- Collect all tools and materials listed earlier (screwdriver, longer screws, drill, wood glue, toothpicks/wood shims, utility knife). Turn off any nearby HVAC vents to prevent drafts from swinging the door.
2. Diagnose the Sagging Point — Pinpoint where the door is rubbing or sticking.
- Slowly open and close the door, observing where it contacts the frame or floor. Pay close attention to the top corners, bottom corners, and the latch side. Mark any rub points with a pencil. This helps confirm which hinges are most affected, usually the top hinge.
3. Tighten Existing Hinge Screws — Start with the simplest fix first.
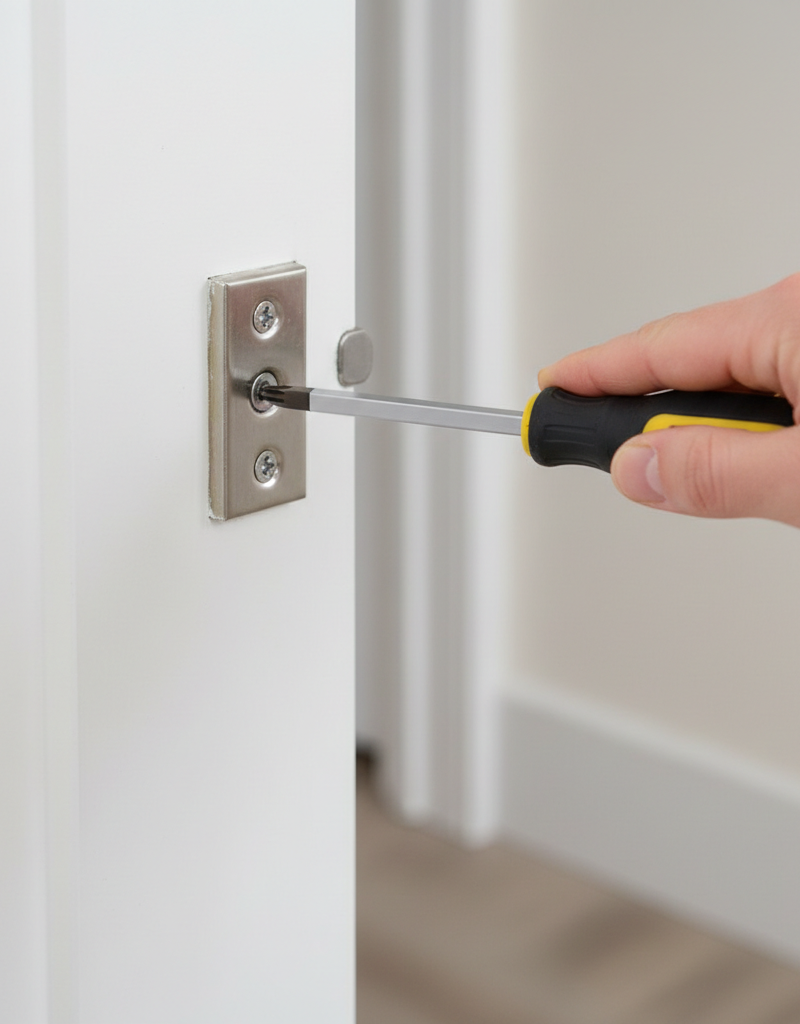
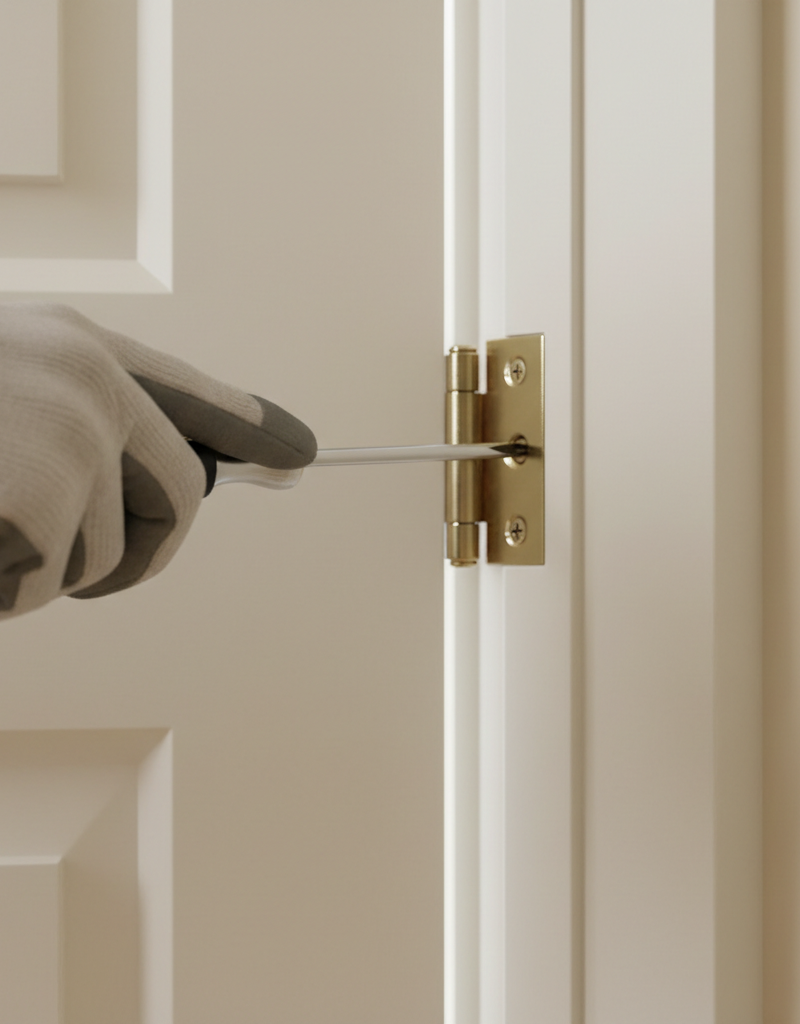
- Using a screwdriver (not a drill, which can easily strip screws further), check every screw on all hinges, both on the door and the frame side. Attempt to tighten any that feel loose. Sometimes, this simple step is enough.
- If this doesn't work: Proceed to the next step, as the existing holes are likely stripped.
4. Address Stripped Screw Holes (on frame side) — This is the most common cause and critical step.
- Beginning with the top hinge on the frame side, remove one screw at a time. If the hole appears widened or the screw spins freely, it's stripped.
- Insert 2-3 flat wooden toothpicks (or a small sliver of wood shim) into the stripped hole. Apply a drop of wood glue to the toothpicks before inserting them to create a stronger bond. Break off any protruding ends flush with the hinge mortise.
- Immediately reinsert the original screw into the newly reinforced hole. The wood and glue will provide new purchase for the screw threads.
- Repeat for all stripped holes, focusing on the top hinge first, then the middle, and finally the bottom if necessary.
- Safety Note: If removing multiple screws from one hinge, support the door with shims or a helper to prevent it from shifting dramatically or falling off entirely, especially if it's a heavy solid-core door.
5. Replace Short Hinge Screws with Longer Ones — *The
Related Articles
Keep troubleshooting with these hand-picked guides from FixlyGuide:
- The Hidden Reason Your GFCI Trips (It's Not Always a Faulty Outlet) — A continuously tripping GFCI outlet is a critical safety warning, often indicating moisture, a faulty appliance, or a wiring problem that r…
- The 4 Critical Dimensions of a Bluebird House (Most DIYers Miss One) — Discover the four often-overlooked dimensions crucial for a successful bluebird house, ensuring your avian residents thrive season after se…
- The 9 Sneaky Filters Stealing Your Home's Efficiency (And How to Fix It) — Unseen or neglected filters throughout your home can secretly inflate utility bills, degrade air quality, and lead to expensive appliance b…
- The Secret to Lush Raised Beds? It's Not Just About How You Water — Smart irrigation for raised garden beds isn't just about automation; it's about delivering the right amount of water precisely when your pl…
- The $15 Secret to a Clutter-Free Gaming Setup (Your Controllers Will Thank You) — Reclaim your gaming space with a simple, custom-built controller stand that's both functional and stylish using common materials.
- The Secret Reason Your Interior Door Sticks (It's Not Always Humidity) — Discover the real reasons your interior door is sticking and how to implement simple, lasting fixes with common household tools.
Should you do this yourself?
Answer five quick questions before you start. Safety outranks savings every time.
Your experience with work like this
How high do you have to work?
Does the job involve any of these?
Will it need a permit?
Specialty tools
Free and instant. Educational guidance only — not a quote, inspection, or professional diagnosis.
What should this project cost?
Enter your project details for a realistic cost range before you call anyone.
Cost depends heavily on which system turns out to be the source.
- Regional adjustment
- National average
- Labor share (typical)
- ~$1,620
- Quotes to collect
- 3 written estimates
Educational estimate based on national averages — not a binding quote. Always confirm with written local estimates.
Before you start
Check the difficulty, permits, and safety risk — then decide whether to call a pro.
- Estimate this projectGet a cost range for your scope and ZIP before you call anyone.Open
- Get local estimatesSend one request and compare written estimates from vetted pros.Open
Free, no signup required. Estimates are educational guidance, not a quote or an inspection.
This article was independently written by FixlyGuide based on the source topic.
Frequently asked questions
Why does my door sag even after tightening the screws?+
Tightening existing screws often provides only a temporary fix if the screw holes are stripped or the original screws are too short to reach the wall stud behind the door frame. The screws will quickly pull loose again. The long screw trick addresses this by providing a much more secure anchoring point into the structural framing.

Discussion
Loading comments…