
Tools & materials you'll need
Affiliate linksAs an Amazon Associate FixlyGuide earns from qualifying purchases — at no extra cost to you. Prices and availability are accurate as of publication and subject to change.
Quick Answer
For a truly healthy, robust lawn, the timing of your aeration is critical – and often misunderstood. If you have cool-season grasses (like fescue, rye, or bluegrass), the sweet spot for aeration is early spring (March-April) or, even better, early fall (September-October). For warm-season grasses (such as Bermuda, zoysia, or St. Augustine), late spring to early summer (April-June) is the ideal window. Attempting to aerate during peak heat or drought will stress your lawn, leading to a weaker, more susceptible turf.
The Problem
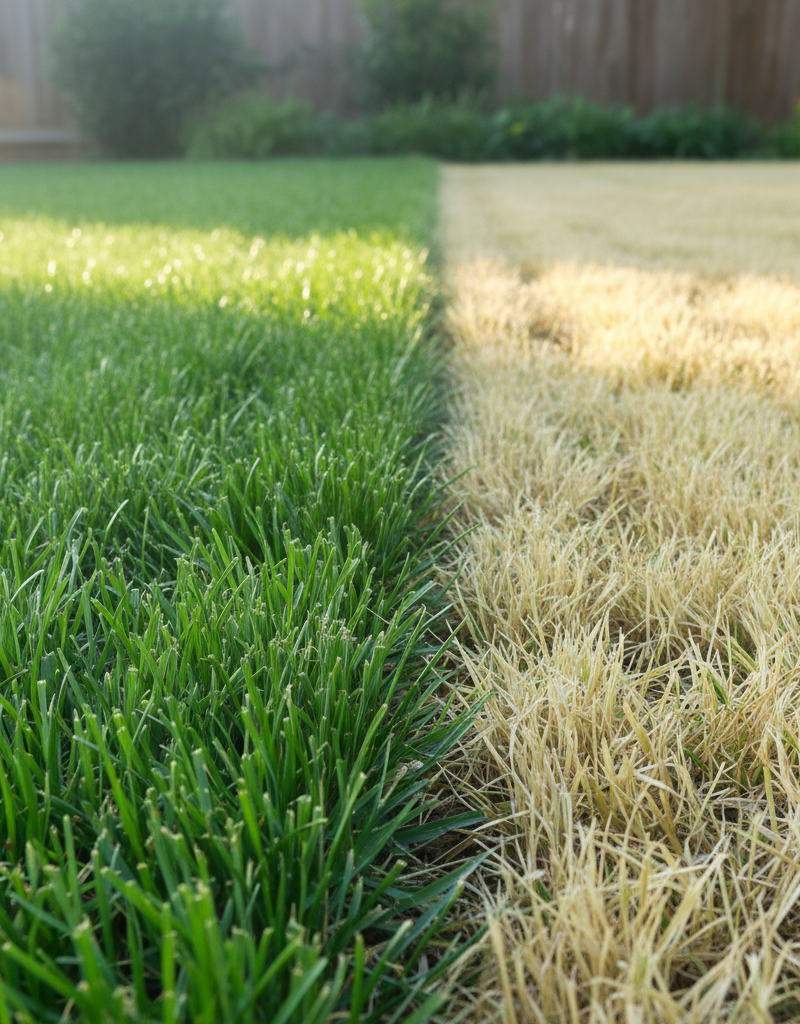
Many homeowners understand the what of lawn aeration – creating small holes in the soil to relieve compaction and allow air, water, and nutrients to penetrate deeper. What often eludes them is the when. Aerating at the wrong time of year is a common but easily avoidable mistake that can actually harm your lawn more than help it. When a lawn is improperly aerated, especially outside its active growing season, it experiences unnecessary stress. This stress can manifest as browning patches, slow or stunted growth, increased susceptibility to weeds and diseases, and a generally lackluster appearance. Instead of revitalizing your lawn, mistimed aeration leaves it vulnerable, negating all the potential benefits and potentially requiring more intensive repair work later on.
How It Works
Lawn aeration works by mechanically removing small plugs of soil, typically 2-4 inches deep and about 1/2 to 3/4 inch in diameter. This process, often done with a core aerator, addresses soil compaction, which is a common problem in lawns, particularly those with heavy foot traffic, clay soils, or a history of chemical treatments. Compaction chokes the grass roots, preventing them from accessing the oxygen, water, and nutrients they need to thrive. Think of it like trying to breathe through a thick mud mask – the roots are suffocated.
When these soil cores are removed, several beneficial processes occur. First, the compacted soil is loosened, immediately improving air circulation to the root zone. This allows aerobic microbes, essential for breaking down organic matter and releasing nutrients, to flourish. Second, water and fertilizer can more easily penetrate the soil, reaching the roots directly instead of running off or pooling on the surface. Third, it creates space for new root growth, encouraging the grass to develop a deeper, stronger root system, which in turn makes the lawn more resilient to drought, pests, and diseases. Finally, the extracted soil plugs contain microorganisms that help break down the thatch layer (a build-up of dead grass stems and roots, which can also hinder nutrient absorption) as they decompose on the lawn surface. The key is to time this intervention with your grass's natural growth cycle so it has the energy and resources to quickly recover and fill in the newly aerated spots, ultimately leading to a denser, healthier turf.
Step-by-Step Fix
1. Identify Your Grass Type – Warm-season or Cool-season?
Determine whether your lawn consists of cool-season grasses (e.g., Kentucky bluegrass, perennial ryegrass, tall fescue) or warm-season grasses (e.g., Bermuda grass, St. Augustine grass, zoysia grass). This is the absolute first step, as it dictates the optimal aeration window. You can usually tell by observing when your lawn is most green and actively growing: cool-season grasses thrive in cooler weather and green up in spring and fall, while warm-season grasses flourish in summer heat.
2. Mark Irrigation Heads and Obstacles – Prevent costly repairs.
Before you start, walk your lawn and mark the location of any sprinkler heads, buried utility lines (if you know them), invisible dog fences, or shallow landscape lighting wires. Use brightly colored flags or spray paint. Hitting these with an aerator can cause significant damage and expensive repairs.
3. Mow Your Lawn – Prepare for efficient aeration.
Mow your lawn a day or two before aeration to your regular cutting height. Shorter grass allows the aerator tines to penetrate the soil more effectively and prevents the machine from getting bogged down in tall clippings.
4. Water Your Lawn – Achieve optimal soil moisture.
Aerating bone-dry soil is incredibly difficult and ineffective. Water your lawn thoroughly 1-2 days before you plan to aerate. The soil should be moist but not saturated or muddy. A simple test: push a screwdriver into the turf; it should go in easily with moderate resistance. If it's too hard, water more; if it's squishy, wait a day.
5. Choose the Right Aeration Tool – Rent a core aerator for best results.
For most homeowners, renting a gas-powered core aerator from a local hardware store or rental center is the most effective option. These machines remove cylindrical plugs of soil, which is superior to spike aerators that simply poke holes and can further compact the soil along the edges of the holes. Look for a machine that penetrates 2-4 inches deep. Smaller, manual core aerators are available for tiny patches but are extremely labor-intensive for a full lawn.
6. Aerate the Lawn – Strategic passes for thorough treatment.
Run the aerator over your lawn following a pattern similar to mowing. For moderately compacted lawns, a single pass over the entire area is sufficient. For heavily compacted areas, high-traffic zones, or lawns that haven't been aerated in years, consider making two passes at right angles to each other (e.g., once north-south, then once east-west). Ensure the holes are evenly spaced, typically 2-4 inches apart.
Safety Note: Gas-powered aerators are heavy machinery. Always wear sturdy closed-toe shoes, eye protection, and hearing protection. Read the operator's manual thoroughly before starting. Never operate a damaged machine.
7. Leave the Soil Plugs – Natural decomposition is beneficial.
Resist the urge to rake up the soil plugs. As they dry, they will break down naturally and gradually return to the lawn, bringing beneficial microorganisms back into direct contact with the grass. This decomposition helps to further break down thatch and improves overall soil structure over time, usually within a few weeks.
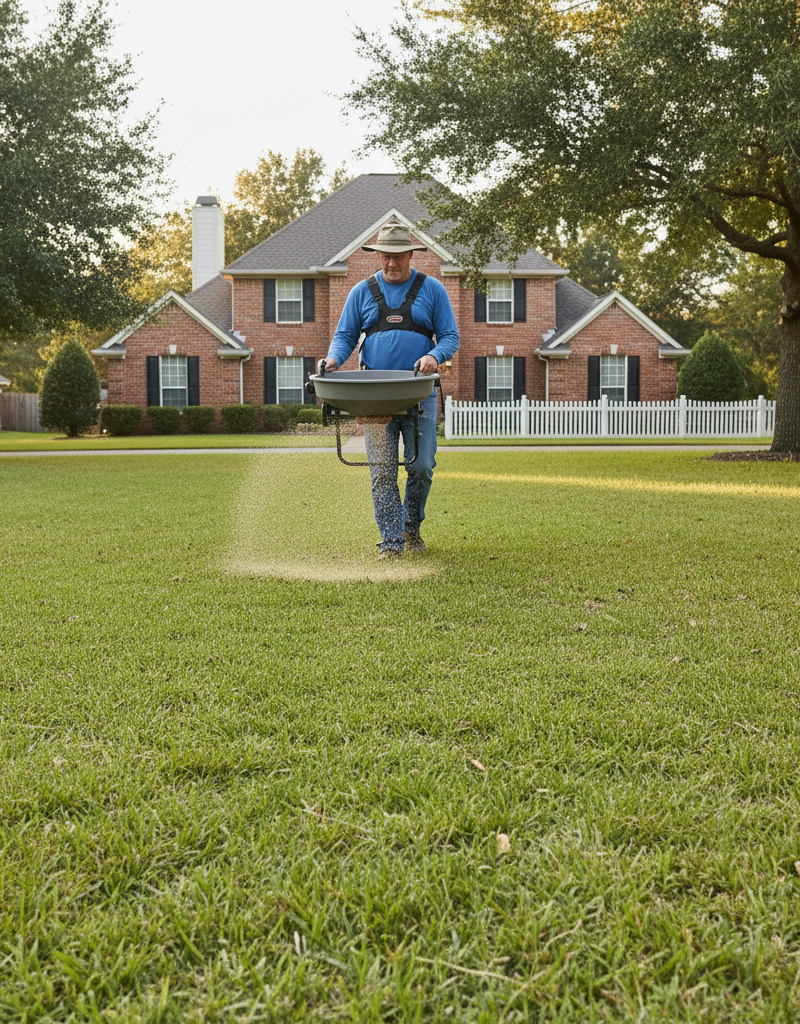
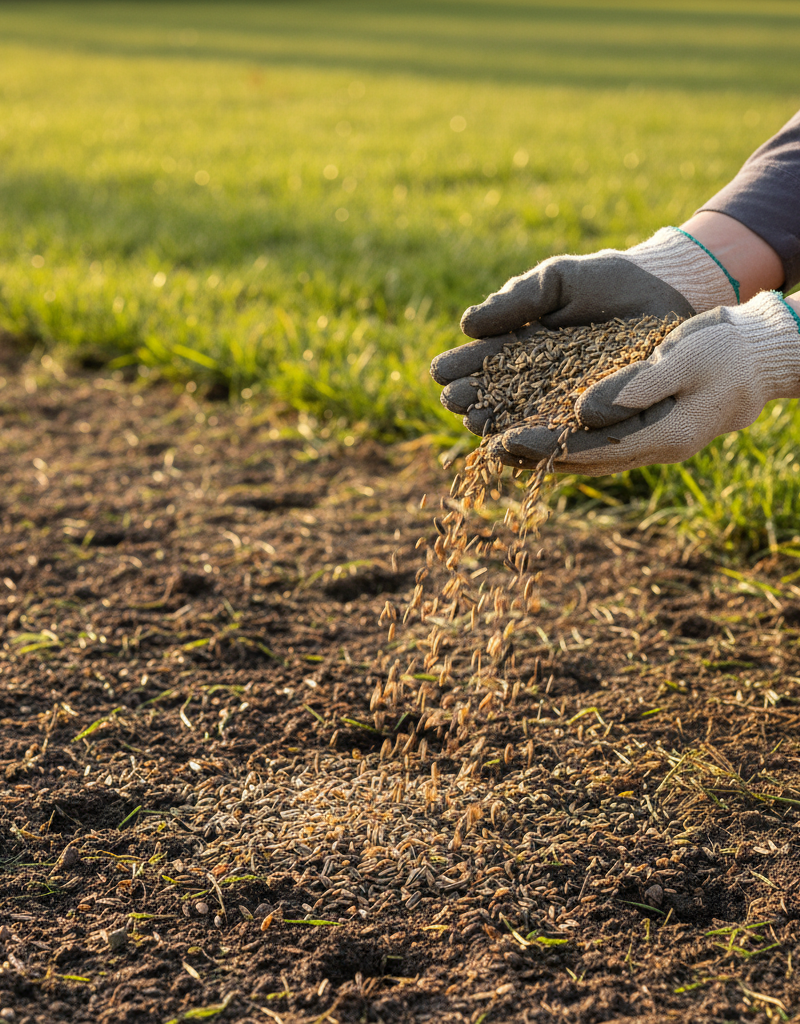
8. Overseed and Fertilize (Optional but Recommended) – Capitalize on open soil.
Immediately after aeration is the absolute best time to overseed your lawn and apply a starter fertilizer. The seeds and fertilizer have direct contact with the soil, leading to much higher germination rates and more efficient nutrient uptake. Choose a grass seed variety appropriate for your region and existing lawn. Water lightly after seeding and fertilizing to settle everything in.
9. Water Appropriately – Aid recovery and growth.
For the next 2-4 weeks, maintain a consistent watering schedule, especially if you've overseeded. Keep the top inch of soil moist to encourage new growth and help the lawn recover from the aeration process. Avoid overwatering, which can wash away seeds or promote fungal issues.
Common Causes
- Heavy Foot Traffic: Kids playing, pets running, or frequent walking paths compact the soil over time.
- Clay Soils: Clay particles are very small and tend to pack together tightly, making them highly susceptible to compaction.
- Construction Activity: Any building or landscaping project can lead to severe soil compaction from heavy machinery or material storage.
- Thatch Buildup: A thick layer of thatch (dead grass stems, roots, and organic debris) can prevent air and water from reaching the soil, effectively compacting the layer beneath it.
- Improper Watering: Frequent, shallow watering encourages shallow root systems, which don't help to naturally loosen soil and can contribute to compaction over time.
- Excessive Chemical Use: Over-reliance on synthetic fertilizers and pesticides can degrade soil structure and reduce microbial activity, leading to harder, more compacted soil.
Common Mistakes
- Aerating Bone-Dry Soil: Trying to aerate compacted, dry soil is incredibly difficult for the machine and ineffective, often resulting in shallow or incomplete plugs. Always water beforehand.
- Spike Aeration Instead of Core Aeration: Spike aerators simply push holes into the soil, often causing further compaction around the edges of the holes rather than alleviating it. Core aeration is far superior.
- Aerating Too Infrequently: For lawns with heavy traffic or clay soil, annual aeration is often beneficial. Waiting too long allows compaction to become severe again.
- Not Marking Obstacles: Forgetting to mark sprinkler heads or invisible dog fences can lead to costly damage during aeration.
- Raking Up the Plugs: The soil plugs are beneficial! Leave them to break down and reincorporate into the lawn, which helps improve soil structure and fertilize the grass.
- Aerating Without Overseeding/Fertilizing: While not strictly a mistake, missing the prime opportunity to overseed and fertilize right after aeration means you're not maximizing the benefits of the newly opened soil.
Cost & Time Breakdown
| Task | DIY cost | Pro cost | Time |
|---|---|---|---|
| Rental of Core Aerator (4 hrs) | $70–$100 | N/A | 1–4 hours |
| Grass Seed (5,000 sq ft) | $30–$70 | Included in service | N/A |
| Starter Fertilizer | $20–$40 | Included in service | N/A |
| Professional Aeration Service | N/A | $150–$350 | 1–2 hours |
| Marking flags | $5–$10 | N/A | 15 minutes |
Tips & Prevention
- Regular Mowing Height: Maintain an appropriate mowing height for your grass type. Taller grass shades the soil, keeping it cooler and promoting deeper root growth, which naturally reduces compaction.
- Topdressing with Compost: Apply a thin layer (1/4 to 1/2 inch) of organic compost annually. This improves soil structure, adds beneficial microbes, and reduces the need for frequent aeration.
- Vary Foot Traffic Patterns: If possible, try to vary where people and pets walk on your lawn to spread out the compaction.
- Strategic Planting: Choose drought-tolerant and compaction-resistant grass varieties if your area is prone to these issues.
- Deep, Infrequent Watering: Encourage deep root growth by watering deeply and less frequently, rather than shallowly and often. This helps roots penetrate deeper and naturally loosen the soil.
- Integrated Pest Management: Reduce reliance on harsh chemicals that can harm beneficial soil organisms responsible for maintaining healthy soil structure.
When to Call a Professional
While lawn aeration is a highly beneficial DIY task, there are specific scenarios where calling a professional is the smarter choice. If your lawn is exceptionally large (over 10,000 square feet) or has extreme compaction, renting and operating a heavy core aerator might be too physically demanding or time-consuming. Similarly, if your lawn has a complex layout with numerous obstacles, tight turns, or steep slopes, a professional with specialized equipment can ensure a thorough and safe job without damaging irrigation systems or other landscape features. Finally, if you've tried aerating at the correct times and your lawn still struggles with poor drainage, persistent thinning, or appears generally unhealthy, a professional lawn care specialist can diagnose underlying issues, such as severe soil deficiencies, pest infestations, or fungal diseases, that might be beyond the scope of simple aeration and can recommend a comprehensive treatment plan.
Related Articles
Keep troubleshooting with these hand-picked guides from FixlyGuide:
- The #1 Lawn Aeration Mistake Most Homeowners Make (And When to REALLY Do It) — Learn the surprising truth about when to aerate your lawn for maximum health and how a simple timing mistake can sabotage your efforts.
- The #1 Lawn Aeration Mistake Most Homeowners Make (And When to Fix It) — Learn the critical timing mistake most homeowners make with lawn aeration and discover the perfect window for a thriving, healthy lawn.
- The #1 Lawn Aeration Mistake Most Homeowners Make (And How to Fix It) — Timing is everything when it comes to lawn aeration, and doing it at the wrong time can do more harm than good for your grass.
- The #1 Mistake Homeowners Make When Fighting Lawn Grubs (And How to Fix It) — Discover the crucial mistake homeowners often make when treating lawn grubs and learn the most effective, timing-sensitive strategies to el…
- The #1 Mowing Mistake That Invites Weeds (And How to Fix It in 15 Minutes) — Discover the secret to a thriving lawn and banish weeds by avoiding the most common mowing error homeowners make, improving grass health dr…
- The #1 Mistake Homeowners Make Installing Floating Shelves (and How to Fix It) — Discover the crucial error many DIYers make when mounting floating shelves into drywall and learn the simple steps to ensure a secure, sag-…
Frequently asked questions
How often should I aerate my lawn?+
For most lawns, especially those with clay soil or moderate foot traffic, annual aeration is beneficial. Lawns with sandy soil or very light use might only need aeration every 2-3 years. Heavily compacted lawns could benefit from aerating twice a year for the first year or two.
Should I fertilize after aerating?+
Yes, fertilizing immediately after aeration is highly recommended. The aeration process creates direct pathways for nutrients to reach the grass roots, making fertilizer application much more effective and promoting rapid recovery and growth.
Can I aerate too much?+
While it's difficult to 'over-aerate' in terms of frequency if done correctly (e.g., annually), aerating during the wrong season for your grass type can be detrimental by stressing the lawn when it's not actively growing and able to recover. Always follow the seasonal timing guidelines for cool- or warm-season grasses.
Discussion
Loading comments…