Tools & materials you'll need
Affiliate links- AmazonScrewdriver set (Phillips and Flathead)For opening the control panel
- AmazonNut driver setCommon for HVAC panels
- AmazonInsulated pliersFor handling wires, discharging capacitor
- AmazonNon-contact voltage testerEssential for confirming power is off
- AmazonMultimeter with capacitance (µF) settingRecommended for testing and safer discharge
- AmazonNew AC Run Capacitor1 · Match exact µF and voltage ratings of the old one
As an Amazon Associate FixlyGuide earns from qualifying purchases — at no extra cost to you. Prices and availability are accurate as of publication and subject to change.
Quick Answer
If your AC condenser fan isn't spinning but the compressor is running, the most common culprit is a faulty run capacitor. This inexpensive cylindrical component stores and releases electrical energy to help start both the fan motor and, in some cases, the compressor. Replacing it is a straightforward DIY task that often resolves the issue, saving a professional service call.
The Problem
You step outside on a hot day, and your air conditioner's outdoor unit (the condenser) is humming, but the large fan on top isn't spinning. The compressor might be running, making a distinct noise, but without the fan, the unit can't dissipate heat effectively. This leads to your home not cooling, the unit potentially overheating, and eventually, the AC system shutting down on a safety lockout. A non-spinning condenser fan is a critical issue that needs immediate attention to prevent further damage to your AC system.
How It Works
Your outdoor AC unit, or condenser, has three main electrical components: the compressor, the condenser fan motor, and the run capacitor. The compressor is the heart of the system, circulating refrigerant. The condenser fan pulls air across the condenser coils, allowing the superheated refrigerant to release its heat to the outside air. Both the compressor and the fan motor are induction motors, meaning they require a burst of energy to get them started and then a continuous phase shift to keep them running efficiently. This is where the run capacitor comes in.
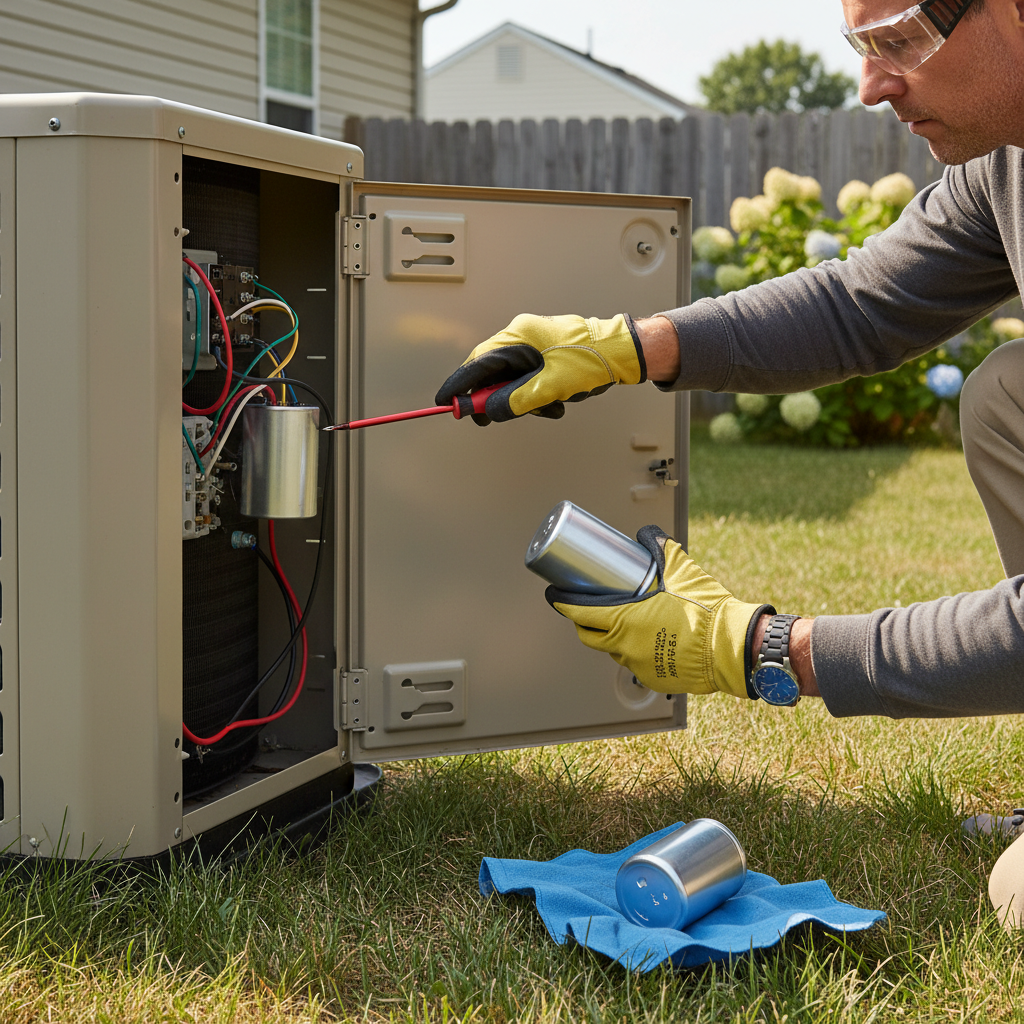
The run capacitor is a small, cylindrical component, typically found inside the control panel of your outdoor unit. It stores an electrical charge and then releases it at the precise moment the motor needs that extra 'kick' to start spinning. Without this initial jolt, the motor will simply hum or try to turn, but won't achieve full rotation. Capacitors are rated in microfarads (µF or MFD) and voltage (VAC). A dual-run capacitor, common in many AC units, has three terminals: HERM (for the compressor), FAN (for the fan motor), and COM (common). It provides two different capacitance values from a single unit – one for the compressor and one for the fan. When a capacitor fails, it can fail in several ways: it might lose its ability to store charge, short internally, or even swell and leak, visibly indicating its failure. A weakened capacitor might allow the motor to hum but not start, or cause it to start slowly and draw excessive current, leading to premature motor failure. If only the fan isn't spinning, it's highly likely the fan section of a dual capacitor (or a single fan capacitor) has failed, while the compressor section might still be functional.
Step-by-Step Fix
Safety First — Always turn off power to your AC unit at the breaker before working on it. Electricity can be deadly. Using a multimeter to confirm power is off is crucial.
- Cut the Power — Locate your main electrical panel and turn off the circuit breaker that controls your outdoor AC unit. Don't rely solely on the disconnect switch near the unit, as it might only interrupt one leg of the power. Confirm the power is off with a non-contact voltage tester.
- Pro Tip: Label your breakers clearly so you know exactly which one controls the AC.
- Access the Control Panel — Once power is confirmed off, remove the screws holding the control panel cover on your outdoor condenser unit. This panel is usually on the side and protects the electrical components like the contactor and capacitor.
- Tool Check: You'll likely need a nut driver or a screwdriver (Phillips or flathead, depending on your unit).
- Inspect the Capacitor — Locate the run capacitor. It's often a metallic cylinder, sometimes black or silver, and can be single (two terminals) or dual (three terminals: C, HERM, FAN). Look for visual signs of failure: bulging, swelling on top, or leakage. Even without visual signs, it can still be bad.
- Safety Note: Capacitors can hold a lethal charge even after power is off. It's critical to discharge it safely.
- Discharge the Capacitor — Using a screwdriver with an insulated handle, short the terminals of the capacitor. Place the metal shaft across any two terminals (C to HERM, C to FAN, HERM to FAN for a dual capacitor, or the two terminals for a single capacitor). You might see a small spark. Repeat for all terminal pairs to ensure it's fully discharged.
- Alternative: Use a resistor with leads to discharge it more slowly and safely.
- Test the Capacitor (Optional, but Recommended) — If you have a multimeter with a capacitance (µF) setting, disconnect the wires from the capacitor (note their positions first!). Touch the multimeter leads to the common (C) and fan (F) terminals. Compare the reading to the µF rating printed on the capacitor label (e.g., 5 µF or 7.5 µF for the fan side). The reading should be within +/- 5% of the stated value. A reading significantly lower, higher, or zero indicates a bad capacitor.
- If your meter doesn't have a capacitance setting: Skip this step, but still assume a non-spinning fan points to capacitor failure.
- Remove the Old Capacitor — Carefully remove the wires, noting which wire goes to which terminal (taking a picture before disconnection is highly recommended). Some terminals might be double-stacked with wires. Once disconnected, unclip or unscrew the capacitor from its mounting bracket.
- Warning: Do NOT mix up the wires. Incorrect wiring can damage new components.
- Install the New Capacitor — Ensure your new capacitor matches the exact µF ratings and voltage of the old one. If it's a dual capacitor, ensure the fan µF rating and compressor (HERM) µF rating match. The voltage can be higher, but never lower. Mount the new capacitor securely, then reattach the wires to their correct terminals (C to C, HERM to HERM, FAN to FAN).
- Matching parts: Ensure the physical size is similar enough to fit back into the housing.
- Restore Power and Test — Replace the control panel cover. Go back to your electrical panel and turn the AC breaker back on. Set your thermostat to cool, and lower the temperature setting to a point where the AC should kick on. Observe the outdoor unit. The fan should now spin freely.
- If the fan still doesn't spin: Turn off power immediately. The issue might be the fan motor itself or the contactor. Re-check your wiring.
- Monitor Performance — Listen for any unusual noises and check for proper airflow from the fan. Your home should start cooling down properly. If the fan spins but struggles, or the unit cycles on and off quickly, further diagnostics by an HVAC professional might be needed.
- Ongoing care: Regularly clear debris from around the condenser unit to ensure good airflow.
Common Causes
- Electrical Surges: Lightning strikes, power outages, or fluctuations can stress and damage capacitor internals.
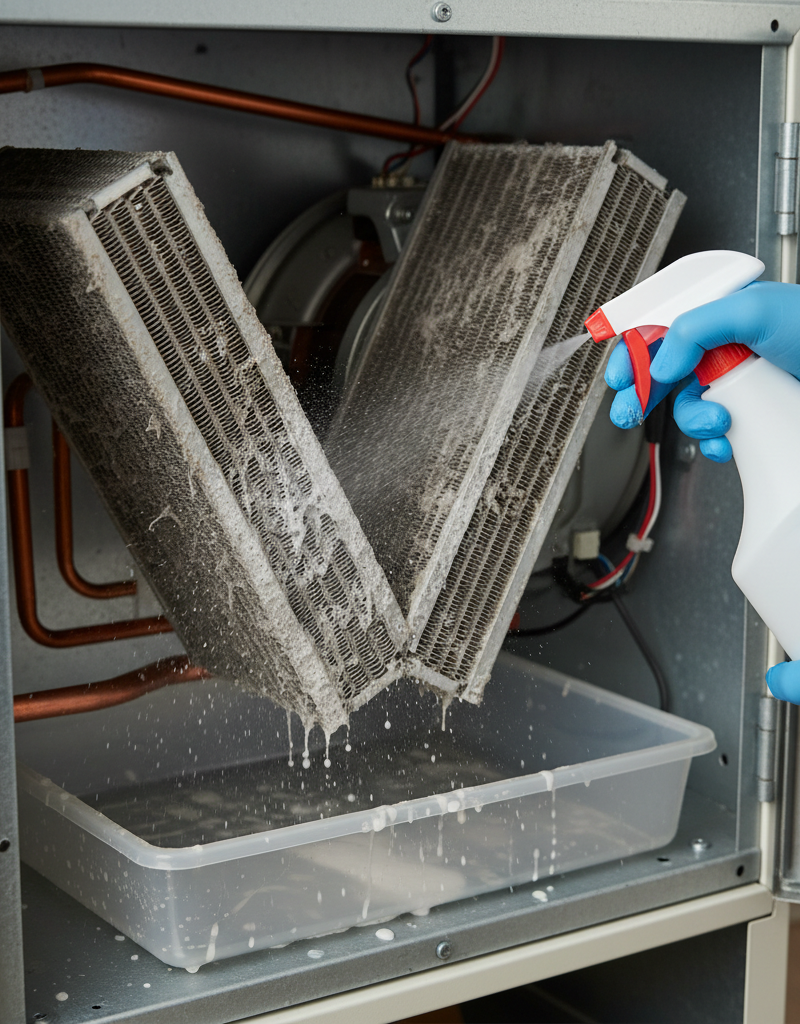
- Overheating: Prolonged operation in high ambient temperatures, especially if the condenser coils are dirty or airflow is restricted, can degrade the capacitor.
- Age and Wear: Capacitors naturally degrade over time, losing their ability to hold a charge. They typically last 5-10 years.
- Manufacturing Defects: Less common, but sometimes a capacitor can fail prematurely due to a flaw in its construction.
- Incorrect Sizing/Voltage (after replacement): If a capacitor was replaced with one that has incorrect µF ratings or voltage, it can lead to premature failure or damage to the motor.
Common Mistakes
- Forgetting to Disconnect Power: This is the most dangerous mistake, risking severe electrical shock. Always verify power is off with a meter.
- Not Discharging the Capacitor: Capacitors can store a charge even when power is off. Failing to discharge it can result in a painful, albeit usually non-lethal, shock.
- Buying the Wrong Capacitor: Matching µF ratings exactly is crucial for proper motor operation and longevity. The voltage rating should be equal to or higher than the original, never lower.
- Mixing Up Wires: Incorrectly wiring the new capacitor can immediately damage it or the fan motor. Always take a photo or diagram the connections.
- Assuming the Capacitor is the ONLY Cause: While it's the most common culprit, if a new capacitor doesn't fix the issue, the problem could be the fan motor, contactor, or even a wiring defect. Don't just keep replacing capacitors.
- Ignoring Other AC Problems: A failing capacitor might be a symptom of a larger issue, like a dirty condenser coil causing the fan motor to work harder and overheat the capacitor. Address underlying maintenance issues.
Cost & Time Breakdown
| Task | DIY Cost | Pro Cost | Time |
|---|---|---|---|
| New Run Capacitor | $10–$30 | Included in service | 5–10 minutes |
| Multimeter (if needed) | $20–$50 | N/A | N/A |
| Professional Service Call | N/A | $150–$400+ | 30–60 minutes |
| Total DIY Initial Outlay | $10–$80 | N/A | 15–30 minutes |
Tips & Prevention
- Regular Cleaning: Keep the outdoor unit free of leaves, grass clippings, and other debris. Clean the condenser coils annually with a fin comb or coil cleaner to ensure efficient heat transfer and reduce fan motor strain.
- Monitor Performance: Pay attention to strange noises, reduced airflow, or your AC running for unusually long cycles. These can be early warning signs of component failure.
- Annual Professional Tune-up: An HVAC technician can test capacitor health during a routine maintenance visit, identifying a weak capacitor before it fails completely.
- Surge Protection: Consider a whole-home surge protector or a dedicated surge protector for your AC unit to protect against electrical spikes.
- Shade the Unit (carefully): Planting shade trees or building a small awning can keep the unit cooler, extending component life, but ensure airflow isn't obstructed.
When to Call a Professional
While replacing a capacitor is a common DIY fix, there are clear instances when you should call a licensed HVAC professional. If you've replaced the capacitor and the condenser fan still isn't spinning, the problem is likely more serious, such as a burnt-out fan motor. Fan motor replacement is a more involved task, often requiring specialized tools and knowledge of wiring diagrams. If your AC unit is making grinding noises, emitting smoke or burning smells, or if you notice any unusual liquid leaks (which could be refrigerant), power down the unit immediately and contact a pro. These symptoms indicate a potentially severe issue that could lead to compressor failure, which is a very expensive repair. Additionally, if you are uncomfortable working with electrical components, even with power off, or if you are unsure about discharging the capacitor, it's always safer to defer to a professional. Finally, if your unit is still under warranty, attempting a DIY repair might void it, so check your warranty terms before proceeding. A professional can diagnose the exact issue, ensure safe repair, and maintain your warranty.
Related Articles
Keep troubleshooting with these hand-picked guides from FixlyGuide:
- The $0 Trick to Revive Your Frozen AC Fan (Before You Call a Pro) — Before you spend money on an AC repair, try this simple, no-cost trick to get your condenser fan spinning again and cool your home.
- The $5 Trick to Fix a Frozen AC Fan (and Why It Stops Spinning) — A non-spinning AC condenser fan can lead to system overheating and no cold air. Often, a simple, inexpensive fix can restore function.
- The $0 Trick to Get Your AC Condenser Fan Spinning Again (Before Calling a Pro) — Before you spend money on a technician, a simple, often overlooked check can get your AC condenser fan spinning and cool air flowing.
- The #1 Reason Your AC Fan Won't Spin (And the 20-Minute Fix) — Diagnose and fix a non-spinning AC condenser fan with our step-by-step guide, saving you money and restoring your home's cool air.
- The $5 Part That Stops Your Dryer From Heating (And How to Replace It in 30 Minutes) — A dryer that tumbles but doesn't heat often points to a blown thermal fuse, a simple and inexpensive fix most homeowners can do themselves.
- The #1 Mistake Homeowners Make When a Gas Burner Won't Light (And the Easy Fix) — Before you call a technician, discover the most common, overlooked reason your gas stove burner isn't lighting and how to fix it yourself i…
Get the print-ready PDF of this guide
A clean, ad-free, printable version you can keep on your phone or pin to the workshop wall. We'll also send occasional weekly tips matched to your home situation.
- Print-optimized layout
- Tools, materials & every step included
- Unsubscribe anytime
Frequently asked questions
How do I know if my AC capacitor is bad?+
The most common sign of a bad AC capacitor is when your outdoor unit (condenser) hums, but the fan on top isn't spinning, or the compressor isn't starting. Visually, a bad capacitor may appear bulging, swollen on top, or leaking oil. However, it can fail internally without any visible signs. A multimeter with a capacitance setting can confirm its failure by testing its microfarad (µF) rating.
Can I replace an AC capacitor myself?+
Yes, replacing an AC capacitor is a common and relatively easy DIY repair for homeowners, provided you take proper safety precautions. The most critical step is to ensure the power to the unit is completely off and to safely discharge the capacitor before handling it, as it can store a lethal electrical charge.
What tools do I need to replace an AC capacitor?+
You will need a screwdriver or nut driver to open the control panel, a new capacitor with matching µF and voltage ratings, and ideally, insulated pliers and a multimeter with a capacitance setting for testing and safely discharging the old capacitor. A non-contact voltage tester is also highly recommended for confirming power is off.
How much does it cost to replace an AC capacitor?+
The cost of a new AC run capacitor is typically between $10 and $30 if you purchase it yourself. If you hire a professional HVAC technician, the total cost for parts and labor can range from $150 to $400, depending on your location and the service company, as the capacitor cost will be absorbed into the service fee for diagnosis and replacement.
What happens if I put the wrong capacitor in my AC unit?+
Installing a capacitor with incorrect microfarad (µF) ratings or insufficient voltage can lead to serious problems. The motor might not start, run inefficiently, overheat, or even burn out prematurely. Always match the µF values exactly and ensure the new capacitor's voltage rating is equal to or higher than the original. Incorrect wiring can also cause immediate damage.


Discussion
Loading comments…