
Tools & materials you'll need
Affiliate linksAs an Amazon Associate FixlyGuide earns from qualifying purchases — at no extra cost to you. Prices and availability are accurate as of publication and subject to change.
Quick Answer
If your AC is blowing warm air, don't panic. The leading cause is frequently a dirty evaporator coil, which prevents your system from effectively absorbing heat from your home's air. Cleaning this coil, along with checking your air filter and thermostat settings, can often resolve the issue without a professional call. This guide will walk you through diagnosing and fixing a dirty evaporator coil, a common and often DIY-friendly repair that can save you significant money and restore your home's comfort.
The Problem
Few things are more disheartening on a hot day than a whirring air conditioner that's pushing out nothing but warm, stale air. Beyond the immediate discomfort, an AC system struggling to cool your home is wasting energy, driving up your utility bills, and potentially shortening the lifespan of expensive components. While many issues can cause an AC to blow warm air, from refrigerant leaks to frozen coils, a surprisingly common and often overlooked culprit is a dirty evaporator coil. This critical component, hidden within your indoor AC unit, is responsible for extracting heat and humidity from your home's air. When it's caked with layers of dust, dirt, pet dander, and other airborne particles, its ability to transfer heat plummets dramatically. The result? Your AC runs and runs, consuming energy, but fails to cool your home effectively, leaving you with that unwelcome blast of warm air.
How It Works
Understanding how your air conditioner cools your home is key to diagnosing problems. Your AC system operates on the principle of heat exchange, not by introducing cold air, but by removing heat. Refrigerant, a special chemical compound, is the medium that facilitates this transfer.
Inside your home, the warm, humid air is drawn into the indoor unit (the air handler or furnace). This air passes over the evaporator coil. The evaporator coil is a series of copper tubes filled with liquid refrigerant, which is under low pressure. Because of this low pressure, the refrigerant has a very low boiling point. As the warm indoor air blows over the coil, the heat from the air is absorbed by the refrigerant, causing it to evaporate and turn into a cool gas. This is the 'cooling' effect you feel – heat is being pulled from your living space.
Crucially, as the refrigerant absorbs heat, the air passing over the coil is cooled and dehumidified, and then blown back into your home through your ducts. The now-gaseous, heat-laden refrigerant then travels to the outdoor unit (the condenser). Here, it's compressed, which increases its pressure and temperature. The hot, high-pressure gas then flows through the condenser coil, where a fan blows outdoor air over it, allowing the refrigerant to release the heat it picked up from inside your home. As it cools, the refrigerant condenses back into a liquid. Finally, the liquid refrigerant passes through an expansion valve, where its pressure drops, and it returns to the evaporator coil to begin the cycle anew.
When the evaporator coil is dirty, the insulating layer of grime prevents efficient heat transfer. The warm air can't effectively transfer its heat to the refrigerant, so the refrigerant doesn't get cold enough to properly cool the air. This leads to the AC fan blowing air over a coil that isn't sufficiently cold, resulting in warm air coming from your vents. Furthermore, a dirty coil can restrict airflow, making the system work harder, increasing energy consumption, and potentially leading to a frozen coil if the temperature of the refrigerant drops too low due to insufficient heat absorption.
Step-by-Step Fix
Before you begin, always prioritize safety. Turn off your AC system at the thermostat and, crucially, at the circuit breaker dedicated to your outdoor and indoor units. This prevents accidental startup and reduces the risk of electrical shock.
-
Safety First: Power Down — Locate your thermostat and set it to OFF. Then, go to your home's electrical panel and switch off the circuit breakers labeled for your furnace/air handler (indoor unit) and outdoor AC unit. Use a voltage tester to ensure there's no power at the indoor unit.
- Tools: Voltage tester
- Safety: Never work on electrical components with power on. Confirm power is off before touching anything.
-
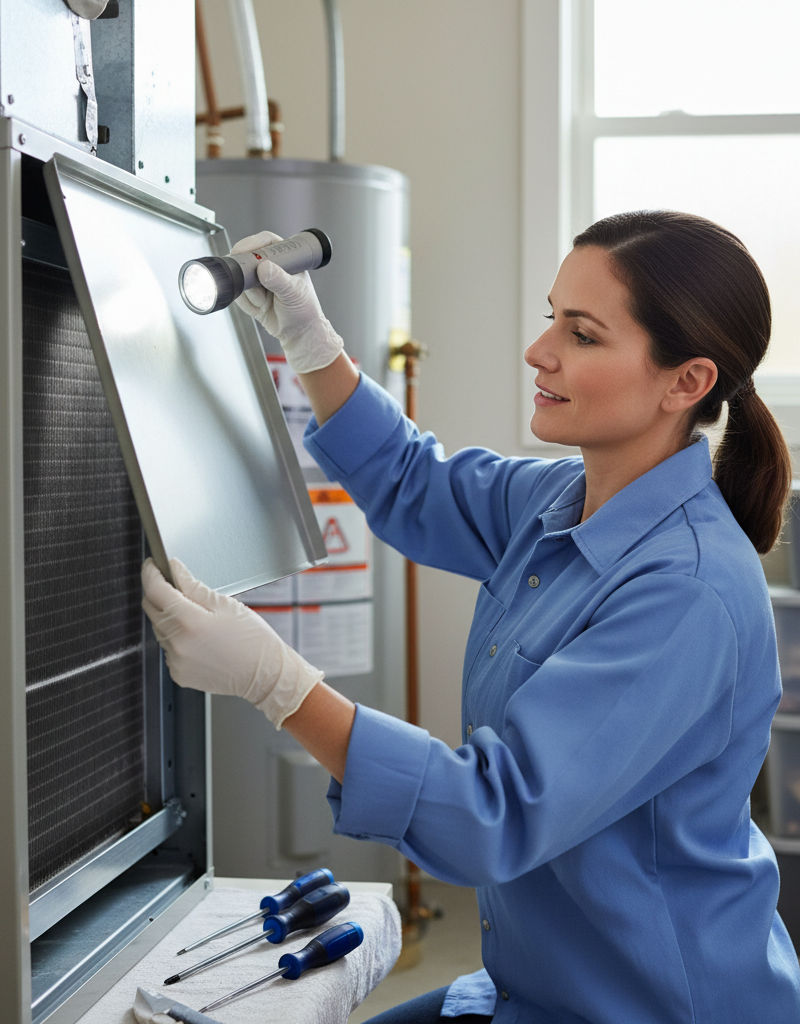
Access the Indoor Unit — Your evaporator coil is located within the indoor air handler or furnace, usually in a metal cabinet above or below the furnace itself. You'll need to locate and remove an access panel. These panels are often secured with screws or clips. Take careful note of how the panels are reinstalled.
- Tools: Screwdriver (Phillips or flathead, depending on fasteners)
- Tip: Some units have a filter slot near the coil, check there first if you can't locate the coil directly. Your owner's manual will have diagrams.
-
Inspect and Clean the Area — Once the panel is off, you should see the V-shaped or A-shaped evaporator coil. Before you get to the coil itself, use a shop vac or a stiff brush to clean up any obvious dust, dirt, or debris on the surrounding surfaces, especially in the air return plenum leading to the coil.
- Tools: Shop vacuum with brush attachment, stiff brush
- If this doesn't work: If the coil is completely frozen solid, you'll need to let it thaw naturally for several hours (keep the power off) before attempting any cleaning.
-
Brush Away Loose Debris — Carefully use a soft-bristled brush (like a paintbrush or a coil cleaning brush) to gently brush away any loose dust, lint, or debris from the coil fins. Work from top to bottom, being careful not to bend the delicate fins. A dirty coil will look visibly covered in a grey, fuzzy layer.
- Tools: Soft-bristled brush or coil cleaning brush
- Safety: Avoid touching the refrigerant lines that enter and exit the coil; they can be very cold and easily damaged.
-
Apply Evaporator Coil Cleaner — Purchase a specialized, no-rinse evaporator coil cleaner (available at most hardware stores). Follow the product instructions precisely. Typically, you'll spray the cleaner evenly over the entire coil surface. The cleaner is designed to foam up, break down the grime, and then condense and drain away with the condensate.
- Materials: Foaming no-rinse evaporator coil cleaner
- Note: Ensure the cleaner you purchase is specifically for evaporator coils and is safe for your unit's materials. Don't use harsh chemicals.
-
Clean the Condensate Drain Pan and Line — Below the evaporator coil, you'll find the condensate drain pan. This pan collects the water that condenses on the coil. Over time, algae and mold can grow here, clogging the drain line. Pour a cup of distilled vinegar into the pan to kill any growth. If the pan is visibly sludgy, gently clean it out. Check the drain line exit, usually a PVC pipe, for blockages.
- Materials: Distilled white vinegar, possibly a flexible brush for the drain line.
- If this doesn't work: If the drain line is severely clogged, you may need to use a wet/dry vacuum to clear it by attaching it to the outdoor end of the drain line and sucking out the blockage.
-
Replace Access Panels and Restore Power — Once the coil cleaner has worked its magic (check product instructions for dwell time) and you've cleaned the drain pan, reattach the access panels securely. Return to your electrical panel and switch the AC and furnace/air handler circuit breakers back on. Then, set your thermostat to
Related Articles
Keep troubleshooting with these hand-picked guides from FixlyGuide:
- The #1 Reason Your AC Blows Warm Air (And It's Not What You Think) — A dirty air filter is often the overlooked culprit behind an air conditioner blowing warm air, hindering its ability to cool your home effi…
- The #1 Reason Your AC Blows Warm Air (And It's Not What You Think) — Discover the most common and often overlooked reason your AC might be blowing warm air, and how a simple capacitor fix can restore cool air.
- The #1 Reason Your AC Blows Warm Air (And It's Not What You Think) — Before you panic, a surprisingly simple issue often causes your AC to blow warm air, leading to discomfort and higher energy bills.
- The Hidden Reason Your AC Freezes — And Why Most Homeowners Get It Wrong — Discover the surprising truth behind why your outdoor AC unit is freezing up and the common mistake homeowners make when trying to fix it.
- The Secret Culprit Behind a Humid House (Even With AC Blasting) — A humid house with the AC running often points to an overlooked issue with your air conditioning system's dehumidification, not just coolin…
- The #1 Mistake Homeowners Make When Diagnosing Low Water Pressure (It's Not Your Pipes!) — Low water pressure throughout your house often points to a single, easily overlooked culprit: your main water shut-off valve.
Get the print-ready PDF of this guide
A clean, ad-free, printable version you can keep on your phone or pin to the workshop wall. We'll also send occasional weekly tips matched to your home situation.
- Print-optimized layout
- Tools, materials & every step included
- Unsubscribe anytime
Frequently asked questions
How often should I clean my evaporator coil?+
Ideally, your evaporator coil should be inspected and cleaned annually by a professional or every 1-2 years by a diligent homeowner. If you have pets, allergies, or live in a dusty environment, more frequent checks are beneficial.
Can a clogged air filter cause warm air from the AC?+
Yes, absolutely! A clogged air filter restricts airflow over the evaporator coil, causing it to freeze up. When the coil freezes, it can't absorb heat, and the fan will blow warm air off the ice. Always check and change your filter before checking the coil.
What if my AC is still blowing warm air after cleaning the coil?+
If cleaning the coil doesn't resolve the issue, other problems might be at play, such as a low refrigerant charge (leak), a faulty capacitor, a malfunctioning fan motor (inside or outside), or a problem with your AC's compressor. At this point, it's best to call a licensed HVAC professional for diagnosis and repair.
Is evaporator coil cleaning dangerous?+
Cleaning an evaporator coil can be dirty, but it's not inherently dangerous if you follow safety precautions. The most important steps are turning off all power to the unit at the circuit breaker and wearing protective gear like gloves and eye protection when using chemical cleaners. Avoid bending the delicate fins.
How can I prevent my evaporator coil from getting dirty so quickly?+
Regularly changing your air filter (every 1-3 months, depending on usage and household factors) is the single most effective way to keep your evaporator coil clean. Additionally, keeping your home as dust-free as possible and ensuring your return air vents aren't blocked will help. Consider using a higher MERV rated filter for better particle capture if your system can handle it.


Discussion
Loading comments…