
Tools & materials you'll need
Affiliate linksAs an Amazon Associate FixlyGuide earns from qualifying purchases — at no extra cost to you. Prices and availability are accurate as of publication and subject to change.
Quick Answer
If your air conditioner isn't turning on, the most common culprits are incorrect thermostat settings, a tripped circuit breaker, a clogged condensate drain, or a blown fuse. Start by ensuring your thermostat is set to 'Cool' and a temperature below the current room temperature, then check your electrical panel for a tripped breaker. Many minor issues can be resolved with a few simple diagnostic steps, potentially saving you a costly service call.
The Problem
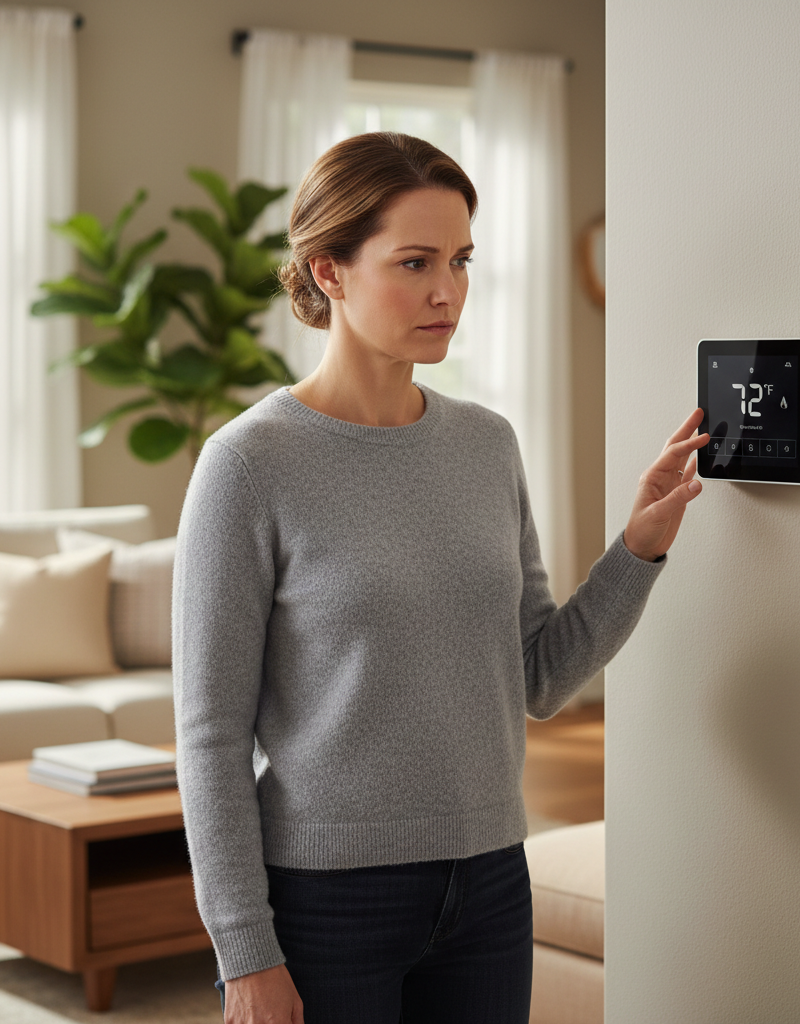
You've set your thermostat, but the familiar hum of your air conditioner never starts. The house gets warmer, and panic might begin to set in, especially on a sweltering day. An AC unit that refuses to turn on can be frustrating, but it's often a symptom of an easily diagnosable problem rather than a major system failure. This guide will walk you through the logical steps to pinpoint the issue, from the simple and obvious to the slightly more complex internal mechanisms, so you can decide if it's a DIY fix or time to call in the professionals. Understanding the 'why' behind the 'no go' will empower you to react effectively and efficiently.
How It Works
To understand why your AC isn't turning on, it helps to know how it should work. When you set your thermostat to 'Cool' and a temperature below the ambient room temperature, the thermostat, which is essentially a switch, sends a low-voltage signal (typically 24 volts AC) to the indoor air handler. This signal tells the air handler to prepare and, simultaneously, another signal is sent to the outdoor condensing unit. The outdoor unit contains the compressor and condenser fan, which are the heart of the cooling cycle. The compressor pressurizes refrigerant, which then circulates through coils, absorbing heat from your home's air (via the indoor evaporator coil) and releasing it outside (via the outdoor condenser coil). A contactor in the outdoor unit acts as a relay, closing to send high-voltage power to the compressor and fan motor when it receives that low-voltage signal. If any part of this chain is interrupted – from the thermostat's signal to the power supply to the contactor's ability to close – your AC won't kick on. Safety switches, like those found in the condensate pan, can also interrupt this process to prevent water damage if the drain line clogs. Similarly, a high-pressure or low-pressure switch can prevent the compressor from running if refrigerant levels are critically off or if there's a blockage, protecting the system from damage.
Step-by-Step Fix
Safety First: Before attempting any electrical work, always turn off the power to your HVAC system at both the thermostat and the main electrical panel. Wear appropriate personal protective equipment, including gloves and eye protection.
1. Check Your Thermostat Settings — The simplest oversight
- Action: Ensure your thermostat is set to 'Cool' mode and that the desired temperature is at least 5-10 degrees Fahrenheit below the current room temperature. Sometimes the fan setting might be on 'On' instead of 'Auto'; while not preventing cooling, it's good to ensure it's on 'Auto' for normal operation.
- If this doesn't work: Consider changing the batteries if it's a battery-powered thermostat. A low battery can prevent proper communication with the HVAC system.
2. Inspect the Circuit Breaker — Resetting power to the system
- Action: Go to your main electrical panel. Look for breakers labeled 'AC', 'Furnace', or 'Air Handler'. If any are in the 'tripped' position (usually midway between 'On' and 'Off'), flip them firmly to 'Off' and then back to 'On'. There might be two breakers for the AC: one for the indoor unit and one for the outdoor unit. Check both.
- Safety: Always use caution around electrical panels. If you're unsure, or if breakers trip repeatedly, do not proceed and call an electrician.
- If this doesn't work: If the breaker trips immediately after being reset, there's likely an electrical short or an overloaded circuit. Do not attempt to reset it again; call a licensed electrician.
3. Examine the Outdoor Disconnect Switch — Power cut at the source
- Action: Locate the small metal box mounted on your house wall near the outdoor AC unit. Open it and check if a fuse is blown (looks like a glass tube with a broken filament) or if the pull-out disconnect block is inserted correctly and in the 'On' position. Some newer disconnects have a simple toggle switch.
- Tools: Small flathead screwdriver (for some fuse holders).
- If this doesn't work: If fuses are blown, replace them with new ones of the exact same amperage rating. If the disconnect still doesn't provide power, there might be an issue with the wiring to the unit.
4. Clear Clogged Condensate Drain Line — A common safety shutdown
- Action: The indoor unit has a drain pan that collects condensation. If the drain line clogs, the pan fills, and a safety float switch will trip, shutting down the AC to prevent water overflow. Locate the condensate line (usually a PVC pipe exiting the indoor unit) and check for standing water in the pan. You can often clear a clog by pouring a cup of distilled vinegar mixed with water down the access port of the drain line, or by using a wet/dry vacuum at the exterior end of the line.
- Materials: Distilled white vinegar, wet/dry shop vacuum (optional).
- If this doesn't work: If the clog is stubborn, or if there's no visible access point, a professional might need to clear it with specialized equipment.
5. Check the Contactor in the Outdoor Unit — The 'on' switch for your compressor
- Action: With the power OFF at the electrical panel, remove the service panel on your outdoor unit (usually held by a few screws). Locate the contactor – it's a relay with a small plunger. With the thermostat calling for cooling, and power restored to the unit, observe if the plunger pulls in when the unit tries to start. If it doesn't pull in, or if it buzzes but doesn't engage fully, it might be faulty or not receiving the low-voltage signal. Do NOT touch internal components while power is on.
- Safety: This step involves working near high-voltage components. Ensure power is OFF before opening panels. Only observe if power is on; do not touch. If you're uncomfortable, skip this step and call a professional.
- If this doesn't work: If the contactor isn't engaging, use a multimeter to check for 24V AC at the low-voltage wires connected to the contactor's coil (power must be on for this check). If 24V is present, the contactor is likely bad and needs replacement. If no 24V, the issue is upstream (thermostat, wiring, or control board).
6. Reset the Furnace/Air Handler System — A quick power cycle
- Action: For some systems, turning off the main power to the entire HVAC system (usually at the furnace or air handler's dedicated circuit breaker) for 30 seconds to a minute can reset internal controls. Then, turn the power back on and try the AC again. Ensure the fan switch on the thermostat is set to 'Auto' after the reset.
- Note: This is less about fixing a specific component and more about clearing temporary electronic glitches.
Common Causes
- Thermostat Malfunction: Incorrect settings, dead batteries, or internal failures can prevent signals from reaching the AC.
- Electrical Issues: Tripped circuit breakers, blown fuses at the outdoor disconnect, or loose wiring can cut power to the unit.
- Clogged Condensate Drain: As mentioned, this is a very common cause, triggering safety switches.
- Failing Contactor: This vital component in the outdoor unit can wear out, preventing power from reaching the compressor and fan.
- Overheated Compressor: If the compressor overheats (due to dirty coils, low refrigerant, or a bad capacitor), an internal thermal overload switch will trip, preventing it from starting until it cools down.
- Faulty Control Board: Less common but possible, the main control board in the indoor or outdoor unit could be faulty and not sending the correct signals.
Common Mistakes
- Ignoring the Thermostat: Many homeowners jump straight to the outdoor unit without first confirming basic thermostat settings or checking batteries. Always start with the simplest checks.
- Resetting a Tripped Breaker Repeatedly: If a circuit breaker trips immediately after being reset, it indicates a serious electrical problem (short circuit, overload). Continuously resetting it can damage wiring or appliances and create a fire hazard.
- Replacing Fuses with Incorrect Amperage: Always use fuses with the exact same amperage rating as the original. Using a fuse with a higher rating can lead to serious electrical damage or fire if a fault occurs.
- Overlooking the Condensate Drain: This safety mechanism is designed to prevent water damage, and its activation means it's doing its job. Ignoring a full drain pan or attempting to force the AC to run can lead to water leaks and damage to your home.
- Attempting Refrigerant Recharging: Refrigerant is not a consumable that needs topping off like car oil. If your system is low on refrigerant, there's a leak somewhere. Adding more without fixing the leak is a temporary, environmentally harmful, and often illegal solution. This is always a job for a licensed HVAC technician.
- Touching Electrical Components with Power On: Never work inside an HVAC unit, especially the outdoor condenser, without first cutting power at the main electrical panel and the outdoor disconnect. High voltage can be lethal.
Cost & Time Breakdown
| Task | DIY cost | Pro cost | Time |
|---|---|---|---|
| Thermostat Batteries/Settings | $5–$20 | $0 (if part of service call) | 5 minutes |
| Circuit Breaker Reset | $0 | $0 (if part of service call) | 5 minutes |
| Blown Fuse Replacement | $10–$20 | $75–$150 | 10–15 minutes |
| Condensate Drain Clearing | $0–$10 | $100–$250 | 30 minutes |
| Contactor Replacement | $20–$50 | $150–$350 | 30–60 minutes |
| Professional Diagnostic | N/A | $75–$150 | 30–60 minutes |
Tips & Prevention
- Regular Thermostat Checks: Make it a habit to periodically check your thermostat batteries (if applicable) and ensure settings are correct, especially after power outages or seasonal changes.
- Annual HVAC Tune-up: Schedule professional maintenance once a year, typically in the spring. A technician can identify potential issues like weak capacitors, dirty coils, or impending contactor failure before they lead to a complete breakdown.
- Keep Condensate Drain Clear: Pour a cup of distilled white vinegar into your condensate drain line's access port every few months to prevent algae and sludge buildup. Flush with water afterward.
- Maintain Clear Outdoor Unit: Ensure the outdoor condenser unit is free from debris, weeds, and anything blocking airflow (e.g., shrubs, fences). Trim back foliage at least 2 feet from all sides.
- Check Air Filter Regularly: A dirty air filter can restrict airflow, causing your system to work harder and potentially trip safety switches if components overheat. Change or clean your filter monthly during peak use.
When to Call a Professional
While many AC 'no-start' issues are DIY-friendly, some problems require the expertise of a licensed HVAC technician. If, after checking your thermostat, circuit breakers, and easily accessible fuses, your AC still won't turn on, it's time to call a pro. Specifically, if the outdoor circuit breaker repeatedly trips (indicating a serious electrical fault), if you suspect a refrigerant leak (evidenced by ice on coils or a hissing sound), if you're uncomfortable working with high-voltage electricity, or if you simply cannot identify the source of the problem, you should always defer to a professional. Complex electrical diagnoses, compressor issues, control board failures, or any repairs involving refrigerant are dangerous and require specialized tools and training. Attempting these repairs yourself can lead to further damage, costly repairs, or even personal injury, and can void your warranty. A qualified technician can safely diagnose and repair these intricate problems, ensuring your system operates efficiently and safely.
Related Articles
Keep troubleshooting with these hand-picked guides from FixlyGuide:
- The #1 Mistake Homeowners Make When Their AC Won't Turn On (And the Easy Fix) — Learn the most common oversight homeowners make when their AC won't turn on and how to troubleshoot basic issues to restore cooling.
- The #1 Reason Your AC Blows Warm Air (And It's Not What You Think) — A dirty air filter is often the overlooked culprit behind an air conditioner blowing warm air, hindering its ability to cool your home effi…
- The #1 Mistake Homeowners Make When Their AC Won't Turn On (And the Easy Fix) — Learn the most common reason your air conditioner won't turn on and how to diagnose and fix it with simple steps.
- The #1 Mistake Homeowners Make When Heat Pumps Stop Heating in Winter — Discover the crucial mistake most homeowners make when their heat pump struggles in cold weather and how to fix it, potentially saving hund…
- The Secret Reason Your AC Isn't Drying Your Air (And What to Check First) — Your AC should cool and dehumidify, but if your house feels muggy, there's a specific, often overlooked culprit preventing it from doing it…
- The Hidden Reason Your AC Isn't Cooling (And Why Most Homeowners Get It Wrong) — Is your central AC blowing warm air or struggling to cool your home? The culprit is often a silent but serious issue many homeowners overlo…
Frequently asked questions
Why is my AC not turning on when the thermostat is set to cool?+
If your AC isn't turning on despite the thermostat being set to cool, first check the thermostat's batteries and ensure the temperature setting is significantly lower than the room temperature. Next, inspect your home's electrical panel for a tripped circuit breaker labeled for your AC or furnace. A clogged condensate drain line with an activated safety switch is also a very common cause, preventing the system from starting.
What does it mean if my AC fan runs but the compressor doesn't turn on?+
If your AC fan runs but the compressor doesn't engage, it often points to a problem with the outdoor unit's electrical components. Common culprits include a faulty run capacitor, a bad contactor (the switch that powers the compressor), or an issue with the compressor itself. It could also indicate low refrigerant levels, causing a low-pressure switch to prevent compressor operation. This usually requires professional diagnosis.
Can a dirty air filter stop my AC from turning on?+
While a dirty air filter won't directly prevent your AC from turning on, it can severely restrict airflow. This can cause the evaporator coil to freeze or the system to overheat, potentially tripping safety switches (like a high-pressure switch) that *will* shut down the compressor and prevent the unit from running until the issue is resolved and everything thaws/cools. Regularly replacing your air filter is crucial preventative maintenance.
How do I reset my AC unit when it won't turn on?+
To reset your AC unit, first turn off the thermostat. Then, go to your main electrical panel and switch off the circuit breaker(s) that power your indoor air handler/furnace and outdoor AC unit. Wait for at least 30 seconds to a minute before flipping the breakers back to the 'On' position. Finally, turn your thermostat back on and set it to 'Cool' at a low temperature to see if the unit starts.
When should I call an HVAC professional if my AC won't start?+
You should call an HVAC professional if your AC still won't start after you've checked the thermostat settings, reset the circuit breakers, replaced any blown fuses at the outdoor disconnect, and cleared any visible condensate drain clogs. Any issues involving refrigerant, repeatedly tripping breakers, control board malfunctions, or if you're uncomfortable working with electrical components, warrant a professional service call. Attempting complex repairs yourself can be dangerous and costly.


Discussion
Loading comments…