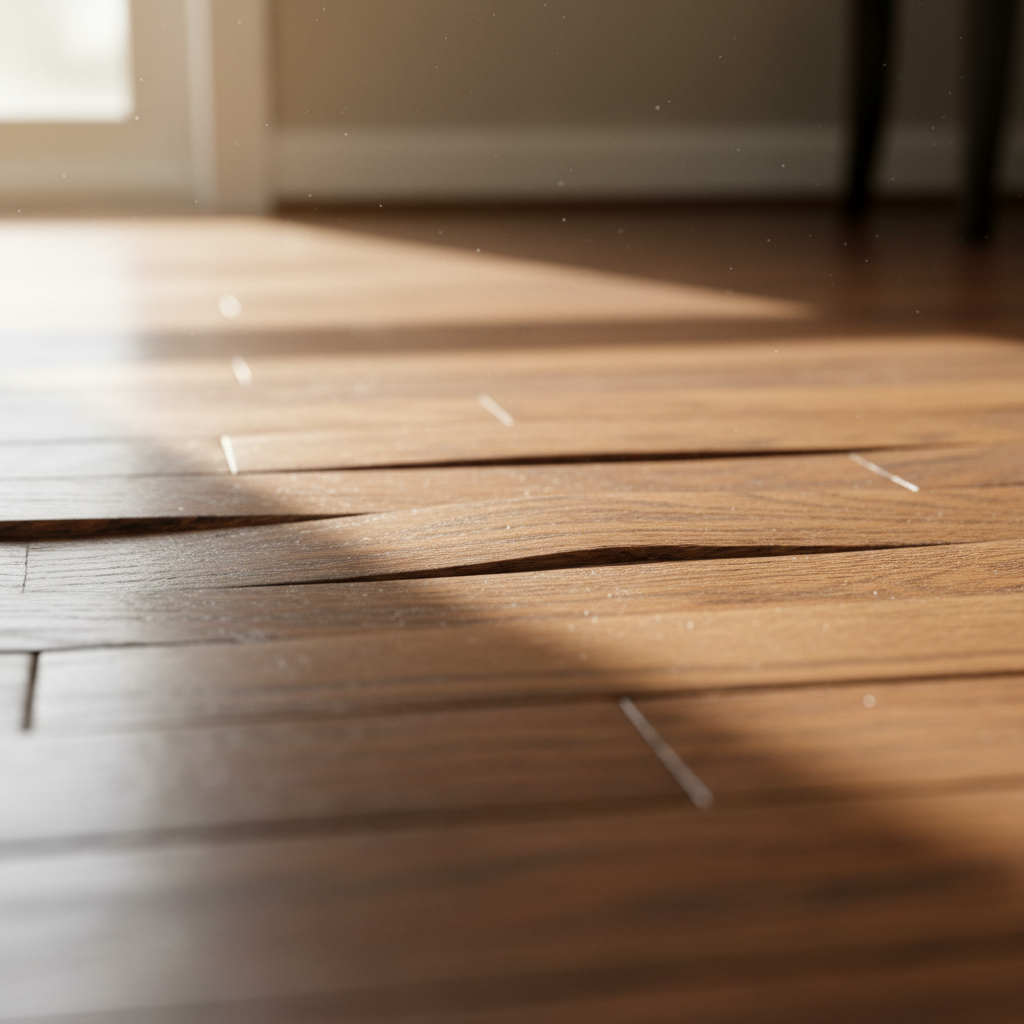
- Excessive Humidity in Crawl Spaces: This one gets people all the time. If there’s no decent ventilation or vapor barrier, ground moisture works its way up and loads the bottom of the planks.
- Plumbing Leaks: Small slow leaks from pipes, dishwashers, refrigerators, or toilets can soak the subfloor and cause cupping in a hurry.
- Slab Moisture: For floors over concrete slabs, a weak or damaged vapor barrier can let moisture wick up from the slab into the wood.
- HVAC Issues: Badly sized or malfunctioning HVAC systems can swing humidity all over the place, and wood hates that.
- Improper Acclimation: If hardwood doesn’t get enough time to adjust to the house before installation, it can react hard once conditions change.
General remodeling · Renovation planning
| Project category | General remodeling |
|---|---|
| Problem type | Renovation planning |
| Trade required | General contracting |
| Urgency | Planned project |
| Safety risk | Low safety risk |
| DIY suitability | Pro recommended |
| Cost category | Major investment |
| Typical timeline | Design and permitting often 2–4 months before work starts |
| Contractor type | General contractor |
Repair option
Phase the work and fix the building envelope first.
Replacement option
Full renovation with permits, design, and a general contractor.
Common causes
- Space no longer fits how the household lives
- Resale preparation
- Deferred maintenance stacking up
Relevant tools:project cost estimatorcompare quoteshome improvement material prices
Published September 8, 2026Last updated September 8, 2026
Tools & materials you'll need
Affiliate linksAs an Amazon Associate FixlyGuide earns from qualifying purchases — at no extra cost to you. Prices and availability are accurate as of publication and subject to change.
Quick Answer
Cupped hardwood floors are what you get when the edges of your wood planks rise higher than the center, so the whole floor feels a little wavy underfoot. That’s not just a looks problem. It’s your house waving a red flag about moisture. Most times, you’ve got too much moisture underneath the floor and not enough above it. Track that moisture issue down first, because that’s the real fix if you want to keep the floor from turning into permanent damage.
The Problem
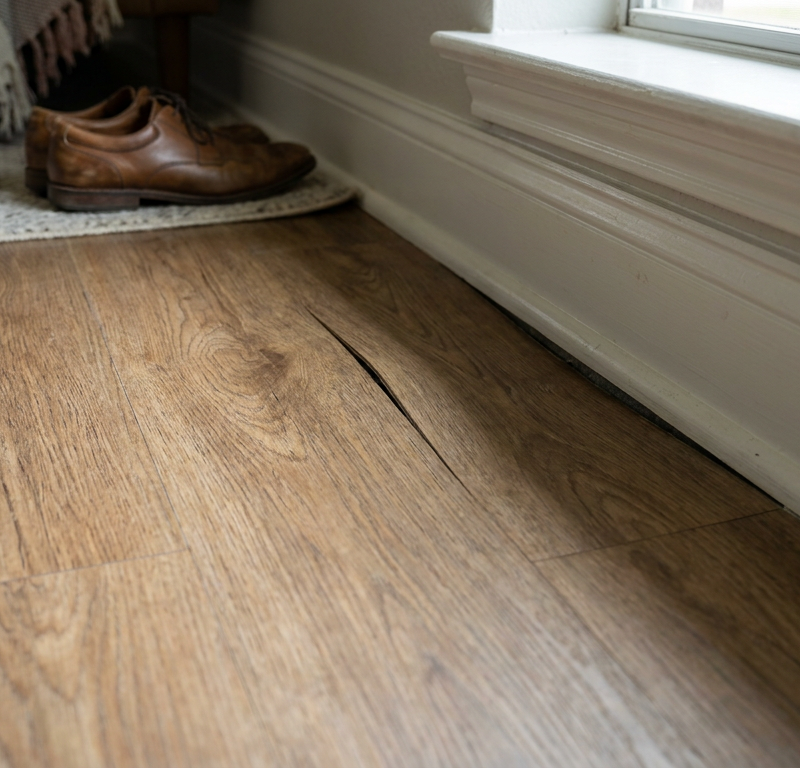
Alright, so you’re walking across your hardwood and you feel it. Not a tiny bump here and there — I mean those clear ridges, like little hills and valleys running across the grain. That’s cupping. I’ve seen it a pile of times. The edges of the board soak up moisture, swell, and lift while the center stays drier, or even shrinks a hair. It’s not just ugly, either. It can trip people up, make cleaning a nuisance, and point to a bigger problem hiding below the surface. You don’t want to shrug this off.
How It Works
Think of wood like a sponge, but a picky one. It’s hygroscopic, which means it’s always trading moisture with the air around it. When a hardwood plank gets installed, it’s usually sitting at an equilibrium moisture content (EMC) that matches the average conditions in the house. That’s usually somewhere between 6% to 9% moisture content, depending on your region.
Then the balance gets knocked off — and boom, the board starts moving. With cupping, the bottom of the plank, which sits closer to the subfloor and maybe an unconditioned crawl space, starts pulling in more moisture than the top face, which is exposed to the drier indoor air. The bottom fibers swell, they push outward, and since the top side can’t keep up, the edges curl up. It’s a slow little fight, and the bottom side’s winning. If that moisture difference hangs around for weeks or months, the wood can get stressed enough that the fibers stay bent. Once that happens, drying alone won’t flatten it out all the way, and you’re looking at sanding, refinishing, or straight-up replacement. That’s why finding the real moisture source matters. Leaky pipe? Bad crawl space ventilation? Even a basement humidifier cranked too high can do it. I pulled a water heater in Frisco last month that had exactly this leak pattern, and the floor told the story before the homeowner did.
Step-by-Step Fix
1. Identify the Source — Start with the detective work.
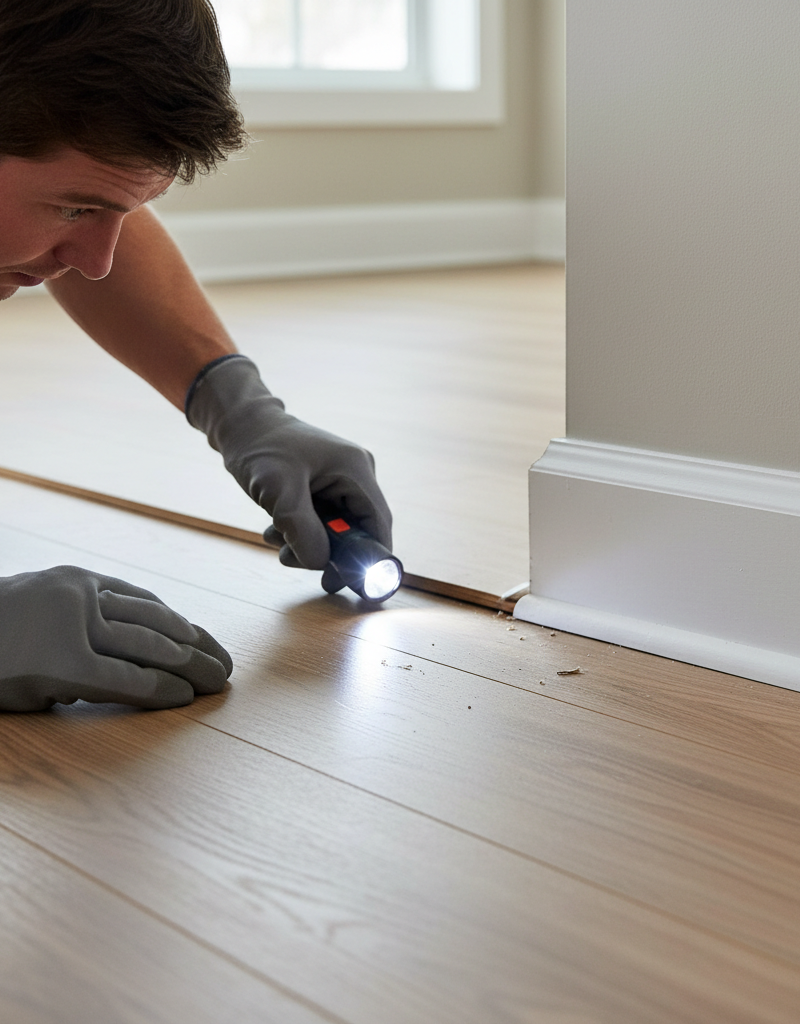
First off, figure out why this is happening. Cupping doesn’t just show up out of nowhere. Is there a leak under the floor? A wet crawl space? A dishwasher that’s been dribbling water for who knows how long? Look for obvious water sources near the damaged area. Check the plumbing, look for condensation around foundation vents, and don’t forget the basics — are you soaking the floor every time you clean it? Sometimes it’s something dumb-simple, like a refrigerator water line seeping or a plant pot overflowing.
2. Measure Moisture Levels — Don’t guess. Check it.
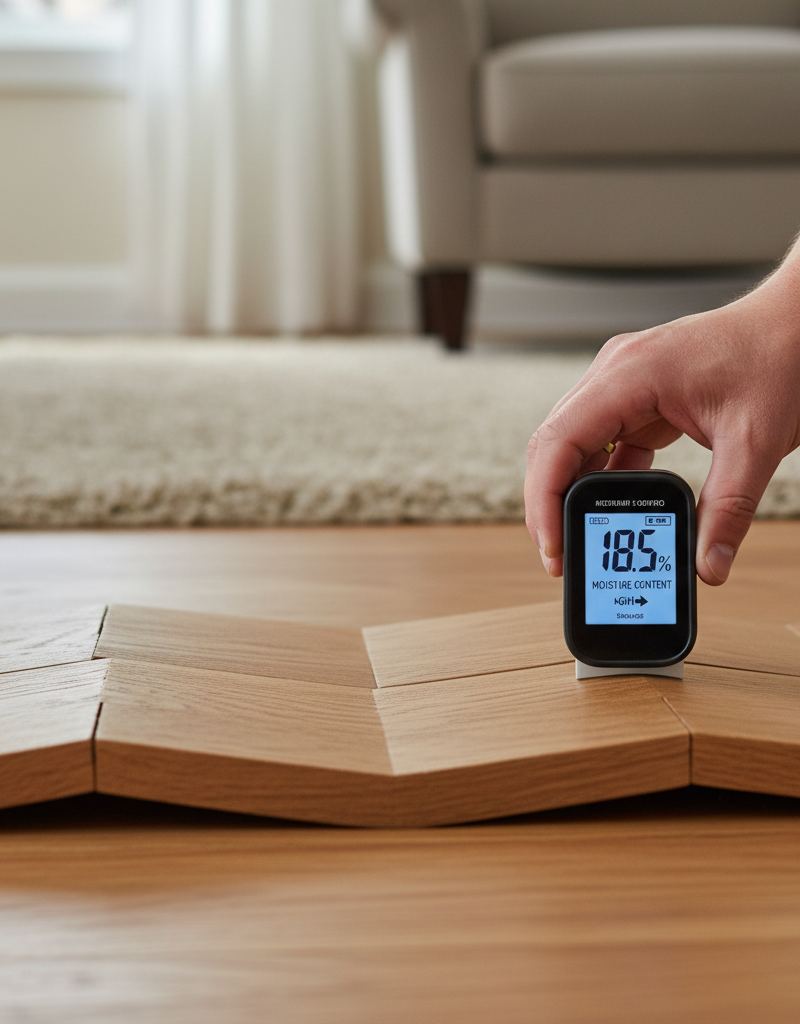
Grab a pin-type moisture meter. You can pick one up for about $30-$50 at pretty much any hardware store. Stick it into a cupped board, then into a flat board in another room. You want a comparison. A healthy floor should be between 6% and 9% moisture content. If the cupped boards are reading 12% or more and the dry area is sitting at 7%, well, you’ve got your answer. Check the subfloor too if you can get to it, either from a crawl space or by popping up a register vent carefully.
3. Control the Environment — Get things back in balance.
Once you’ve found the moisture source, you’ve got to stop it. If it’s a plumbing leak, fix it. If the crawl space is damp, you might need a vapor barrier, better ventilation, or a dehumidifier down there. Inside the house, a dehumidifier can help pull excess moisture out of the air. Try to keep indoor humidity between 35-55% relative humidity. And give it time — wood doesn’t snap back like a rubber mat.
4. Wait It Out — Wood works on its own clock.
This isn’t a quick patch job. You need to let the floor acclimate to the new, drier conditions. That could take a few weeks or several months, depending on how bad the cupping is and how much water the boards sucked up. Don’t expect miracles in 48 hours. Keep checking the moisture readings as you go.
5. Assess Recovery — Is it coming back down?
After a decent stretch of time — I’m talking a month or two — check it again. Has it flattened? Is it at least heading that way? If the moisture numbers are steady and the cupping is light, you might be in decent shape. If the floor still looks bad and the readings are holding around 7-8%, then the wood may be permanently distorted.
6. Consider Sanding & Refinishing — Last card on the table.
If the cupping hasn’t really eased up after several months of proper moisture control and the numbers stay stable, you may need a pro to step in. A flooring contractor can sand the floor level and then refinish it. It’s a heavy job, and it kicks up a lot of dust, so this usually isn’t a DIY-friendly move. They’ll take the high edges down and leave you with a fresh flat surface. But don’t touch that sander until the moisture problem is fixed for good, or the cupping will come right back and laugh at you.
7. Professional Inspection — If you’re unsure, bring in backup.
If you can’t pin down the moisture source, or if the cupping is widespread, call a flooring inspector or an experienced contractor. They can catch hidden issues you’d miss and tell you what’s worth fixing first. Sometimes you need a different set of eyes. And the right tools. I’ve had jobs where the homeowner was sure the floor just “looked old,” and it turned out to be a pinhole leak under the subfloor. No way you’d find that without the proper gear.
Common Causes
- Excessive Humidity in Crawl Spaces: This one gets people all the time. If there’s no decent ventilation or vapor barrier, ground moisture works its way up and loads the bottom of the planks.
- Plumbing Leaks: Small slow leaks from pipes, dishwashers, refrigerators, or toilets can soak the subfloor and cause cupping in a hurry.
- Slab Moisture: For floors over concrete slabs, a weak or damaged vapor barrier can let moisture wick up from the slab into the wood.
- HVAC Issues: Badly sized or malfunctioning HVAC systems can swing humidity all over the place, and wood hates that.
- Improper Acclimation: If hardwood doesn’t get enough time to adjust to the house before installation, it can react hard once conditions change.
- Wet Mopping: Drenching hardwood with water every time you clean it can swell the top side and contribute to cupping from above.
Common Mistakes
- Sanding too Soon: This is the big one. Homeowners rush to sand a cupped floor before the moisture problem is fixed. Then the floor dries out later and you end up with a crowned floor — center higher than the edges — because you shaved off too much material. Wait until the readings are stable.
- Ignoring the Moisture Source: Don’t treat the symptom and leave the cause sitting there. That’s just burning money.
- Over-Humidifying: Low humidity can cause crowning, sure, but adding too much moisture to an already cupped floor can make things worse, especially if the problem is coming from below.
- Incorrect Cleaning Methods: Too much water, steam mops, or harsh cleaners not made for hardwood can damage the finish and make the wood more likely to cup.
- Not Using a Moisture Meter: Guessing is a bad move. You need real numbers if you want to diagnose this and keep tabs on the recovery.
- Blocking Vents in Crawl Spaces: Closing crawl space vents to “save energy” or keep pests out can trap moisture and turn the crawl space into a swamp. That’s a fast track to cupping.
Cost & Time Breakdown
| Task | DIY Cost | Pro Cost | Time |
|---|---|---|---|
| Moisture Meter | $30-$50 | $0 (pro owns) | 15 min purchase |
| Dehumidifier (crawl space/room) | $150-$300 | $0 (pro rents/installs) | Varies (days-weeks) |
| Plumbing Leak Repair | $10-$100 | $150-$500 | 1-4 hours |
| Crawl Space Vapor Barrier | $100-$500 (materials) | $1,000-$3,000 | 1-3 days |
| Floor Acclimation | $0 | $0 | 1-6 months |
| Sanding & Refinishing (Pro) | N/A | $3-$6 per sq ft | 3-7 days |
Tips & Prevention
- Maintain Stable Humidity: Keep the home’s relative humidity between 35% and 55% all year. Use humidifiers in dry winters and dehumidifiers in muggy summers. This matters for all the wood in your house.
- Address Spills Immediately: Don’t let water sit on hardwood. Wipe spills up fast and wipe them up well. I tell homeowners, “If you wouldn’t leave it on a nice wood table, don’t leave it on your floor.”
- Proper Crawl Space Management: Make sure crawl spaces are ventilated right and have a solid 6-mil or thicker vapor barrier on the ground to stop moisture migration. In really damp climates, encapsulation can be a smart move.
- Use Proper Cleaning Methods: Damp mop, don’t wet mop. Use cleaners made for hardwood floors, and wring out the mop or cloth good and tight. Microfiber cloths are your best friend here.
- Check Plumbing Regularly: Look at visible plumbing once in a while — under sinks, around toilets, and near appliances like dishwashers and refrigerators. A little prevention goes a long way.
- Monitor Moisture Levels: If you live where humidity swings hard, a good hygrometer for the house and a moisture meter for the floor can help you catch trouble early. Check them now and then, especially after big seasonal changes.
When to Call a Professional
Look, I’m all for DIY, but some jobs are just better left to the pros. If you can’t find the moisture source, or you suspect a hidden plumbing leak behind a wall or under a slab, that’s a job for a licensed plumber or a leak detection specialist. If the cupping is severe, spreading across several rooms, or has been around for a long time — months to years — you’re probably dealing with permanent wood deformation. At that point, professional sanding and refinishing, or even replacement, may be the only real way to bring the floor back. A qualified flooring contractor can size up the damage, tell you what makes sense, and get it done without creating a new mess. Don’t roll the dice and make it worse. That gets expensive fast.
Should you do this yourself?
Answer five quick questions before you start. Safety outranks savings every time.
Your experience with work like this
How high do you have to work?
Does the job involve any of these?
Will it need a permit?
Specialty tools
Free and instant. Educational guidance only — not a quote, inspection, or professional diagnosis.
Estimate your own project cost
National averages are a starting point. Enter your details for a range that fits your house.
Flooring cost estimator
- Material$498 – $1,095
- Installation labor$360 – $720
Tile installs and stairs increase labor cost. Get 2–3 quotes for jobs over 200 sq ft.
Educational estimate only — always confirm with written local bids.
What should this project cost?
Enter your project details for a realistic cost range before you call anyone.
Cost depends heavily on which system turns out to be the source.
- Regional adjustment
- National average
- Labor share (typical)
- ~$1,620
- Quotes to collect
- 3 written estimates
Educational estimate based on national averages — not a binding quote. Always confirm with written local estimates.
Before you start
Check the difficulty, permits, and safety risk — then decide whether to call a pro.
Free, no signup required. Estimates are educational guidance, not a quote or an inspection.
Recommended for DIYers & woodworkers
Sponsored
The Top 20 Tools for Workshops of Any Budget
No stationary machines or power tools required — plus 3 fundamental tools that can't be bought at any price.
Get the free guide
Ted's Woodworking — The #1 Woodworking Resource
Detailed instructions, dimensioned drawings, materials & cutting lists, and 3D schematics for every skill level.
See the plansSponsored: links above are affiliate links. FixlyGuide may earn a commission on qualifying purchases — at no extra cost to you.
Frequently asked questions
What causes hardwood floors to cup?+
Hardwood floors typically cup when there's a significant difference in moisture content between the top and bottom of the wood planks. Usually, the bottom absorbs more moisture (from a damp crawl space or slab) than the drier top surface, causing the edges to swell and lift.
Can cupped hardwood floors be fixed without sanding?+
Often, yes. If the moisture source is identified and eliminated, and proper humidity levels are restored in the home, the wood can slowly release excess moisture and flatten out over several weeks to months. Sanding should only be considered after the moisture issue is fully resolved and the floor has stabilized.
How long does it take for cupped floors to flatten?+
The time it takes for cupped floors to flatten varies greatly depending on the severity of the cupping and how quickly the moisture imbalance is corrected. It can take anywhere from a few weeks to several months for the wood to fully acclimate and recover.
What's the ideal humidity for hardwood floors?+
To prevent cupping, crowning, and gapping, it's crucial to maintain your home's relative humidity between 35% and 55% year-round. This stable environment helps wood floors retain their original shape and size.
How can I tell if my cupped floor is drying out?+
You can monitor the progress using a pin-type moisture meter. Take readings in the cupped areas and compare them to unaffected areas. As the floor dries out, the moisture content in the cupped boards should gradually decrease and normalize.
Is cupping a sign of water damage?+
Yes, cupping is almost always a direct indicator of excessive moisture absorption, which often points to water damage or a severe moisture problem, such as a plumbing leak or high humidity from a crawl space.
What's the difference between cupping and crowning?+
Cupping is when the edges of the board are higher than the center, forming a U-shape. Crowning is the opposite: the center of the board is higher than the edges, forming an inverted U-shape. Both are caused by moisture imbalances, but with crowning, the top surface has absorbed more moisture than the bottom.
Should I use a dehumidifier for cupped floors?+
Absolutely. If high humidity, especially in a basement or crawl space, is the cause of your cupping, running a dehumidifier is a critical step to remove excess moisture from the air and allow the wood to dry out gradually.
Discussion
Loading comments…