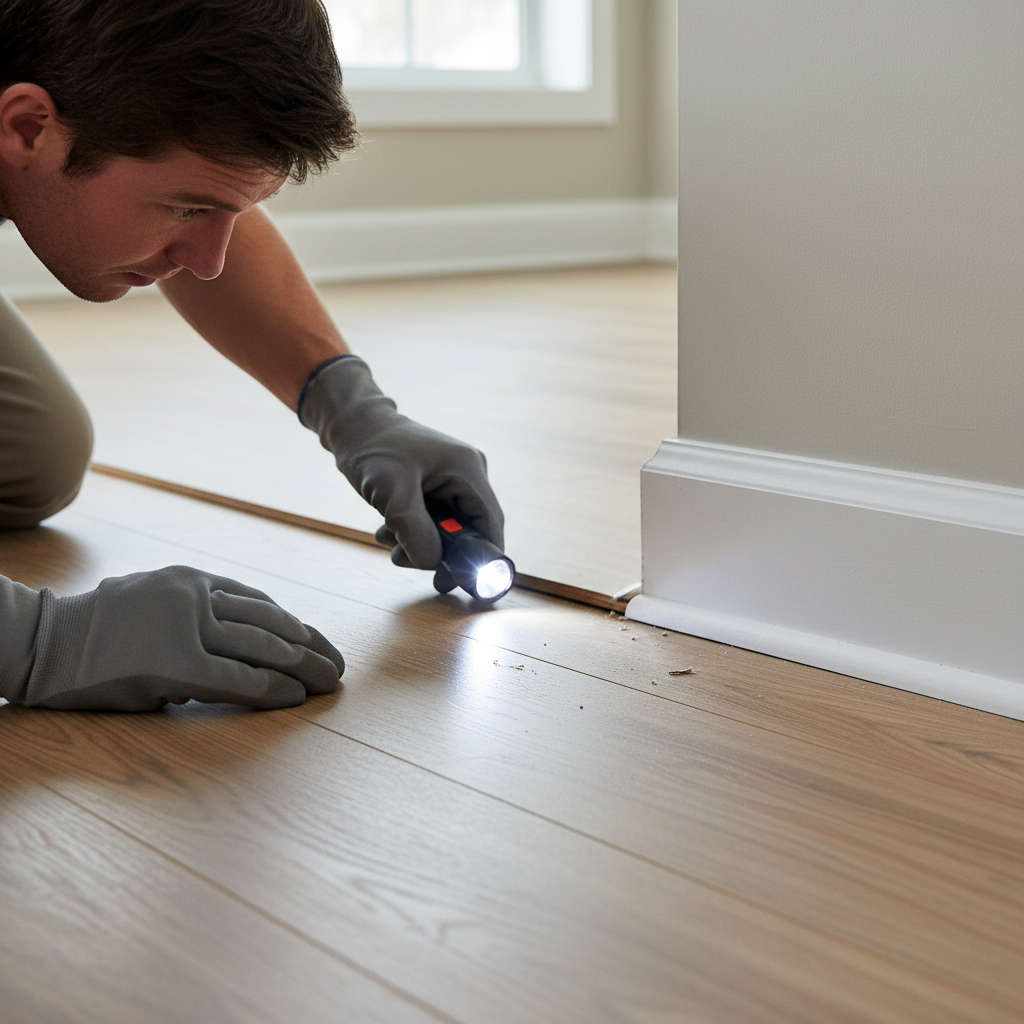
- Inspect Expansion Gaps (Perimeter) — Look for pinched edges
- Tools: Pry bar, utility knife, small block of wood (for prying)
- Safety: Wear gloves so you don’t eat a splinter or slice your hand open.
General remodeling · Renovation planning
| Project category | General remodeling |
|---|---|
| Problem type | Renovation planning |
| Trade required | General contracting |
| Urgency | Planned project |
| Safety risk | Low safety risk |
| DIY suitability | Pro recommended |
| Cost category | Major investment |
| Typical timeline | Design and permitting often 2–4 months before work starts |
| Contractor type | General contractor |
Repair option
Phase the work and fix the building envelope first.
Replacement option
Full renovation with permits, design, and a general contractor.
Common causes
- Space no longer fits how the household lives
- Resale preparation
- Deferred maintenance stacking up
Relevant tools:project cost estimatorcompare quoteshome improvement material prices
Published September 18, 2026Last updated September 18, 2026
Tools & materials you'll need
Affiliate links- AmazonHygrometer1 · to measure room humidity
- AmazonPry bar1 · small flat pry bar for trim
- AmazonUtility knife1 · for scoring caulk or debris
- AmazonMulti-tool (oscillating tool)1 · with flush-cut blade for trimming edges
- AmazonMeasuring tape1
- Amazon6-foot level or straight edge1 · for checking subfloor flatness
- AmazonRubber mallet1 · for reinstalling planks
As an Amazon Associate FixlyGuide earns from qualifying purchases — at no extra cost to you. Prices and availability are accurate as of publication and subject to change.
Quick Answer
That annoying popping or creaking sound from your laminate or engineered floor? Most times, it's the floorboards rubbing against each other or the subfloor because they don't have enough room to expand and contract. Usually, that comes down to humidity swings or an expansion gap that's too tight somewhere around the room’s perimeter. A little digging around can usually tell you exactly what’s going on.
The Problem
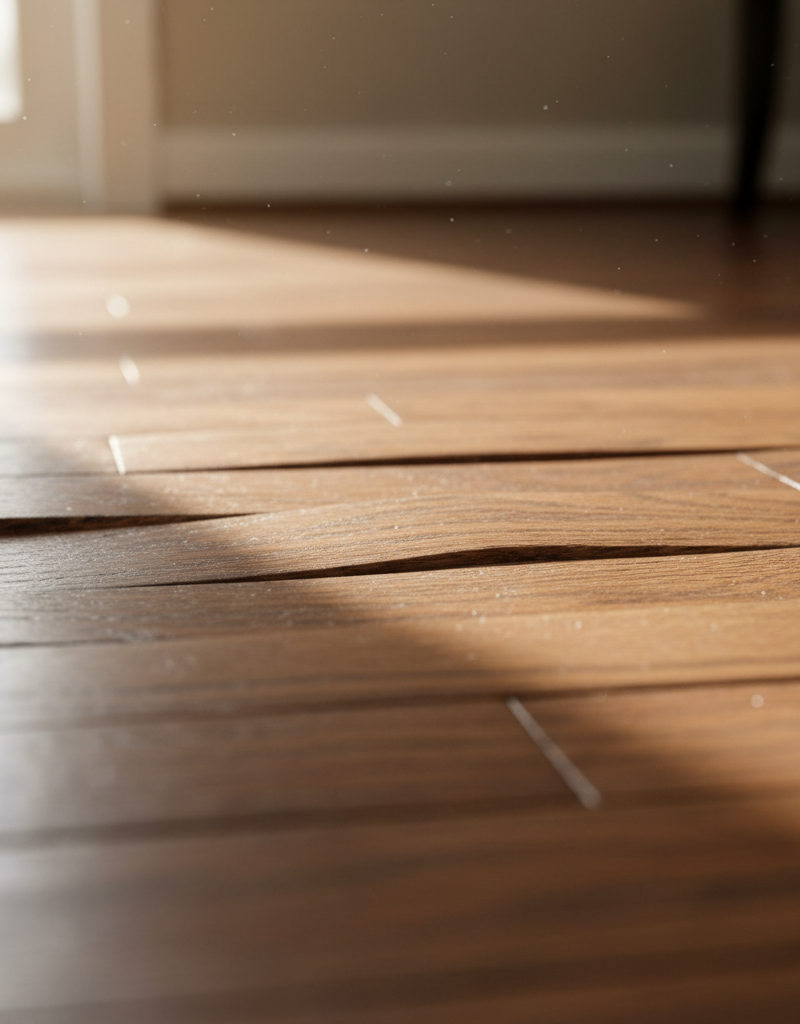
I've walked into hundreds of homes where folks are pulling their hair out over a mystery pop or creak underfoot. It’s not really a squeak—more like a sharp, clean pop when you step on certain spots. Sometimes it’s one little area, sometimes it’s a few planks. Either way, it’ll make you crazy, especially at night when the whole house is quiet.
They’ll tell me, “I just had this floor installed a few years ago, it shouldn’t be doing this!” And yeah, fair enough — it shouldn’t. But here’s the deal: with a floating floor like laminate or engineered wood, this noise almost always comes down to one of two things. Either the floor isn’t moving like it should, or the subfloor isn’t flat enough. I pulled a water heater in Frisco last month that had exactly this kind of pop in the hallway right outside the utility room. Same story every time. Mechanical problem. Not magic. Not haunted boards. Just a floor getting pinched somewhere.
How It Works
Alright, let’s talk through what’s happening under your feet. Most laminate and engineered wood floors are floating floors. What does that mean? Unlike traditional hardwood that gets nailed or glued right to the subfloor, these planks sit on top and lock together at the edges with a click-and-lock system. So, in plain English, they act like one big flexible mat resting on the subfloor. Handy setup. Easier install. Lets the whole floor move as one unit.
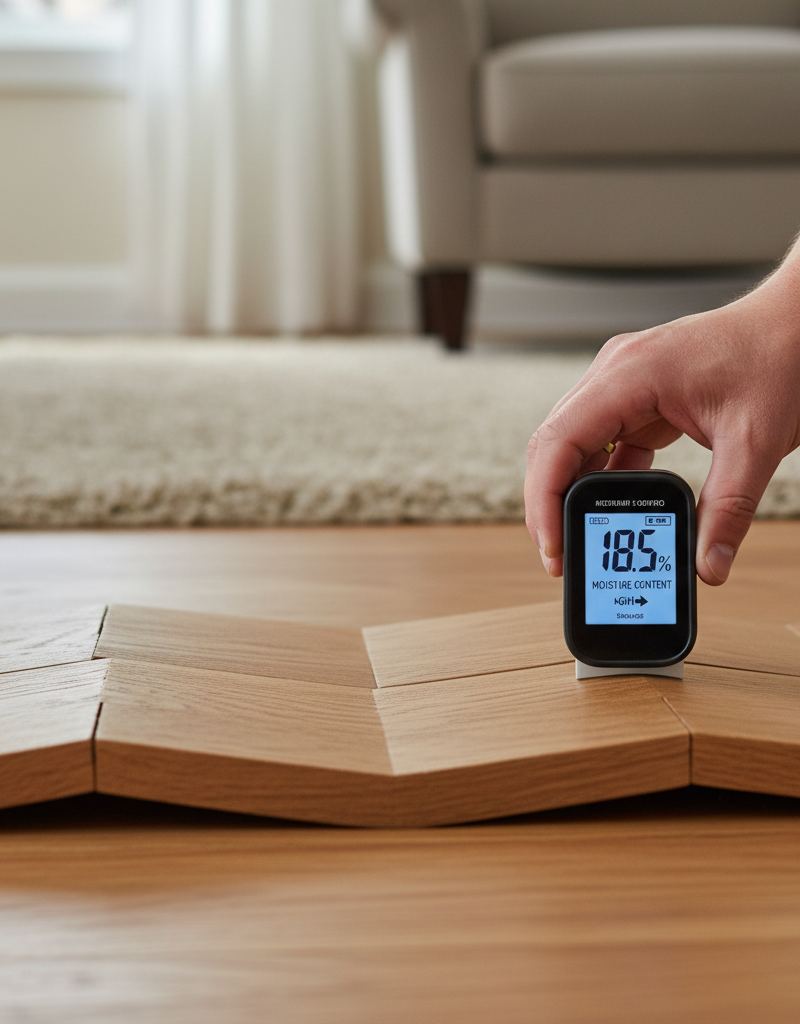
But here’s the catch: wood, even engineered wood, and the core of laminate planks, is hygroscopic. Fancy word, simple meaning — it soaks up moisture and gives it back. When the house gets humid, say in a sticky summer, the planks absorb moisture and expand. When it dries out in winter and the heat’s running nonstop, they release moisture and contract. That movement is normal. It’s why installers leave an “expansion gap” around the room, usually about 3/8-inch to 1/2-inch wide.
That gap gets covered by baseboards or trim, so you don’t see it. But the floor still needs it. If the gap’s too tight, or something is pinning the floor down — heavy furniture without proper clearance, a sneaky blob of glue, a nail where it doesn’t belong — the planks can’t move freely. They shove against each other and build stress. Then you step on the spot, the pressure shifts, and you hear that pop. Pretty common.
Another headache is an uneven subfloor. If you’ve got high spots or low spots more than 1/8-inch over 10 feet, the planks can flex as you walk across them. That rubbing and flexing is what makes the noise. No dice.
Step-by-Step Fix
Before you start tearing boards up, let’s hit the easy stuff first. Most of the time, I can shut one of these floors up without even lifting a plank. Here’s how I’d handle it:
-
Check Room Humidity — Stabilize the environment first
Grab a hygrometer from any hardware store; they’re cheap, usually around $20-$30. Laminate and engineered floors generally want to live in a controlled space, usually between 35% and 55% relative humidity. If you’re way outside that — under 30% in winter or above 60% in summer — that’s your first red flag. Get a humidifier or dehumidifier running and bring it back into that range. Give it a few days, maybe a week, for the floor to settle. Sometimes that’s all it takes.- Tools: Hygrometer
- If this doesn't work: The floor may already be locked in a stressed state, or the issue’s somewhere else.
-
Inspect Expansion Gaps (Perimeter) — Look for pinched edges
This is the big one. I’ve seen it hundreds of times. Carefully pull a section of baseboard or quarter-round along one wall. Look at the gap between the flooring and the wall. It should be even, usually around 3/8 to 1/2 inch. If the floor is jammed tight to the wall, or there’s drywall mud, a nail, or anything else bridging that gap, that’s trouble. Check all four walls, and don’t skip door jambs and cabinets. Sometimes trim gets nailed right through the floor and pins it down. That thing’s toast until you free it up.- Tools: Pry bar, utility knife, small block of wood (for prying)
- Safety: Wear gloves so you don’t eat a splinter or slice your hand open.
-
Clear Obstructions in Expansion Gaps — Free up the floor to move
If you found tight spots or junk in the gap, clear it out. Use a utility knife to score and remove caulk, glue, or drywall mud. If the floor is hard against the wall, you’ll need to relieve that pressure. A multi-tool with a flush-cut blade works great here. You can undercut drywall, or trim the flooring edge with a pull saw or a router with a flush trim bit. The goal is that 3/8 to 1/2-inch gap all the way around.- Tools: Utility knife, multi-tool (oscillating tool) with flush-cut blade, pull saw or router (optional), sandpaper
- Pro Tip: For small spots, a sharp chisel can work, but take your time — you don’t want to chew up the visible face of the plank.
-
Check for Heavy Furniture — Is something pinning it down?
Heavy stuff like kitchen islands, built-in shelving, or really heavy cabinets installed after the flooring can trap a floating floor. You usually don’t want cabinets sitting directly on top of floating planks. If the popping’s near one of those, see whether it’s putting pressure on the floor. A kitchen island, for example, might be screwed through the floor into the subfloor. If so, there’s your culprit. For very heavy furniture, felt pads or furniture glides can help a little, but if the floor’s actually pinned, no pad in the world is gonna fix it.- Tools: None initially, just observation.
-
Identify Specific Popping Planks — Pinpoint the exact trouble spot
Walk the floor and try to isolate the exact planks that are making noise. It helps to have someone else walk while you listen closely. Mark the problem spots with painter’s tape. That makes the next step a whole lot easier if you need to get deeper into it.- Tools: Painter’s tape
-
Inspect for Subfloor Irregularities — The floor's foundation
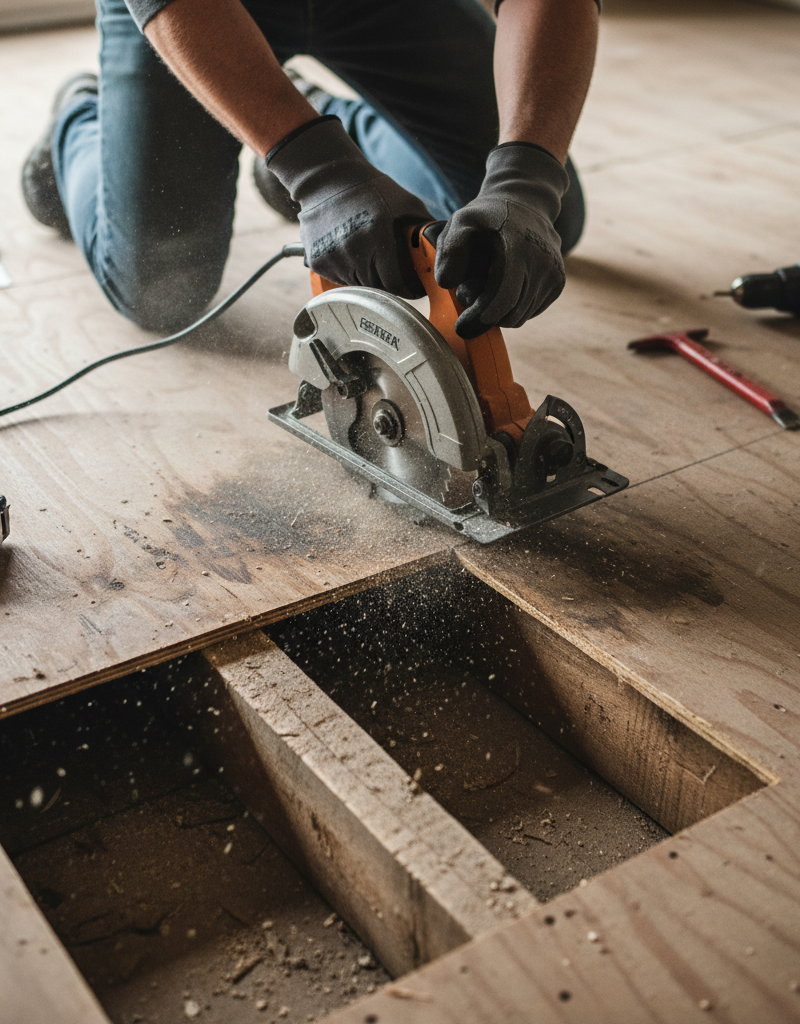
If humidity and gap issues don’t solve it, now we’re looking at the subfloor. Pull the baseboards again around the noisy area. You’ll probably need to carefully take up a few planks to get there. Start from the nearest wall and pry slowly so you don’t wreck the click-lock edges. Once the subfloor’s exposed, lay a long straight edge — like a 6-foot level or a 2x4 — across the area. Look for gaps underneath or high spots. You’re checking for more than 1/8 inch over 10 feet. Even small humps or dips can cause a racket.- Tools: Pry bar, long straight edge (e.g., 6-foot level), measuring tape
- Safety: Always wear eye protection when prying. Move slow so you don’t damage the planks or the subfloor.
-
Address Subfloor Imperfections — Level it out
- High Spots: If you find a hump, it’s often a proud nail head, a screw that didn’t get seated, or a patch of dried adhesive. You can usually tap nails down, drive screws deeper, or sand down small bumps. Bigger concrete humps may need a grinder, but that’s pro territory. For wood subfloors, you might plane or sand the high spot.
- Low Spots: For dips, use a self-leveling compound on concrete or a patching compound made for subfloor leveling. Follow the bag. Don’t freeload on the instructions — that’s how folks get burned. Let it dry all the way, often 24-48 hours, before you put the floor back. For smaller dips in wood subfloors, a thin shim or roofing felt can sometimes work, but don’t create a new high spot chasing an old low one.
- Tools: Hammer, drill/driver, sandpaper/sander, level, trowel, self-leveling compound/patching compound
- Material: Self-leveling compound or patching compound, shims (optional)
-
Reassemble Flooring — Put it back together
Once the subfloor is clean and level, put the planks back carefully. Make sure the click-lock joints seat all the way. Work your way back toward the starting wall. Don’t force anything. If it fights you, something’s still off. After everything’s back in place, reinstall the baseboards and trim, and make sure not to nail through the flooring — only into the wall studs.- Tools: Rubber mallet, tapping block, pull bar (for the last row), tape measure, finish nailer (for baseboards)
Common Causes
- Insufficient Expansion Gaps: Number one reason, hands down. When floors swell from humidity, they’ve got nowhere to go and press into walls, cabinets, or door frames. That stress shows up as popping when you walk on it.
- Subfloor Irregularities: If the subfloor isn’t flat — even a little dip or hump — the floating planks flex underfoot and start rubbing. Industry standard is usually no more than 1/8 inch deviation over a 10-foot span.
- Humidity Fluctuations: Wood-based products move with moisture changes. Big swings in humidity mean big swings in floor size, which makes any gap problem worse.
- Heavy Objects Pinning the Floor: Kitchen islands, built-in cabinets, or even very heavy furniture placed right on top of a floating floor can stop it from moving the way it should.
- Debris in Expansion Gap: A stray nail, a blob of dried construction adhesive, or a chunk of drywall that ends up in the expansion gap can pin the floor just like a wall would.
Common Mistakes
- Nailing Baseboards Through the Floor: Classic rookie move. Baseboards should go into the wall studs, not through the flooring and into the subfloor. Nail through the floor and you’ve pinned the whole thing down.
- Ignoring Subfloor Prep: Skip the flattening and cleaning step before install, and you’re asking for trouble. Those humps and dips turn into noise later, and sometimes bigger damage.
- Not Acclimating the Flooring: If you don’t let the flooring sit in the room for at least 48-72 hours before install, it won’t adjust to the home’s humidity. That sets you up for movement issues right away.
- Using the Wrong Underlayment: Some floors need a specific underlayment for sound control or moisture protection. Too thin, too thick, or missing a vapor barrier — any of that can cause problems.
- Leaving Insufficient Expansion Gaps: Some DIYers, and honestly a few not-so-great pros, cut the gaps too small to save time or hide imperfections. That’s how you end up with a floor that pops or buckles later.
- Applying Glue Directly to Subfloor: Floating floors are meant to move. Put construction adhesive or any other glue under one, and you’ve restricted that movement. That can lead to popping, buckling, and a whole lot of regret.
Cost & Time Breakdown
Here
Related Articles
Keep troubleshooting with these hand-picked guides from FixlyGuide:
- The 3 Hidden Reasons Your Doorbell Rings for No One — Phantom doorbell rings are frustrating, but often point to common, easily fixable issues with your chime, transformer, or push button.
- The Secret Reason Your Interior Door Sticks (It's Not Always Humidity) — A sticking interior door is a common household nuisance, often attributed to humidity, but frequently caused by easily fixable issues like…
- The Mystery of the Raised Floorboards: It's Not Always Water Damage — Don't panic if your hardwood floorboards are lifting and uneven. It's often a solvable humidity problem, not major water damage. Learn how…
- Why Your Paint is Peeling (And It’s Not Always Bad Prep) — Peeling paint isn't just an eyesore; it often signals deeper issues than just a shoddy paint job. I'll walk you through the real culprits a…
- That Ceiling Stain Isn't a Leak: 5 Hidden Causes — A mysterious ceiling stain can be alarming, especially when there's no active leak. The real culprits are often hidden issues like attic co…
- The Shocking Truth: Your AC Freezing Outside Isn't What You Think — When your outdoor AC unit turns into an ice sculpture, it's a sure sign of air circulation problems, often caused by easily overlooked issu…
Should you do this yourself?
Answer five quick questions before you start. Safety outranks savings every time.
Your experience with work like this
How high do you have to work?
Does the job involve any of these?
Will it need a permit?
Specialty tools
Free and instant. Educational guidance only — not a quote, inspection, or professional diagnosis.
Estimate your own project cost
National averages are a starting point. Enter your details for a range that fits your house.
Flooring cost estimator
- Material$498 – $1,095
- Installation labor$360 – $720
Tile installs and stairs increase labor cost. Get 2–3 quotes for jobs over 200 sq ft.
Educational estimate only — always confirm with written local bids.
What should this project cost?
Enter your project details for a realistic cost range before you call anyone.
Cost depends heavily on which system turns out to be the source.
- Regional adjustment
- National average
- Labor share (typical)
- ~$1,620
- Quotes to collect
- 3 written estimates
Educational estimate based on national averages — not a binding quote. Always confirm with written local estimates.
Before you start
Check the difficulty, permits, and safety risk — then decide whether to call a pro.
Free, no signup required. Estimates are educational guidance, not a quote or an inspection.
Get the print-ready PDF of this guide
A clean, ad-free, printable version you can keep on your phone or pin to the workshop wall. Free with a FixlyGuide account.
- Print-optimized layout
- Tools, materials & every step included
- Saved to your account
Recommended for DIYers & woodworkers
Sponsored
The Top 20 Tools for Workshops of Any Budget
No stationary machines or power tools required — plus 3 fundamental tools that can't be bought at any price.
Get the free guide
Ted's Woodworking — The #1 Woodworking Resource
Detailed instructions, dimensioned drawings, materials & cutting lists, and 3D schematics for every skill level.
See the plansSponsored: links above are affiliate links. FixlyGuide may earn a commission on qualifying purchases — at no extra cost to you.
Frequently asked questions
Why does my laminate floor pop when I walk on it?+
Laminate floors pop primarily because they lack sufficient expansion gaps around the perimeter of the room, preventing the planks from expanding naturally with humidity changes. Subfloor irregularities can also cause planks to flex and rub, creating noise.
How do I fix a popping laminate floor without removing it?+
Start by checking and stabilizing room humidity. Then, carefully remove baseboards to inspect and widen any insufficient expansion gaps around the room's perimeter, clearing any debris or obstructions that might be pinning the floor.
Can humidity cause floorboards to pop?+
Absolutely. High humidity causes wood-based flooring to absorb moisture and expand, while low humidity causes it to contract. If the floor doesn't have adequate expansion space, these movements create stress, leading to popping sounds.
What is a proper expansion gap for floating floors?+
For most laminate and engineered floating floors, a proper expansion gap is typically 3/8 to 1/2 inch (about 10-12 mm) wide around the entire perimeter of the room, including at walls, door frames, and fixed objects.
How do I check my subfloor for flatness?+
To check subfloor flatness, remove some flooring planks to expose the subfloor. Lay a long, straight edge (like a 6-foot level) across the subfloor and look for gaps or high spots. Deviations greater than 1/8 inch over 10 feet typically need to be addressed.
Can heavy furniture cause floor popping?+
Yes, heavy furniture, especially built-in items like kitchen islands or large cabinets, can pin down a floating floor if installed directly on top of it. This restricts the floor's natural movement and can lead to popping at stress points.
Is popping laminate floor a serious problem?+
While annoying, occasional popping isn't usually serious in the short term. However, persistent and widespread popping can indicate excessive stress on the planks, potentially leading to damaged click-lock mechanisms, gaps, or even buckling over time if not addressed.
When should I call a professional for a popping floor?+
If you've tried adjusting humidity and checking expansion gaps without success, or if the problem seems to stem from significant subfloor issues (like large uneven areas or structural concerns), it's time to call a professional flooring installer or contractor.
How long does it take for a floor to acclimate to a room?+
Most manufacturers recommend letting laminate or engineered flooring acclimate in the room where it will be installed for at least 48 to 72 hours before installation. This allows the material to adjust to the local temperature and humidity conditions.
Can an improper underlayment cause popping?+
Yes, using the wrong type or thickness of underlayment, or one that lacks proper moisture protection, can contribute to popping. An inadequate underlayment might not provide enough cushioning or stability, allowing planks to rub or flex against the subfloor unevenly.
Discussion
Loading comments…