- Low Humidity: This is the big one. Dry air pulls moisture out of wood, and the floor shrinks. Winter heat blasting through the house is usually the main troublemaker.
- Improper Acclimation: If the wood didn’t sit in the home long enough before installation, it never got a chance to adjust to that house’s humidity. That can lead to extra movement later.
- Poor Installation: Sometimes the boards just weren’t fastened well enough — not enough nails, not enough glue, whatever the issue was. Then the floor moves more than it should.
- Extreme Temperature Swings: Big temperature changes can affect wood movement too. Keeping the house steady helps a lot.
- Subfloor Issues: If the subfloor isn’t flat or properly secured, the hardwood gets uneven stress. On an old house with some age to it, that’s definitely something I’d look at.
General remodeling · Renovation planning
| Project category | General remodeling |
|---|---|
| Problem type | Renovation planning |
| Trade required | General contracting |
| Urgency | Planned project |
| Safety risk | Low safety risk |
| DIY suitability | Pro recommended |
| Cost category | Major investment |
| Typical timeline | Design and permitting often 2–4 months before work starts |
| Contractor type | General contractor |
Repair option
Phase the work and fix the building envelope first.
Replacement option
Full renovation with permits, design, and a general contractor.
Common causes
- Space no longer fits how the household lives
- Resale preparation
- Deferred maintenance stacking up
Relevant tools:project cost estimatorcompare quoteshome improvement material prices
Published August 30, 2026Last updated August 30, 2026
Tools & materials you'll need
Affiliate links- AmazonCompressed air canfor cleaning tight gaps
- AmazonWood putty1 small tub · matching floor color, or tintable
- Amazon220-grit sandpaperfor smoothing putty
- AmazonFine sawdustmatching floor color, from sanding scraps
- AmazonWood glue1 small bottle · PVA wood glue
- AmazonThin wood shimsif using the shim method
As an Amazon Associate FixlyGuide earns from qualifying purchases — at no extra cost to you. Prices and availability are accurate as of publication and subject to change.
Quick Answer
Seasonal humidity swings are the main reason you start seeing those annoying gaps in hardwood floors. Wood does what wood does — it moves. It expands when it’s humid, shrinks when it’s dry. That’s not the floor “failing.” It’s just the material reacting to the house. The good news? You don’t always need to bring in a crew. Most smaller gaps, anything up to about a quarter-inch, are something you can handle yourself with basic tools and a few cheap materials, usually for less than twenty bucks. A lot of the time, you’re just filling the void or coaxing the boards back together so the floor looks right again without turning it into a big project.
The Problem
I’ve walked into hundreds of homes where folks are about ready to pull their hair out over gaps in their hardwood floors. They’re staring at these cracks — sometimes running the full length of a board — and they’re sure the whole floor is coming apart or they’ve got some major structural mess on their hands. And yeah, I get why it looks bad. Those lines grab dust, they catch your eye, and sometimes you can feel them underfoot. It’s not just cosmetic, either; if the gaps get wide enough, they can let moisture creep in or turn into a trip hazard.
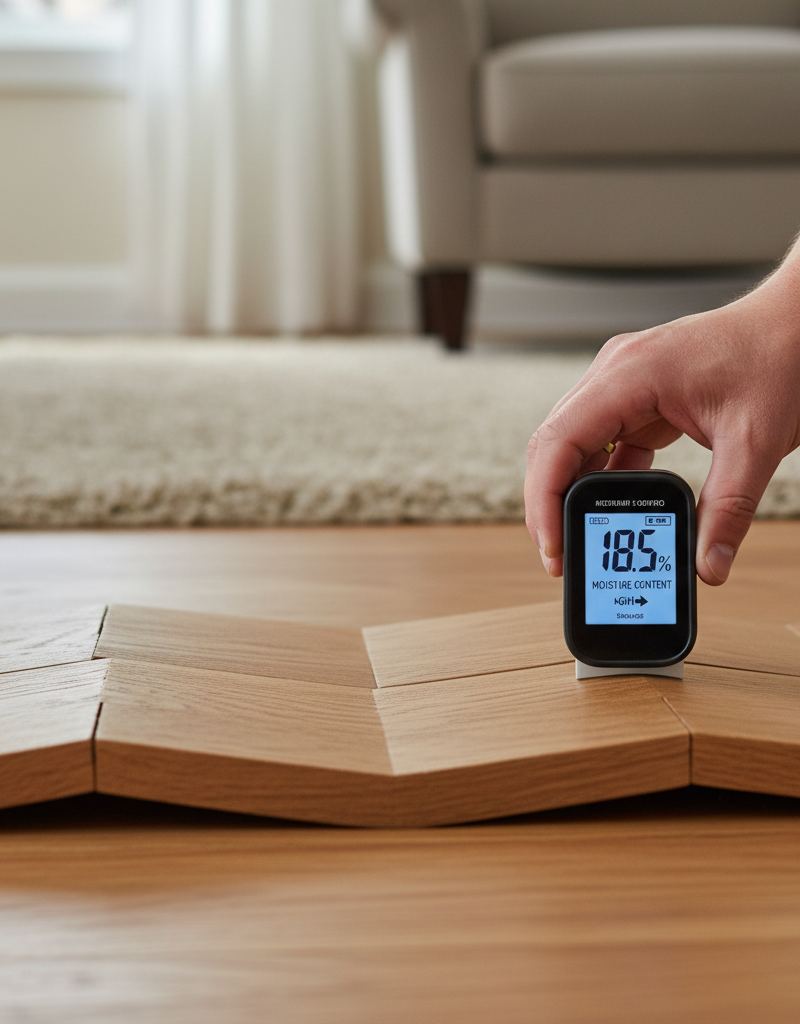
Usually, though, it’s not a structural nightmare. Nine times out of ten, it’s humidity, or the lack of it. Hardwood’s a living, breathing thing even after it’s milled, nailed down, and finished. It swells when the air gets moist and shrinks when the house dries out. That cycle keeps rolling, and the gaps are just the visible part of it.
How It Works
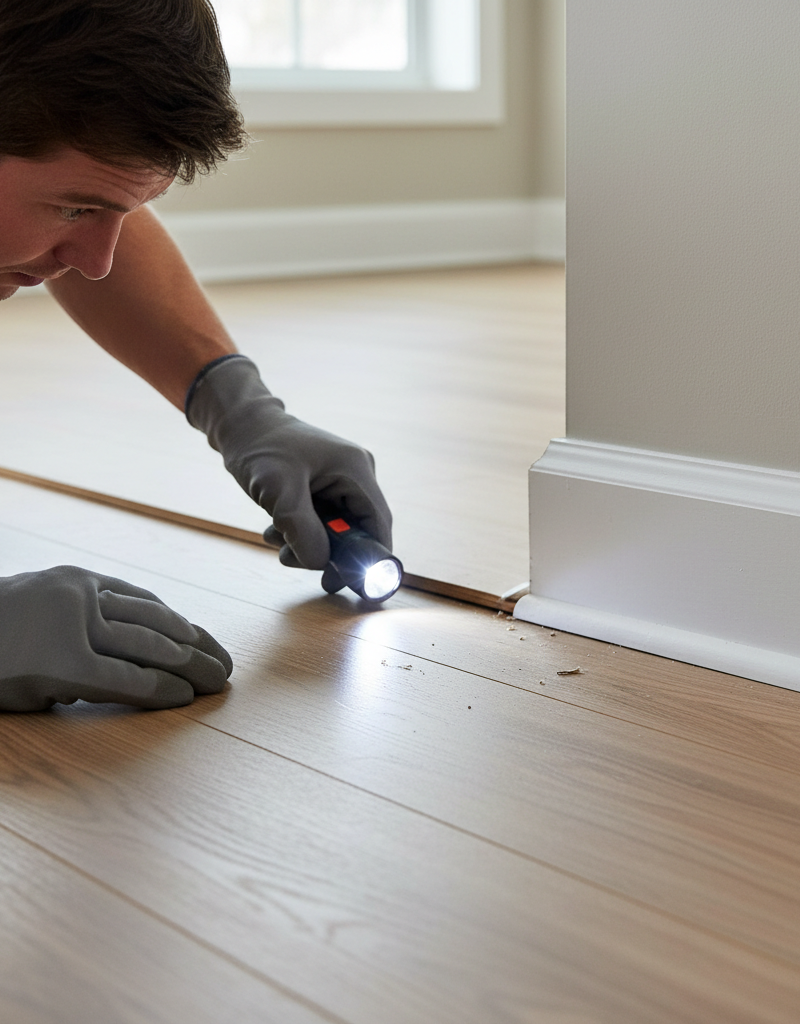
Hardwood floors are usually installed with a small gap around the perimeter of the room — that’s the expansion gap, tucked under the baseboards where you can’t see it. That gives the wood room to move. Problem is, wood doesn’t stop there. When indoor humidity drops, usually in the dry winter months when the heat’s running hard, the planks give up moisture. They literally shrink across their width.
A 3-inch wide oak plank can easily shrink by 1/32 of an inch. Multiply that by thirty planks across a 10-foot room, and suddenly you’ve got nearly an inch of total gap spread across the floor. That’s no small thing. Then summer rolls in, humidity comes back up, and the wood starts soaking up moisture again. The boards swell, the gaps close some, maybe all the way. That constant push and pull stresses the floor, and if the install wasn’t dead-on, or the humidity swings are extreme — like a house that sat unconditioned for months — those gaps can stick around for good.
The wood isn’t broken. It’s just reacting to what’s around it. Once you understand that, the fix makes a lot more sense. You’re not fighting the floor. You’re working with it.
Step-by-Step Fix
Alright, let’s get after it. First thing: figure out what you’re dealing with. Are these hairline cracks, or can you stick a credit card in there? The size of the gap tells you which repair makes sense. And before you do anything else, get the floor clean. No sense gluing dirt into the crack and calling it a day.
-
Assess the Situation – Identify the types and sizes of gaps
Walk the room. Don’t rush it. Note where the gaps are, how wide they look, and whether they’re scattered around or showing up in one area. That’ll tell you whether you’re dealing with a seasonal thing or a more permanent board movement issue. -
Clean the Gaps Thoroughly – Prepare the surface for repair
Grab a shop vac with a narrow nozzle, or use a stiff brush and a can of compressed air. You want dust, dirt, pet hair — all of it — out of those gaps. If debris stays in there, the filler won’t hold right, and you’ll be right back here next year. Wear eye protection if you’re using compressed air. Little stuff like that matters. -
For Small, Hairline Gaps: Wood Putty – The quick and easy cosmetic fix
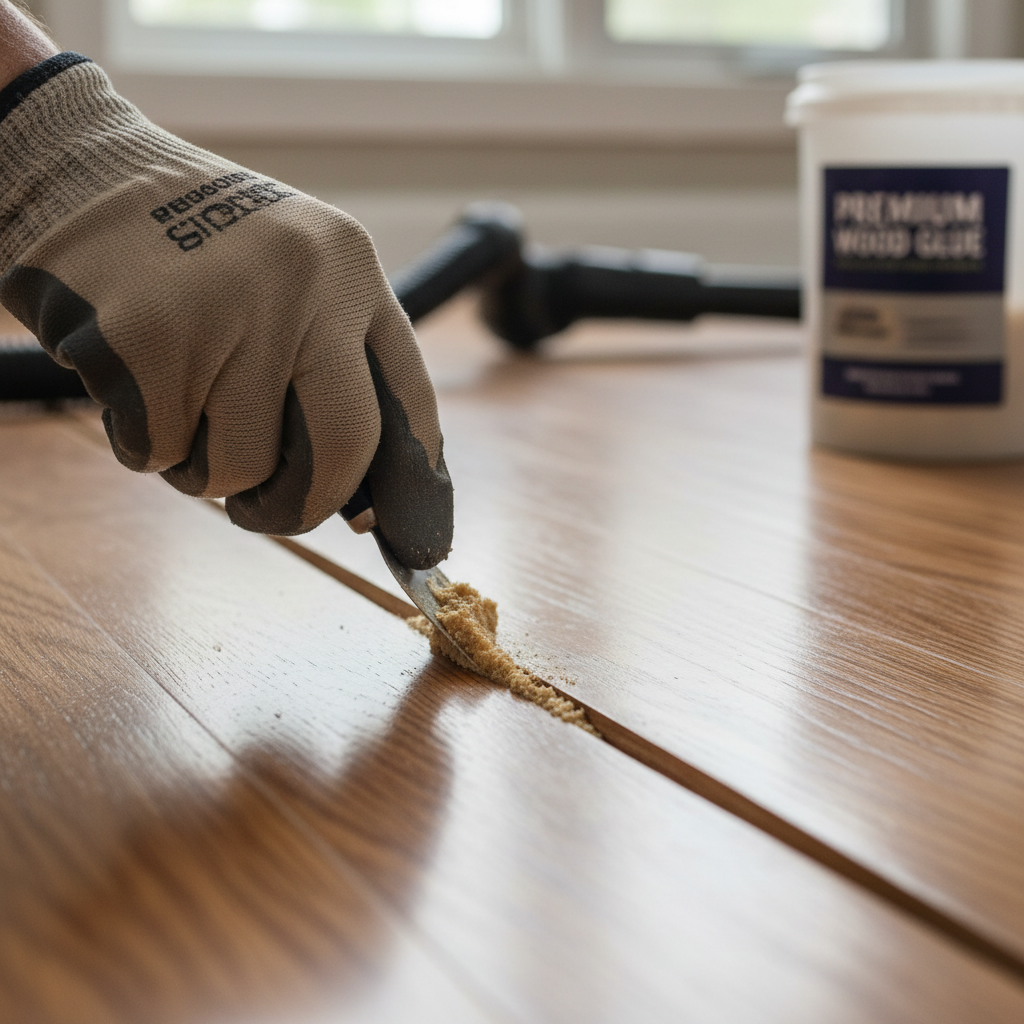
If the gaps are about 1/16th of an inch or less, a decent wood putty is the easiest fix. Try to match the color as close as you can, or use one that’s tintable. Run a small bead into the gap, then use a plastic putty knife or even your finger — glove on, obviously — to press it in and scrape the extra off. Work a section at a time. Let it dry per the manufacturer instructions, usually 24 hours, then lightly sand with 220-grit sandpaper if needed and clean up the dust. Fast, simple, decent-looking. -
For Medium Gaps: The Sawdust & Glue Trick – The pro's secret weapon for seamless repairs
This is one I use on job sites all the time, especially on older floors in places like those old Victorians in Alameda where they just don’t make the stuff the same way anymore. Find sawdust that matches your floor. If you’ve got leftover flooring, sand a piece down and make your own. Mix the fine sawdust with wood glue until it’s thick — peanut butter thick. Then press it into the gaps with a putty knife. Overfill just a touch, then scrape it flush. It flexes a little with the wood, which is why it holds up better than standard putty for wider gaps, up to 1/4 inch. Wipe the extra off right away with a damp rag. -
For Wider Gaps & Shifting Boards: Wood Shims – Anchoring boards back together
When boards have really pulled apart, say 1/4 inch or more, and they’re not sliding back on their own, shims can help. This takes a little more muscle. You’ll need thin wood shims — hardware store stuff works, or you can cut your own from scrap — plus wood glue. Put glue on the sides of the shim, then gently tap it into the widest part of the gap with a rubber mallet, driving it in perpendicular to the planks. Don’t go wild with it. You’re trying to close the gap, not split the board. Once the glue’s dry, trim the shim flush with a utility knife or chisel. After that, you can hit any tiny leftover space with the sawdust-and-glue mix. It’s a bit more involved, but it can really tame stubborn gaps. -
The Floor Jack Method (Advanced) – When entire sections need closing
For bigger sections where several boards have pulled apart and you want to tighten things up, a hardwood floor jack or “floor gap fixer” can do the trick. These tools clamp onto a board and use a screw mechanism to pull it tight against the neighbor. You might have to pop off the baseboards and use a sacrificial piece of wood against the wall. This one’s more aggressive, and I don’t recommend it for beginners. If you do it, protect the floor with pads on the jack. I tried to muscle a floor jack on a stubborn old maple floor in a house in Pleasant Hill once, and let’s just say I learned real quick that protecting the wood under the jack matters just as much as protecting the board you’re moving. Ended up with a dent I had to hide. No fun. -
Consider a Humidifier – Proactive gap prevention
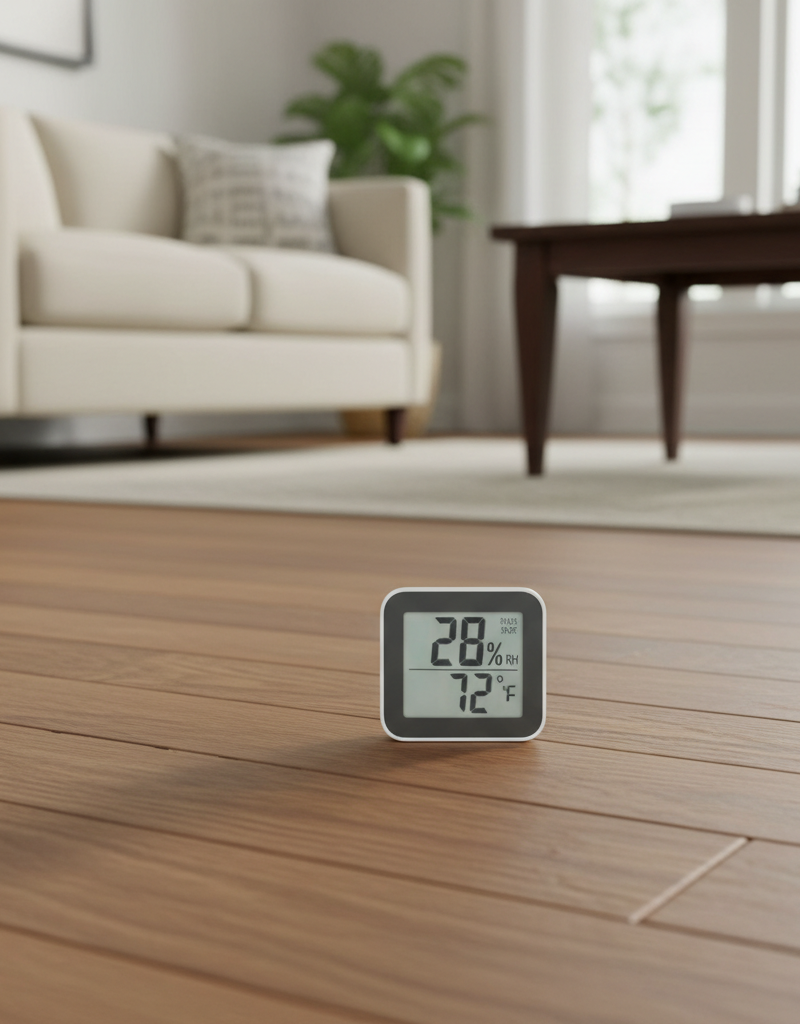
Since humidity’s the root of the problem, controlling the indoor air is a big part of keeping the gaps from coming back. Aim for 35-55% relative humidity year-round. A whole-house humidifier — or even a portable unit in the trouble spots — can make a big difference. It helps the floor, sure, but it helps your comfort too. -
Refinishing (If Necessary) – The ultimate solution for severely gapped or damaged floors
If the floor’s got wide, extensive gaps that are past simple cosmetic fixes, or the finish is worn out anyway, a full refinish might be the answer. During sanding, you can actually shave off enough wood to slightly reduce the visible gap, then apply new filler before the final seal coats go on. That’s a pro job, no question, but it can make an old floor look brand new.
Common Causes
- Low Humidity: This is the big one. Dry air pulls moisture out of wood, and the floor shrinks. Winter heat blasting through the house is usually the main troublemaker.
- Improper Acclimation: If the wood didn’t sit in the home long enough before installation, it never got a chance to adjust to that house’s humidity. That can lead to extra movement later.
- Poor Installation: Sometimes the boards just weren’t fastened well enough — not enough nails, not enough glue, whatever the issue was. Then the floor moves more than it should.
- Extreme Temperature Swings: Big temperature changes can affect wood movement too. Keeping the house steady helps a lot.
- Subfloor Issues: If the subfloor isn’t flat or properly secured, the hardwood gets uneven stress. On an old house with some age to it, that’s definitely something I’d look at.
Common Mistakes
- Using the Wrong Filler: Don’t just grab random caulk or spackle. That stuff isn’t made for wood movement, so it’ll crack, shrink, or pop out. Use a flexible wood filler or the sawdust-and-glue mix.
- Not Cleaning Gaps: Trying to fill dirty gaps is like painting over grease. It won’t hold. Take the time and clean them out first.
- Overfilling: You do want the gap full, but if you pile it up too high, you’re left with a mess of a ridge that’s a bear to sand down and usually sticks out like a sore thumb. Fill it a hair proud, then scrape it right away.
- Ignoring Humidity: If you fix the gaps and never deal with the humidity, you’re just putting a band-aid on a busted pipe. The gaps will be back. Get the humidifier going.
- Using Rigid Nails/Screws for Repair: Some advanced fixes do use screws, but for simple gap repair, don’t go driving nails into boards unless you know exactly what you’re doing. You can split the wood or create a whole new problem.
- Not Testing Color Match: Especially with wood putty, test a small hidden spot first. Dry color can look different than wet color, and you don’t want a patchwork floor on your hands.
Cost & Time Breakdown
Here
Related Articles
Keep troubleshooting with these hand-picked guides from FixlyGuide:
- Why Your Hardwood Floors Have Gaps in Winter (And When to Worry) — Seeing gaps in your hardwood floors this winter? It's likely caused by low indoor humidity making the wood shrink. Learn what's normal, how…
- The 3 Hidden Reasons Your Interior Door Sticks (and The 15-Minute Fix) — Discover the surprisingly common reasons your interior door sticks and learn how to fix it in under 15 minutes with simple tools.
- The Secret Reason Your Interior Door Sticks (It's Not Always Humidity) — Before you blame humidity, learn the true culprits behind a sticky interior door and how to fix them with simple DIY steps.
- The Surprising Reason Your Interior Door Sticks (It's Not Always Humidity) — Before you blame humidity, learn the common culprits behind a sticking interior door and how to fix them with simple DIY steps.
- The Hidden Cause of Squeaky Hardwood Floors & The Real Fix — That persistent squeak from your hardwood floors isn't just an annoyance; it's a sign of movement. We'll uncover the hidden causes, from hu…
- The 3 Hidden Reasons Your Gas Burner Won't Light (Beyond a Clog) — Before you call a technician, discover the most common culprits behind a gas stove burner that refuses to ignite and learn how to fix them…
Should you do this yourself?
Answer five quick questions before you start. Safety outranks savings every time.
Your experience with work like this
How high do you have to work?
Does the job involve any of these?
Will it need a permit?
Specialty tools
Free and instant. Educational guidance only — not a quote, inspection, or professional diagnosis.
Estimate your own project cost
National averages are a starting point. Enter your details for a range that fits your house.
Flooring cost estimator
- Material$498 – $1,095
- Installation labor$360 – $720
Tile installs and stairs increase labor cost. Get 2–3 quotes for jobs over 200 sq ft.
Educational estimate only — always confirm with written local bids.
What should this project cost?
Enter your project details for a realistic cost range before you call anyone.
Most rooms run $3–$14 per square foot installed depending on material.
- Regional adjustment
- National average
- Labor share (typical)
- ~$2,036
- Quotes to collect
- 3 written estimates
Educational estimate based on national averages — not a binding quote. Always confirm with written local estimates.
Fixly Project Decision Box
- DIY difficulty
- Moderate
- Estimated time
- 30 minutes – half a day
- Cost level
- Moderate
Main tools / materials
- Adjustable wrench
- Plunger or drain auger
- Bucket and towels
- Thread tape
When to stop and call a pro
- Water you cannot shut off at the fixture or main
- Sewage backing up into more than one fixture
- Water near electrical panels or outlets
- Gas water heater work beyond relighting a pilot
Need professional help?
Get a Licensed PlumberGet the print-ready PDF of this guide
A clean, ad-free, printable version you can keep on your phone or pin to the workshop wall. Free with a FixlyGuide account.
- Print-optimized layout
- Tools, materials & every step included
- Saved to your account
Recommended for DIYers & woodworkers
Sponsored
The Top 20 Tools for Workshops of Any Budget
No stationary machines or power tools required — plus 3 fundamental tools that can't be bought at any price.
Get the free guide
Ted's Woodworking — The #1 Woodworking Resource
Detailed instructions, dimensioned drawings, materials & cutting lists, and 3D schematics for every skill level.
See the plansSponsored: links above are affiliate links. FixlyGuide may earn a commission on qualifying purchases — at no extra cost to you.
Frequently asked questions
Why do gaps appear in my hardwood floors?+
Gaps usually appear due to changes in humidity. Wood is hygroscopic, meaning it absorbs and releases moisture. In dry conditions, like winter, it shrinks, creating gaps. When humidity increases, it expands, and gaps may close.
Are hardwood floor gaps a sign of a structural problem?+
Most of the time, no. Gaps are a normal characteristic of real wood flooring reacting to its environment. If gaps are extremely wide (over 1/2 inch) or accompanied by sagging, then it's time to investigate for structural issues.
Can I prevent gaps from forming in my hardwood floors?+
Absolutely. The best prevention is to maintain consistent indoor humidity levels, ideally between 35-55% relative humidity, year-round. Using a humidifier in dry months helps tremendously.
Is wood putty or wood filler better for gaps?+
For very small, hairline gaps, pre-mixed wood putty is fine. For slightly wider gaps (up to about 1/4 inch), a mix of wood glue and fine sawdust matching your floor color is often more flexible and durable as it moves with the wood.
How long will a DIY gap repair last?+
If properly done and humidity is managed, a good wood putty or sawdust-and-glue repair can last for many years. However, if humidity swings are extreme, some gaps might reappear or new ones might form elsewhere.
Should I try to nail or screw boards back together?+
For basic gap repairs, I strongly advise against blindly nailing or screwing boards. You risk splitting the wood or creating more obvious damage. More advanced methods with floor jacks are for experienced DIYers only.
What if my gaps are very wide, say over 1/2 inch?+
Gaps that wide usually indicate significant board movement or installation issues. While shims can help some, such wide gaps often point to a need for professional assessment, possibly including board replacement or a full refinish.
Can floor finishes help close gaps?+
No, floor finishes (sealants, polyurethanes) are surface coatings and won't physically close gaps. They protect the wood but do not add mass or volume to fill voids. Any filler needs to be applied *before* the final finish coats if you're refinishing.
Discussion
Loading comments…