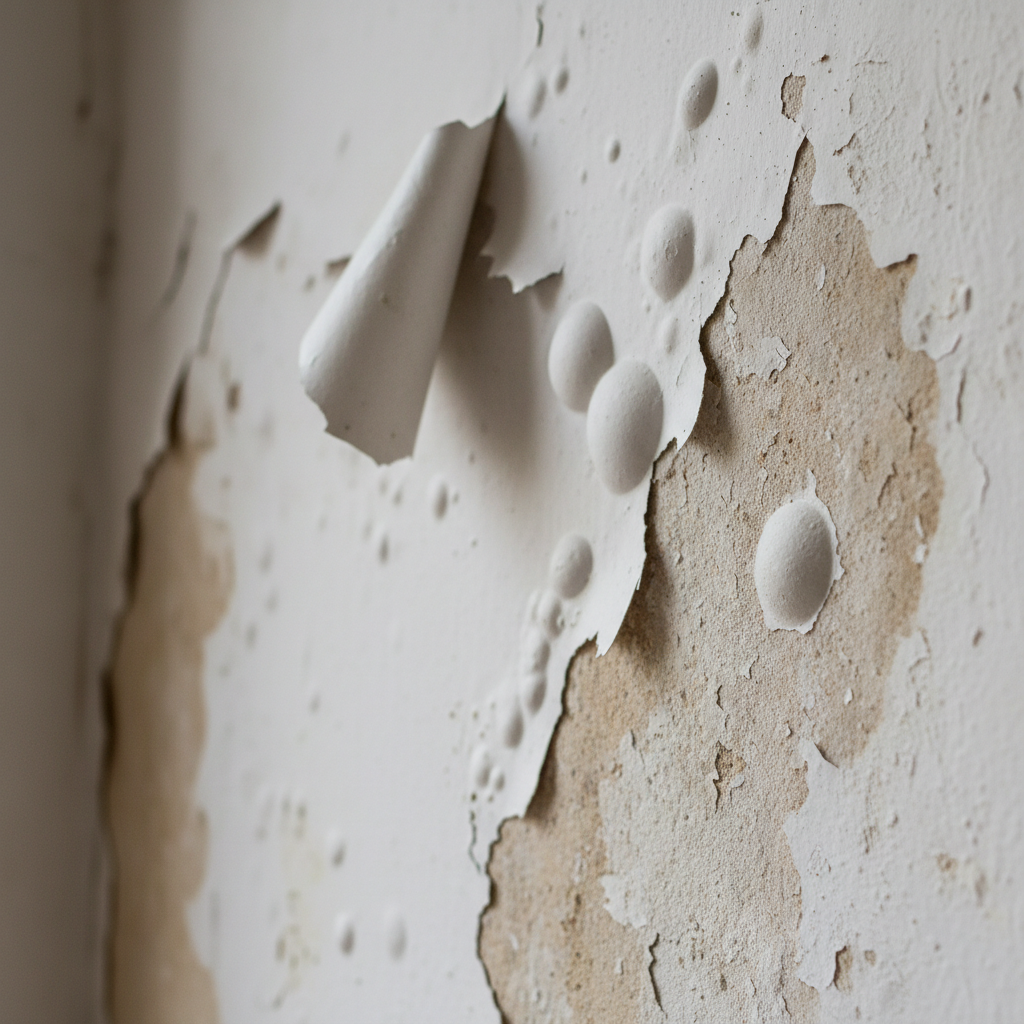
- Not Identifying the Root Cause: Biggest mistake on the board. You fix the peeling, but the problem underneath stays put, and then it peels again. Always look for leaks, humidity, or whatever’s causing the damage first.
- Painting Over Loose or Dirty Surfaces: Trying to save time by not scraping enough or not cleaning the wall. New paint will stick to loose paint or grime, and then all of it comes off together — usually sooner than you think.
- Skipping the Primer: Especially over bare drywall, patched spots, or when you’re switching paint types, like oil to latex. Primer isn’t optional. It’s the foundation.
- Applying Too-Thick Coats: Thinking one heavy coat will do it. Thick coats dry slowly, cure unevenly, and they’re way more likely to crack, blister, and peel than two thin coats done right.
- Ignoring Drying and Curing Times: Rushing the job and putting on the next coat before the first one’s ready. That traps solvents, weakens the bond, and leaves you with a fragile paint film that’ll fail early.
Painting · Peeling paint or refresh
| Project category | Painting |
|---|---|
| Problem type | Peeling paint or refresh |
| Trade required | Painting |
| Urgency | Planned project |
| Safety risk | Low safety risk |
| DIY suitability | DIY friendly |
| Cost category | Moderate cost |
| Typical timeline | Interior rooms 1–3 days; exteriors 3–7 days |
| Contractor type | Painting contractor |
Repair option
Scrape, prime, and spot-coat problem areas.
Replacement option
Full repaint after correcting the moisture source.
Common causes
- Moisture behind the film
- Poor surface prep at the last coat
- UV exposure on south and west walls
Relevant tools:project cost estimatordiy difficulty
Published September 13, 2026Last updated September 13, 2026
Tools & materials you'll need
Affiliate linksAs an Amazon Associate FixlyGuide earns from qualifying purchases — at no extra cost to you. Prices and availability are accurate as of publication and subject to change.
Quick Answer
Listen, when paint starts peeling, that wall’s not just flaking off for fun — it’s waving a red flag. A lot of folks assume it’s a bad paint job, and yeah, sometimes that’s the whole story. But more times than I can count, the real problem is lurking underneath: moisture, dirty prep, or old paint that never bonded worth a darn with the new coat. You’ve gotta chase down the cause first, or you’ll be back at the same spot next year, same scrape, same mess, same headache. Nobody wants that.
The Problem
I get calls about peeling paint all the time. Homeowners tell me, "I just painted this two years ago!" or "The previous owners swore they just had it done." And sure, that paint job probably was recent. But peeling paint isn’t really about how new it is. It’s about adhesion — how well that paint is hanging on to what’s underneath. Once that bond gives up, you get flakes, chips, and those ugly curling edges.
And it’s not just a cosmetic thing. Leave it alone and moisture can sneak behind the drywall or plaster, then you’re dealing with mold, mildew, and sometimes real damage you can’t see yet. I pulled a water heater in Frisco last month that had exactly this kind of wall damage behind it — looked like a simple paint issue on the surface, but the wall had been taking on moisture for who knows how long. Red flag, plain and simple. Ignore it and you’re asking for a bigger bill later.
How It Works
Paint adhesion isn’t rocket science, but it’s not just slop it on and call it a day, either. Think of it like layers in a sandwich. You’ve got the substrate — drywall, plaster, wood, whatever’s back there. Then, if everything’s done right, you’ve got primer. That primer gives the topcoat a uniform surface to grab, and it can also block stains or seal up porous material. After that comes the paint, the part you actually see.
Each layer has to bond to the one below it. That bond happens two ways: mechanical adhesion, where the paint grips tiny pores and rough spots, and chemical adhesion, where the molecules in the coating and the surface get along well enough to stick. If either one is weak, or something gets in the way, the whole system starts failing.
Moisture is a big culprit. If water gets behind the paint, it can break down the binders holding the film together, or it can shove the paint away from the surface as it tries to get out. Think blistered paint — same deal. A steamy bathroom, a roof leak, a plumbing drip, any of that can do it. Surface prep matters just as much. Paint over dust, grease, or loose old paint, and the new coat isn’t actually bonded to the wall; it’s bonded to the junk on top of the wall. That junk lets go, and the whole thing peels with it.
Temperature and airflow matter too. Paint in brutal cold, scorching heat, or a room with no ventilation, and it may never cure the way it should. It needs a steady environment — typically between 50°F and 85°F — to set up right and form a tough film that’ll last.
Step-by-Step Fix
Alright, let’s get this fixed. Before you crack open a fresh can, you gotta figure out why the paint failed in the first place. Otherwise, you’re just burning time and money.
-
Identify the Cause — Don't just scrape and repaint
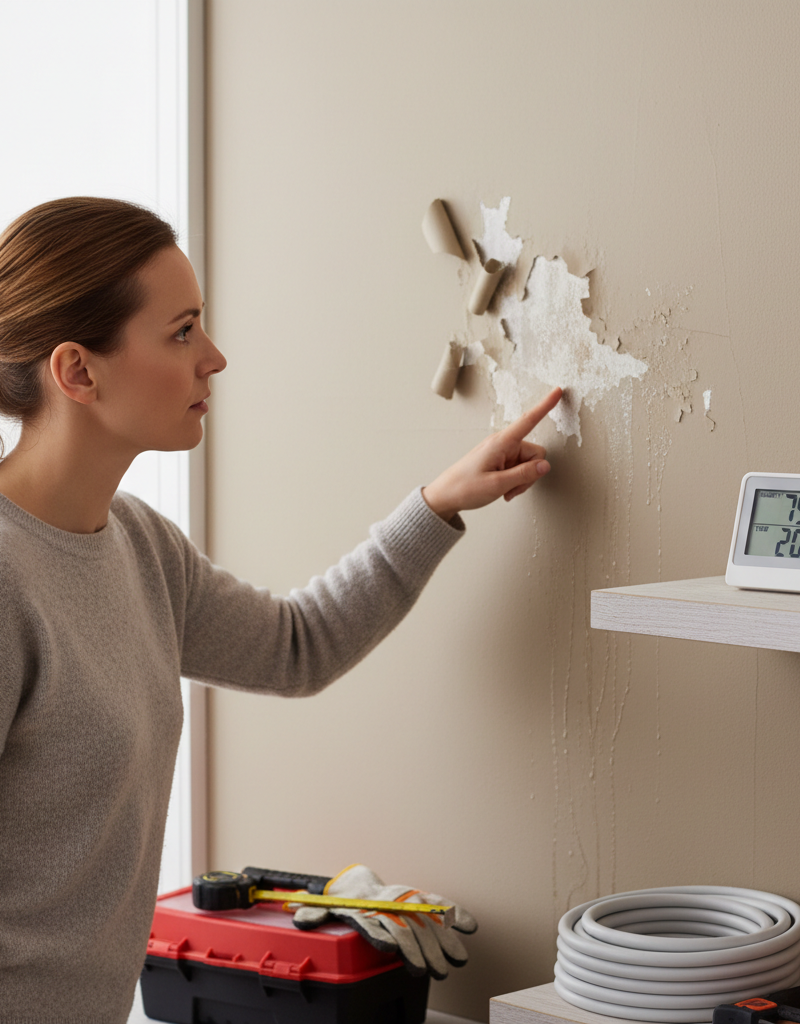
Take a hard look at the peeling. Bubbling? That usually screams moisture. Tiny brittle flakes? Could be old paint losing its grip or a surface that never got primed right. Big sheets coming off? That often means poor adhesion because somebody painted over dirt, gloss, or both. Check for leaks, condensation, or humidity that’s too high. Look above for ceiling stains and around the area itself. Skip this step and you’re rolling the dice. -
Protect Your Space — Keep it clean, keep it safe
Put down drop cloths on the floor and over furniture. Once you start scraping and sanding, chips go everywhere. If you’re outside, I’d tape plastic sheeting down to catch the mess. And wear safety glasses and a dust mask — no exceptions — especially if there’s any chance of lead paint in a house built before 1978. If you’re not sure, use a lead test kit. Don’t guess on that stuff. -
Remove All Loose Paint — Get aggressive, but be gentle with the wall
Grab your 2-inch or 4-inch scraper and start taking off every bit of loose, peeling, or blistered paint. Don’t leave the soft stuff behind. If it’s loose now, it’s coming off later anyway. Work down to a solid edge. For stubborn areas, a heat gun on low can help soften things up, but don’t scorch the surface — drywall especially can get ugly fast. I had a job in East Lansing last fall where a leaky window had the paint coming off in giant sheets. Took me a good hour just to clear the frame and get back to sound paint. -
Clean the Surface Thoroughly — No shortcuts here
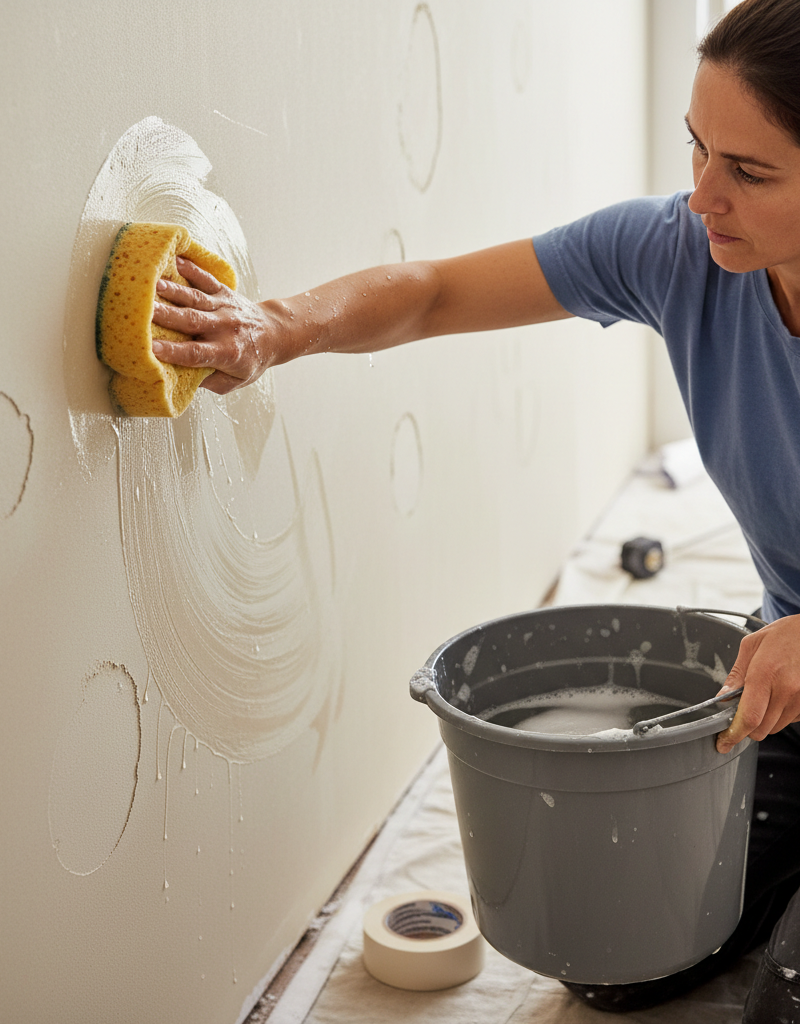
After scraping, clean the whole area. I use a damp cloth with a mild detergent, like TSP substitute or a decent degreaser, to wash off dust, grime, and whatever else is hanging around. Rinse with clean water and let it dry completely. Bone dry. Not “looks dry.” Give it a few hours, or overnight if the room’s damp. -
Sand the Edges Smooth — Feather it out
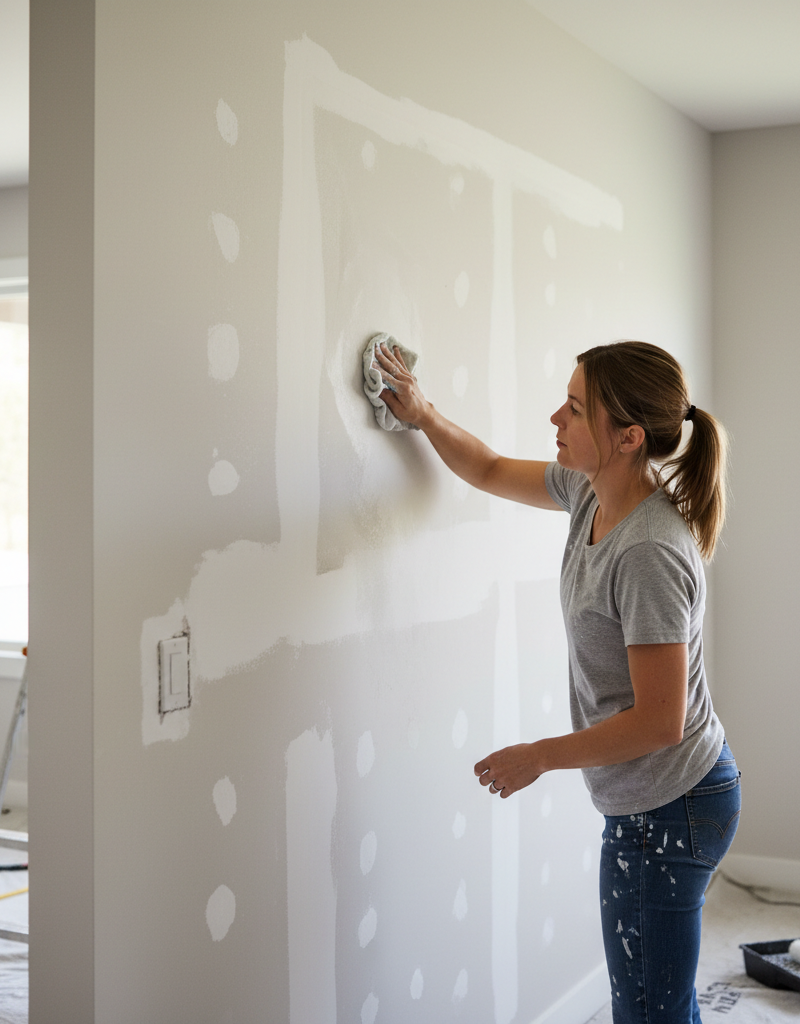
Use 120-grit to 180-grit sandpaper or a sanding sponge and feather the edge where the old paint meets the scraped area. You want a soft transition, not a ridge you can feel with your hand. That’s what keeps the repair from showing through later. Wipe off the dust with a tack cloth or a lightly damp rag after sanding. -
Repair Wall Damage — Fill those imperfections
If the scraping or cleaning opened up holes, cracks, or gouges, now’s the time to patch ’em. Small stuff gets spackle or joint compound. Bigger damage might need a patch kit. Spread it on with a putty knife, let it dry, sand it smooth, then hit it again if you need to. For deep gouges, two thin coats usually beat one heavy blob. -
Apply a Quality Primer — This is your insurance policy
Don’t skip primer, especially over bare spots or repairs. A good bonding primer or stain-blocking primer seals the surface, helps the topcoat grab, and evens everything out. Put on one thin, even coat. If you’re dealing with water stains, shellac-based primer is the ticket to keep them from bleeding through. Let it dry all the way according to the label, usually 1-2 hours but sometimes longer. -
Paint the Area — Finally, the topcoat
Once the primer’s dry, go ahead with your paint. I’d stick with a high-quality acrylic latex paint for most jobs. Lay down thin, even coats and let each one dry before the next. Two thin coats almost always beat one thick one. For a clean blend, extend the paint a little past the repair and feather it into the surrounding finish. If you’re doing a whole wall, easy enough. If it’s just a patch, blend it carefully — it’s a little finicky, but it can be done.
Common Causes
- Moisture Intrusion: This is the big one. Leaky roofs, plumbing issues, bathroom condensation, kitchen steam, or poor exterior waterproofing can all make paint peel. Water gets behind the coating, breaks the bond, and pushes it off the surface. In bathrooms, bad ventilation usually means too much humidity hanging around, and that’s a peeling-paint factory.
- Improper Surface Preparation: You can’t just paint over dirt, grease, or gloss and expect it to hold. The new paint needs something to grab. If you skip cleaning, sanding, or priming, the coating fails early. I once saw a kitchen where the paint peeled because somebody covered years of cooking grease without washing the walls first. Total disaster.
- Poor Adhesion (Incompatible Layers): Sometimes new paint just won’t bond to old paint. That’s especially common when someone puts latex over oil-based paint without the right prep, like sanding and using a bonding primer. Different coatings act differently, and some combinations just don’t play nice. Cheap original paint can also lose its grip over time.
- Excessive Humidity/Condensation: This overlaps with moisture intrusion, but it’s really about the room conditions. Bathrooms, laundry rooms, and stuffy kitchens are the usual suspects. Constant condensation and evaporation beat up the paint film until it starts lifting and peeling. Ventilation matters a lot here.
- Rapid Drying: Paint in direct sun, in super hot conditions, or with a fan blasting straight at a wet wall, and it can dry too fast on the surface before it cures underneath. That leads to cracking and peeling later.
- Using the Wrong Primer: Easy mistake. Not every primer works everywhere. A standard primer on a glossy wall, over an oil stain, or on a super porous surface might not seal or bond the way it should, and then the topcoat fails.
Common Mistakes
- Not Identifying the Root Cause: Biggest mistake on the board. You fix the peeling, but the problem underneath stays put, and then it peels again. Always look for leaks, humidity, or whatever’s causing the damage first.
- Painting Over Loose or Dirty Surfaces: Trying to save time by not scraping enough or not cleaning the wall. New paint will stick to loose paint or grime, and then all of it comes off together — usually sooner than you think.
- Skipping the Primer: Especially over bare drywall, patched spots, or when you’re switching paint types, like oil to latex. Primer isn’t optional. It’s the foundation.
- Applying Too-Thick Coats: Thinking one heavy coat will do it. Thick coats dry slowly, cure unevenly, and they’re way more likely to crack, blister, and peel than two thin coats done right.
- Ignoring Drying and Curing Times: Rushing the job and putting on the next coat before the first one’s ready. That traps solvents, weakens the bond, and leaves you with a fragile paint film that’ll fail early.
- Using the Wrong Tools/Materials: Cheap paint, the wrong roller, or using exterior paint indoors — none of that helps. Spend a little more on decent materials. It pays off.
Cost & Time Breakdown
When you’re dealing with peeling paint, the price can swing a lot depending on whether you’re doing it yourself or hiring a pro. Here’s a rough guide:
| Task | DIY Cost | Pro Cost | Time |
|---|---|---|---|
| Small Patch (1-2 sq ft) | $15–$30 | $150–$300 | 1-2 hours |
| Medium Wall (50-100 sq ft) | $50–$100 | $300–$700 | 4-8 hours |
| Large Room (300-500 sq ft) | $100–$250 | $700–$2,000 | 1-2 days |
| Moisture Source Repair | Varies ($0–$100s) | Varies ($200–$2,000+) | Varies |
| Lead Paint Abatement (if req) | N/A | $1,000–$5,000+ | 2-5 days |
Keep in mind, those are just ballpark numbers. A pro’ll charge more if the prep is heavy or if there’s a pile of furniture to work around. And that "moisture source repair" can be as simple as sealing a leaky window with a $10 tube of caulk or as big as replacing part of a roof for a couple grand. So yeah, find the source first.
Tips & Prevention
- Ventilate, Ventilate, Ventilate: Especially in bathrooms and kitchens. Run exhaust fans during and after showers or cooking for at least 15-20 minutes. Open windows if you can. Less humidity means less condensation, and that helps keep paint where it belongs.
- Address Leaks Immediately: Don’t let that little drip under the sink or that faint ceiling stain sit around. Water damage moves fast. Fix roof, plumbing, or window leaks as soon as you spot them. I tell people to check the attic and under sinks every six months for signs of water.
- Proper Surface Preparation is King: This is the backbone of a good paint job. Clean it, dull glossy spots with 180-grit, and prime it before you paint. It takes more time up front, sure, but it saves you grief later. Paint wants a clean, dull, dry surface.
- Use High-Quality Paint and Primer: Don’t cheap out. Better paints usually stick better, last longer, and cover more evenly, so you don’t need as many coats. Same story with primer — use one made for your surface and your problem.
- Don't Overload Your Brush/Roller: Put the paint on in thin, even coats. If you load the brush or roller too heavy, you’ll get drips, sags, and uneven drying, and that makes peeling more likely. Stick close to the manufacturer’s spread rate, which is usually around 350-400 square feet per gallon for a single coat.
- Allow Adequate Drying/Curing Time: Read the can and follow it. Paint needs time between coats, and then more time to fully cure. If you rush it, you weaken the film. Even if it feels dry to the touch, it might not be ready for another coat or normal wear.
When to Call a Professional
Look, I’m all for DIY, but there are times when you just need to bring in a pro. If the peeling’s spread across whole walls or multiple rooms, you’re probably dealing with a serious moisture issue or a really botched old paint job, and that’s often more than a homeowner should tackle alone. If you see mold or mildew — especially big patches — you need somebody who can assess the health risk and handle the cleanup the right way. If you suspect lead paint, which is common in houses built before 1978, or asbestos, especially in old textured ceilings or plaster, don’t touch it yourself; call a certified abatement specialist. And if you’ve got leaks that keep coming back — a damp area you can’t explain, or water stains that won’t stay gone — get a plumber, roofer, or general contractor involved before you paint anything. Those folks have the tools and experience to find the real cause and fix it without making a bigger mess.
Related Articles
Keep troubleshooting with these hand-picked guides from FixlyGuide:
- Why Does My Trim Look Like a Snake Ate It? (The Hidden Culprit) — That wavy, crooked trim isn't just shoddy workmanship—it's often a sign of underlying issues. Learn what causes your trim to warp and how t…
- The Mystery of the Spongy Floor: Is Your Subfloor Failing? — A spongy or bouncy floor can be more than just annoying; it often signals a hidden problem with your subfloor or joists that needs immediat…
- That Ceiling Stain Isn't a Leak: 5 Hidden Causes — A mysterious ceiling stain can be alarming, especially when there's no active leak. The real culprits are often hidden issues like attic co…
- That Annoying Nail Pop Is Back? Your Home's Telling You Something — Nail pops in drywall are a common nuisance, but if they keep reappearing, it's often a sign of deeper structural movement or improper insta…
- The Hidden Cause of Squeaky Hardwood Floors & The Real Fix — That persistent squeak from your hardwood floors isn't just an annoyance; it's a sign of movement. We'll uncover the hidden causes, from hu…
- The Surprising Reason Your Ceiling Fan Wobbles (It’s Not Always What You Think) — A wobbling ceiling fan isn't just annoying; it can be a safety concern. Learn the real culprits behind the shake and how to fix them.
What should this project cost?
Enter your project details for a realistic cost range before you call anyone.
Cost depends heavily on which system turns out to be the source.
- Regional adjustment
- National average
- Labor share (typical)
- ~$1,620
- Quotes to collect
- 3 written estimates
Educational estimate based on national averages — not a binding quote. Always confirm with written local estimates.
Get the print-ready PDF of this guide
A clean, ad-free, printable version you can keep on your phone or pin to the workshop wall. Free with a FixlyGuide account.
- Print-optimized layout
- Tools, materials & every step included
- Saved to your account
Recommended for DIYers & woodworkers
Sponsored
The Top 20 Tools for Workshops of Any Budget
No stationary machines or power tools required — plus 3 fundamental tools that can't be bought at any price.
Get the free guide
Ted's Woodworking — The #1 Woodworking Resource
Detailed instructions, dimensioned drawings, materials & cutting lists, and 3D schematics for every skill level.
See the plansSponsored: links above are affiliate links. FixlyGuide may earn a commission on qualifying purchases — at no extra cost to you.
Frequently asked questions
Why does my paint peel in the bathroom?+
Bathrooms are notorious for peeling paint due to high humidity and poor ventilation. The constant moisture causes the paint to lose adhesion. Ensure good exhaust fan usage during and after showers to mitigate this.
Can I paint over peeling paint?+
No, absolutely not. You must scrape off all loose, peeling paint first. Painting over it will only provide a temporary fix, and the new paint will peel along with the old underlying layer.
How do I know if moisture is causing the paint to peel?+
Look for bubbling, blistering, or areas where the paint feels soft or damp. You might also see water stains above the peeling section or feel condensation on the walls. Check for leaks in plumbing, roof, or around windows.
What's the best primer for peeling paint?+
Once you've scraped and cleaned the surface, use a high-quality bonding primer or a stain-blocking primer, especially if you had water stains. This will ensure good adhesion for your new topcoat.
Why did my paint peel after I cleaned the walls?+
If you painted immediately after cleaning, the walls might not have been completely dry, trapping moisture. Or, if you used a harsh cleaner and didn't rinse thoroughly, residue could prevent adhesion.
How long should paint dry before a second coat?+
Always follow the manufacturer's recommendations on the paint can. Typically, latex paints need 2-4 hours between coats, while oil-based paints might need 6-8 hours or even overnight to dry properly.
Is it better to scrape or sand peeling paint?+
You should do both. Scrape off all the loose paint aggressively. Then, sand the edges of the remaining paint to feather them smooth, creating an even surface for priming and painting.
Can old paint cause new paint to peel?+
Yes, if the old paint is chalky, glossy, or poorly adhered, the new paint won't have a good surface to stick to. Proper cleaning, sanding, and priming are essential to ensure the new paint bonds well to the old surface.
What if my house was built before 1978?+
If your house was built before 1978, there's a risk of lead-based paint. Do not dry scrape or sand without proper precautions. Consider getting a lead test kit or, for larger areas, consult with a lead abatement specialist before doing any work.
What type of paint is best to prevent future peeling?+
A high-quality acrylic latex paint designed for interior walls is usually best. It's flexible and durable. For high-humidity areas like bathrooms, use a paint specifically formulated with mildew-resistant properties.
Discussion
Loading comments…