- Tool needed: Oscillating multi-tool with a high-carbon steel or carbide plunge-cut blade.
- Safety check: Look for low wire runs or baseboard heating lines before you plunge near floorplates.
- If this doesn't work: If trimming the edges fixes the perimeter pinch but the middle of the room still feels springy, you’re probably dealing with a subfloor depression, not expansion buckling; jump straight to Method 2.
General remodeling · Renovation planning
| Project category | General remodeling |
|---|---|
| Problem type | Renovation planning |
| Trade required | General contracting |
| Urgency | Planned project |
| Safety risk | Low safety risk |
| DIY suitability | Pro recommended |
| Cost category | Major investment |
| Typical timeline | Design and permitting often 2–4 months before work starts |
| Contractor type | General contractor |
Repair option
Phase the work and fix the building envelope first.
Replacement option
Full renovation with permits, design, and a general contractor.
Common causes
- Space no longer fits how the household lives
- Resale preparation
- Deferred maintenance stacking up
Relevant tools:project cost estimatorcompare quoteshome improvement material prices
Published October 21, 2026Last updated October 21, 2026
Tools & materials you'll need
Affiliate linksAs an Amazon Associate FixlyGuide earns from qualifying purchases — at no extra cost to you. Prices and availability are accurate as of publication and subject to change.
Quick Answer
To fix hollow, bouncing, or clicking sounds in floating vinyl plank or laminate flooring, you’ve gotta figure out whether you’re dealing with a subfloor low spot or planks that’ve been pinched too tight at the edges. If the boards are binding against the baseboards, pull the trim and cut the perimeter back so you’ve got a clean 1/4-inch to 3/8-inch expansion space. If the planks are sitting over a hollow low spot and the boards themselves aren’t damaged, inject an engineered floor-repair adhesive under the planks through a tiny 1/16-inch drilled hole, then weight the area down for 24 hours.
The Problem
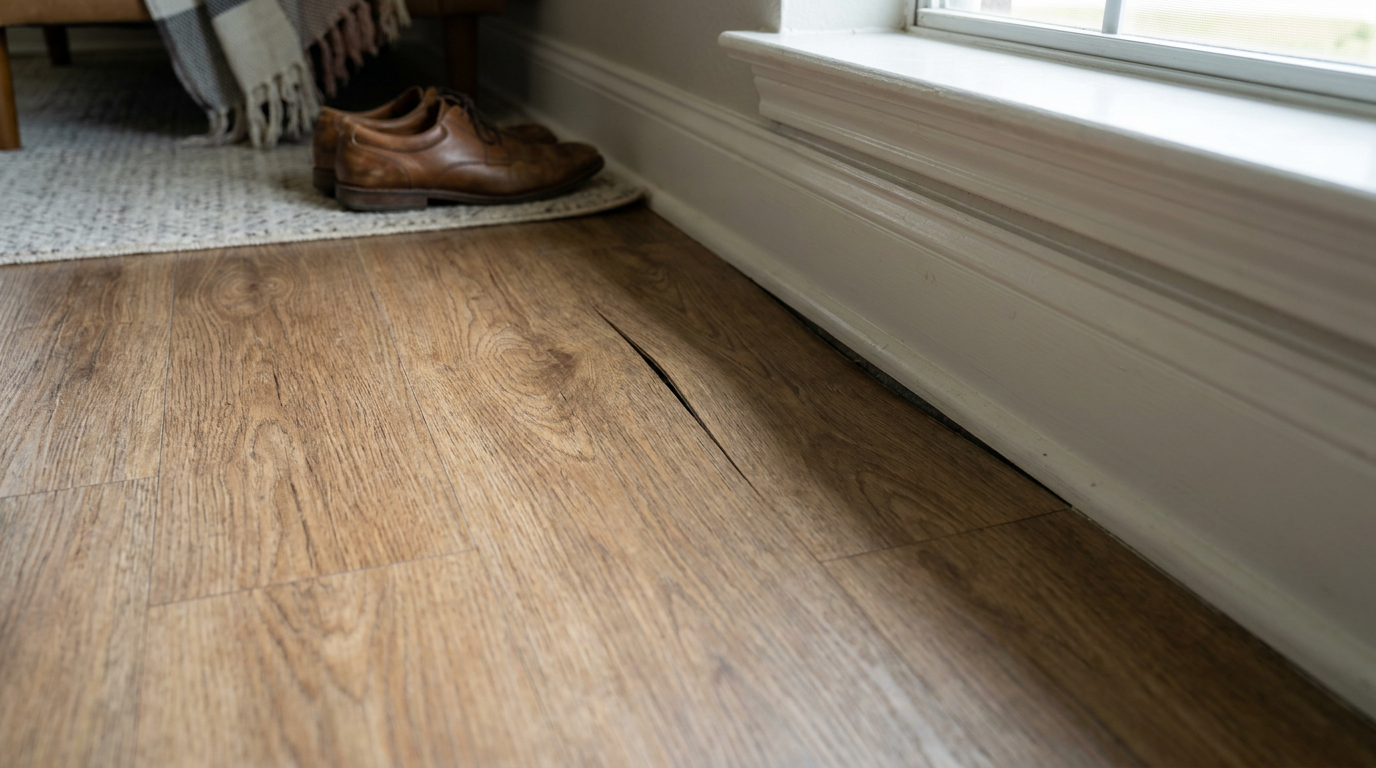
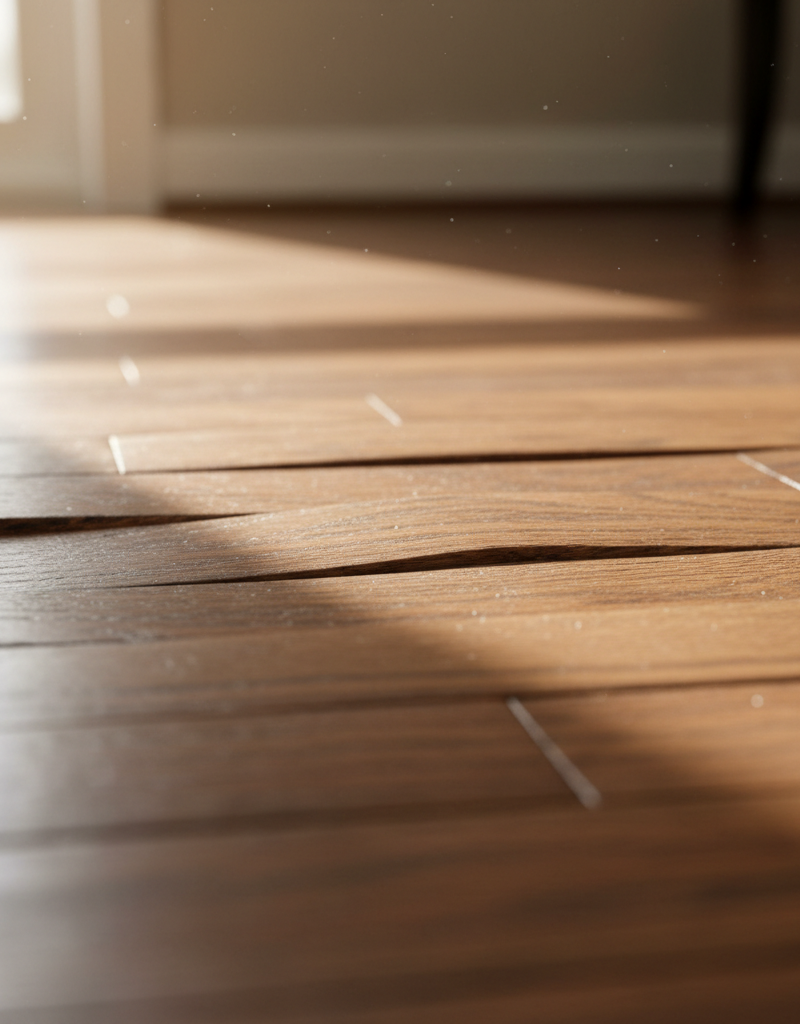
You walk through the hallway or cross the kitchen, and the floor dips just a hair under your socks. Then you get that hollow thump or a dry little click-clack that makes decent luxury vinyl plank (LVP) or laminate feel cheap. Like it’s floating over a drum. In bad cases, the seams start showing white stress lines or they separate outright.
That bounce happens when a floating floor bridges over a dip in the subfloor or gets trapped tight against the walls. Floating floors aren’t glued or nailed down; they sit on underlayment and lock together with tongue-and-groove joints. So when you step on a spot hanging over a 3/16-inch valley in the subfloor, your weight pushes the plank down until it hits wood or concrete beneath it. That repeated flexing beats up the click-lock joints. And once that locking core shears off, no surface patch is going to save that seam—the plank’s done. Catching it early can save you a pile of money later.
How It Works
A floating floor acts like one continuous, semi-rigid sheet across the room. It expands when indoor humidity climbs above 50% or when summer sun cooks one side of the floor, and it shrinks when dry winter air pulls humidity down toward 25%. To handle that movement, manufacturers call for an expansion perimeter—usually 1/4 inch to 1/2 inch—hidden under the baseboards and shoe moulding around every wall, door jamb, and cabinet base.
Under the planks is the subfloor: either 3/4-inch plywood/OSB on joists or a poured concrete slab. Industry standard (specifically ASTM F710 and NWFA guidelines) says that subfloor needs to be flat within 3/16 inch across a 10-foot radius, or 1/8 inch across a 6-foot span.
[Floating Vinyl Plank / Laminate]
   |-----------------------------|  <-- Bridging over void
[Underlayment Pad]               |
================================= \___ Low Spot Void (3/16"+)
[Plywood or Concrete Subfloor]   /
=================================
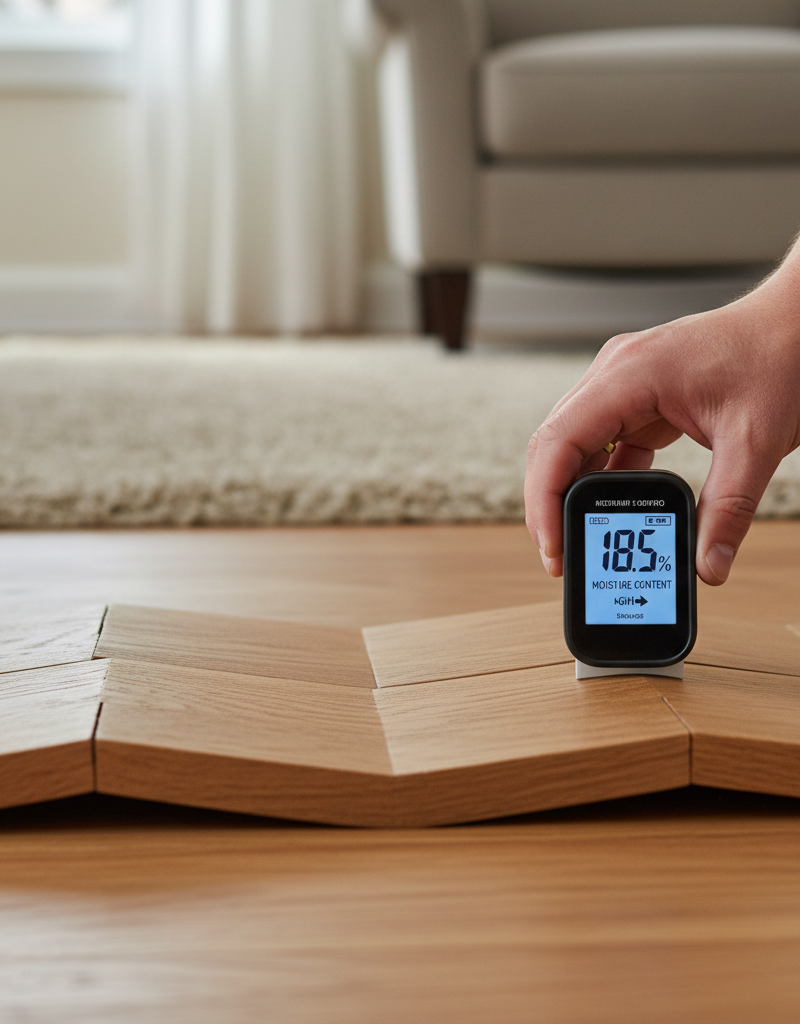
When an installer rushes the prep and leaves a low spot alone, the rigid core plank bridges the gap like a tiny suspension bridge. Every step turns into a live load, and the board gets shoved downward into that empty cavity. On the flip side, if the installer shoved the planks tight into drywall or door frames, thermal expansion has nowhere to go. The floor buckles upward into an arch—tenting—and now you’ve got a springy, hollow bubble right in the middle of the room. I pulled a water heater in Frisco last month that had exactly this kind of floor fight near the pantry; the whole corner sounded like a cereal box every time you stepped on it.
Step-by-Step Fix
Method 1: Clearing Pinched Expansion Gaps (For Tenting & Buckling Floors)
- Pull the quarter-round or shoe moulding — Slip a stiff 2-inch putty knife behind the moulding, work a small flat pry bar into the seam, and gently lever the trim away from the baseboard. Keep the pry bar riding against your putty knife so you don’t ding the painted wood. Pull the finishing nails through the backside of the trim with end-cutting pliers instead of hammering them backward through the finished face.
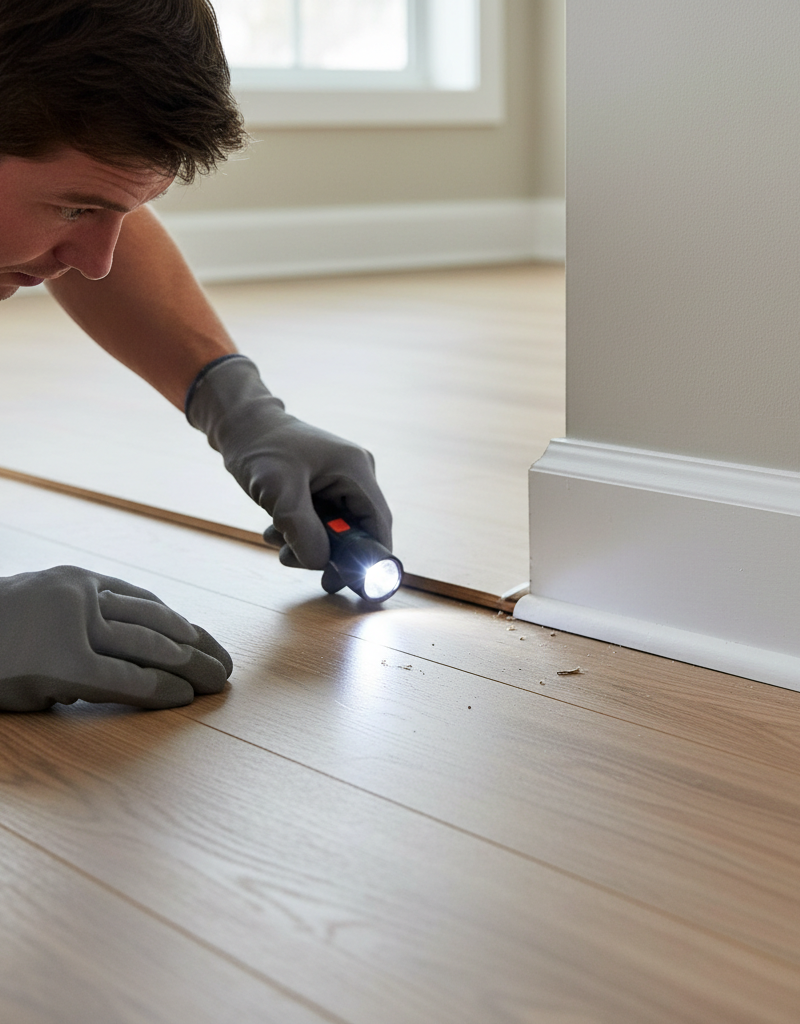
- Inspect the perimeter gap with a gauge — Measure the space between the cut edge of the flooring planks and the wall framing or bottom plate all the way around the room. You need a uniform 1/4-inch to 3/8-inch expansion void. If you find spots where the planks are jammed tight against drywall, studs, or door casings, that’s your pressure point pushing the floor upward.
- Mark the cut line on the trapped planks — Scribe a pencil line along the plank edges sitting flush against the wall, measuring back 3/8 inch so the floating floor can breathe. Use painter's tape on the plank surface if the pencil mark disappears against dark woodgrain.
- Relieve plank tension with an oscillating multi-tool — Chuck a flush-cut wood/plastic carbide blade into an oscillating multi-tool and set your cutting depth to match the plank thickness (typically 5mm to 8mm for LVP, or 10mm to 12mm for laminate). Carefully trim away the excess edge along your pencil line, keeping the blade parallel to the wall plate so you don’t nick studs or drywall backing.
- Tool needed: Oscillating multi-tool with a high-carbon steel or carbide plunge-cut blade.
- Safety check: Look for low wire runs or baseboard heating lines before you plunge near floorplates.
- If this doesn't work: If trimming the edges fixes the perimeter pinch but the middle of the room still feels springy, you’re probably dealing with a subfloor depression, not expansion buckling; jump straight to Method 2.
- Vacuum and reset the floor — Clean every chip of plastic and wood dust out of the fresh expansion channel with a shop vac crevice tool. Walk firmly across the buckled section; once the edge pressure is gone, the floor should settle flat against the underlayment within an hour. Reinstall your shoe moulding, nailing only into the baseboard—never down into the floating floor planks.
Method 2: Precision Adhesive Injection (For Isolated Low Spots & Voids)
- Map the exact hollow perimeter — Get down and tap the floor with a 1-inch wooden dowel, your knuckles, or the handle of a screwdriver. Listen for the pitch change: a solid, dead thud means full contact, while a hollow, resonant echo outlines the sunken void. Mark that low pocket with light blue painter's tape.
- Drill micro-injection ports — Pick an inconspicuous spot inside the taped perimeter—ideally within a dark simulated grain line, near an edge, or inside a textured knot. Chuck a 1/16-inch or 3/32-inch high-speed drill bit into your drill. Wrap masking tape 3/8 inch from the tip as a depth stop so you don’t blast straight down into hidden wiring or radiant heat elements. Drill straight through the plank until you feel the bit break into the hollow void below.
- Safety note: If you’ve got in-slab hydronic tubing or electric radiant heat mats, DO NOT drill. Use board-disassembly methods instead.
- Set up a relief vent port — Drill a second 1/16-inch port about 6 to 8 inches away from the first hole toward the outer edge of the hollow boundary. This one acts like an exhaust port, letting trapped air escape so the adhesive can spread instead of dead-heading under air pressure.
- Inject low-viscosity hollow-spot floor adhesive — Attach a precision metal needle or plastic dispensing tip to a cartridge of elastomeric, low-viscosity flooring repair adhesive (such as Fix-A-Floor or an engineered polyurethane void filler). Stick the tip into the primary injection hole. Squeeze the caulking gun slow and steady, forcing the fluid beneath the plank. Stop the second adhesive starts oozing out of the vent hole.
- Material check: Never use expanding spray foam or standard construction adhesive. Polyurethane spray foam can expand with up to 50 PSI of force, and that’ll balloon your floor upward and wreck the click-lock seams.
- Clean surface squeeze-out immediately — Wipe excess adhesive off the plank surface with a damp rag for water-based acrylics, or mineral spirits for polyurethane formulas. Don’t dawdle—once it dries, it can ruin the wear layer on LVP and cloud laminate.
- Weight down the repair area — Lay a flat sheet of 1/2-inch plywood across the injected zone, then stack 40 to 60 lbs of dead weight on top—exercise dumbbells, 5-gallon buckets of paint, or bags of sand do the trick. That keeps the plank curing flat against the adhesive bed instead of setting at a crooked tilt. Leave the weight alone for a minimum of 24 hours.
- Fill and disguise the injection holes — After the adhesive cures, clean the top 1/16 inch of the drill holes with the tip of a utility knife. Pick a colored wax repair stick, acrylic wood filler, or colored seam sealer that matches the plank’s undertones. Rub the wax into the tiny hole, scrape the excess with a plastic putty knife, and buff it with a microfiber cloth until the repair disappears into the grain.
Common Causes
- Unaddressed subfloor low spots: Installers skip self-leveling underlayment or skim-coating all the time. When an OSB valley or concrete slab dip runs deeper than 3/16 inch over 10 feet, the floating plank bends downward every time you walk across it.
- Absence of perimeter expansion space: Flooring planks move a lot during humid seasons. If the installer didn’t leave a 1/4-inch gap along walls, door jambs, and cabinetry, the planks run out of room and shove against each other, lifting off the subfloor.
- Excessive continuous run lengths: Most rigid core and laminate floors can only span 30 to 40 linear feet without a transition t-moulding. Push beyond that, and the thermal movement stacks up in open-concept layouts and bubbles the floor.
- Heavy cabinetry pinned on top of the floor: Kitchen islands, heavy built-ins, and full-depth pantries set right on top of a floating floor pin it down like an anchor. As the floor tries to expand, the pinned end can’t move, so the middle rises and starts feeling springy.
- Improper or doubled underlayment: Adding a 3mm foam underlayment under vinyl plank that already has an attached 1mm to 2mm IXPE/cork acoustic backing gives you too much cushion. The floor starts feeling like a sponge and the click-lock tabs get beat up within months.
Common Mistakes
- Using expanding polyurethane spray foam: Desperate homeowners spray standard window-and-door foam under the boards. That expansion pressure lifts the planks right off the subfloor and leaves you with a rock-hard hump that means full tear-out.
- Fastening floating planks with top-down finish nails: Trying to stop bounce by shooting 18-gauge brad nails through the face into the joists kills the floating design. The floor can’t move, and now you’ve got cracking, buckled seams, and puckered nail heads.
- Drilling holes that are too large: Boring 1/4-inch or 3/8-inch holes makes injection easier, sure, but it leaves scars you can’t hide cleanly. Keep your drill bits under 3/32 inch if you want the repair to disappear.
- Nailing shoe moulding directly into the floor: When you reinstall quarter-round trim after fixing edge pinch, drive the nails horizontally into the baseboard. If you angle them downward 45 degrees into the flooring planks, you pin the floating floor and bring the bounce right back.
- Skipping the relief vent hole: Pumping glue into one hole with no exit path for trapped air creates hydraulic backpressure. The adhesive quits flowing, backfires out of the drill port, and leaves the void empty.
Cost & Time Breakdown
| Task | DIY Cost | Pro Cost | Time |
|---|---|---|---|
| Trim Expansion Perimeter | $15–$30 (blade, painter's tape) | $150–$300 | 1–2 hours |
| Adhesive Void Injection (1-2 spots) | $25–$50 (adhesive kit, wax fill) | $200–$400 | 1 hour (plus 24h cure) |
| Plank Replacement (Broken Joints) | $0–$40 (using attic stock) | $250–$500 | 2–3 hours |
| Subfloor Leveling & Reset (Small Room) | $80–$150 (self-leveler, primer) | $600–$1,200 | 1–2 days |
Tips & Prevention
- Monitor indoor relative humidity year-round: Keep your home’s humidity between 35% and 55% with your HVAC system, humidifiers in the winter, and dehumidifiers in muggy summers. That’ll help keep the floor from moving around so much.
- Always store matching attic stock: Keep at least two unopened boxes of your original floor planks flat in a climate-controlled closet. If deflection snaps an interlocking tongue, you’ll have the exact dye lot ready for a clean board swap.
- Never allow heavy built-ins on floating floors: Have your kitchen contractor install base cabinets, bathroom vanities, and heavy granite kitchen islands directly onto the bare subfloor first. Bring the floating floor up to the cabinet feet and hide the required 1/4-inch expansion gap with base toe-kicks.
- Do not exceed manufacturer pad thickness: If your LVP comes with a pre-attached rubber, foam, or cork pad, don’t install an extra foam underlayment under it unless the manufacturer specifically approves that combo in writing.
- Check subfloor flatness before every install: If you’re laying new flooring in another room, sweep a 6-foot or 10-foot aluminum straightedge across the subfloor. Grind down concrete humps and fill depressions deeper than 3/16 inch with a polymer-modified feather-patch compound before you unbox a single board.
When to Call a Professional
Fixing pinched expansion gaps and injecting small voids under isolated boards is fair DIY work for a lot of folks, but major subfloor failure is a different animal. If more than 30% of your room is hollow and bouncing, or if you’re seeing visible downward dips of 1/2 inch or more under your baseboards, stop right there.
That kind of movement usually points to rotted subfloor plywood from a hidden plumbing leak, undersized and sagging floor joists, or busted click-lock joints across whole rows of plank. You can’t fix that from above. You’ll need a flooring pro or a general contractor to pull the floor, check structural joist deflection (L/360 or L/480 standards), pour self-leveling underlayment across the slab, or sister failing floor joists before the surface boards go back down.
Frequently Asked Questions
Can I fix hollow spots without drilling holes in my floor?
If the problem is edge binding, yes—pull the baseboards and cut back the 1/4-inch expansion perimeter, and the floor can settle back onto the subfloor on its own. But if there’s a low dip in the subfloor under the planks, the only way to fill that void without drilling micro-injection ports is to tear the floor apart board-by-board back to the dip, patch it, let it dry, and reinstall the planks.
What kind of glue should I use to inject under hollow vinyl planks?
Use a specialized low-viscosity, water-based, or polyurethane floor repair adhesive clearly labeled for void injection, like Fix-A-Floor or DriTac. These flow like heavy cream, fill paper-thin voids, cure with enough flexibility for normal foot movement, and clean up easier. Never use construction adhesive, wood glue, or expanding foam.
Why does my floor only feel hollow and bouncy during summer?
Hot, humid summer air makes vinyl and wood-composite materials expand. If the installer left too little perimeter gap, the floor expands until it hits the framing studs or baseboards. With nowhere left to grow sideways, the planks push against each other and bow up off the subfloor. Once winter heat dries the place out, the floor shrinks and lays flat again.
Will heavy furniture hold down a bouncy floating floor?
Nope, it usually makes things worse. Putting a heavy armoire or bookshelf over a buckled or bouncy area locks that part of the floor to the subfloor. As the rest of the floor tries to move with temperature swings, it pivots around that heavy leg and puts more stress on the nearby seams, which can peak, separate, or break.
How do I hide the small injection drill holes?
After the adhesive cures for 24 hours, clean out any dried glue at the top of the hole. Use a wax furniture touch-up stick or colored acrylic seam filler that matches your floor. Rub the stick back and forth until the hole is packed flush, scrape away the residue with a flat plastic card, and blend the sheen with a soft cloth. In natural woodgrain textures, an 1/16-inch filled hole is pretty much invisible from standing height.
Can I install quarter-round moulding to fix the bounce?
Quarter-round moulding only hides the expansion gap along the wall; it doesn’t remove bounce. In fact, if you nail the quarter-round down into the flooring boards instead of horizontally into the baseboard, you pin the floor edges and make the buckling worse. The moulding needs to hover a hairline fraction of an inch above the floor so the floor can move sideways.
How long does the adhesive injection take to cure?
Most precision void adhesives need a solid 24 hours under weight to hit handling strength, and 48 hours for a full cure. Keep 40 to 60 lbs of distributed weight on the repair area for the first 24 hours, and stay off heavy point loads—like high heels or moving furniture—across that section for two full days.
Why is my floor clicking when I step on it?
A clicking sound usually means two interlocking planks are flexing up and down against each other over a subfloor low spot. As the tongue moves inside the groove under your weight, that micro-friction makes the click. Leave it alone long enough and that repeated vertical movement shears off the thin composite tongue, and then the seam separates for good.
Related Articles
Keep troubleshooting with these hand-picked guides from FixlyGuide:
- The 3 Hidden Reasons Your Floor Squeaks (And 3 Ways to Silence It) — Silence a squeaky floor without tearing up your home using targeted lubrication, shims, or specialized screws.
- The 3 Hidden Reasons Your Garage Door Won't Fully Close (And The Easy Fixes) — Before you call a pro, troubleshoot the common reasons your garage door won't close all the way, from misaligned sensors to travel limit se…
- Why Are There Brown Spots on My Bathroom Ceiling? 5 Causes and the Fix — Seeing rusty or brown spots on your bathroom ceiling? It's likely "surfactant leaching," a common issue caused by humidity interacting with…
- Window Frame Cracked? 5 Causes and How to Fix Each Type — A cracked window frame isn't just ugly—it can lead to leaks, drafts, and even bigger structural problems if you don't fix it right.
- The 4 Hidden Reasons Your Doorbell Dies (And the 20-Minute Fix) — A non-working doorbell is often caused by simple, hidden issues like a tripped transformer or a corroded button, which homeowners can fix i…
- The #1 Mowing Mistake That Leaves Your Lawn Brown and Patchy — Discover the most common mowing mistake homeowners make that leads to unhealthy, patchy grass and how to fix it for a vibrant lawn.
Should you do this yourself?
Answer five quick questions before you start. Safety outranks savings every time.
Your experience with work like this
How high do you have to work?
Does the job involve any of these?
Will it need a permit?
Specialty tools
Free and instant. Educational guidance only — not a quote, inspection, or professional diagnosis.
Estimate your own project cost
National averages are a starting point. Enter your details for a range that fits your house.
Flooring cost estimator
- Material$498 – $1,095
- Installation labor$360 – $720
Tile installs and stairs increase labor cost. Get 2–3 quotes for jobs over 200 sq ft.
Educational estimate only — always confirm with written local bids.
What should this project cost?
Enter your project details for a realistic cost range before you call anyone.
Cost depends heavily on which system turns out to be the source.
- Regional adjustment
- National average
- Labor share (typical)
- ~$1,620
- Quotes to collect
- 3 written estimates
Educational estimate based on national averages — not a binding quote. Always confirm with written local estimates.
Before you start
Check the difficulty, permits, and safety risk — then decide whether to call a pro.
Free, no signup required. Estimates are educational guidance, not a quote or an inspection.
Get the print-ready PDF of this guide
A clean, ad-free, printable version you can keep on your phone or pin to the workshop wall. Free with a FixlyGuide account.
- Print-optimized layout
- Tools, materials & every step included
- Saved to your account
Recommended for DIYers & woodworkers
Sponsored
The Top 20 Tools for Workshops of Any Budget
No stationary machines or power tools required — plus 3 fundamental tools that can't be bought at any price.
Get the free guide
Ted's Woodworking — The #1 Woodworking Resource
Detailed instructions, dimensioned drawings, materials & cutting lists, and 3D schematics for every skill level.
See the plansSponsored: links above are affiliate links. FixlyGuide may earn a commission on qualifying purchases — at no extra cost to you.
Frequently asked questions
Can I fix hollow spots without drilling holes in my floor?+
If the issue is caused by edge binding, yes—simply removing the baseboards and cutting back the 1/4-inch expansion perimeter allows the floor to drop back down onto the subfloor naturally. However, if the subfloor beneath the planks has a low dip, the only way to fill that void without drilling micro-injection ports is to disassemble the entire floor board-by-board back to the dip, pour a patch compound, let it dry, and reinstall the planks.
What kind of glue should I use to inject under hollow vinyl planks?+
Use a specialized low-viscosity, water-based, or polyurethane floor repair adhesive explicitly labeled for void injection, such as Fix-A-Floor or DriTac. These adhesives flow like heavy cream to fill paper-thin voids, cure with elastic flexibility to handle normal foot movement, and clean up easily. Never use construction adhesive, wood glue, or expanding foam.
Why does my floor only feel hollow and bouncy during summer?+
Elevated summer humidity makes vinyl and wood-composite materials expand. If your installer left an inadequate perimeter gap, the floor expands until it hits the framing studs or baseboards. With no space left to grow horizontally, the planks push against one another and bow upward off the subfloor. Once winter heating dries out your home, the floor shrinks and lies flat again.
Will heavy furniture hold down a bouncy floating floor?+
No, it makes the problem worse. Placing heavy furniture like a 500-lb armoire or bookshelf over a buckled or bouncy zone locks that portion of the floor to the subfloor. As the rest of the floor attempts to shift with temperature fluctuations, it pivots around the heavy furniture leg, compounding tension and causing adjacent seams to peak, separate, or break.
How do I hide the small injection drill holes?+
After the adhesive cures for 24 hours, clean out any dried glue at the top of the hole. Use a wax furniture touch-up stick or colored acrylic seam filler that matches your floor's color. Rub the stick back and forth across the hole until it is packed flush, scrape away the residue with a flat plastic card, and blend the sheen using a soft cloth. When placed in natural woodgrain textures, an 1/16-inch filled hole is virtually invisible from standing height.
Can I install quarter-round moulding to fix the bounce?+
Quarter-round moulding only hides the expansion gap along the wall; it does not eliminate bounce. In fact, if you nail the quarter-round down into the flooring boards instead of horizontally into the baseboard, you pin the floor's edges and trigger worse buckling. Moulding must hover a hairline fraction of an inch above the floor to allow free horizontal movement.
How long does the adhesive injection take to cure?+
Most precision void adhesives require a solid 24 hours under weight to reach handling strength, and 48 hours for a 100% full cure. Keep 40 to 60 lbs of distributed weight on the repair area for the first 24 hours, and avoid heavy point loads (like high heels or moving furniture) across that section for two full days.
Why is my floor clicking when I step on it?+
A clicking sound usually points to two interlocking planks flexing up and down against each other over a subfloor low spot. As the tongue moves inside the groove under your body weight, the micro-friction creates an audible click. If left unaddressed, this repetitive vertical movement shears off the thin composite tongue, causing the plank seam to separate permanently.
Discussion
Loading comments…