- The Hot Water & Dish Soap Flush—Your first line of attack
- Boil a large pot of water (about 1 gallon). While the water is heating, pour about 1/2 cup of liquid dish soap directly into the drain. This helps to break down grease.
- Once the water is boiling, carefully pour the entire pot of hot water down the drain. Be cautious not to splash. The hot water, combined with the dish soap, can often dissolve and flush away minor grease and soap scum clogs.
- If this doesn't work: Repeat the process once more after 30 minutes. If the drainage still hasn't improved, move to the next step.
Plumbing · Leak
| Project category | Plumbing |
|---|---|
| Problem type | Leak |
| Trade required | Plumbing |
| Urgency | Emergency — act now |
| Safety risk | High safety risk |
| DIY suitability | DIY for experienced homeowners |
| Cost category | Low cost |
| Typical timeline | Shut water off now; repair usually same or next day |
| Contractor type | Licensed plumber |
Repair option
Isolate at the shutoff, replace the failed component, and dry the cavity fully.
Replacement option
Repipe the run or the branch when corrosion is widespread.
Common causes
- Failed supply line or shutoff valve
- Worn washers, cartridges, or P-trap connections
- Pinhole corrosion in older copper
Relevant tools:emergency checklistdiy or hire a pro
Published July 23, 2026Last updated August 18, 2026
Tools & materials you'll need
Affiliate linksAs an Amazon Associate FixlyGuide earns from qualifying purchases — at no extra cost to you. Prices and availability are accurate as of publication and subject to change.
Quick Answer
A slow-draining kitchen sink is a common household nuisance, typically signaling a partial obstruction within the drain line. The most frequent offenders are accumulated grease, food debris, and soap scum that cling to the inner walls of the plumbing, restricting water flow. While chemical drain cleaners offer a quick, albeit often temporary and potentially damaging, fix, a more effective and safer DIY approach usually involves a combination of hot water, dish soap, baking soda, and vinegar, followed by a physical clearing of the P-trap. Understanding the drain's mechanics and applying the right diagnostic steps can save you time, money, and the headache of a complete blockage.
The Problem
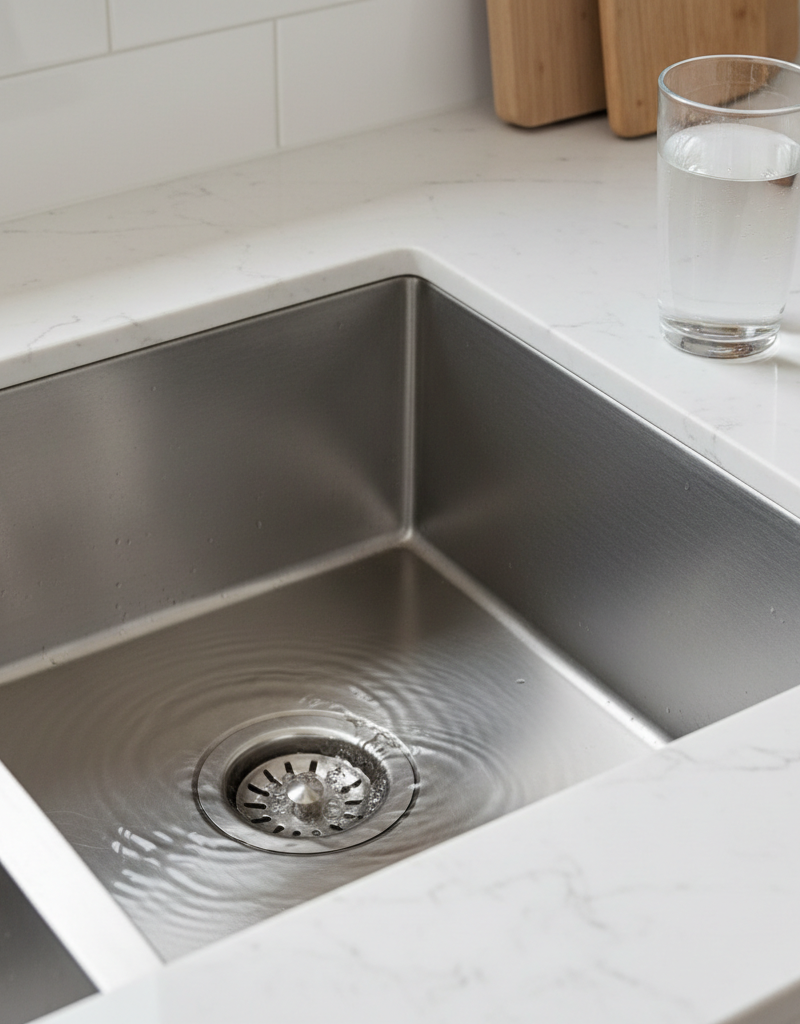
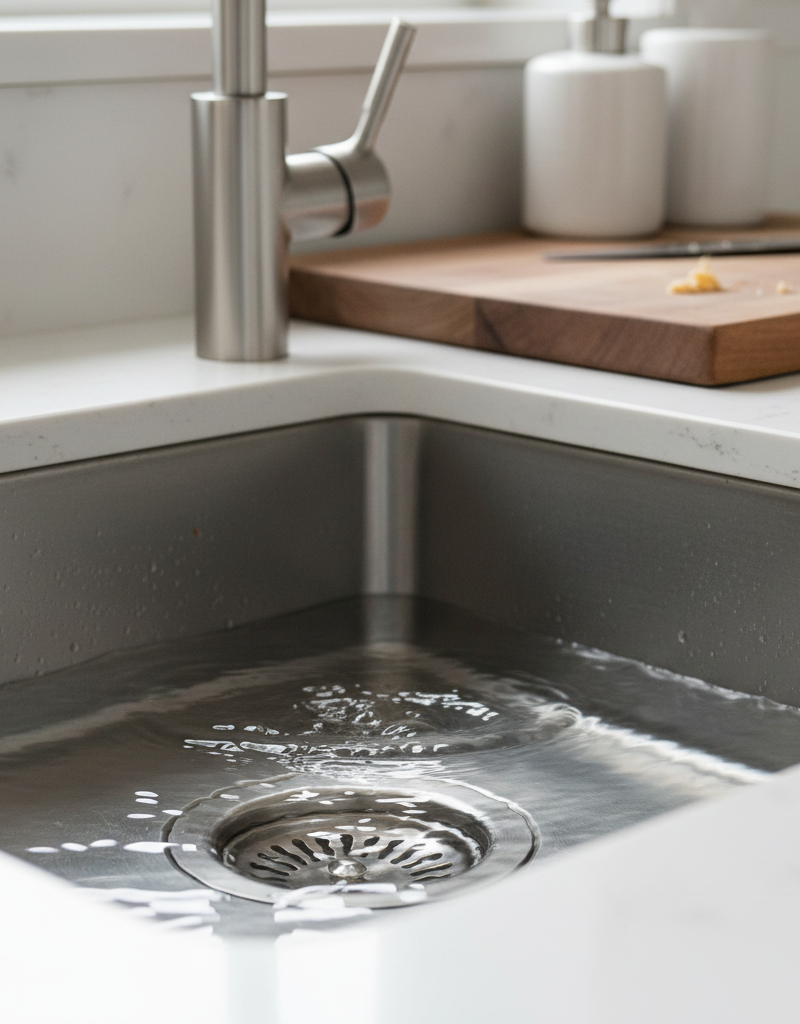
Imagine you're washing dishes after a big family meal, and the water just… sits there. It eventually trickles down, but at a frustratingly slow pace. This isn't just an annoyance; a slow-draining kitchen sink is a warning sign. It indicates a partial blockage forming somewhere in your drain system, usually close to the sink itself. Ignoring it allows the problem to worsen, leading to a complete clog and potential overflow, which can cause water damage, foul odors, and even attract pests. Common complaints include water pooling in the sink basin, an gurgling sounds, or a noticeable decrease in drainage speed over time.
How It Works
Understanding how your kitchen sink drain works helps in pinpointing the problem. When you pull the stopper or turn on the faucet, water flows from the sink basin into the drain opening. Directly beneath this opening is the basket strainer, which catches larger food particles. The water then descends into the tailpiece, a vertical pipe, before entering the P-trap. The P-trap is the curved section of pipe, shaped like a 'P' on its side, located directly under your sink. Its primary function is to hold a small amount of water, creating a seal that prevents sewer gases from entering your home. It’s also a common location for clogs due to its shape, which naturally catches debris.
From the P-trap, the wastewater continues into the branch drain line, which typically connects to a larger main drainpipe. This main drain then leads to your home's main sewer line or septic system. Crucially, your plumbing system also includes a vent stack, usually a pipe that extends through your roof. This vent allows air into the drain lines, preventing a vacuum from forming and ensuring smooth, efficient drainage. If this vent becomes blocked (e.g., by leaves, bird nests, or even ice), it can cause slow drainage, gurgling sounds, or even a vacuum that sucks water out of your P-trap, allowing sewer gases to escape. Most kitchen sink clogs, however, occur within the P-trap or the first few feet of the branch drainpipe, making them relatively accessible for a DIY fix.
Step-by-Step Fix
Here’s how to systematically troubleshoot and clear a slow-draining kitchen sink:
-
Safety First—Before attempting any plumbing work, always ensure you have adequate ventilation and wear appropriate safety gear, such as gloves and eye protection. Chemical drain cleaners are caustic and should be used with extreme caution, if at all. It's generally safer and more effective to use mechanical methods.
-
The Hot Water & Dish Soap Flush—Your first line of attack
- Boil a large pot of water (about 1 gallon). While the water is heating, pour about 1/2 cup of liquid dish soap directly into the drain. This helps to break down grease.
- Once the water is boiling, carefully pour the entire pot of hot water down the drain. Be cautious not to splash. The hot water, combined with the dish soap, can often dissolve and flush away minor grease and soap scum clogs.
- If this doesn't work: Repeat the process once more after 30 minutes. If the drainage still hasn't improved, move to the next step.
-
Baking Soda and Vinegar Power-Up—A natural effervescent action
- Pour 1 cup of baking soda down the drain, followed by 1 cup of white vinegar. The two will react, creating a fizzy foam that can help dislodge stubborn debris.
- Immediately plug the drain with a stopper or a wet cloth to contain the reaction pressure and force it deeper into the drain.
- Let it sit for at least 30 minutes, or even overnight for tough clogs.
- Follow up with another pot of boiling hot water to flush away the loosened debris.
- Safety Note: Never mix vinegar and baking soda with commercial drain cleaners. The resulting chemical reactions can produce dangerous fumes.
-
Bust Out the Plunger—When air pressure is your friend
- Fill the sink with enough hot water to cover the bell of a cup-style plunger. Ensure the water is hot, as it helps soften grease.
- Create a tight seal around the drain with the plunger. If you have a double-basin sink, plug the second drain securely with a stopper or a wet cloth to maximize suction.
- Plunge vigorously for 15-20 seconds. Repeat several times.
- After plunging, remove the plunger and check the drainage. If it's still slow, repeat the plunging process.
- Pro Tip: Ensure your plunger has a good seal. A poor seal will render this method ineffective.
-
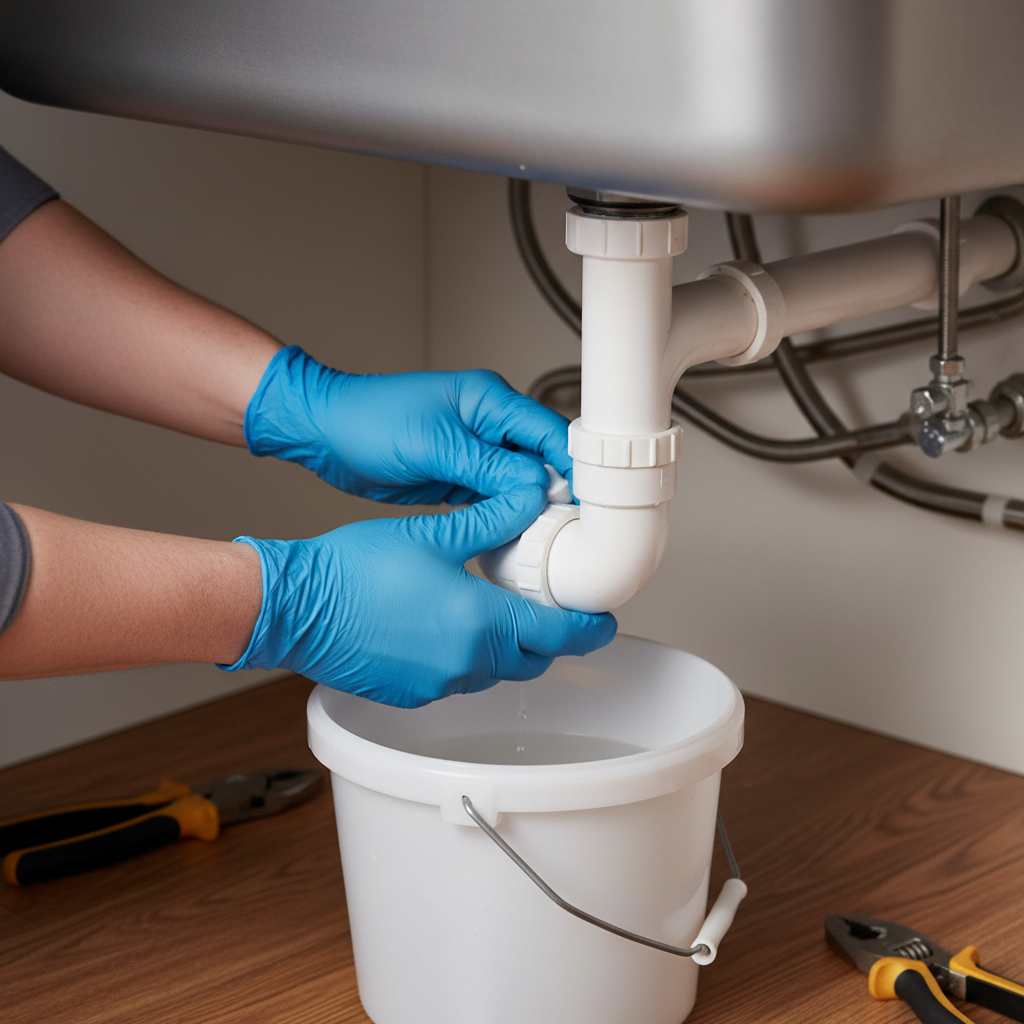
Tackling the P-Trap (The Most Common Culprit)—Getting hands-on with the clog
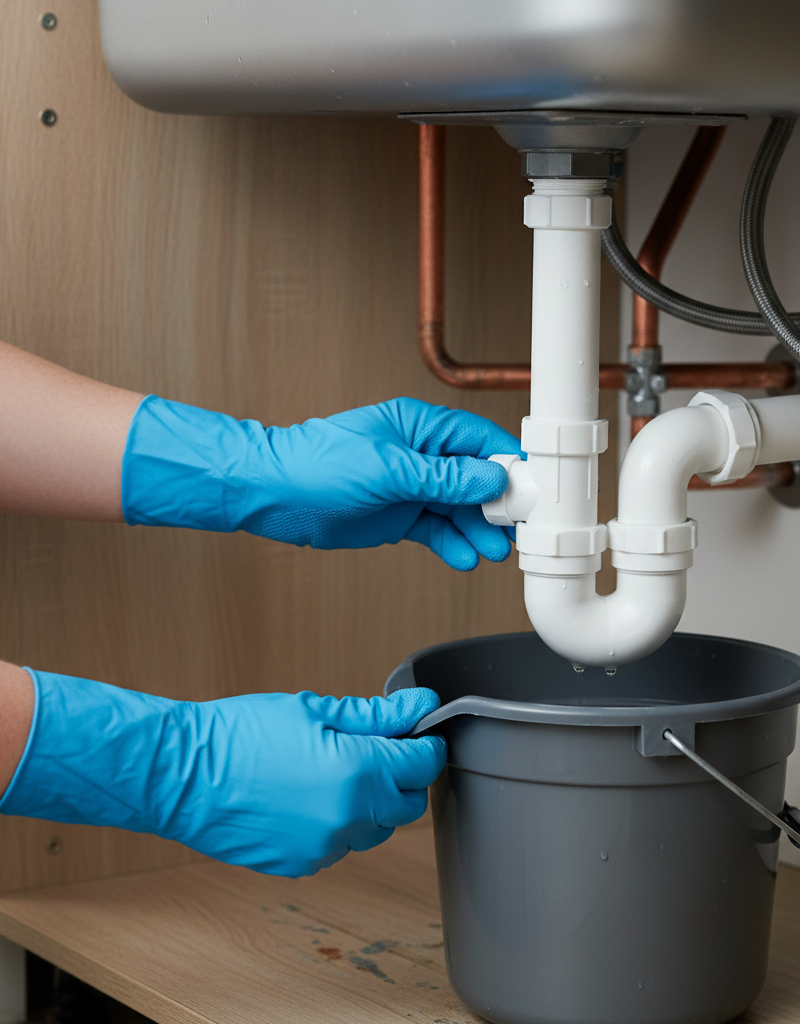
- Safety Note: Place a bucket or old towels directly under the P-trap before loosening any fittings. Water will likely spill out.
- Locate the P-trap directly beneath your sink. It's the U-shaped or S-shaped pipe section.
- Using adjustable pliers or a basin wrench, carefully loosen the slip nuts on both ends of the P-trap. If it's plastic, you might be able to unscrew them by hand.
- Gently remove the P-trap, allowing any trapped water and debris to drain into your bucket.
- Manually clear out any visible clogs from the P-trap using gloved hands. A wire brush can help if debris is stubborn.
- Inspect the tailpiece and the wall arm (the pipe leading into the wall) for any visible obstructions. You might need a small flashlight.
- Clean the P-trap thoroughly with hot, soapy water.
- Reassemble the P-trap, ensuring all slip nuts are hand-tightened, then give them a final quarter-turn with pliers. Do not overtighten, especially on plastic pipes, as this can crack them.
- Run water to check for leaks and improved drainage.
- If this doesn't work: The clog is likely further down the drain line. Proceed to the next step.
-
Snaking the Drain—For deeper obstructions
- If clearing the P-trap didn't solve the problem, the clog is probably in the branch drainpipe leading to the wall.
- You'll need a drain snake (also called a cable auger or plumber's snake), which can be rented or purchased at hardware stores.
- With the P-trap removed, insert the head of the drain snake into the opening of the pipe leading into the wall. Alternatively, you can feed it through the cleanout plug if your drain has one (often located on the branch line or main stack).
- Push the snake slowly, turning the handle clockwise to feed the cable further into the pipe. When you encounter resistance, it's likely the clog. Continue turning and pushing to break up or hook the obstruction.
- Once you feel the clog has been cleared or hooked, reel the snake back slowly. If you've hooked debris, try to pull it out.
- Repeat the process several times to ensure the drain is thoroughly cleared.
- Flush the drain with hot water for several minutes.
- Safety Note: Never force the snake. If you meet significant resistance that won't give, you could damage your pipes. For tough clogs or if you feel uncomfortable, call a professional.
-
Check the Vent Pipe—The often-overlooked culprit
- If all other methods fail and you still have slow drainage, accompanied by gurgling or sewer gas odors, a blocked vent pipe might be the cause.
- This is a more advanced troubleshooting step, as it requires accessing your roof. If you're not comfortable with heights or working on your roof, call a professional.
- Carefully use a ladder to access your roof. Locate the vent stack (a vertical pipe sticking out of the roof, often several inches in diameter).
- Visually inspect the opening for obstructions like leaves, bird nests, or even dead animals. You can use a flashlight.
- You can try to clear minor blockages with a garden hose, carefully spraying water down the vent pipe. Listen for the sound of freely flowing water.
- Pro Tip: If the vent seems clear, but the problem persists, a professional with specialized camera equipment can inspect the vent pipe for obstructions further down.
Common Causes
- Grease Buildup: This is the number one enemy of kitchen drains. When hot grease goes down the drain, it cools and solidifies, clinging to pipe walls and catching other debris.
- Food Particles: Small food scraps (coffee grounds, rice, pasta, vegetable peelings) can accumulate and form a dense blockage over time.
- Soap Scum: The combination of soap, minerals in hard water, and dissolved grease creates a sticky film that narrows the drainpipe.
- Mineral Deposits: Especially in homes with hard water, mineral buildup can restrict flow. This is more common in older pipes.
- Vent Pipe Blockage: A blocked vent prevents air pressure from equalizing, leading to slow drains and gurgling. This can be due to leaves, animal nests, or even structural issues.
- Improper Pipe Gradient: In some older or poorly installed plumbing, the drainpipe might not have enough slope for proper gravity-fed drainage.
Common Mistakes
- Relying on Chemical Drain Cleaners: While they can sometimes clear a clog, they often only carve a narrow path, leaving most of the buildup. They're also highly corrosive, can damage pipes (especially older or PVC pipes), and are dangerous to handle. If they don't work, the caustic chemicals are left sitting in your pipes, making physical clearing or professional intervention more hazardous.
- Not Using a Bucket Under the P-Trap: Forgetting this crucial step leads to a messy cleanup of dirty water and debris under your sink.
- Overtightening P-Trap Nuts: Both plastic and metal slip nuts can crack or strip if overtightened, leading to leaks.
- Ignoring the Vent Pipe: Many DIYers focus solely on the drain itself, overlooking the crucial role of the vent system in proper drainage.
- Forcefully Snaking the Drain: Pushing too hard can damage older or fragile pipes, especially at elbows or junctions. A gentle, persistent turning motion is more effective.
- Not Running Enough Water After Clearing: After a clog is broken up, it's essential to flush the drain thoroughly with plenty of hot water to ensure all loosened debris is washed away.
Cost & Time Breakdown
| Task | DIY Cost | Pro Cost | Time |
|---|---|---|---|
| Hot Water & Soap Flush | $0–$1 | N/A | 15–30 min |
| Baking Soda & Vinegar | $2–$5 | N/A | 30 min – Overnight |
| Plunging | $0–$25 (for plunger) | N/A | 10–20 min |
| Clear P-Trap | $0–$5 (gloves/bucket) | $150–$300 | 30–60 min |
| Snaking Drain (Hand Auger) | $20–$50 (snake) | $200–$500 | 1–2 hours |
| Vent Pipe Clearing (DIY) | $0–$10 (hose/ladder) | $300–$800 (incl. inspection) | 1–3 hours |
Tips & Prevention
- Regular Hot Water Flush: Once a week, pour a pot of boiling hot water down your sink to help melt away minor grease buildup.
- Use a Drain Strainer: Install a fine-mesh drain strainer in your sink to catch food particles before they enter the drain.
- Proper Grease Disposal: NEVER pour cooking grease or oil down the drain. Collect it in an old jar or can and dispose of it with your regular trash after it cools.
- Run Cold Water: When using your garbage disposal, always run plenty of cold water simultaneously, before, and for at least 30 seconds after to flush all waste thoroughly.
- Baking Soda & Vinegar Maintenance: Every few weeks, perform a quick baking soda and vinegar flush to keep your drains fresh and clear.
- Consider Enzyme Cleaners: For ongoing maintenance, natural enzyme drain cleaners (not harsh chemicals) can help break down organic matter in your pipes without causing damage. Use as directed.
When to Call a Professional
While many slow drain issues can be resolved with DIY methods, there are specific situations where calling a licensed plumber is the safest and most effective choice. If you've tried all the above steps—hot water flushes, baking soda and vinegar, plunging, clearing the P-trap, and snaking the branch line—and your sink is still draining slowly or is completely clogged, it indicates a more significant problem. This might be a deep-seated clog further down the main drain line, which could affect multiple fixtures in your home, or a tree root intrusion in your outdoor sewer line. (Signs of a main line clog include slow drains in toilets, bathtubs, or showers, especially when the kitchen sink is used.) Additionally, if you suspect a blocked vent pipe but are uncomfortable accessing your roof, a professional has the expertise and safety equipment to diagnose and clear it. Always call a pro if you're dealing with recurring clogs, believe the issue is beyond the kitchen sink (e.g., affecting other drains), or simply don't feel confident tackling the repair yourself. They have specialized tools like hydro-jetters and camera inspection equipment to quickly identify and resolve complex drain issues.
Related Articles
Keep troubleshooting with these hand-picked guides from FixlyGuide:
- The Secret Culprit Behind Your Slow Sink Drain (It's Not Always Hair) — Uncover the surprising reasons your kitchen sink drains slowly and learn actionable steps to fix common clogs yourself.
- The Secret Culprit Behind Your Slow Sink Drain (It's Not Always Hair) — Uncover the surprising reasons your kitchen sink drains slowly and learn straightforward fixes to restore flow without calling a plumber.
- The #1 Mistake Homeowners Make with a Slow Kitchen Sink (And Its Dead Simple Fix) — Before you reach for harsh chemicals, learn the most common, easily fixable reason your kitchen sink is draining slowly and how to fix it y…
- The #1 Mistake Homeowners Make with a Slow Kitchen Drain (And the Easy Fix) — A slow kitchen sink drain is frustrating, but often it's a simple fix homeowners overlook by focusing on the wrong culprits.
- The 3 Hidden Reasons Your Bathroom Sink Stinks (And the 20-Minute Fix) — Uncover the surprising causes behind a foul-smelling bathroom sink drain and learn a simple, effective fix in just 20 minutes.
- The #1 Reason Your Interior Door Sticks (It's Not Humidity) — Before you blame humidity, understand the real culprit behind a sticking interior door and learn how to fix it with simple tools.
What should this project cost?
Enter your project details for a realistic cost range before you call anyone.
Common repairs run $150–$650; repipes and water-heater replacements reach $1,500–$4,500.
- Regional adjustment
- National average
- Labor share (typical)
- ~$754
- Quotes to collect
- 3 written estimates
Educational estimate based on national averages — not a binding quote. Always confirm with written local estimates.
Fixly Project Decision Box
- DIY difficulty
- Moderate
- Estimated time
- 30 minutes – half a day
- Cost level
- Moderate
Main tools / materials
- Adjustable wrench
- Plunger or drain auger
- Bucket and towels
- Thread tape
When to stop and call a pro
- Water you cannot shut off at the fixture or main
- Sewage backing up into more than one fixture
- Water near electrical panels or outlets
- Gas water heater work beyond relighting a pilot
Need professional help?
Get a Licensed PlumberGet the print-ready PDF of this guide
A clean, ad-free, printable version you can keep on your phone or pin to the workshop wall. Free with a FixlyGuide account.
- Print-optimized layout
- Tools, materials & every step included
- Saved to your account
Frequently asked questions
Why is my kitchen sink draining slowly but not completely clogged?+
A slow drain usually means there's a partial obstruction, like a buildup of grease, food particles, or soap scum, clinging to the inside of your drainpipe or P-trap. Water can still get through, but the path is significantly narrowed over time.
Can I use a chemical drain cleaner for a slow kitchen sink?+
It's generally not recommended. Chemical drain cleaners are caustic and can damage pipes, especially older or PVC ones. They often only create a small path through a clog, leaving the majority of the buildup, and can make future repairs more hazardous for plumbers. Try natural methods or mechanical clearing first.
How do I know if the P-trap is the problem?+
The P-trap is a common spot for clogs because of its curved shape. If your sink is the only fixture draining slowly, and you've tried basic methods like hot water and plunging without success, the P-trap is a prime suspect. Clearing it manually is a good next step.
What's the difference between a drain snake and a plunger?+
A plunger uses suction and air pressure to dislodge clogs that are relatively close to the drain opening. A drain snake (or auger) is a flexible cable that's fed into the drain to physically break apart or pull out deeper obstructions that a plunger can't reach.
When should I call a professional plumber?+
Call a plumber if your sink remains slow after trying all DIY methods, if you suspect a main drain line clog (e.g., multiple fixtures are draining slowly), if you hear gurgling sounds from other drains when the kitchen sink is used, or if you're uncomfortable with any step of the DIY process, especially vent pipe inspection.
Discussion
Loading comments…