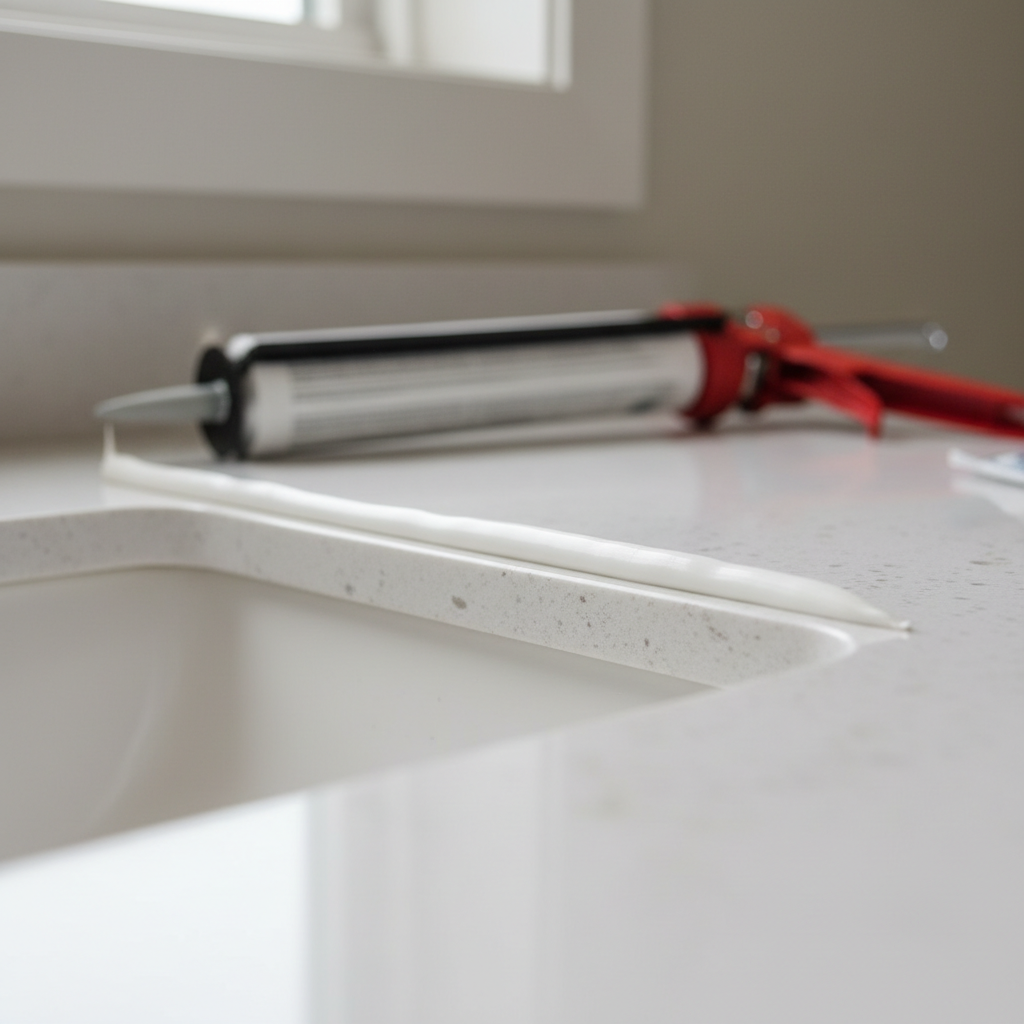
- Clear Clutter: Remove toothbrushes, soap dispensers, décor, and anything else from the countertop around the sink.
- Protect Surfaces: Lay down old towels or a drop cloth on the floor and adjacent cabinetry to catch debris and protect against spills.
- Ventilate: Open a window or use a fan to ensure good airflow, especially when using caulk removers or cleaning agents.
Plumbing · Leak
| Project category | Plumbing |
|---|---|
| Problem type | Leak |
| Trade required | Plumbing |
| Urgency | Emergency — act now |
| Safety risk | High safety risk |
| DIY suitability | DIY for experienced homeowners |
| Cost category | Low cost |
| Typical timeline | Shut water off now; repair usually same or next day |
| Contractor type | Licensed plumber |
Repair option
Isolate at the shutoff, replace the failed component, and dry the cavity fully.
Replacement option
Repipe the run or the branch when corrosion is widespread.
Common causes
- Failed supply line or shutoff valve
- Worn washers, cartridges, or P-trap connections
- Pinhole corrosion in older copper
Relevant tools:emergency checklistdiy or hire a pro
Published May 23, 2026Last updated August 17, 2026
Tools & materials you'll need
Affiliate linksAs an Amazon Associate FixlyGuide earns from qualifying purchases — at no extra cost to you. Prices and availability are accurate as of publication and subject to change.
Quick Answer
The most common caulk mistake around bathroom sinks is failing to properly remove old, cracked, or moldy caulk and neglecting to thoroughly clean and dry the surfaces before applying new caulk. This traps moisture beneath the fresh bead, creating an ideal environment for mold and mildew to flourish, often much faster than expected. The correct approach involves complete old caulk removal, meticulous cleaning, a bone-dry surface, and the application of a high-quality, mold-resistant silicone caulk for a durable, watertight, and aesthetically pleasing seal that prevents future mold formation.
The Problem
That unsightly black or pink gunk creeping along the edge of your bathroom sink, where it meets the countertop or wall, is almost certainly mold and mildew, and it's not just a cosmetic issue. When caulk begins to crack, peel, or separate, it loses its watertight seal. This allows water to seep into the tiny gaps and crevices beneath the countertop, behind the sink, or even into the wall cavity. This constant moisture, combined with the warm, humid environment of a bathroom, creates perfect conditions for mold and mildew to thrive. Ignoring it can lead to more serious problems than just an ugly line of black gunk; it can cause structural damage to your cabinets, drywall, or subfloor over time, and can contribute to poor indoor air quality. Many homeowners attempt to simply caulk over the old, moldy caulk, or they don't prepare the surface adequately, leading to the mold quickly reappearing, often worse than before. The root cause is almost always improper surface preparation and caulk application.
How It Works
Caulk serves as an essential seal, creating a flexible, waterproof barrier between two different surfaces. In your bathroom, this typically means between the sink and the countertop, or the countertop and an adjacent wall. Modern bathroom caulks are primarily made from silicone or acrylic latex with silicone additives. Silicone caulk is highly flexible, durable, and resistant to water and temperature fluctuations, making it ideal for high-moisture areas. Acrylic latex caulk generally contains mildewcides and is easier to clean up but is less flexible and durable than 100% silicone in the long run. When applied correctly, caulk adheres to both surfaces, preventing water, steam, and humidity from penetrating behind or beneath them. This protective layer is critical for preventing water damage to porous materials like drywall, wood cabinetry, and subflooring. The elasticity of caulk allows it to expand and contract with minor shifts and temperature changes without cracking, maintaining its seal. However, if the surface isn't clean and dry, or if old caulk is left underneath, the new caulk cannot properly bond. This compromises the seal from day one, allowing moisture to infiltrate, degrade the caulk, and initiate mold growth. Mold spores are ubiquitous; they just need moisture and an organic food source (like dirt, soap scum, or even the caulk itself) to colonize.
Step-by-Step Fix
1. Clear the Area Safely— Remove all items from around the sink and protect your work area. Always work in a well-ventilated space whenever using chemical removers or solvents.
- Clear Clutter: Remove toothbrushes, soap dispensers, décor, and anything else from the countertop around the sink.
- Protect Surfaces: Lay down old towels or a drop cloth on the floor and adjacent cabinetry to catch debris and protect against spills.
- Ventilate: Open a window or use a fan to ensure good airflow, especially when using caulk removers or cleaning agents.
2. Erase the Old Caulk— Thoroughly removing all traces of old caulk is the most critical step for preventing future mold.
- Score the Old Caulk: Use a utility knife or caulk removal tool to carefully score along both edges of the old caulk bead. Hold the blade at a shallow angle to avoid scratching the sink or countertop.
- Peel it Away: Use a caulk removal tool, putty knife, or even needle-nose pliers to peel up and pull out the old caulk. Be patient; stubborn sections may require more scoring.
- Scrape Residue: Use a plastic scraper or a dedicated caulk removal tool to scrape off any remaining caulk residue. For very stubborn bits, a dab of mineral spirits or a specialty caulk remover (always test in an inconspicuous area first) applied with a rag can help dissolve the remnants. Allow it to sit for the manufacturer's recommended time.
3. Clean for a Pristine Surface— Any leftover soap scum, mildew, or dirt will compromise the new caulk's adhesion.
- Scrub Away Grime: Mix a solution of equal parts household bleach and water in a spray bottle (or use a dedicated mold and mildew cleaner). Spray the area thoroughly, let it sit for 5-10 minutes, then scrub vigorously with an old toothbrush or stiff brush.
- Rinse Thoroughly: Rinse the area completely with clean water to remove all cleaning solution residue. Repeat if necessary until the surface is spotless and free of any mold stains.
- Check for Residue: Run your finger along the joint to ensure it feels smooth and free of any grittiness or sticky residue.
4. Achieve Bone-Dry Conditions— Moisture is the enemy. New caulk needs an absolutely dry surface to bond properly.
- Wipe Dry: Use clean, dry cloths or paper towels to thoroughly wipe down the entire area. Ensure no standing water or dampness remains.
- Air Dry Time: Allow the area to air dry completely for at least 2-4 hours. For added assurance, especially in humid environments, you can use a hairdryer on a low, cool setting to gently speed up the drying process. A truly dry surface will feel room temperature, not cool to the touch.
5. Tape for Precision (Optional but Recommended)— Masking tape creates clean, straight lines, making caulk application easier and neater.
- Apply Tape: Place painter's tape or masking tape along the countertop and sink rim, leaving a consistent, narrow gap (usually 1/8 to 1/4 inch) for the caulk bead. Press the tape down firmly to prevent caulk from seeping underneath.
- Angle for a Perfect Bead: For a slight concave finished bead, angle the tape out slightly from the joint. This will guide the caulk into a smooth, professional-looking finish.
6. Prepare Your Caulk Cartridge— Proper preparation is key for a smooth, consistent flow.
- Cut the Nozzle: Using a utility knife, carefully cut the tip of the caulk tube nozzle at a 45-degree angle. Start with a small opening (about 1/8 inch) – you can always cut it larger if needed.
- Puncture the Seal: Insert a long nail or the built-in puncture tool on your caulk gun through the nozzle to break the inner seal of the cartridge.
- Load the Gun: Place the cartridge into the caulk gun and release the trigger lever. Pump the trigger a few times until caulk starts to emerge from the nozzle, indicating it
Related Articles
Keep troubleshooting with these hand-picked guides from FixlyGuide:
- The #1 Mistake Homeowners Make When Caulking a Bathroom Sink (And How to Fix It) — Discover the most common caulk mistake homeowners make around bathroom sinks and follow simple steps to achieve a lasting, watertight seal.
- The #1 Mistake Homeowners Make When Protecting Pipes From Freezing — Preventing frozen pipes is crucial in winter; many homeowners make a common mistake that leaves their plumbing vulnerable.
- The #1 Mistake Homeowners Make with a Slow Kitchen Drain (and the Real Fix) — Before you reach for harsh chemicals, learn the right way to fix a slow kitchen sink drain and prevent future clogs.
- The Nasty Truth: Is Your Bathroom Sink's Stink Coming From a Hidden Biofilm? — A persistent, foul odor from your bathroom sink drain often signals a hidden biofilm buildup, not just a simple clog, demanding specific cl…
- The 5-Minute Trick to Stop a Dripping Single-Handle Faucet (No Plumber Needed) — A persistent drip from your single-handle faucet is usually caused by a worn-out cartridge, a repair you can typically complete yourself in…
- The #1 Caulk Mistake That Leads to Mold (And How to Fix It Right) — Discover the most common caulk mistake that causes frustrating mold growth around your bathtub and learn the simple, effective way to recau…
What should this project cost?
Enter your project details for a realistic cost range before you call anyone.
Common repairs run $150–$650; repipes and water-heater replacements reach $1,500–$4,500.
- Regional adjustment
- National average
- Labor share (typical)
- ~$754
- Quotes to collect
- 3 written estimates
Educational estimate based on national averages — not a binding quote. Always confirm with written local estimates.
Frequently asked questions
How often should I recaulk my bathroom sink?+
You should plan to inspect your caulk annually. If you notice any cracking, peeling, discoloration, or mold growth that cannot be cleaned, it's time to recaulk, typically every 2-5 years depending on the caulk quality and bathroom usage.
What's the best caulk for a bathroom sink to prevent mold?+
The best caulk for a bathroom sink is 100% silicone sealant, specifically formulated for kitchens and bathrooms with mildew-resistant properties. It offers superior durability, flexibility, and waterproofing compared to acrylic latex caulks.
Can I caulk over old caulk if it's not moldy?+
No, it's never recommended to caulk over old caulk, even if it appears clean. The new caulk will not adhere properly to the old caulk, creating a weak bond that will quickly fail, trap moisture, and lead to new mold growth. Always remove all existing caulk before applying a fresh bead.
Why does my caulk keep getting moldy?+
Caulk primarily gets moldy due to trapped moisture, often caused by improper surface preparation (not cleaning and drying thoroughly before application), using the wrong type of caulk (not 100% silicone with mildewcides), or poor ventilation in the bathroom allowing high humidity to persist.
Discussion
Loading comments…