The shop list for this build
Hand-picked tools & materials — shop on Amazon, ships fast.
Power tools
· The heavy hitters — buy once, use for decades.- Shop on AmazonCircular Saw
Why it's here: With a 60-tooth (or higher) plywood blade
- Shop on AmazonSaw Guide
Why it's here: Shop-made from scrap plywood or MDF
Hand tools & jigs
· Layout, joinery, and the everyday workbench essentials.- Shop on AmazonClamps· 4
Why it's here: At least four 48-inch parallel or bar clamps
- Shop on AmazonTape Measure
- Shop on AmazonCombination Square
- Shop on AmazonSafety Glasses
Materials & hardware
· Lumber, fasteners, glue, abrasives — the consumables.- Shop on AmazonCabinet-Grade Plywood· 1
Why it's here: One 4x8 sheet of 3/4-inch thickness (Birch or Oak recommended)
- Shop on AmazonPlywood Back Panel· 1
Why it's here: One 4x4 sheet of 1/4-inch thickness
- Shop on AmazonWood Glue· 1
Why it's here: 16oz bottle of Titebond II or similar
- Shop on AmazonSandpaper· 1
Why it's here: Assorted pack with 120, 180, and 220 grits
- Shop on AmazonBrad Nails· 1
Why it's here: 3/4-inch length for the back panel
Finishes & coatings
· Stains, dyes, top-coats, and prep products.- Shop on AmazonWipe-On Polyurethane· 1
Why it's here: 1 quart
Quick Answer
Yes, you can build an incredibly sturdy and clean-looking dado joint bookshelf with just a circular saw. The key is creating a simple zero-clearance saw guide. You clamp this guide to your plywood panels and use it to make multiple passes, clearing out a perfect 3/4-inch wide channel (a dado) for each shelf. The same guide is used to cut rabbets at the ends for the top and bottom panels. By setting your blade depth to exactly half the thickness of the plywood (3/8-inch for standard 3/4-inch plywood), you create strong, interlocking joinery that a table saw or router is typically needed to produce. This method for a dado joint bookshelf offers superior strength and a professional finish compared to basic butt joints with screws.
Why This Matters
In woodworking, the jump from "assembling" to "building" happens when you start cutting joinery. For bookcases, the gold standard is the dado joint. A dado is a square-bottomed channel cut across the grain of a piece of wood. When the end of another piece (like a shelf) fits snugly into that channel, the joint provides immense mechanical strength, preventing the shelf from sagging under load. It also dramatically simplifies assembly, as the joints themselves hold the case square.
Traditionally, cutting dados requires a table saw with a special "dado stack"—a set of blades and chippers that costs $100-$300 and doesn't fit all saws. The other common method is a plunge router with a straight bit. But what if you only have a basic circular saw? That’s where this technique comes in. It democratizes the process, making high-end circular saw woodworking accessible without a huge tool investment.
A rabbet joint is simply a dado cut on the edge of a board. We use it here for the top and bottom of the bookshelf, creating an interlocking corner that's vastly stronger and easier to align than a simple butt joint. By learning this one simple jig-based method, you learn to cut both essential joints.
The strength difference is not trivial. A shelf simply screwed or nailed through the side of a bookcase relies entirely on the shear strength of the fasteners. A 100-pound load of books is pulling directly downwards on those four small points. In a dado, that same 100-pound load is distributed across the entire 12-inch depth of the shelf, resting on a solid wood shoulder. The glue surface area is also tripled, from just the edge of the board to the two walls and bottom of the dado. This is the difference between a shelf that sags in a year and one that lasts for 50 years.
How It Works
The magic isn't in the saw; it's in the guide. You will make a simple T-square style guide from scrap plywood or MDF. This guide has two critical features:
- A Perfectly Straight Fence: This is what your saw will ride against. Its straightness dictates the straightness of your cuts.
- A Zero-Clearance Edge: After you build the guide, you will run your own circular saw along the fence to trim the baseplate. This act customizes the guide to your specific saw. The edge of the guide now represents the exact line the blade will cut. There's no measuring, no offset, no guesswork. You place the edge of the guide on your layout line, clamp it down, and the saw blade cuts precisely on that line.
To cut a 3/4-inch dado for a shelf, you don't need a 3/4-inch blade. You will use your standard 1/8-inch saw blade and make multiple passes. Here's the process:
- Set the Depth: You set your circular saw's blade depth to 3/8-inch. This is a critical measurement—exactly half the thickness of the 3/4-inch plywood you are cutting into.
- First Cut: You align the zero-clearance edge of your guide with the layout line for one side of the dado. You make a full pass.
- Second Cut: You move the guide over, align its edge with the layout line for the other side of the dado, and make a second pass. You now have two 1/8-inch wide cuts, 1/2-inch apart.
- Clear the Waste: You make several more "freehand" passes with the saw between the first two cuts to remove the remaining material. A sharp chisel can be used to clean up any remaining slivers, leaving a perfect, flat-bottomed dado.
This method is precise, repeatable, and requires zero complex measurements after the initial guide is built. It turns a framing tool into a joinery-making machine.
Step-by-Step: Assembling Your Dado Joint Bookshelf
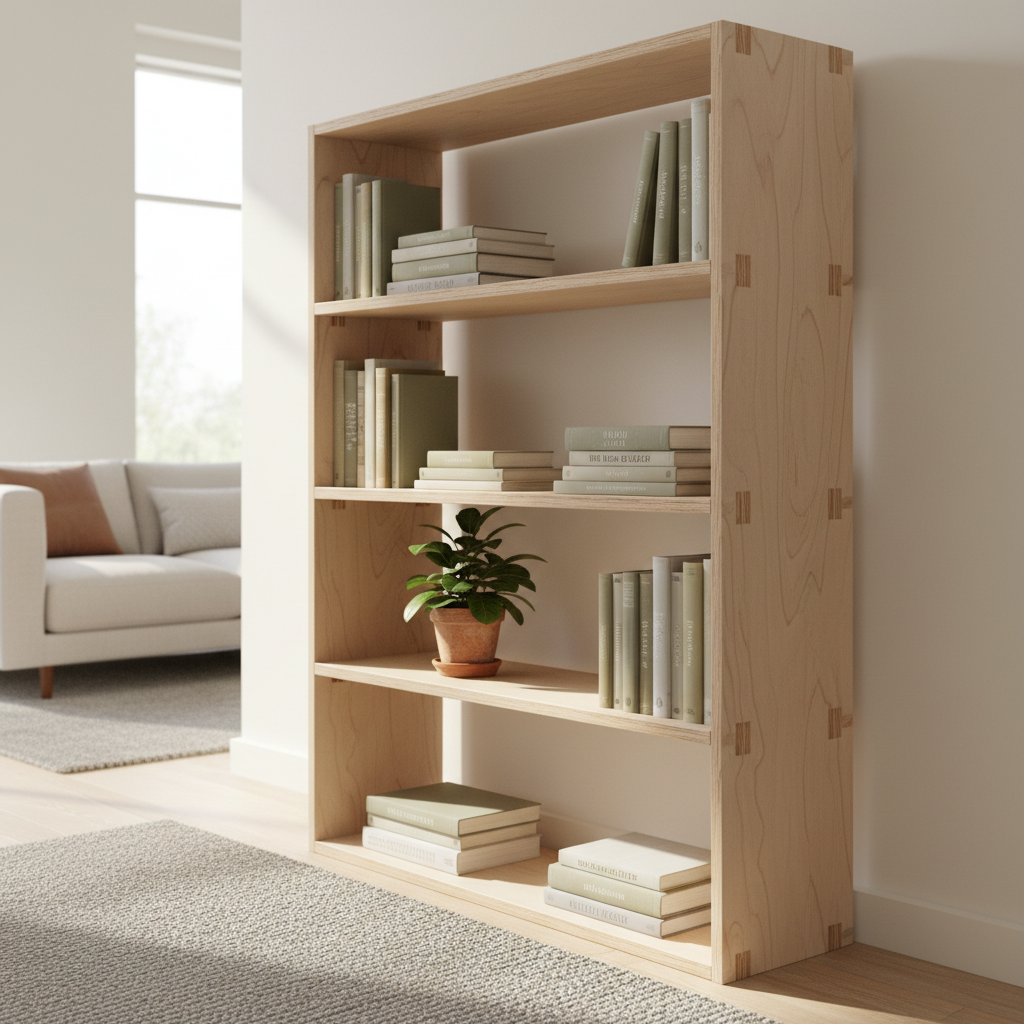
This plan is for a bookshelf that is 48" tall, 36" wide, and 11 3/4" deep. It uses one full 4'x8' sheet of 3/4-inch cabinet-grade plywood and one 4'x4' sheet of 1/4-inch plywood for the back.
Step 1: Make Your Circular Saw Guide
- Cut a piece of 1/2" or 3/4" MDF or plywood to 8" wide by 30" long. This is your base.
- Cut another piece from the same material to 2" wide by 30" long. This is your fence.
- Glue and screw the fence onto the base, roughly 3-4 inches from one edge. Ensure it's perfectly parallel.
- Place the guide on a sacrificial piece of foam insulation on the floor. Set your circular saw to a 1" depth. Run the saw along the fence, trimming the base. Flip it over and do the same on the other side. You now have two zero-clearance edges, one for standard cuts and one for 45-degree bevels.
Step 2: Break Down the Plywood
- Safety First: Put on your safety glasses and ear protection. Plywood dust is nasty; a dust mask (N95 or better) and a shop vacuum connected to your saw's dust port are highly recommended.
- Lay your 4'x8' sheet of 3/4" plywood on foam insulation on the ground. This provides support and prevents tear-out on the bottom face.
- Using your new guide, cut the sheet into more manageable pieces. First, cut a 48" x 96" piece into two 48" x 48" sections.
- From one 48x48 section, cut your two bookcase sides at 11 3/4" wide x 48" long.
- From the other 48x48 section, cut your top, bottom, and three shelves at 11 3/4" wide x 34.5" long.
Step 3: Mark Your Dado and Rabbet Locations
- Take your two 48" side pieces. Orient them so the best faces are pointing outwards.
- Using a quality tape measure and a combination square, mark the centerlines for your three shelves. For a 48" tall case, good spacing is at 12", 24", and 36" from the bottom.
- Now, measure the actual thickness of your plywood with calipers. It's rarely exactly 0.750 inches. Let's say it's 0.730". You need to mark the outlines of the dado. From your centerline, measure half of your plywood thickness (0.365") in each direction and mark those lines. This gives you two lines, 0.730" apart, defining the exact edges of your dado.
Step 4: Cut the Rabbets
- Set your circular saw blade depth to 3/8-inch. Unplug the saw when making adjustments.
- On the top and bottom ends of both side pieces, you'll cut a rabbet for the top and bottom panels.
- Align your saw guide with the inside line of the rabbet (3/4" from the end) and make your first pass.
- Make a second pass right at the edge of the board to define the shoulder. Clear the waste in between.
Step 5: Cut the Dados
- This is the core of this beginner bookshelf plans project. Keep your blade depth at 3/8".
- On one of the side pieces, align your saw guide with the top layout line for your first dado. Clamp securely at both ends.
- Make the cut. Your body position is key; stand so you have a clear, stable path from one end to the other.
- Move the guide and align it with the bottom layout line for the same dado. Clamp and cut.
- Make one or two more freehand passes between these two cuts to remove the waste. Be careful not to touch the side walls.
- Repeat this process for all three dados on both side pieces. Ensure your layout lines are on the inside faces and are mirror images of each other!
Step 6: Cut the Back Panel Rabbet
- Set your blade depth to 1/4-inch.
- On the back edge of both side panels AND the top and bottom panels, cut a 1/4-inch wide rabbet to accept the back panel. You can do this with your guide, or carefully freehand if you have a steady hand, as it will be hidden.
Step 7: Dry Fit and Adjust
- Never glue without a dry fit. Assemble the entire bookcase without glue. The joints should be snug. If they are too tight, lightly sand the inside faces of the dados. A block with 120-grit sandpaper works well. If a joint is slightly loose, don't worry; wood glue and sawdust can make a strong filler, or you can use glue with a higher viscosity.
- Check for square by measuring corner to corner. The two diagonal measurements should be identical.
Step 8: Sanding
- Sand all your pieces before assembly. It's much harder to get into the corners later.
- Start with 120-grit sandpaper on a random orbit sander to smooth all faces and remove any saw marks. Ease all sharp edges, especially the front of the shelves.
- Finish with 180 or 220-grit for a surface that's ready for finishing. Vacuum all dust from the surfaces and the joints.
Step 9: Glue-Up
- Work quickly and methodically. Have at least four 48-inch clamps ready.
- Apply a thin, even layer of wood glue (like Titebond II) to the inside of the rabbets and dados on one of the side panels.
- Insert the top, bottom, and three shelves.
- Apply glue to the joinery on the other side and place the second side panel on top. You may need a rubber mallet to gently persuade the joints to close.
- Apply clamps. The goal is even pressure, not maximum force. Aim for around 200-250 PSI. You want to see a small, even bead of glue squeeze out along the joint line. Use cauls (scrap wood) to protect the plywood from the clamp heads.
- Check for square again. If it's out of square, you can often rack it into place by adjusting the angle of a clamp.
Step 10: Attach the Back
- While the main case is in clamps, measure the opening for the back panel and cut your 1/4" plywood to size. It should fit snugly in the rabbet you cut.
- Apply glue to the rabbet and place the back panel in place. Secure it with 3/4" brad nails or staples every 6-8 inches. The back panel is critical for locking the case square and preventing racking.
Step 11: Finishing
- After the glue has cured for at least 12 hours, remove the clamps.
- Clean up any glue squeeze-out with a sharp chisel or a damp cloth.
- Apply your finish of choice. For a durable, easy-to-apply finish, consider a wipe-on oil-based polyurethane. Apply at least three coats, sanding lightly with 320-grit paper between coats. Ensure you have excellent ventilation when working with oil-based finishes.
Common Mistakes
- Inaccurate Plywood Thickness Measurement: Never assume 3/4" plywood is 0.750". Use calipers. If you cut a 0.750" dado for 0.720" plywood, the joint will be sloppy and weak.
- Setting Blade Depth Too Deep: Cutting more than halfway through the material severely compromises the strength of the side panels. 3/8" is the maximum depth for 3/4" material.
- Warped Plywood: Inspect your sheet at the store. Sight down the edges. If it’s warped or bowed, it will be impossible to get straight cuts and a square case. The $70 for a high-quality, flat sheet of cabinet-grade plywood is worth it.
- Guide Not Clamped Securely: If the guide slips mid-cut, the line will be ruined. Use two clamps, one at each end, and make sure they are tight.
- Forgetting to Account for the Back Panel: The shelves need to be slightly less deep than the sides to allow room for the back panel to sit inside its rabbet.
- Rushing the Glue-Up: A frantic glue-up is a failed glue-up. Lay everything out, have your clamps open and ready, and do a dry run first so you know how it all fits.
Cost & Time Breakdown
| Item | Quantity | Estimated Cost | Notes |
|---|---|---|---|
| 3/4" Cabinet-Grade Plywood | 1 Sheet | $70.00 | Birch or Oak from a home center. |
| 1/4" Plywood Back Panel | 1 Sheet | $20.00 | A 4'x4' sheet is sufficient. |
| Wood Glue (Titebond II) | 16 oz. | $10.00 | You will use about half the bottle. |
| Sandpaper (Assorted Grits) | 1 Pack | $15.00 | 120, 180, 220 grits. |
| Wipe-On Polyurethane | 1 Quart | $20.00 | Enough for this project and more. |
| Total | $135.00 | Prices will vary by location. |
- Time Estimate: 4-6 hours. This is an ambitious "one afternoon" project. An early start, no mistakes, and a familiarity with the tools make it achievable.
Tips & Pro Notes
- Scoring Cut for Tear-Out: On expensive veneer plywood, make a 1/16-inch deep "scoring cut" first. Set your blade depth very shallow and make your first pass. Then, set the blade to its final 3/8" depth and make the full cut. The initial shallow cut cleanly severs the top wood fibers, preventing ugly tear-out.
- Batch Your Cuts: Whenever you have multiple pieces of the same dimension, set up your saw guide and cut them all before changing the setting. This ensures all your shelves are identical.
- Chamfer the Shelf Ends: Use a block plane or sandpaper to create a tiny 1/16-inch chamfer on the bottom edges of the shelf ends. This makes it much easier for the shelf to slide into the dado during assembly without catching.
- Use Cauls During Glue-Up: Always use scrap wood (cauls) between your clamps and the bookshelf sides. This distributes the clamp pressure evenly and prevents the metal clamp heads from denting your project.
When to Upgrade Tools
While the circular saw method is incredibly effective, it is labor-intensive. Here’s when you might consider an upgrade:
- Table Saw with Dado Stack: If you plan to build many bookcases or cabinets, a table saw with a dado stack is the ultimate upgrade for efficiency and precision. A dado stack can remove all the material for a 3/4" dado in a single pass. The entire operation takes about 5 seconds per dado, instead of a minute.
- Plunge Router with Guide Bushings: For stopped dados (that don't go all the way across the board) or for working on pieces too large to safely handle on a table saw, a plunge router is the tool of choice. Combined with a pattern bit and a template, it allows for incredible precision and repeatability for any shape of mortise or channel.
This circular saw technique, however, remains a foundational skill. Mastering it provides a deep understanding of layout, measurement, and jig-making that will serve you in every future woodworking project.
Recommended for DIYers & woodworkers
Sponsored
The Top 20 Tools for Workshops of Any Budget
No stationary machines or power tools required — plus 3 fundamental tools that can't be bought at any price.
Get the free guide
Ted's Woodworking — The #1 Woodworking Resource
Detailed instructions, dimensioned drawings, materials & cutting lists, and 3D schematics for every skill level.
See the plansSponsored: links above are affiliate links. FixlyGuide may earn a commission on qualifying purchases — at no extra cost to you.
Frequently asked questions
What is the best material for this circular saw bookshelf?+
For price and performance, 3/4-inch cabinet-grade Birch or Oak plywood is the best choice. It's stable, strong, and has a veneer face that finishes beautifully. Avoid construction-grade plywood, as it often has voids and is more prone to warping.
Can I cut these joints with a jigsaw?+
No. A jigsaw blade deflects too much and cannot create the perfectly square sides and flat bottom required for a strong dado joint. The joint would be sloppy and weak. A circular saw or a router is necessary for this technique.
My joints are a little loose. Is the project ruined?+
Not at all. If the gap is minimal (less than 1/32"), a good quality wood glue like Titebond II will swell the wood fibers and fill the gap sufficiently. For larger gaps, you can mix fine sawdust from the same project with wood glue to create a filler paste. Apply this in the joint during glue-up for a strong bond.
How do I prevent tear-out on the plywood veneer?+
There are three key methods. First, use a high-quality blade with at least 60 teeth. Second, place blue painter's tape over your cut line before marking and cutting. Third, make a very shallow "scoring cut" (1/16" deep) along your cut line first to sever the top fibers cleanly, then make your full-depth cut.


Discussion
Loading comments…