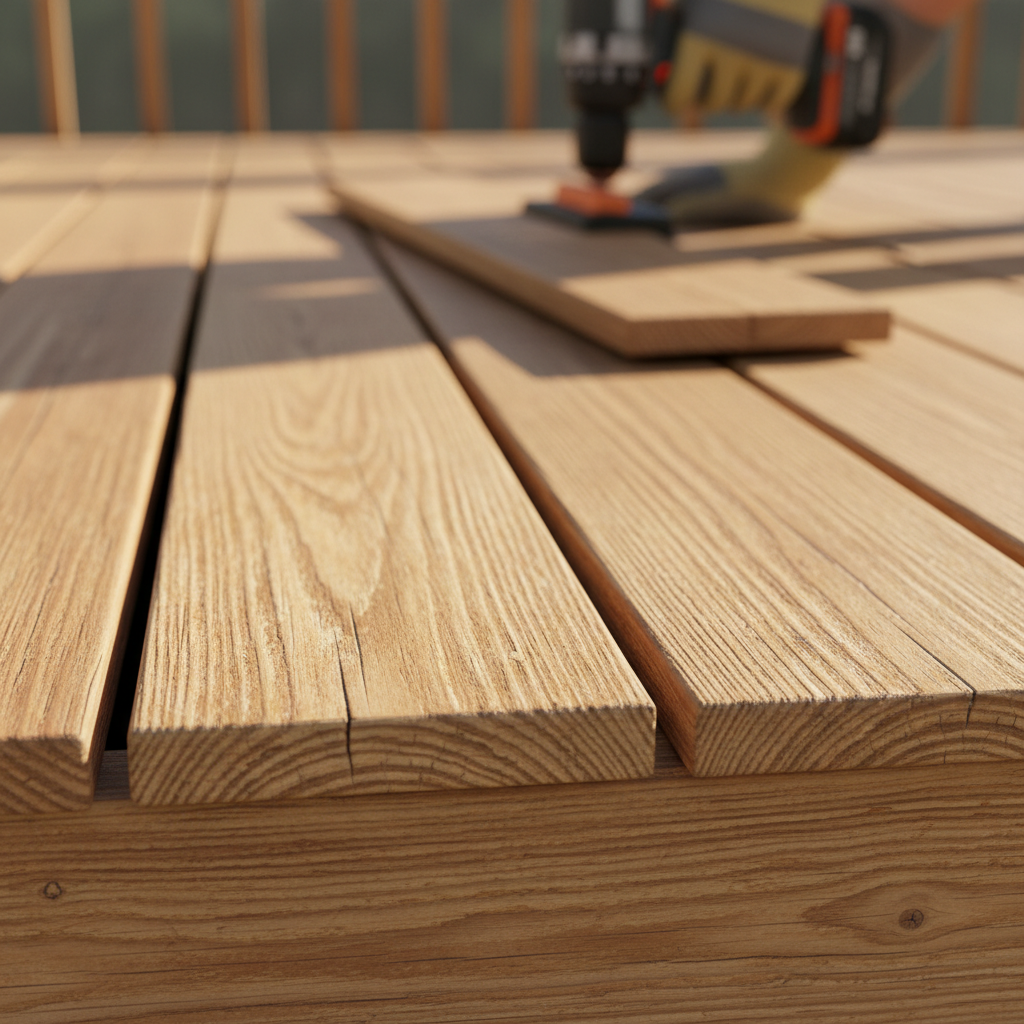
- Tools: Power drill, square drive bits, pry bar, hammer, safety glasses.
- How Long: About 15–20 minutes per board.
- Pro Tip: If the board’s only barely warped, sometimes I’ll loosen the fasteners, wet the concave side, and let it sit in the sun for an hour or two. You’d be surprised how often that helps before you even bother flipping it.
Landscaping · Deck or fence project
| Project category | Landscaping |
|---|---|
| Problem type | Deck or fence project |
| Trade required | Landscaping |
| Urgency | Planned project |
| Safety risk | Moderate safety risk |
| DIY suitability | DIY for experienced homeowners |
| Cost category | High cost |
| Typical timeline | Most builds 3–10 days depending on size |
| Contractor type | Landscaping contractor |
Repair option
Replace failed boards, posts, and hardware; reseal the surface.
Replacement option
Rebuild when framing or the ledger connection is unsafe.
Common causes
- Rot at posts and ledger
- Storm damage
- Adding outdoor living space
Relevant tools:home improvement material pricesproject cost estimator
Published July 30, 2026Last updated August 17, 2026
Tools & materials you'll need
Affiliate linksAs an Amazon Associate FixlyGuide earns from qualifying purchases — at no extra cost to you. Prices and availability are accurate as of publication and subject to change.
Quick Answer
Nobody wants a wavy deck. If your deck boards are starting to cup or warp, that usually means moisture’s getting to one side more than the other. Before you start daydreaming about a whole new deck, you’ve got a few fixes that can work real well: flip the board, pull it back into shape with screws or a board straightener, or replace it if the thing’s too far gone. I’ve been on hundreds of deck jobs where a little elbow grease and the right move saved somebody a pile of money and got the deck looking decent again.
The Problem
You’re out on the deck, maybe cracking a beer, and you spot it: the boards aren’t flat anymore. They’re curling up on the edges and making a little trough in the middle. We call that cupping. Or maybe they’re twisting, bowing, or just wandering out of line. That’s warping. And no, it’s not just ugly.
Those raised edges can trip somebody. A cupped board can also trap water, and once water sits there, rot isn’t far behind. Left alone, it can loosen fasteners around it too, which makes the whole deck feel soft underfoot. That’s the kind of thing you don’t ignore. The good news? Most of the time, it’s fixable.
How It Works
When deck boards warp, especially when they cup, it’s usually wood fighting moisture. Wood is hygroscopic, which just means it drinks up and gives off moisture all the time. Picture each board like a bundle of tiny straws. If one side gets wetter than the other — say the top gets beat up by rain and sun while the bottom stays damp from shade or lousy airflow — the wet side swells more. That uneven swelling builds tension, and the board curls to relieve it. With cupping, the edges rise because the top face is expanding more than the bottom.
Then there’s the grain. Flat-sawn lumber, which you see a lot in deck boards, has growth rings that run pretty flat across the face of the board. When that board wets and dries unevenly, those rings move in different directions and the board starts taking on that cup shape. It’s natural. Annoying, but natural. The sun gets in on the act too. UV breaks down wood fibers, and fast drying on the top surface shrinks it more than the underside. That’s why a good stain or sealant matters so much — it slows down moisture exchange and helps protect the wood from UV damage. Without it, you’re asking for no dice.
Back in '08, I had a customer in Brookhaven whose deck looked like a bowl of waves. They hadn’t stained it in eight years. Eight. We flipped a dozen boards, resealed the whole thing, and boom — saved them a full tear-out. I still remember that one because the boards were so bowed I half expected a fish to jump out of 'em.
Step-by-Step Fix
Before you get rolling, throw on safety glasses. Splinters and flying bits aren’t worth the trouble. And check the weather — you want a dry day for this, not some soggy half-baked mess.
-
Assess the Damage — Take a hard look and see how bad it really is. Most cupped boards will have the convex side, the belly, facing up. You’ll see the edges lifted. If a board is twisted up like a pretzel, replacement is usually the cleanest play. For minor to moderate cupping, you’ve got options.
-
Clean the Deck Deeply — Clear off the furniture, sweep it down, then clean the deck well. I like a deck cleaner that handles mold and mildew. Follow the label, scrub with a stiff brush, rinse it off. That gets rid of the junk sitting on top and helps the wood dry evenly.
-
Choose Your Weapon: Flipping — This is the easiest, cheapest trick in the book for cupped boards. If the board’s only lightly cupped and the underside still looks decent, pull it up, flip it so the convex side faces down toward the joists, and fasten it back in place. The idea is simple: the previously sheltered underside gets exposed and slowly starts to even back out. You’ll need to remove every old screw or nail. Mark the board’s spot first so you don’t play guess-and-check later.
- Tools: Power drill, square drive bits, pry bar, hammer, safety glasses.
- How Long: About 15–20 minutes per board.
- Pro Tip: If the board’s only barely warped, sometimes I’ll loosen the fasteners, wet the concave side, and let it sit in the sun for an hour or two. You’d be surprised how often that helps before you even bother flipping it.
-
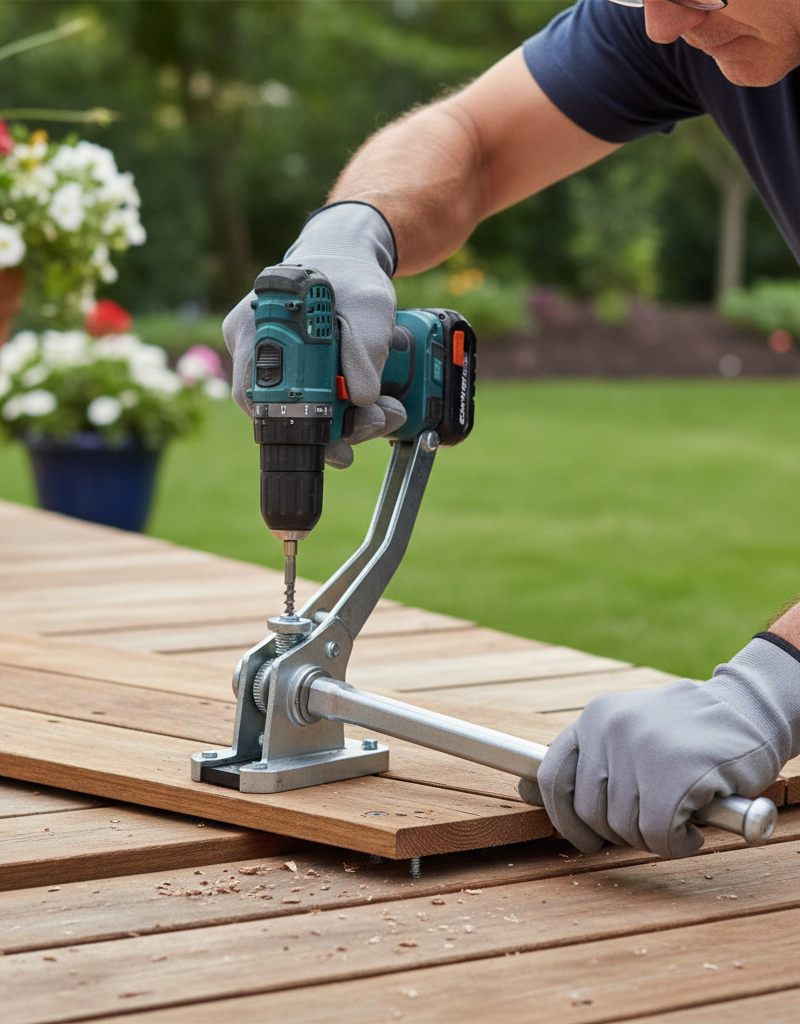
Choose Your Weapon: Straightening — For boards that fight back a little harder, or if flipping them isn’t practical, you can force them flat. Usually that means a deck board straightener tool, or a good clamp and a block of wood if that’s what you’ve got handy.
-
Deck Board Straightener: These tools lever against joists and pull warped boards into line. Set it against the adjacent straight board or a joist. Use the cam or lever to push the warped board where it needs to go. Once it’s straight, drive your new screws right away, about 1-inch from the edge, into the joist below.
-
Clamp & Block Method: No straightener? No problem. A long bar clamp and a sturdy 2x4 block can get the job done. Clamp the block to the joist, then use the clamp to pull the warped board tight against the block until it’s straight. Secure it with screws.
-
-
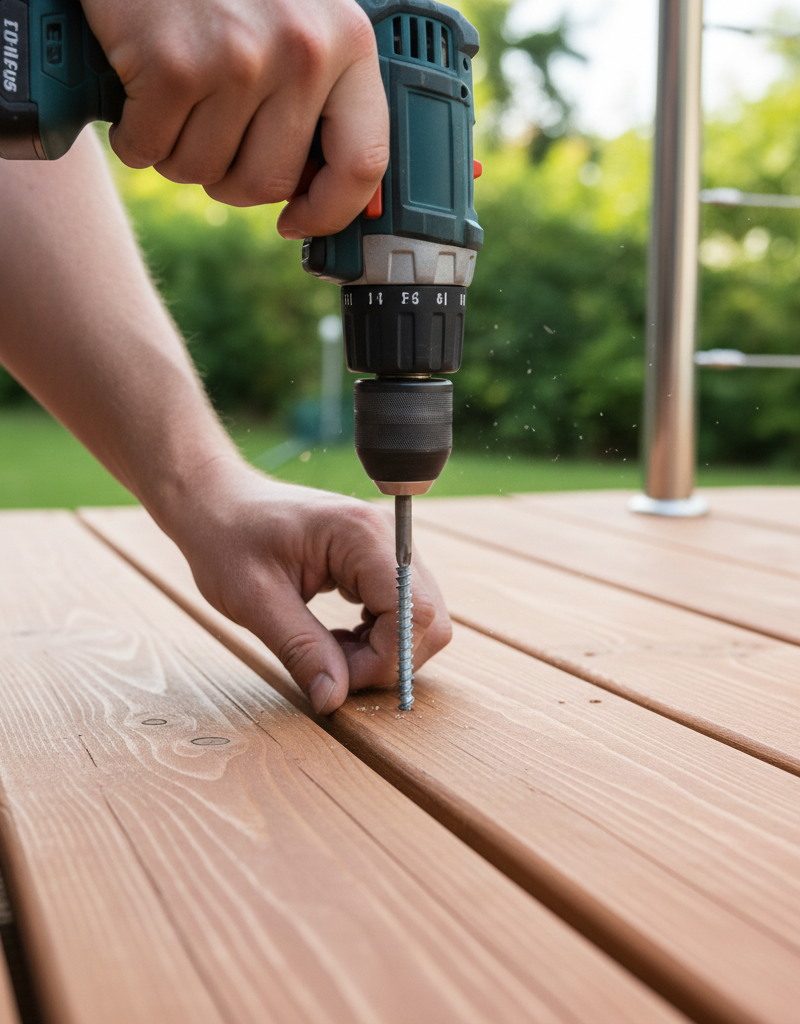
Secure Those Boards Properly — Once the board’s flat again, flipped or straightened, fasten it down right. I always use two screws per joist, about 1 inch in from each edge of the board. For composite or thicker lumber, I’ll use 2.5-inch or 3-inch exterior-grade deck screws. If the old deck had nails, ditch ’em and switch to screws — screws hold way better against warping forces. Pre-drilling pilot holes can keep the wood from splitting, especially near the ends.
-
Address the Underlying Cause — You don’t want to do all this and have the same board warp again next year. Airflow underneath the deck matters. Clear out bushes, junk, or debris that block circulation. If your current setup is too tight, think about lattice with bigger openings. And make sure your downspouts aren’t dumping water under the deck. I’ve seen that one more than once, and it’ll mess you up every time.
-
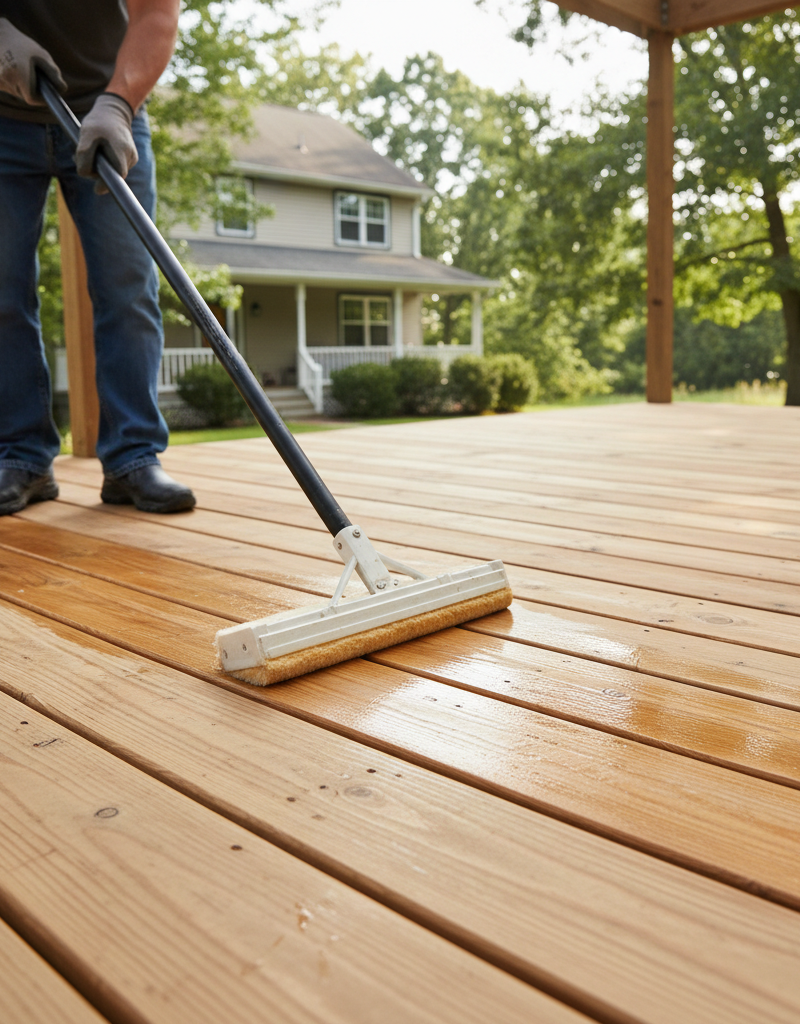
Seal It Up — After the boards are corrected and dry, put on a good deck stain or sealant. Get the top and the edges. It’s a pain, sure, but if you can hit the underside too, that’s even better protection. I’d usually say reapply every 2-3 years, depending on your climate and the product. A sealed board lasts longer. Simple as that.
Common Causes
- Uneven Moisture Exposure: This is the big one. One side of the board gets wet from rain or dew and dries in the sun, while the underside stays damp because of shade, weak ventilation, or ground moisture. That moisture difference makes the wetter side swell more, and the board cups.
- Lack of Sealing/Staining: No protective finish means the wood’s taking the weather straight on. It absorbs and releases moisture faster and more unevenly. UV also chews up unprotected wood fibers, which makes warping more likely.
- Incorrect Fasteners: Nails just don’t hold like screws do. Over time, nails can back out, especially with wood moving through expansion and contraction.
- Improper Lumber Selection: Flat-sawn boards are more likely to cup than quarter-sawn boards because of the way the growth rings run. Flat-sawn is still way more common and easier on the wallet for decking, though.
- Insufficient Spacing: Boards installed too tight don’t have room to move as moisture changes. That can lead to buckling and warping.
- Poor Deck Ventilation: If the space under your deck is boxed in without enough cross-ventilation, moisture gets trapped down there and keeps the underside damp.
Common Mistakes
- Ignoring it until it's too late: A small cup can turn into a bigger warp or even rot if you leave it alone. Don’t let it snowball.
- Using the wrong fasteners: Nails pull out. Use exterior-grade deck screws. Every time.
- Not addressing drainage: If your gutters dump water right under the deck, or you’ve got standing water, you’re fighting uphill. Fix the drainage first.
- Staining wet wood: That just locks moisture in the board, and that thing’s toast later on. Let the deck dry completely before any finish goes on. Give it a good 2-3 sunny days after cleaning.
- Over-tightening screws: You can crush the wood fibers around the screw and weaken the hold. Snug is enough. Don’t strip the head or bury it deep into the board.
- Only coating the top: The top matters most, sure, but getting sealant on the edges and ideally the underside gives you better, more even protection.
Cost & Time Breakdown
| Task | DIY Cost | Pro Cost | Time |
|---|---|---|---|
| Deck Cleaning | $20–$50 (cleaner) | $150–$300 | 1–2 hours |
| Flipping 1-2 Boards | $0–$10 (screws) | $75–$150 | 30 minutes–1 hour |
| Straightening 1-2 Boards | $0–$50 (screws, straightener rental) | $100–$250 | 1–1.5 hours |
| Replacing 1-2 Boards | $30–$100 (lumber+screws) | $150–$350 | 1–2 hours |
| Sealing/Staining Deck (avg.) | $80–$250 (stain/sealer) | $300–$600+ | 4–8 hours |
Tips & Prevention
- Keep it Clean: Sweep the deck regularly so debris doesn’t trap moisture. Leaves, dirt, pine needles — get that stuff out of the cracks and off the edges.
- Good Airflow is Gold: Don’t block the airflow underneath the deck. Trim bushes back, move stored items, and if you’ve got lattice, make sure it isn’t solid all the way across.
- Seal, Seal, Seal: Put on a high-quality deck stain or sealant every 2-3 years. That’s your best defense against moisture cycling and UV damage. Look for something with UV protection and water repellency. I put a fresh coat of transparent stain on my own deck every other spring, and it still looks great after 15 years.
- Install Correctly: When you’re building or replacing boards, leave the right gaps between them — typically 1/8 to 1/4 inch for wood, and check the manufacturer specs for composite. That gives the boards room to expand and contract.
- Use the Right Fasteners: Use exterior-grade deck screws, two per joist, for the best hold. Hidden fasteners can help reduce surface splitting too.
- Check Drainage: Make sure rainwater isn’t pooling on or under the deck. Redirect downspouts if they’re dumping water under your deck.
When to Call a Professional
If you’ve got warping spread across a bunch of boards, or the damage is so bad it’s messing with the deck’s structure — loose railings, bouncy sections, boards split beyond repair — it’s time to bring in a professional deck contractor. Same goes if you’re seeing rot in the joists or ledger board instead of just the decking. That’s structural territory, and it needs a pro’s eye. Anytime you’re not sure the deck’s safe, especially if it’s elevated, get a licensed pro out there for an inspection. They can look at the whole picture and tell you whether you’re dealing with a repair or a bigger deck renovation.
Related Articles
Keep troubleshooting with these hand-picked guides from FixlyGuide:
- The 3 Hidden Reasons Your Deck Boards Warp (and How to Fix Them Forever) — Uncover the surprising culprits behind warped deck boards and learn the actionable steps to straighten them, reinforcing your deck against…
- The 3 Hidden Reasons Your Deck Boards Warp (and the Easy Fixes) — Deck board warping can ruin your outdoor space, but understanding the root causes and applying simple fixes can restore your deck's beauty.
- The #1 Mistake Homeowners Make When Sealing a Deck (It Costs You Years) — Avoid the most common mistake in deck sealing to protect your investment and extend your deck's lifespan significantly.
- The #1 Gutter Mistake That Causes Overflow (And How to Fix It in 20 Minutes) — Overflowing gutters during heavy rain are usually caused by a readily fixable clog, often due to a common cleaning mistake.
- Missing Shingles? The Real Trouble Is Under Your Roof — After a storm, missing shingles seem like a simple fix. But the high winds that tore them off likely broke the seals on surrounding shingle…
- The $5 Single-Handle Faucet Fix Most Homeowners Ignore (And Pros Charge $200 For) — A single-handle leaky faucet can often be fixed with a simple, inexpensive DIY repair, saving you hundreds on a plumber.
Get deck & patio quotes from local pros
Tell us about your project and we'll match you with vetted contractors in your area. Free, no obligation, and we never sell your info.
Should you do this yourself?
Answer five quick questions before you start. Safety outranks savings every time.
Your experience with work like this
How high do you have to work?
Does the job involve any of these?
Will it need a permit?
Specialty tools
Free and instant. Educational guidance only — not a quote, inspection, or professional diagnosis.
What should this project cost?
Enter your project details for a realistic cost range before you call anyone.
Spot repairs commonly run $400–$1,800; full replacement typically $9,000–$18,000 for an average home.
- Regional adjustment
- National average
- Labor share (typical)
- ~$2,948
- Quotes to collect
- 3 written estimates
Educational estimate based on national averages — not a binding quote. Always confirm with written local estimates.
Decide what your roof needs
Two minutes of questions turns "something is wrong up there" into a clear next step.
- Repair or replace your roof?Answer 10 questions about age, leaks, and damage to get a clear next step.Open
- Compare contractor quotesScore up to four bids on price, warranty, licensing, and timeline.Open
- Get local estimatesSend one request and compare written estimates from vetted pros.Open
Free, no signup required. Estimates are educational guidance, not a quote or an inspection.
Get the print-ready PDF of this guide
A clean, ad-free, printable version you can keep on your phone or pin to the workshop wall. Free with a FixlyGuide account.
- Print-optimized layout
- Tools, materials & every step included
- Saved to your account
Frequently asked questions
Why do deck boards warp and cup?+
Deck boards warp and cup primarily due to uneven moisture exposure. When one side of a board gets wetter and dries out more rapidly than the other, the wood fibers expand and contract unevenly, causing the board to curl or twist. Lack of proper sealing also contributes significantly.
Can I fix a badly warped deck board?+
For minor to moderate cupping, you can often fix a warped board by flipping it over and re-fastening it, or by using a deck board straightener tool to force it flat. Severely twisted or split boards, however, are usually beyond repair and should be replaced.
What is the best way to prevent deck boards from warping?+
The best prevention methods include applying a high-quality deck stain or sealant every 2-3 years, ensuring good airflow underneath the deck, using proper exterior-grade deck screws, and correctly spacing boards during installation.
Should I use screws or nails for deck boards?+
Always use exterior-grade deck screws for fastening deck boards. Screws provide much stronger holding power than nails, resisting the natural forces of wood expansion and contraction that can cause nails to pull out and boards to warp.
How often should I seal my deck to prevent warping?+
To effectively prevent warping and protect your deck from moisture and UV damage, you should reapply a quality deck stain or sealant every 2 to 3 years. Regular cleaning and inspection will help you determine the exact timing for your specific climate.
What is 'cupping' vs. 'warping'?+
Cupping is a specific type of warping where the edges of a board rise up, creating a concave shape across the board's width. Warping is a more general term that includes cupping, bowing (along the length), and twisting.
Can a power washer fix warped deck boards?+
A power washer is excellent for cleaning your deck, but it won't fix warped boards. In fact, improper power washing can drive water deeper into the wood, potentially exacerbating moisture problems if the deck isn't allowed to dry thoroughly afterwards.
How much space should be between deck boards?+
Typically, you should aim for a gap of 1/8 to 1/4 inch between solid wood deck boards. This spacing allows for natural expansion and contraction due to moisture and temperature changes, and it helps with drainage and airflow. Always check the manufacturer's recommendations for composite decking.
Is it okay to store items under my deck?+
While it might seem like a good storage spot, it's generally not recommended to store items that block airflow directly under your deck. Trapped moisture can lead to the underside of your deck boards staying damp, contributing to warping and potential rot. Keep the area clear for good ventilation.
When should I consider replacing a warped board instead of fixing it?+
You should consider replacing a warped board if it's severely twisted, split, or showing major signs of rot that a simple flip or straightening won't address. If the board's integrity is compromised, replacement is the safer and more durable solution.
Discussion
Loading comments…