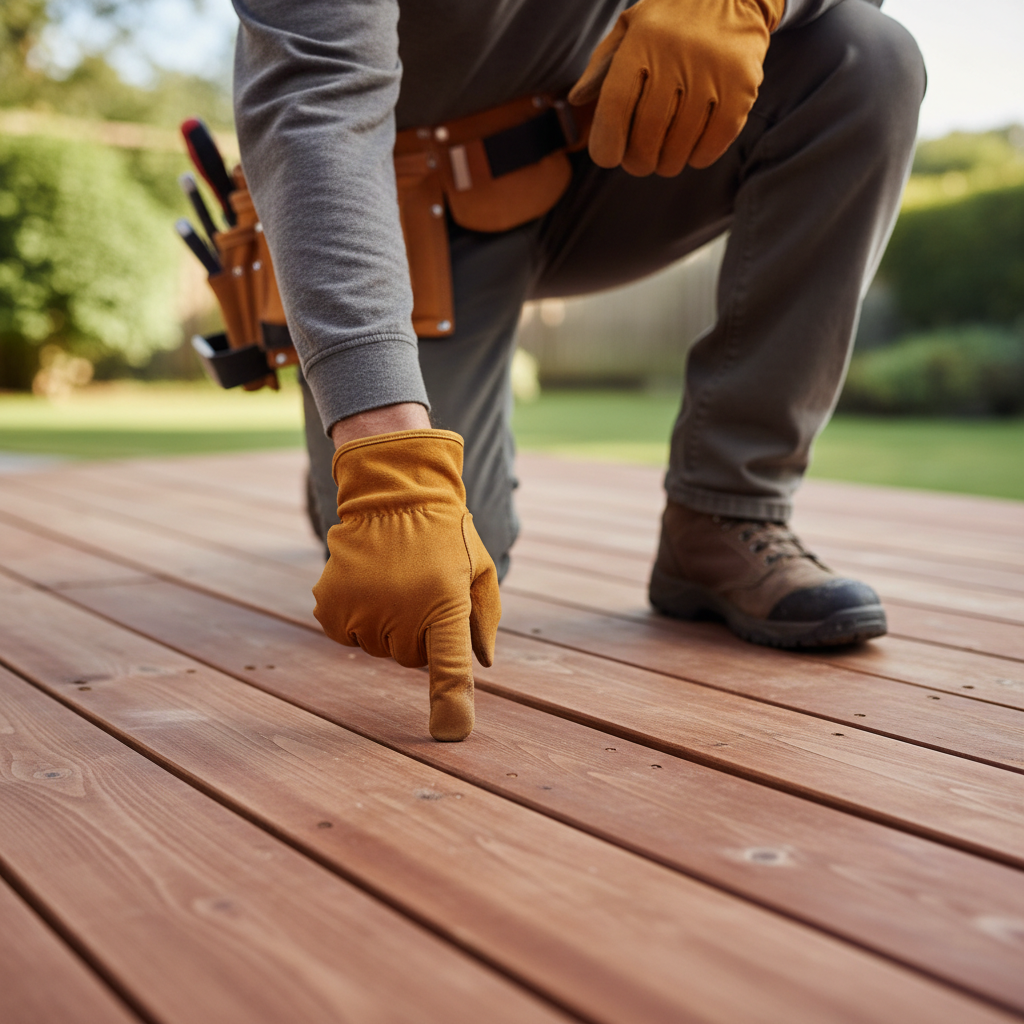
- Unacclimated Lumber: Installing pressure-treated lumber that's still wet from the mill. As it dries out on the deck, it shrinks a lot and often warps in the process. Always let new lumber acclimate on site before installation.
- Poor Drainage: Water pooling on joists beneath the deck boards, or not enough airflow, keeps the underside of the boards damp all the time and makes the moisture problem worse. Even a few gallons of water can cause issues over time.
- Inadequate Spacing: Not leaving proper gaps (typically 1/8 to 1/4 inch) between boards for expansion and drainage. When boards get wet and swell, they can push against each other, causing buckling and warping.
Landscaping · Deck or fence project
| Project category | Landscaping |
|---|---|
| Problem type | Deck or fence project |
| Trade required | Landscaping |
| Urgency | Planned project |
| Safety risk | Moderate safety risk |
| DIY suitability | DIY for experienced homeowners |
| Cost category | High cost |
| Typical timeline | Most builds 3–10 days depending on size |
| Contractor type | Landscaping contractor |
Repair option
Replace failed boards, posts, and hardware; reseal the surface.
Replacement option
Rebuild when framing or the ledger connection is unsafe.
Common causes
- Rot at posts and ledger
- Storm damage
- Adding outdoor living space
Relevant tools:home improvement material pricesproject cost estimator
Published August 19, 2026Last updated August 19, 2026
Tools & materials you'll need
Affiliate linksAs an Amazon Associate FixlyGuide earns from qualifying purchases — at no extra cost to you. Prices and availability are accurate as of publication and subject to change.
Quick Answer
Warped deck boards are a pain, plain and simple. Most of the time, you're dealing with a moisture problem—either the board's soaking it up unevenly or it wasn't sealed right. Sometimes it's just bad fastening. You can try to pull a minor warp back into line with a few extra screws, but if that thing's really twisted or cupped, you're probably looking at replacement. Prevention's the name of the game here: proper install and keeping those boards sealed up tight will save you a lot of headache.
The Problem
There's nothing worse than stepping out onto your deck and finding boards popping up, twisting like pretzels, or cupping into little birdbaths. It makes the whole space feel tired, it’s a trip hazard, and honestly, it just looks rough. I've seen homeowners try everything from stacking potted plants on top to hosing them down, hoping to coax them back into shape. Most of the time, they're just spinning their wheels. Warping isn't just cosmetic; it can compromise the whole deck structure if water starts pooling and rotting out the joists underneath. We're talking about boards changing shape, usually along their length (bowing or crowning) or across their width (cupping or twisting). This isn't just the board “getting old” either; it's usually a sign that something went sideways with the install, the material, or the maintenance.
How It Works
Okay, let's talk about why deck boards decide to go all wonky on us. Wood, being a natural material, is basically a big sponge. It expands when it soaks up moisture and contracts when it dries out. That movement's called "wood movement," and it's completely normal. The trick is managing it.
Moisture Imbalance
The biggest culprit for warping is uneven moisture. Picture a board where the top surface gets baked by the sun all day, but the underside stays damp because it's close to the ground, or water's pooling on the joists. The top shrinks from drying, the bottom swells from moisture, and boom—you get cupping. That's where the edges of the board lift, forming a "cup." Reverse that, with a really wet top and dry bottom, and you get crowning. It's just physics, really. If one side of the board dries faster than the other, or stays wetter, it's going to pull and push until it changes shape. I've seen it on decks where landscaping was jammed too close, keeping the undersides damp no matter how decent the drainage looked. No dice.
Improper Fastening
Another big one is how those boards are attached to the joists. If you're not using enough fasteners, or the right kind, the wood doesn't have enough resistance to keep it in line. When a board dries and shrinks, it pulls against those fasteners. If there aren't enough of them, or they're not strong enough, the board will just give in to its natural movement and warp. Deck screws are built to hold tight, but if you're only putting in one screw per joist, or using nails that can pop out easy, you're asking for trouble. And folks forget to pre-drill on denser woods all the time, which can split the board and weaken its ability to resist warping later on.
Material Selection & Acclimation
The type of wood matters, too. Some woods are naturally more stable than others. Pressure-treated pine is common, but it can be notoriously wet when it shows up from the lumberyard. If you install it straight away, it's going to dry out on your deck, and as it dries, it'll shrink and can warp. That's why I always tell my clients to let those boards sit and acclimate for at least a week, sometimes two, stacked with spacers (stickers) so air can move around them before fastening them down. I remember a job out in Sandy Springs years ago where a new guy on my crew slapped down a whole PT deck without letting it acclimate. Within a month, half the boards were curling up like potato chips. We had to go back and replace about 30 of them. Lesson learned the hard way.
Lack of Sealing/Maintenance
Skipping deck sealer is basically inviting moisture problems to move in and unpack their bags. A good deck sealant slows down moisture absorption and release, helping the wood dry and expand more evenly. Without it, the wood gets hit with the elements, which means bigger moisture swings and, you guessed it, warping.
Step-by-Step Fix
1. Assess the Damage — Figure out what you're dealing with.
Before you grab any tools, take a hard look at the warped board. Is it just a slight bow? Is it cupping badly? Is it twisted? Small, shallow cupping (less than 1/8-inch deep) might be fixable, especially if it’s a newer warp. Severe twists, deep cups, or boards that have split are usually beyond repair and will need replacement. This first look saves you a lot of wasted time.
2. Clean the Deck — Get rid of any debris or grime.
Pressure wash or scrub the deck to get rid of dirt, mildew, and old finishes. That lets you see what shape the wood's really in and gets it ready for any treatments or fasteners. Make sure the deck is completely dry before you move on; you don't want to trap moisture.
3. Check Fasteners — Tighten existing screws or add new ones.
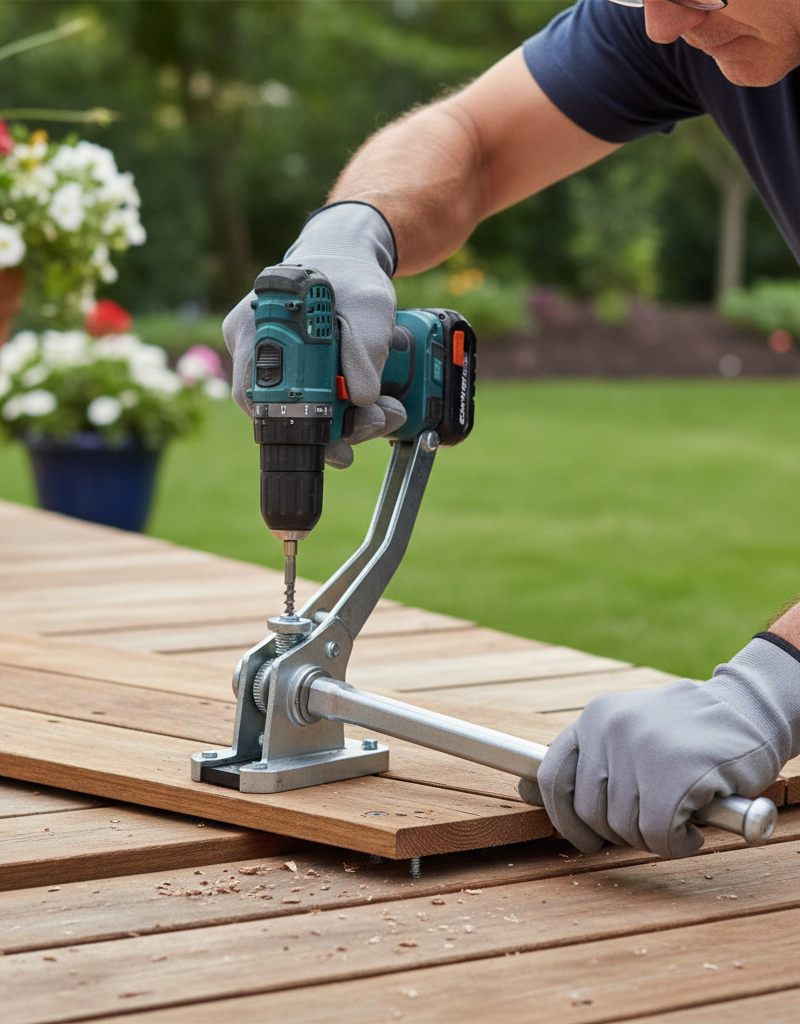
Loose screws won't hold anything down. Drive any loose screws back in firmly. For boards with mild cupping or bowing, adding more deck screws can sometimes pull the board back down. Use 2.5-inch or 3-inch exterior-grade deck screws (like those gold-colored ones) and put them about 1 inch from each edge, centered over the joist. Don't crank them down so hard you strip the wood. Aim for a total of three screws per joist for a 6-inch wide board, or two for a 4-inch board.
4. Clamp & Fasten (for stubborn warps) — Use brute force carefully.
For slightly more stubborn warps, you can try clamping the board back into position. Set a couple of 2x4s across the warped board, spanning several joists. Use C-clamps or bar clamps to slowly pull the warped board down toward the joists. Once it's pretty flat, add several new deck screws into the joists to hold it. Take your time and don't muscle it too fast, or you'll split the wood. This method works best for bowing, not twisting.
5. Flip & Re-Fasten (if accessible) — Sometimes, reversing the board helps.
If you can easily remove the warped board without wrecking it, flip it over. Often, the cupping's going one direction because one face dried differently than the other. By flipping it, the convex side now faces up, and the concave side faces down. Sun and moisture might work it back flatter over time. Just make sure the new top surface is in good shape and then re-fasten it securely with fresh deck screws.
6. Replace Severely Warped Boards — When all else fails, swap it out.
If a board is severely twisted, deeply cupped, or split, trying to fix it is a waste of time. You'll need to carefully remove the damaged board. Use a reciprocating saw to cut the board into manageable sections if necessary, being careful not to cut into the joists. Pry up the pieces and remove all old fasteners. Cut a new board to the exact length, making sure it's acclimated, then fasten it down with two screws at each joist connection, 1 inch from the edges. Make sure the crown (natural bow) of the new board faces up—this helps shed water.
7. Sand & Seal — Protect your hard work.
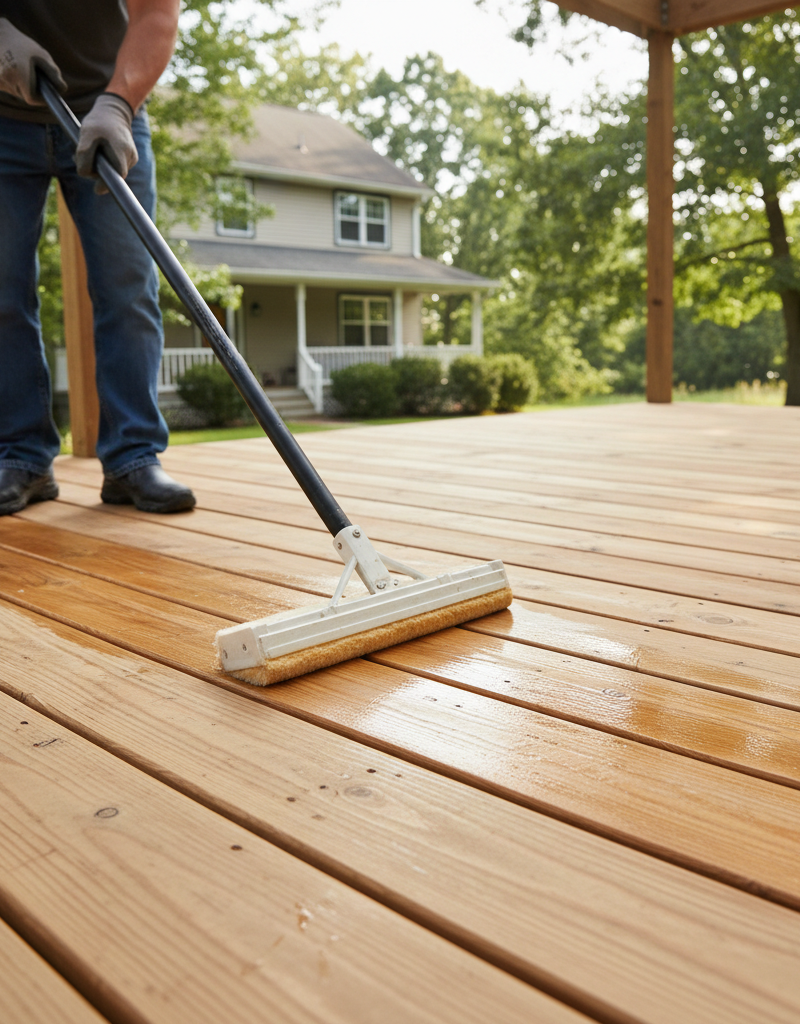
Once the repairs are done, sand any rough spots or raised grain. Then, apply a high-quality deck sealant or stain. That's your best defense against future warping. Apply at least two coats, letting each coat dry thoroughly according to the manufacturer's instructions. Aim for re-sealing every 1-3 years depending on your climate and product choice. Learn more about choosing the right deck stain.
Common Causes
- Uneven Moisture Exposure: The most common culprit. One side of the board gets wet and stays wet, or one side dries way faster than the other. Think sun blasting the top, damp shade underneath. That difference causes expansion and contraction, which leads to cupping or crowning.
- Improper Fastening: Not enough screws, screws too close to the edges, or using nails instead of screws means the board doesn't have enough resistance to keep from moving. That lets the natural forces of expansion and contraction warp the wood.
- Unacclimated Lumber: Installing pressure-treated lumber that's still wet from the mill. As it dries out on the deck, it shrinks a lot and often warps in the process. Always let new lumber acclimate on site before installation.
- Poor Drainage: Water pooling on joists beneath the deck boards, or not enough airflow, keeps the underside of the boards damp all the time and makes the moisture problem worse. Even a few gallons of water can cause issues over time.
- Incorrect Board Orientation: Installing deck boards with the "heartwood" (growth rings) facing up. That setup is more prone to cupping because the outer growth rings shrink more than the inner rings as the wood dries. Best practice is to install with the "bark side" (outer rings) facing up, which is usually the convex side of the growth rings.
- Inadequate Spacing: Not leaving proper gaps (typically 1/8 to 1/4 inch) between boards for expansion and drainage. When boards get wet and swell, they can push against each other, causing buckling and warping.
Common Mistakes
- Ignoring the Problem: Letting minor warps sit. A small warp can turn into a big one fast, especially with seasonal changes. Catch it early, or you'll be kicking yourself later.
- Over-Tightening Screws: Driving screws in so far that they strip the wood or leave divots. That weakens the board and can even lead to splitting, which makes it more likely to warp again.
- Using Indoor Screws: Not using exterior-grade, corrosion-resistant deck screws. Standard screws will rust, stain your deck, and eventually fail, losing their grip on the boards. Always go for stainless steel or coated exterior screws.
- Not Pre-Drilling: Especially with hardwood or dense composite boards, skipping pre-drilling can cause splits and cracks where the fasteners go in, compromising the board and inviting warping.
- Applying Sealant to Wet Wood: Slapping on stain or sealant before the wood is fully dry. That traps moisture inside the board, and that's a great recipe for rot and more warping. Always check moisture levels—they should be below 15% before sealing.
- Uneven Sealing: Only sealing the top surface and edges, but skipping the cut ends or the underside. That's the same moisture imbalance you're trying to avoid, and it makes the board more prone to warping.
Cost & Time Breakdown
| Task | DIY Cost | Pro Cost | Time |
|---|---|---|---|
| Cleaning & Assessment | $0 - $50 | $150 - $300 | 1-3 hours |
| Fastener Adjustment | $15 - $30 | $75 - $150 | 30 mins - 1 hour |
| Clamp & Re-Fasten | $20 - $75 | $100 - $250 | 1-2 hours |
| Replace 1-2 Warped Boards | $30 - $100 | $200 - $400 | 2-4 hours |
| Full Deck Staining/Sealing | $100 - $300 | $500 - $1,500+ | 4-8 hours (spread) |
Tips & Prevention
- Acclimate New Lumber: When buying new deck boards, stack them with spacers (stickers) for 7-14 days on a flat surface before installation. That gives them time to settle into the local humidity. I always tell folks, let it sit for a couple of weeks, even if it feels like it
Related Articles
Keep troubleshooting with these hand-picked guides from FixlyGuide:
- The #1 Mistake Homeowners Make When Deck Boards Warp (and How to REALLY Fix It) — Deck boards warp when moisture imbalance or improper installation causes wood fibers to expand and contract unevenly; learn how to fix it t…
- The 3 Hidden Mistakes That Make Your Deck Sealer Fail (And How to Fix Them) — Properly sealing your wood deck protects it from the elements, but common mistakes often lead to early failure. Learn how to reseal your de…
- The #1 Mistake Homeowners Make When Sealing a Deck (And How to Fix It) — Discover the crucial, often-overlooked step that ensures a long-lasting deck seal and prevents common problems like peeling and mildew.
- Is Your Gutter Sagging After Every Storm? The Hidden Flaw Most Homeowners Miss — Discover the overlooked reason your gutters sag after every storm and learn the lasting fix that most homeowners miss.
- The #1 Mistake Homeowners Make After Finding Missing Shingles (And How to Fix It Right) — Discover the crucial steps to take after a storm rips shingles from your roof, ensuring a proper, lasting repair and preventing costly futu…
- The #1 Mistake Homeowners Make When Spotting Soffit & Fascia Damage — Ignoring early signs of soffit and fascia damage can lead to costly structural issues. Learn to identify and repair common problems before…
Get deck & patio quotes from local pros
Tell us about your project and we'll match you with vetted contractors in your area. Free, no obligation, and we never sell your info.
Should you do this yourself?
Answer five quick questions before you start. Safety outranks savings every time.
Your experience with work like this
How high do you have to work?
Does the job involve any of these?
Will it need a permit?
Specialty tools
Free and instant. Educational guidance only — not a quote, inspection, or professional diagnosis.
What should this project cost?
Enter your project details for a realistic cost range before you call anyone.
Spot repairs commonly run $400–$1,800; full replacement typically $9,000–$18,000 for an average home.
- Regional adjustment
- National average
- Labor share (typical)
- ~$2,948
- Quotes to collect
- 3 written estimates
Educational estimate based on national averages — not a binding quote. Always confirm with written local estimates.
Decide what your roof needs
Two minutes of questions turns "something is wrong up there" into a clear next step.
- Repair or replace your roof?Answer 10 questions about age, leaks, and damage to get a clear next step.Open
- Compare contractor quotesScore up to four bids on price, warranty, licensing, and timeline.Open
- Get local estimatesSend one request and compare written estimates from vetted pros.Open
Free, no signup required. Estimates are educational guidance, not a quote or an inspection.
Frequently asked questions
What causes deck boards to warp?+
Deck boards primarily warp due to uneven moisture absorption and release. One side dries or gets wetter faster than the other, causing the wood to expand or contract differentially. Improper fastening, poor drainage, and using unacclimated lumber are also major contributors.
Can you unwarp a deck board?+
For minor warps, you can sometimes unwarp a deck board by adding more screws or using clamps to pull it flat, then securing it. Flipping the board over can also help. However, severely twisted or deeply cupped boards are usually beyond repair and require replacement.
How do you prevent deck boards from warping?+
Prevent warping by acclimating new lumber before installation, using proper deck screws and fastening techniques (two screws per joist, 1 inch from edges), ensuring good drainage underneath the deck, and regularly applying a high-quality deck sealant or stain.
Should I replace or repair a warped deck board?+
Repair minor warps if the board is still structurally sound and the warp is slight. If the board is severely twisted, deeply cupped (more than 1/8 inch), split, or showing signs of rot, it's best to replace it. Attempting to fix a severely warped board is often a waste of time and effort.
How often should I seal my deck to prevent warping?+
Most decks should be cleaned and re-sealed every 1 to 3 years, depending on your climate, the type of wood, and the quality of the sealant used. Regular sealing is crucial for protecting the wood from moisture damage and UV rays, which helps prevent warping.
Is pressure-treated lumber more prone to warping?+
Pressure-treated lumber can be more prone to warping if installed while still wet from the treatment process. It holds a lot of moisture initially, and as it dries on the deck, it can shrink significantly and warp. Always allow it to acclimate for 1-2 weeks before installation.
What's the best way to fasten deck boards to prevent warping?+
Use exterior-grade, corrosion-resistant deck screws (2.5 to 3 inches long). Install two screws at each joist connection, approximately 1 inch from the edges of the board. This provides sufficient holding power to resist the wood's natural movement and reduce warping.
Can gaps between deck boards cause warping?+
Not directly, but inadequate gaps (less than 1/8 inch) can contribute to it. When boards swell from moisture, they push against each other if there's no room, causing buckling or bowing. Proper spacing allows for natural expansion and contraction, reducing stress on the boards.

Discussion
Loading comments…