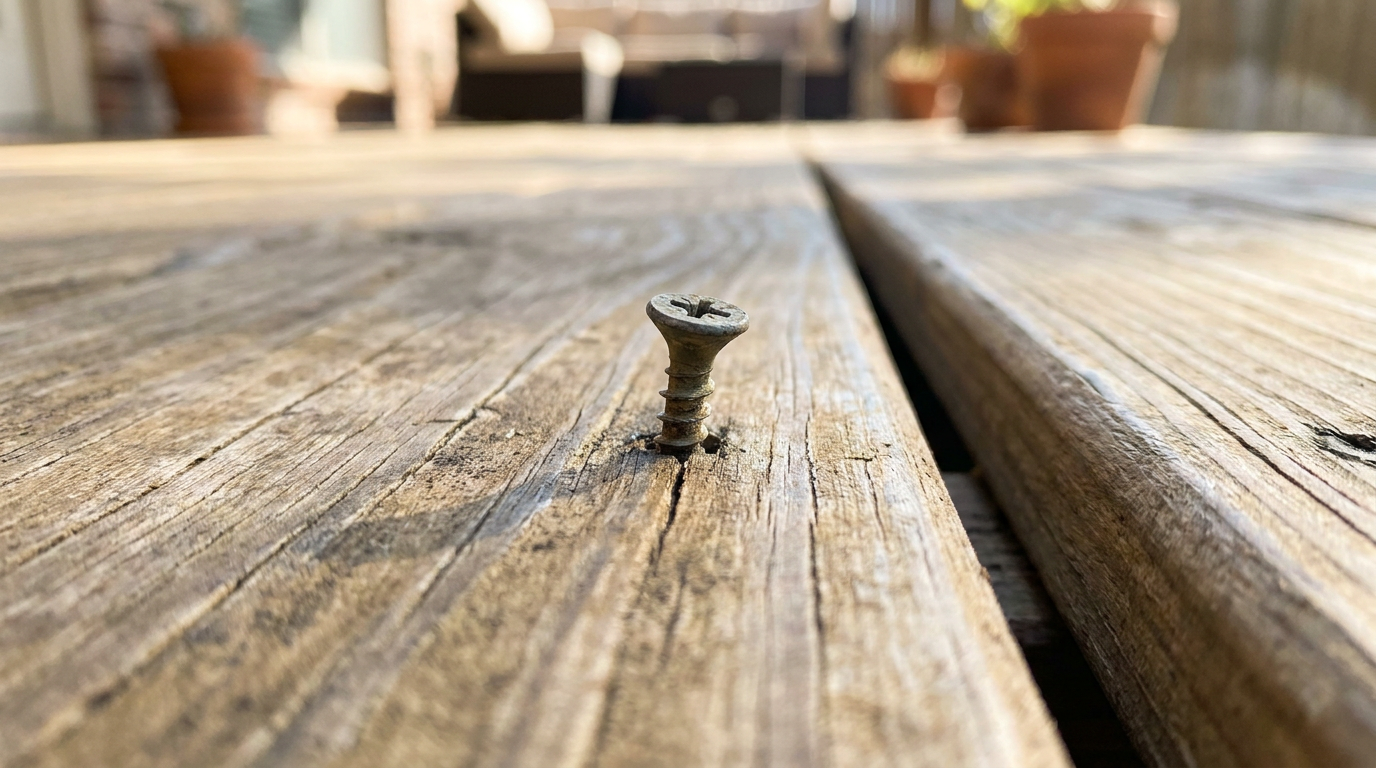
- Probe the joist meat for underlying rot — Stick a sharp mechanic’s scratch awl or a 3-inch nail straight into the empty screw hole. Push down with moderate hand pressure (around 15 to 20 pounds of force).
- Solid wood will fight you after 1/8 inch.
- If the tool sinks 1/2 inch or deeper into mushy wood, the joist crown’s already rotting and plain re-fastening won’t hold.
Landscaping · Deck or fence project
| Project category | Landscaping |
|---|---|
| Problem type | Deck or fence project |
| Trade required | Landscaping |
| Urgency | Planned project |
| Safety risk | Moderate safety risk |
| DIY suitability | DIY for experienced homeowners |
| Cost category | High cost |
| Typical timeline | Most builds 3–10 days depending on size |
| Contractor type | Landscaping contractor |
Repair option
Replace failed boards, posts, and hardware; reseal the surface.
Replacement option
Rebuild when framing or the ledger connection is unsafe.
Common causes
- Rot at posts and ledger
- Storm damage
- Adding outdoor living space
Relevant tools:home improvement material pricesproject cost estimator
Published October 24, 2026Last updated October 24, 2026
Tools & materials you'll need
Affiliate links- Amazon#10 x 3-inch exterior deck screws1 box · Ceramic-coated or 305 stainless steel
- Amazon1-5/8 inch butyl joist tape1 roll · For waterproofing exposed joist crowns
- AmazonExterior copper naphthenate preservative8 oz · For treating exposed screw holes
- AmazonPressure-treated 2x6 framing lumber4 ft · For sistering rotted joist spots
- AmazonTwo-part exterior wood epoxy1 tube · For plugging abandoned screw holes
As an Amazon Associate FixlyGuide earns from qualifying purchases — at no extra cost to you. Prices and availability are accurate as of publication and subject to change.
Quick Answer
Deck screws pulling out or popping up usually means wet joist rot, normal seasonal swelling and shrinking, or the wrong fasteners got used in the first place. To fix it, back out the loose screw, poke the framing wood for soft rot with an awl, and either swap in a heavier-gauge structural deck screw driven into solid meat or beef up the joist with a sistered lumber block. Don’t hammer popped deck screws flat, and don’t reuse stripped screw holes unless you’re doweling or bridging them.
The Problem
You step out on the patio or back deck on a sunny morning, catch your toe on a raised metal head, and realize half a dozen fasteners are backing out across the floorboards. Other times, you’ll find screw heads just spinning when you try to snug them down with a drill driver.
That’s not just annoying. It’s a warning light. Plain and simple.
Deck boards move every time it rains or the air turns muggy. Then summer rolls in—especially in brutal southern climates like North Texas where deck surfaces routinely hit 140°F in July—and that moisture cooks back out fast, shrinking the lumber. Wood fibers keep squeezing, twisting, and yanking on screw threads. If the fastener doesn’t have enough bite, or if water pooled down the shank and turned the joist top into soft mush, the screw loses its grip. Leave it alone and the boards curl, trip guests, pull loose from the joists, and funnel water straight into framing you can’t even see.
How It Works
A wood deck depends on tension and friction between the fastener shank and the cellular structure of the framing timber. Standard deck boards (typically 5/4x6 pressure-treated pine or cedar) are fastened directly to 2x8 or 2x10 joists spaced 12 or 16 inches on center.
When a proper #9 or #10 coarse-thread deck screw gets driven into kiln-dried or treated lumber, its threads cut and compress the wood fibers. The wood acts like thousands of tiny spring clamps grabbing onto those deep threads. That gives you pull-out resistance—often rated at 250 to 400 pounds per fastener depending on the wood species and thread depth.
Water wrecks that setup. Every screw penetration makes a little crater on the top edge of the joist. Rain slips into that hole, trapped between the bottom of the deck plank and the wide top crown of the joist. Since airflow is basically nonexistent in that 1/8-inch contact plane, the wood stays damp. Fungi (Coniophora puteana and related species) feed on the wet cellulose. Over two to five years, the wood around the screw threads softens and loses its tensile strength.
At the same time, thermal expansion and moisture movement keep working the boards up and down, sometimes with hundreds of pounds of vertical lifting force as planks cup. If the joist wood has turned to pulp, the screw doesn’t snap; the wood fibers just shear away, and the fastener pops up like a loose cork. I pulled a water heater in Frisco last month that had exactly this kind of rot at a deck stair landing—looked fine from above, but underneath? No dice.
Step-by-Step Fix
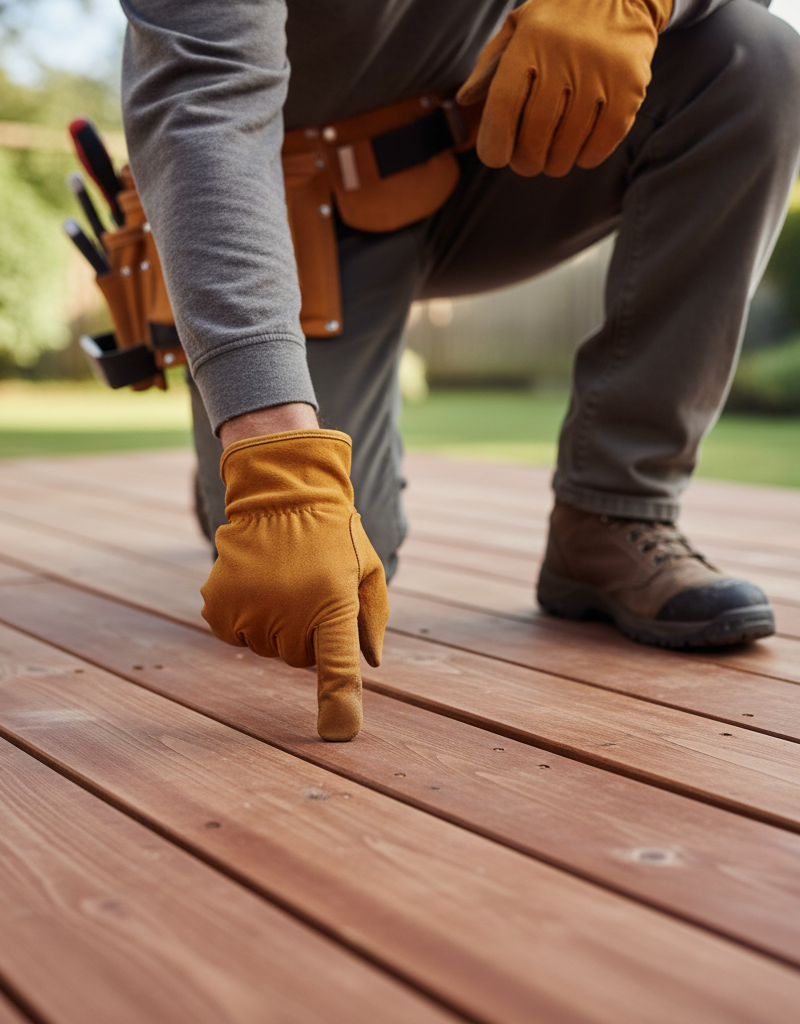
Before you start, inspect the deck on a dry afternoon. Don’t do this right after a downpour when the framing is waterlogged and hard to judge.
-
Back out the failing screw cleanly — Fit your impact driver with the exact bit required (typically a T-20, T-25 Torx, or #2 square drive; skip stripped Phillips heads). Set the driver to reverse, press down hard with your body weight over the screw head so it won’t cam out, and back the screw all the way out of the plank.
- If the screw spins without coming out, slide a thin putty knife or flathead screwdriver under the head and pry up while reversing the driver.
- Safety note: Wear work gloves; old ceramic-coated screws can shear near the head and leave razor-sharp burrs.
-
Probe the joist meat for underlying rot — Stick a sharp mechanic’s scratch awl or a 3-inch nail straight into the empty screw hole. Push down with moderate hand pressure (around 15 to 20 pounds of force).
- Solid wood will fight you after 1/8 inch.
- If the tool sinks 1/2 inch or deeper into mushy wood, the joist crown’s already rotting and plain re-fastening won’t hold.
-
Treat the internal pilot hole — If the wood is solid and dry, squirt liquid copper naphthenate or exterior wood preservative directly down the hole with an eyedropper or disposable syringe. That helps keep fungal spores from feeding on the fresh raw fibers inside the pilot channel.
-
Clear debris from the gap around the plank — Grab a rigid putty knife or dedicated deck gap clearing tool and scrape out pine needles, dirt, and dried leaves from the joints around the loose board.
- Debris traps standing water against the joist crowns and speeds up screw loosening.
- You want a clean 1/8-inch to 3/16-inch drainage gap on both sides of the board.
-
Step up in screw gauge and thread length — Don’t drive the same #8, 2-1/2-inch screw back into the stripped hole. Pick up an exterior-rated #10 structural composite or wood deck screw that’s at least 3 inches long.
- The thicker diameter (#10 is approximately 0.190 inches versus 0.164 inches for a #8) cuts fresh threads into undamaged wood outside the original hole’s cylinder.
- The extra 1/2-inch length reaches untouched, sound wood deeper in the core of the 2x joist.
-
Relocate fastener penetration if needed — If the original hole is wallowed out, don’t use it. Shift your screw entry point 3/4-inch to 1 inch along the joist line, staying at least 3/4-inch inward from the edge of the deck board so you don’t split it.
- Pre-drill a pilot hole with an 1/8-inch drill bit fitted with a countersink cutter, especially with cedar, redwood, or dense composites.
-
Sister a reinforcement block if the joist is hollowed out — If your awl sinks deep into rotten joist timber, crawl underneath the deck framing. Measure and cut an 18-inch block of pressure-treated 2x6 or 2x8 lumber.
- Clamp the block tight against the sound face of the damaged joist, flush with the underside of the deck boards.
- Fasten it to the existing joist with five 3-inch structural framing screws or 1/2-inch hot-dip galvanized through-bolts.
- Drive your new deck screws from above straight into this fresh, sistered block.
-
Apply butyl joist tape to exposed framing gaps — If you end up lifting the whole deck board to deal with several spinning screws, spend ten minutes laying a 1-5/8-inch wide strip of self-adhering butyl deck flashing tape across the top of the joist.
- That rubberized butyl makes a waterproof gasket around every new screw shank that penetrates it, and it stops water from funneling down the hole.
-
Drive the replacement screw to proper depth — Set your impact driver’s clutch or ease off the trigger so you don’t over-sink the fastener. Drive the screw until the head sits flush with—or a maximum of 1/16-inch below—the plank surface.
- Don’t bury the screw deep to make a little crater. Those cups catch rainwater and guarantee faster fastener rot within two seasons.
-
Seal the vacated holes — For old, abandoned screw holes, mix up two-part exterior waterproof wood epoxy or exterior-grade wood glue with a round wood plug cut from matching scrap stock. Fill the hole flush so water can’t get into the joist structure underneath.
Common Causes
Why do deck screws pull out while others stay anchored for twenty years? Usually it comes down to a few different breakdowns:
- Wrong Fastener Thread Design: Builders using interior drywall screws or standard coarse wood screws instead of purpose-built exterior deck screws with reverse upper threads. Standard screws don’t have those pull-down reverse threads that lock the board tight against the joist while compensating for cupping forces.
- Top-Down Joist Crown Rot: Water settles between the plank bottom and joist top. The top 1/2-inch of framing turns soft, and the screw threads pull through the wood fibers like a hot fork through butter.
- Overdriven Fasteners: When the original installer drives screws 1/8 to 1/4 inch beneath the plank surface, they crush the surface grain. That pocket catches rainwater and speeds up localized timber rot.
- Extreme Wet-Dry Expansion Cycles: Outdoor wood swells up to 8% across its tangential grain after torrential rain, then shrinks hard under 100°F heat. That constant flexing slowly ratchets straight-shank or worn screws upward out of their holes.
- Installing Dry Boards Too Tightly: If kiln-dried boards are installed edge-to-edge without a 3/16-inch expansion gap, they’ve got nowhere to swell during winter rains except upward, which puts huge leverage on the screws and yanks them right out of the joists.
Common Mistakes
- Hammering loose screws down instead of backing them out. Smashing a raised screw with a framing hammer tears up the delicate wood fibers in the deck board and strips whatever thread grip’s left in the joist. Pull the fastener or drive it right; don’t treat it like a nail.
- Reinstalling the same screw size in a stripped hole. Driving a #8 screw back into a hole that already stripped out won’t magically hold. Step up to a #10 gauge screw, add a half-inch of length, or move the hole.
- Overdriving replacement screws into deep pockets. Forcing the head deep into the deck board crushes the fibers and creates a tiny bowl that holds standing water. That’s rot in the making within two seasons. Keep it flush or 1/16-inch below at most.
- Ignoring joist rot underneath. Moving a screw 1/2-inch over when the whole top edge of the joist has turned into spongy fungus gets you nowhere. The new screw’ll pull out within three months. Check the framing before you re-anchor anything.
- Using zinc-plated drywall screws for outdoor decks. Drywall screws are brittle, don’t resist rust well, and they’ll shear off under lateral loads. Use ceramic-coated exterior screws or 305/316-grade stainless steel fasteners rated for ACQ pressure-treated lumber.
Cost & Time Breakdown
| Task | DIY Cost | Pro Cost | Time |
|---|---|---|---|
| Replace 10-20 Popped Screws (#10 Structural) | $12–$25 | $150–$250 | 45–60 mins |
| Sistering a Rotten Joist Section (1-2 joists) | $35–$65 | $300–$550 | 2–3 hours |
| Flashing Top Joists with Butyl Tape (100 sq ft) | $40–$75 | $250–$450 | 2–4 hours |
| Filling Abandoned Holes with Exterior Epoxy | $15–$30 | $100–$175 | 30–45 mins |
| Complete Fastener Reset (Full Deck, 250 sq ft) | $80–$140 | $600–$1,100 | 4–6 hours |
Tips & Prevention
- Walk your deck every spring with a cordless driver. Check every joint. Catching a loose screw early, before the joist hole wallows out, saves you from sistering framing later.
- Always install butyl joist tape during any board replacement. A $25 roll of 1-5/8" butyl flashing tape across bare joist tops prevents 95% of top-down rot issues around fasteners.
- Mind your gap sizes. Keep deck boards at a consistent minimum gap of 1/8 to 1/4 inch. If the boards can’t breathe or drain, the dampness will beat up your fasteners.
- Switch to stainless steel within 15 miles of the coast. Standard ceramic-coated fasteners hold up against basic rain, but salt-laden air chews through threads and makes them snap under board tension. Use grade 316 stainless steel.
- Clear out organic debris twice a year. Pine needles and wet soil packed between boards hold moisture against the joists and speed up fastener failure. Blast the gaps clean with a spray nozzle or a dedicated deck crevice tool.
When to Call a Professional
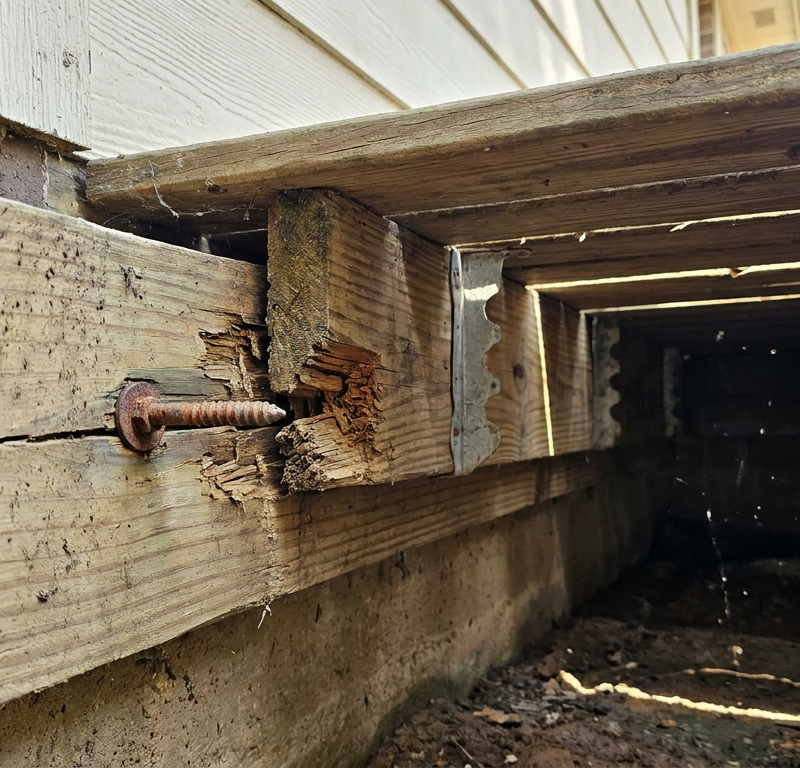
If you back out a row of popped screws and find the awl sinks right through multiple framing joists across a wide section of the deck, your problem goes way deeper than loose hardware. When the top 2 inches of multiple joists, ledger boards, or primary support beams are pulpy, soft, and discolored from advanced fungal rot, the framing’s lost its structural load-bearing capacity.
Call a licensed residential deck builder or general contractor right away if you see sagging joists, rust streaks bleeding through rotted ledger attachments against the house foundation, or loose boards that have caused ledger fasteners to pull away from your home’s rim joist. Don’t walk on an elevated deck with compromised structural framing—it’s a real collapse hazard. Structural framing replacement and ledger re-anchoring need professional structural assessment and building permits.
Frequently Asked Questions
Why do my deck screws keep backing out even after I screw them back in?
Once a screw backs out, the wooden threads inside the joist have probably sheared off, wallowed out, or rotted away from standing water. Driving that same screw back into the same damaged wood gives the threads nothing to bite. For a fix that sticks, you need a thicker-gauge screw, a longer fastener, a relocated hole, or a new wood block sistered to the joist underneath.
Can I hammer down a popped deck screw instead of using a drill?
Don’t hammer a deck screw down. Hammering wrecks the threads inside the joist timber, cracks the ceramic protective coating on the screw (which leads to fast rust), and mashes the surrounding surface fibers on the deck board. Back the screw out with an impact driver and replace it with a larger gauge screw that can bite cleanly.
What size screw should I use to replace loose deck screws?
If your deck was built with standard #8 gauge, 2-1/2-inch screws, upgrade the replacements to #10 gauge, 3-inch or 3-1/2-inch exterior wood screws. The wider diameter cuts fresh wood along the sides of the old channel, and the extra half-inch of length drives into sound framing that hasn’t been hit by water damage.
Why are only some screws popping up while others stay flush?
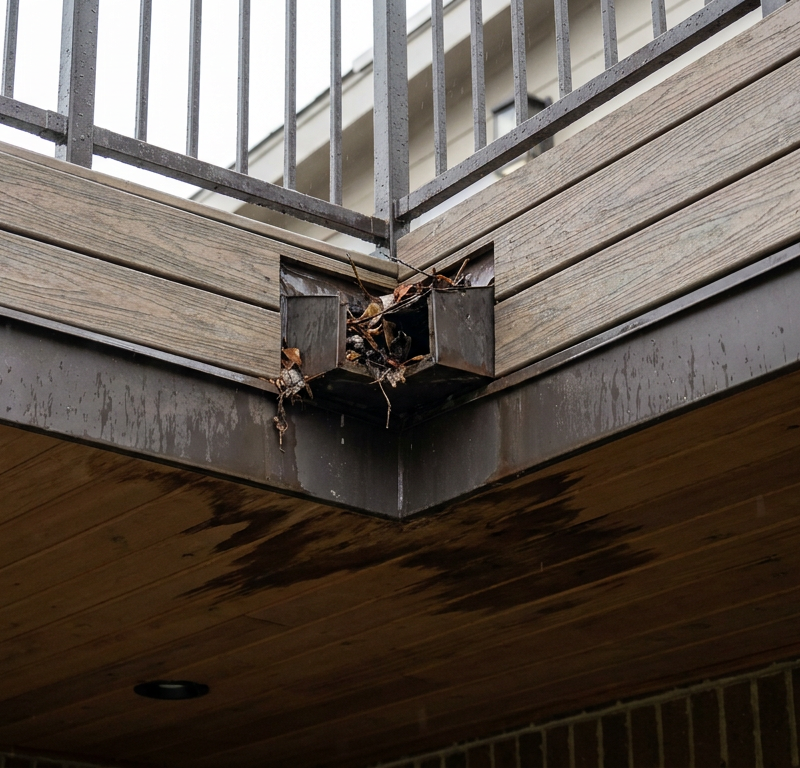
Screws pop unevenly because wood boards have different grain directions and different moisture exposure. Boards near downspouts, shaded corners, or low-ventilation spots stay wet longer, so the joists underneath soften faster. Boards with grain curving away from the joist cup more aggressively as they dry, and that puts a lot more upward pull on the fasteners than flat-grained boards.
Is it better to use nails or screws for deck boards?
Modern deck construction strongly favors exterior structural deck screws over nails. Smooth-shank and even ring-shank nails have much lower withdrawal resistance than screws. As wet wood swells and shrinks, nails back out pretty easily over time. Screws with deep, aggressive threads hold boards tight and resist thermal lifting forces much better.
How do I fix a stripped deck screw that won't back out?
If the screw spins instead of coming out, slide the edge of a flat pry bar, stiff putty knife, or flathead screwdriver under the screw head. Push up firmly while running your impact driver in reverse. That upward force helps the remaining threads catch the edge of the wood hole so it can climb out.
What is the best deck screw material to prevent future problems?
For standard pressure-treated lumber (which has corrosive copper compounds in it), use high-grade ceramic-coated carbon steel screws rated for ACQ lumber, or grade 305 stainless steel screws. If you live near saltwater or have a swimming pool nearby, step up to grade 316 marine stainless steel, which won’t corrode or shear under environmental stress.
Can joist tape stop deck screws from backing out in the future?
Yes. Butyl joist tape works like a self-sealing membrane across the top edge of the framing. When you drive a screw through the tape, the sticky butyl wraps tightly around the shank and keeps water from dripping down into the wood framing. By keeping the joist crown bone dry, the tape stops fungal rot and helps the wood keep its grip on the screw threads for decades.
Related Articles
Keep troubleshooting with these hand-picked guides from FixlyGuide:
- Is Your Gutter Sagging After Every Storm? The Hidden Flaw Most Homeowners Miss — Discover the overlooked reason your gutters sag after every storm and learn the lasting fix that most homeowners miss.
- The 3 Hidden Reasons Your Gutters Fail in Heavy Rain (It’s Not Just Leaves) — Overflowing gutters during heavy rain often stem from a few common, yet overlooked, issues beyond simple leaf clogs, leading to potential s…
- The #1 Mistake Homeowners Make When Sealing a Deck (And How to Fix It) — Discover the crucial, often-missed step in deck sealing that prevents premature wear and water damage, ensuring your wood deck lasts for ye…
- Gutter Spikes Pulling Out? 11 Steps to Secure Them Permanently — Stop gutter spikes from backing out of your fascia board. Here is how to swap failed spikes for hidden screw hangers and secure your roof d…
- The #1 Deck Sealing Mistake Most Homeowners Make (And How to Fix It) — Discover the most common deck sealing error and a step-by-step guide to resealing your wood deck for lasting protection against the element…
- The #1 Mowing Mistake That Leaves Your Lawn Brown and Patchy — Discover the most common mowing mistake homeowners make that leads to unhealthy, patchy grass and how to fix it for a vibrant lawn.
Get deck & patio quotes from local pros
Tell us about your project and we'll match you with vetted contractors in your area. Free, no obligation, and we never sell your info.
Should you do this yourself?
Answer five quick questions before you start. Safety outranks savings every time.
Your experience with work like this
How high do you have to work?
Does the job involve any of these?
Will it need a permit?
Specialty tools
Free and instant. Educational guidance only — not a quote, inspection, or professional diagnosis.
What should this project cost?
Enter your project details for a realistic cost range before you call anyone.
Spot repairs commonly run $400–$1,800; full replacement typically $9,000–$18,000 for an average home.
- Regional adjustment
- National average
- Labor share (typical)
- ~$2,948
- Quotes to collect
- 3 written estimates
Educational estimate based on national averages — not a binding quote. Always confirm with written local estimates.
Decide what your roof needs
Two minutes of questions turns "something is wrong up there" into a clear next step.
- Repair or replace your roof?Answer 10 questions about age, leaks, and damage to get a clear next step.Open
- Compare contractor quotesScore up to four bids on price, warranty, licensing, and timeline.Open
- Get local estimatesSend one request and compare written estimates from vetted pros.Open
Free, no signup required. Estimates are educational guidance, not a quote or an inspection.
Get the print-ready PDF of this guide
A clean, ad-free, printable version you can keep on your phone or pin to the workshop wall. Free with a FixlyGuide account.
- Print-optimized layout
- Tools, materials & every step included
- Saved to your account
Frequently asked questions
Why do my deck screws keep backing out even after I screw them back in?+
Once a screw backs out, the wooden threads inside the joist have likely sheared off, wallowed out, or rotted away from standing water. Re-driving that identical screw into the same damaged wood gives the threads nothing to bite into. To get a permanent fix, you must step up to a thicker gauge screw, use a longer fastener, relocate the hole, or sister a new wood block to the joist underneath.
Can I hammer down a popped deck screw instead of using a drill?+
Never hammer a deck screw down. Hammering destroys the threads inside the joist timber, cracks the ceramic protective coating on the screw (causing rapid rust), and mashes the surrounding surface wood fibers on your deck board. Back the screw out with an impact driver and replace it with a larger gauge screw that can bite cleanly.
What size screw should I use to replace loose deck screws?+
If your deck was built with standard #8 gauge, 2-1/2-inch screws, upgrade your replacements to #10 gauge, 3-inch or 3-1/2-inch exterior wood screws. The wider diameter cuts into untouched wood along the sides of the old channel, and the extra half-inch of length drives deep into fresh, sound framing that hasn't suffered water damage.
Why are only some screws popping up while others stay flush?+
Screws pop unevenly because wood boards have varying grain orientations and moisture exposure. Boards near downspouts, shaded corners, or low-ventilation areas stay wet longer, making joists beneath them soften faster. Boards with grain curving away from the joist cup more aggressively when drying, exerting much stronger upward pull on their fasteners than flat-grained boards.
Is it better to use nails or screws for deck boards?+
Modern deck construction strongly favors exterior structural deck screws over nails. Smooth-shank and even ring-shank nails have significantly lower withdrawal resistance than screws. As wet wood swells and shrinks, nails easily back out over time. Screws with deep, aggressive threads anchor boards tightly and resist thermal lifting forces much better.
How do I fix a stripped deck screw that won't back out?+
If the screw spins without reversing out, slide the edge of a flat pry bar, stiff putty knife, or flathead screwdriver beneath the screw head. Apply firm upward lever pressure while running your impact driver in reverse. The upward force helps the remaining threads catch the edge of the wood hole so it can climb out.
What is the best deck screw material to prevent future problems?+
For standard pressure-treated lumber (which contains corrosive copper compounds), use high-grade ceramic-coated carbon steel screws rated for ACQ lumber, or grade 305 stainless steel screws. If you live near saltwater or have a swimming pool nearby, step up to grade 316 marine stainless steel, which will not corrode or shear under environmental stress.
Can joist tape stop deck screws from backing out in the future?+
Yes. Butyl joist tape acts as a self-sealing membrane across the top edge of the framing. When you drive a screw through the tape, the sticky butyl wraps tightly around the fastener shank, preventing water from dripping down into the wood framing. By keeping the joist crown bone dry, the tape stops fungal rot, ensuring the wood keeps its grip on the screw threads for decades.
Discussion
Loading comments…