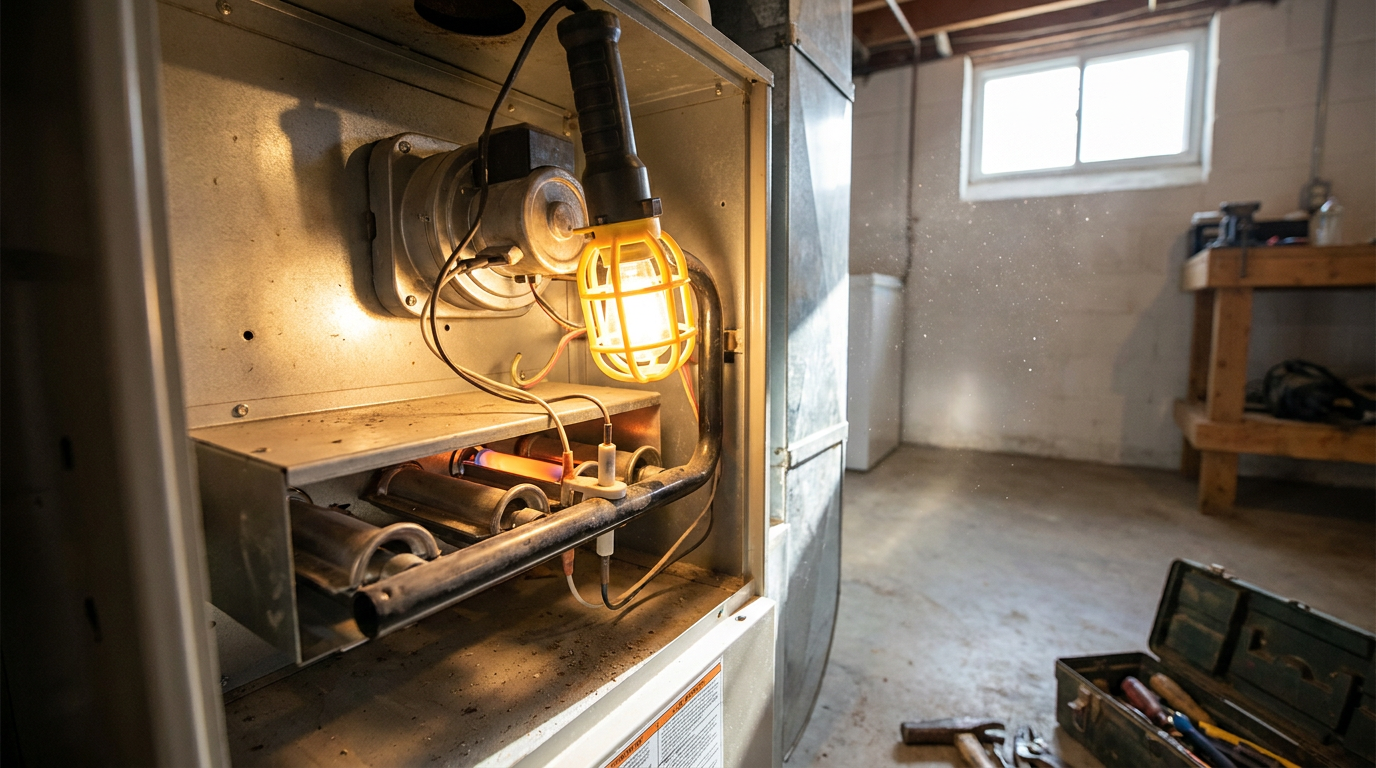
- Kill power at the furnace switch and service panel — Flip the electrical toggle switch right on the furnace chassis or nearby wall stud to "OFF," then shut off the dedicated 15-amp or 20-amp breaker in your main panel.
- Safety: Treat every bare electrical lead inside the cabinet like it’s live until you verify it with a non-contact voltage tester.
- Verify: Make sure the control board LED status light is totally dark.
HVAC · High energy usage
| Project category | HVAC |
|---|---|
| Problem type | High energy usage |
| Trade required | HVAC |
| Urgency | Planned project |
| Safety risk | Low safety risk |
| DIY suitability | DIY for experienced homeowners |
| Cost category | High cost |
| Typical timeline | Assessment within weeks; replacement planned off-season |
| Contractor type | Licensed HVAC technician |
Repair option
Duct sealing, insulation, and a tune-up before touching the equipment.
Replacement option
High-efficiency replacement sized by a load calculation, not a rule of thumb.
Common causes
- Aging, low-efficiency equipment
- Leaking ducts losing conditioned air
- Insufficient attic insulation
- Oversized system short-cycling
Relevant tools:project cost estimatorrepair or replace
Published October 31, 2026Last updated October 31, 2026
Tools & materials you'll need
Affiliate linksAs an Amazon Associate FixlyGuide earns from qualifying purchases — at no extra cost to you. Prices and availability are accurate as of publication and subject to change.
Quick Answer
A furnace that kicks on, runs for two to five minutes, then shuts down before your house ever warms up is short cycling. In a lot of homes, about 80%, the problem is plain old restricted airflow from a clogged air filter or a soot-covered flame sensor that can’t prove ignition. Swap your 1-inch or 4-inch pleated filter, clean the flame sensor rod with fine steel wool, and make sure every supply vent’s wide open before you start spending money on a service call.
The Problem
Your thermostat calls for heat. You hear the draft inducer motor spool up, the hot surface ignitor goes cherry red, the gas valve clicks open with a solid thunk, and flames jump across the burner tubes. Looks good. For a minute.
Then, three minutes later, the burners shut off. The blower fan might keep roaring to cool the cabinet down, or the whole system might go dead quiet. Ten minutes later, it tries again. Same song, same dance.
That on-and-off loop is short cycling. And no, it’s not harmless. It leaves bedrooms cold, sure, but it also beats the tar out of the equipment. Starting is the hardest thing a furnace does. If it’s cycling ten times an hour instead of three, you’re cooking the high-limit switch, overheating the blower motor windings, and stressing the heat exchanger with all that heat expansion and contraction. I pulled a water heater in Frisco last month that had exactly this kind of “small problem” turn into a bigger one, and it’s always the same story — ignore the warning long enough and the repair bill gets ugly. A $15 filter issue can turn into a $3,500 cracked heat exchanger that leaks carbon monoxide right into the living space.
How It Works
Modern gas furnaces depend on a little chain reaction of safety checks, all wired into a closed 24-volt circuit. When the thermostat asks for heat, the control board fires up the draft inducer fan. That small blower pushes combustion gases toward the flue pipe and creates a negative pressure vacuum. A pressure switch checks that draft before the sequence moves ahead; if the venting’s blocked, the furnace stops right there.
Next, the ignitor heats up to roughly 2,000°F. The gas valve opens and feeds the manifold at roughly 3.5 inches of water column pressure for natural gas. Once the burners light, the control board wants proof that combustion actually happened so it doesn’t shove unburned gas into your basement or attic. It sends a small AC voltage down a thin metal rod called the flame sensor. The burner flame ionizes the air around it, turning that AC voltage into a tiny direct current — usually between 1.5 and 6.0 microamps (µA) — which travels through the flame to ground. If the board sees that microamp signal within 4 to 7 seconds, the burners stay on and the indoor blower kicks in about 30 to 45 seconds later to move heat through the ductwork.
As air flows across the outside of the thin sheet metal heat exchanger, it pulls heat away and keeps the metal below dangerous levels. If airflow slows down too much, the internal plenum temperature can spike past 160°F to 200°F fast. A bimetal safety part called the high-limit switch pops open, cuts power to the gas valve, and keeps the cabinet from turning into a firebox while the blower keeps running to dump the heat. If you know whether it dies after 5 seconds — flame sensing trouble — or after 3 minutes — high-limit airflow trouble — you can usually zero in on the fix pretty quick.
Step-by-Step Fix
Before you start opening the furnace cabinet, get your tools together and keep in mind: gas and 120-volt electricity don’t give you much room to be sloppy.
-
Observe the timing of the shutdown — Stand by the furnace with your phone stopwatch and watch the burner sight glass through one full ignition attempt. If the flame lights and goes out in 3 to 7 seconds, you’re looking at a flame sensor or ignition failure; if it burns steady for 2 to 6 minutes before dying while the blower keeps running, it’s an airflow or overheating problem.
- Note: Don’t pull the panels yet; let it complete one cycle so you know which direction to go.
-
Kill power at the furnace switch and service panel — Flip the electrical toggle switch right on the furnace chassis or nearby wall stud to "OFF," then shut off the dedicated 15-amp or 20-amp breaker in your main panel.
- Safety: Treat every bare electrical lead inside the cabinet like it’s live until you verify it with a non-contact voltage tester.
- Verify: Make sure the control board LED status light is totally dark.
-
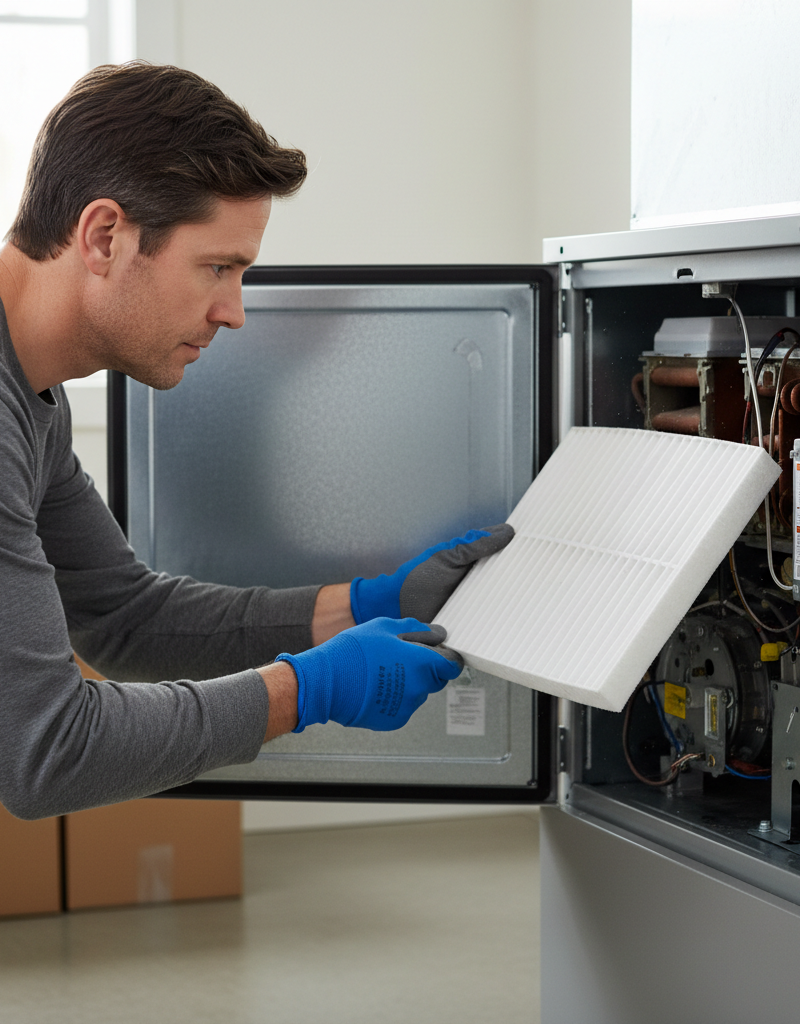
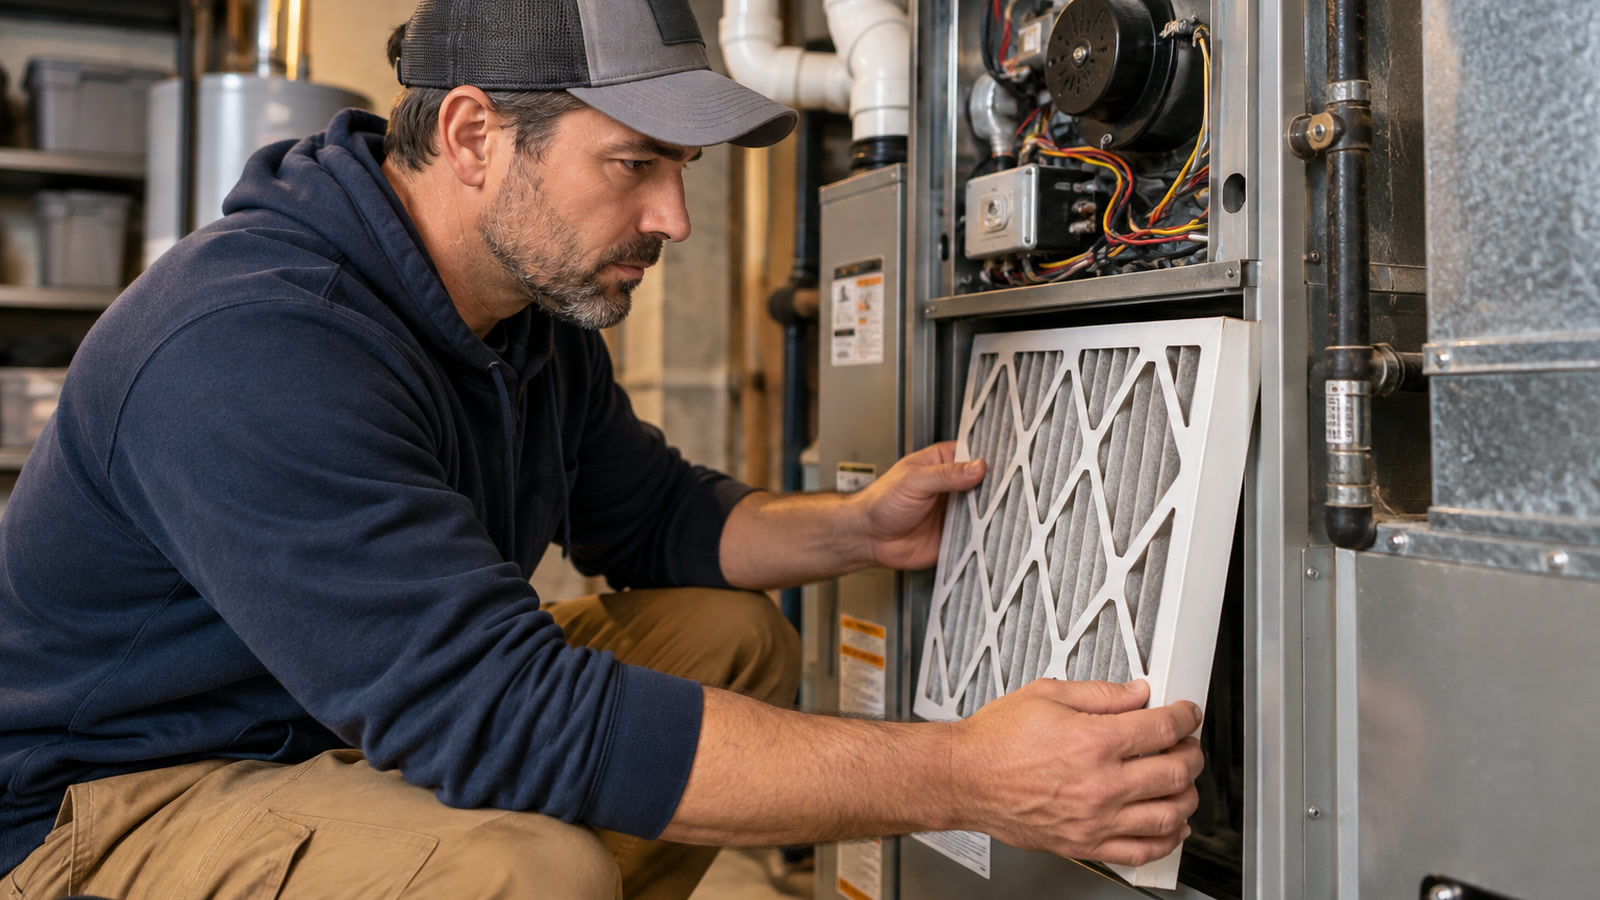
Inspect and pull the return air filter — Slide the air filter out of the return air drop or furnace rack and hold it up to a light. If you can’t see light through the pleats, the filter’s starving the system for air and creating high static pressure that trips the high-limit switch in minutes.
- Replacement: Put in a fresh MERV 8 filter of the exact dimensions stamped on the frame (e.g., 16x25x1 or 20x25x4). Don’t jam in restrictive MERV 13+ filters in older duct systems.
-
Verify all home supply registers and return grilles are open — Walk the house and check that at least 80% of the supply vents and every return grille are completely open and unobstructed.
- Action: Open dampers on floor registers and move rugs, heavy drapes, or furniture off any return vents. Closing bedroom registers doesn’t save money; it just strangles furnace airflow.
-
Remove the upper burner access door — Lift or unscrew the upper metal access panel so you can see the burner assembly, gas manifold, and burner tubes.
- Tool: Keep a 1/4-inch and 5/16-inch magnetic nut driver handy; almost every furnace cabinet screw uses those two sizes.
-
Locate the flame sensor rod — Find the side opposite the hot surface ignitor. You’ll see a small porcelain base held in with a single 1/4-inch hex screw, plus a thin bare metal rod sticking into the outermost burner flame.
- Detail: It only has one wire — usually yellow, white, or blue — clipped to the spade terminal. If you see two thick wires going to a flat or coiled element, that’s the ignitor; leave it alone, because that thing’s fragile silicon carbide.
-
Remove and clean the flame sensor — Back out the single mounting screw, pull the spade connector off the terminal tab, and gently slide the sensor out of the burner box. Scrub the metal rod hard with medium-fine steel wool or a Scotch-Brite scouring pad until the oxidation and white silica glaze are gone and the metal’s shiny again.
- Warning: Don’t use sandpaper or emery cloth; they leave abrasive silica behind, and that stuff melts into an insulating glass coat the second the flame hits it.
- Reassembly: Wipe the rod clean with a dry microfiber rag to get rid of oils from your fingers, reinstall it, and snug the mounting screw without stripping the sheet metal.
-
Inspect the outdoor exhaust and intake terminations — Head outside and find your two-pipe PVC vent terminations (on high-efficiency condensing furnaces) or check the metal B-vent chimney cap on the roof. Clear away snow drifts, bird nests, leaves, or wasp mud tubes blocking either pipe.
- High-efficiency check: Shine a flashlight down the PVC elbow; if ice or dead leaves are choking the pipe, the inducer fan can’t pull enough negative draft and the diaphragm pressure switch starts dropping the circuit in and out.
-
Clear the condensate trap and drain tubing (high-efficiency models only) — High-efficiency condensing units make 1 to 2 gallons of mildly acidic water per day; if the internal plastic trap or drain line backs up, water fills the secondary heat exchanger and trips a float switch or pressure switch.
- Step: Unclamp the clear vinyl drain tubing, pull off the black plastic trap assembly, and flush it in a sink with warm water until the sludge and mineral debris are gone. Reinstall it and hand-tighten the hose clamps.
-
Check the control board diagnostic LED codes — Put both metal cabinet doors back on — the blower door presses an internal safety interlock switch — and flip the power back on. Peek through the clear sight glass on the blower door to watch the blinking light sequence on the control board.
- Translation: A steady flash pattern (such as 3 flashes or 4 flashes) matches the diagnostic legend printed on the inside of the furnace panel. A code reading "Limit Circuit Open" confirms heat buildup, while "Flame Sense Lost" confirms sensor or gas delivery trouble.
-
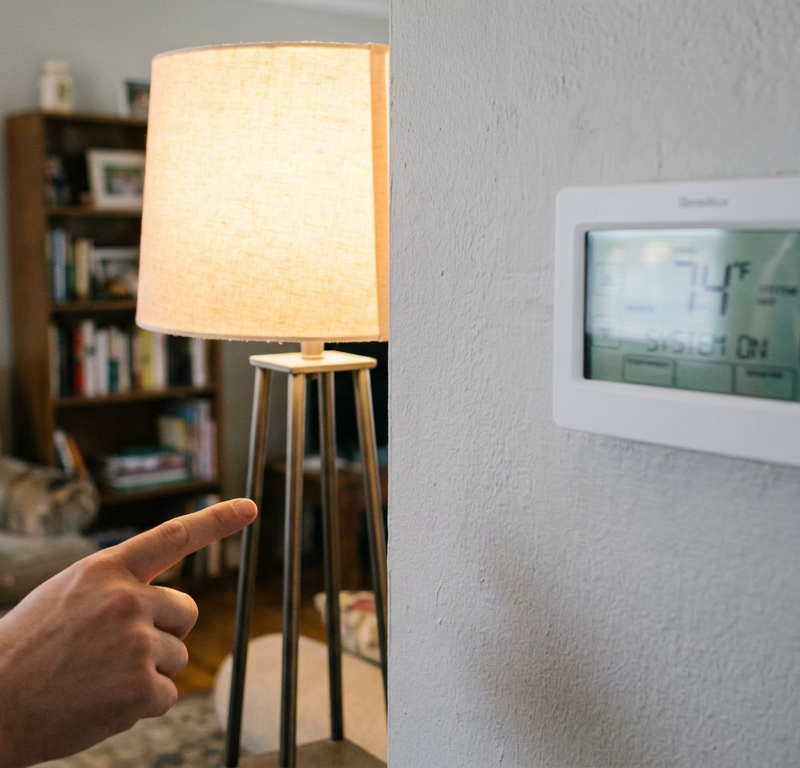
Test the room thermostat operation — Pull the thermostat faceplate off its wall subbase and check for dead AA backup batteries, loose terminal screws on the "R" and "W" terminals, or corroded wiring.
- Troubleshooting: If you’ve got an older mechanical thermostat, make sure the tiny sliding lever for the heat anticipator matches your gas valve’s amp rating (typically 0.4 to 0.6 amps). If you’ve got a smart thermostat, make sure it has a dedicated "C" (common) wire; thermostats that "power-steal" from the heat circuit can pulse the gas valve relay and cause weird cycling.
-
Perform a 20-minute run test — Set the thermostat 5°F above ambient room temperature and stay nearby while the system runs through one complete, uninterrupted burn. Check that the burners stay lit steady, the supply registers push hot air (typically 110°F to 130°F at the boot), and the cycle ends on its own only when the thermostat reaches target room temperature.
Common Causes
Figuring out a short cycling furnace means tracking which safety control opened and why. These are the five root problems behind most of the failures I see:
- Dirty flame sensor rod: Silica and carbon buildup collect on the metal rod over one heating season. That junk acts like insulation, dropping the flame rectification signal below the board’s minimum microamp threshold (usually 1.0 µA). The board figures the flame blew out and shuts the gas valve right down for safety.
- Overheating from choked airflow (Limit Switch Open): When a dust-caked filter, collapsed flex duct, or closed floor registers choke the airflow, plenum heat can’t get out. The primary high-limit switch — a bimetal disc sitting just above the heat exchanger — climbs past its factory limit (often stamped between 170°F and 210°F) and cuts power to the burner.
- Clogged condensate drain lines: Condensing furnaces pull latent heat out of exhaust gases, which makes water. If the drain pan, trap, or exterior drain line freezes or plugs with algae, water backs up into the inducer housing. The furnace pressure switch sees that resistance and cuts burner power so exhaust doesn’t back-pitch into the home.
- Faulty or power-starved thermostat: Low batteries, a messed-up cycle-rate setting (CPH or cycles per hour), or a smart thermostat without a proper common wire can create voltage drops to the "W" terminal on the control board and shut the heating call off early.
- Oversized furnace equipment: If the furnace was sized wrong because an installer guessed instead of doing a Manual J load calculation, the unit dumps a pile of heat into small ductwork. It satisfies the thermostat in four minutes flat, shuts off, and leaves the edge rooms cold, which sets up that endless rapid-fire cycle.
Common Mistakes
- Leaving the furnace cabinet doors off during testing: Modern furnaces have a safety interlock push-button switch on the blower compartment frame. If the door isn’t screwed on tight, that switch stays open, kills all 120V power to the board, and makes you think the furnace is dead.
- Scrubbing flame sensors with sandpaper: Sandpaper leaves aluminum oxide or silicon carbide grit on the metal. The first time the 1,900°F burner flame hits that residue, it melts into an ugly glass coating that ruins the sensor for good. Use steel wool or Scotch-Brite only.
- Installing high-MERV filters in older, narrow ductwork: Stuffing a 1-inch MERV 13 or 14 allergy filter into an older return drop creates a ton of static pressure resistance. The blower can’t pull enough CFM (cubic feet per minute), the heat exchanger jumps to 200°F within three minutes, and the furnace trips on high limit. Stick with MERV 8 unless an HVAC pro has measured your system’s total external static pressure (TESP).
- Resetting a tripped limit switch over and over: Modern limit switches are safety devices built to keep you out of house fires and cracked heat exchangers. If your furnace cuts out on limit, clearing the code with a power cycle without fixing the airflow problem will eventually cook the switch until it stays open or splits the heat exchanger.
- Overlooking the exterior flue vent terminals in winter: Homeowners spend all day tearing into the furnace cabinet inside while ice, drifting snow, or a hornets’ nest is choking the PVC vent pipes outside on the side of the house. Always check the exterior pipes first after heavy snowfall or high winds.
Cost & Time Breakdown
| Task | DIY Cost | Pro Cost | Time |
|---|---|---|---|
| Replace pleated air filter (1-in or 4-in) | $15–$40 | $80–$150 | 5–10 minutes |
| Clean flame sensor rod | $0–$5 | $150–$250 | 15–25 minutes |
| Flush condensate trap and clear drain lines | $5–$15 | $175–$300 | 30–45 minutes |
| Replace faulty high-limit switch | $20–$45 | $225–$400 | 30–60 minutes |
| Clear or replace blocked draft pressure switch | $25–$60 | $250–$450 | 45–60 minutes |
| Diagnose and replace failed draft inducer assembly | $120–$300 | $550–$1,100 | 1–2 hours |
Tips & Prevention
- Swap your standard 1-inch air filters every 60 to 90 days: In homes with pets, shedding carpets, or heavy winter furnace runtime, check filters every 30 days. For thick 4-inch or 5-inch media filters, change them every 6 to 9 months without fail.
- Clean your flame sensor every autumn before firing the furnace: Add flame sensor maintenance to your pre-winter checklist. Pulling the single 1/4-inch hex screw and giving the metal rod a 60-second buff with fine steel wool keeps the most common no-heat call from happening.
- Keep all furniture and storage at least 3 feet clear of indoor utility closets: Piling holiday totes, paint cans, and cardboard boxes against your furnace cabinet cuts off combustion air, causes cabinet overheating, and turns into a real combustion hazard.
- Pour a cup of white vinegar down the condensate line twice a year: For high-efficiency condensing furnaces, an end-of-season and mid-winter flush of distilled white vinegar breaks down bacterial slime and white algae before they plug the trap and trip the water safety switches.
- Leave supply dampers open throughout the home: Don’t shut off more than 10% to 15% of your home’s total vents to "divert heat." Residential HVAC systems are built for specific static air pressures; closing vents chokes airflow across the heat exchanger and drives operating temperatures straight into the limit-switch cutoff zone.
When to Call a Professional
If you smell raw gas, sulfur, or rotten eggs around the furnace, shut off the gas supply line right away, get everybody out of the house, and call your gas utility or fire department from your cell phone outside.
Past the gas smell, some mechanical problems just aren’t safe for DIY diagnosis. If cleaning your flame sensor and installing a brand-new filter doesn’t stop the cycling, and the control board LED flashes an ignition lockout or internal limit code, call a licensed HVAC technician. Testing manifold gas pressure takes a sensitive digital manometer calibrated in inches of water column. A cracked heat exchanger can only be confirmed with a combustion analyzer or an articulating inspection camera; running a furnace with a breached heat exchanger exposes your family to lethal, odorless carbon monoxide poisoning. If your inducer motor is squealing, the blower motor capacitor has leaked oily dielectric fluid, or the electrical wiring in the junction box shows scorch marks, put the cabinet panel back on and call a pro.
Related Articles
Keep troubleshooting with these hand-picked guides from FixlyGuide:
- The Secret Reason Your Furnace Kicks Off Early (It’s Not What You Think) — Furnace short cycling is a common, frustrating problem that wastes energy and wears out your system. It happens when your furnace turns on…
- The Hidden Reason Your Furnace Short Cycles (and the $15 Fix) — Furnace short cycling can drive up energy bills and wear out your system prematurely; often, a simple fix like a dirty filter or miscalibra…
- The Hidden Reason Your AC Freezes — And Why Most Homeowners Get It Wrong — Discover the surprising truth behind why your outdoor AC unit is freezing and learn the most common mistake homeowners make when trying to…
- Thermostat Won't Go Below 70 Degrees? 9 Causes and the Fix — Struggling to get your home cooler? If your thermostat won't go below 70°F, we'll walk through the nine most common reasons and the steps t…
- Thermostat Short Cycling? 7 Reasons Your AC or Furnace Shuts Off Too Soon — If your HVAC system turns on and off every few minutes, it's likely short cycling; this guide explains the common causes, from a dirty air…
- Toilet Keeps Clogging? 9 Common Causes and How to Fix Them for Good — A toilet that clogs every few days points to a bigger issue than a one-time blockage. We'll walk through the common causes, from simple clo…
Should you do this yourself?
Answer five quick questions before you start. Safety outranks savings every time.
Your experience with work like this
How high do you have to work?
Does the job involve any of these?
Will it need a permit?
Specialty tools
Free and instant. Educational guidance only — not a quote, inspection, or professional diagnosis.
Estimate your own project cost
National averages are a starting point. Enter your details for a range that fits your house.
HVAC replacement cost
- Equipment$2,200 – $3,800
- Installation labor$1,200 – $2,500
Always insist on a Manual J load calculation — sq-ft sizing is only a rough check. Federal heat-pump rebates may reduce cost significantly.
Educational estimate only — always confirm with written local bids.
What should this project cost?
Enter your project details for a realistic cost range before you call anyone.
Service calls and common repairs run $150–$900; full system replacement typically $6,000–$12,000.
- Regional adjustment
- National average
- Labor share (typical)
- ~$1,935
- Quotes to collect
- 3 written estimates
Educational estimate based on national averages — not a binding quote. Always confirm with written local estimates.
Fixly Project Decision Box
- DIY difficulty
- Advanced
- Estimated time
- Homeowner checks 20–30 minutes
- Cost level
- Moderate
Main tools / materials
- Clean air filter
- Garden hose for condenser coils
- Shop vac for the condensate line
When to stop and call a pro
- Burning smell, smoke, or a tripping breaker
- Refrigerant lines iced over or hissing
- Any work inside the sealed refrigerant circuit (EPA-licensed only)
- Gas smell near a furnace — leave and call the utility
Need professional help?
Find an HVAC Pro Near YouBefore you start
Check the difficulty, permits, and safety risk — then decide whether to call a pro.
Free, no signup required. Estimates are educational guidance, not a quote or an inspection.
Get the print-ready PDF of this guide
A clean, ad-free, printable version you can keep on your phone or pin to the workshop wall. Free with a FixlyGuide account.
- Print-optimized layout
- Tools, materials & every step included
- Saved to your account
Frequently asked questions
What is considered short cycling on a furnace?},{answer:+
Short cycling occurs when a furnace turns off prematurely before satisfying the thermostat setting, usually running for only two to five minutes at a time. Normal heating cycles run for ten to twenty minutes, allowing the home to heat evenly and thoroughly before the unit shuts down.
Discussion
Loading comments…