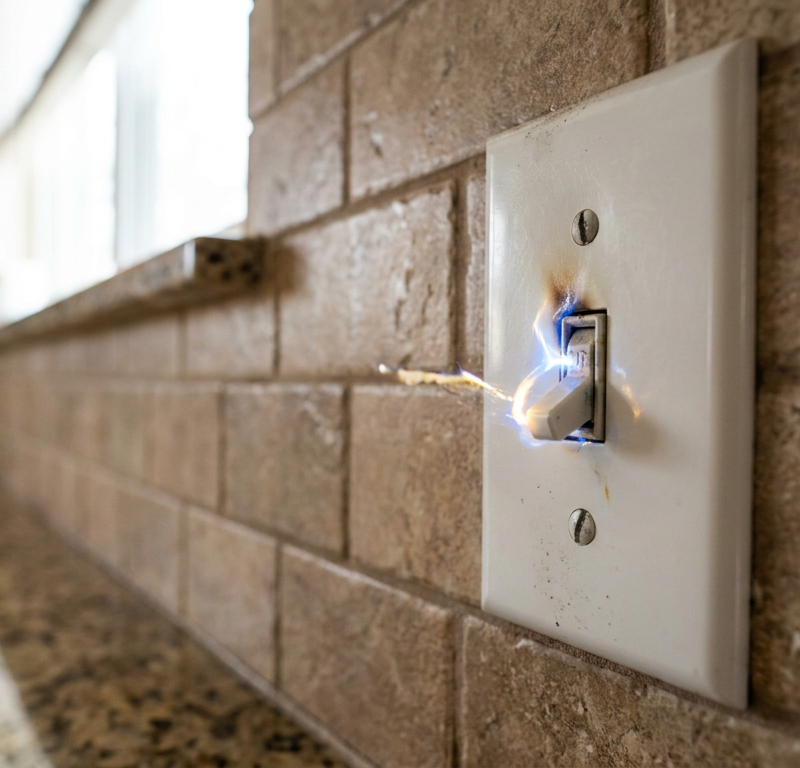
- Don’t trust the wall switch by itself; somebody can bump it while your hands or tools are inside the chamber.
- If your unit plugs into an outlet under the sink instead of being hardwired, pull the 3-prong plug straight out of the GFCI receptacle and leave it where you can see it.
- Make sure the power’s truly dead by flipping the wall switch on. The unit should stay dead silent.
Plumbing · Leak
| Project category | Plumbing |
|---|---|
| Problem type | Leak |
| Trade required | Plumbing |
| Urgency | Emergency — act now |
| Safety risk | High safety risk |
| DIY suitability | DIY for experienced homeowners |
| Cost category | Low cost |
| Typical timeline | Shut water off now; repair usually same or next day |
| Contractor type | Licensed plumber |
Repair option
Isolate at the shutoff, replace the failed component, and dry the cavity fully.
Replacement option
Repipe the run or the branch when corrosion is widespread.
Common causes
- Failed supply line or shutoff valve
- Worn washers, cartridges, or P-trap connections
- Pinhole corrosion in older copper
Relevant tools:emergency checklistdiy or hire a pro
Published November 8, 2026Last updated November 8, 2026
Tools & materials you'll need
Affiliate linksAs an Amazon Associate FixlyGuide earns from qualifying purchases — at no extra cost to you. Prices and availability are accurate as of publication and subject to change.
Quick Answer
If your garbage disposal’s shaking like crazy, rattling the sink deck, or acting like it’s about to shake itself off the mounting bracket, I’d bet on an unbalanced impeller plate or a loose mounting ring. Shut off the wall switch, kill power at the circuit breaker, and peek inside the chamber with a flashlight. Use pliers to clear out any junk caught under the swivel lugs. If the chamber’s clean, tighten the three-bolt mounting assembly under the sink with a flathead screwdriver and see if that knocks down the cabinet vibration.
The Problem
You flip the switch, and the whole countertop starts rumbling like a freight train. Glasses chatter in the cabinets, the sink rim shivers, and the drain pipes under there shake so hard you can see the slip joints flex. That kind of vibration isn’t just annoying—it’s a plumbing failure looking for a place to land.
A disposal spins at roughly 1,725 to 2,800 RPM. When something turning that fast loses balance, centrifugal force throws all that energy into your sink basin, countertop, and PVC trap assembly. Leave it alone long enough, and that shaking will shear the plumber's putty seal under the sink flange, back out mounting screws, crack PVC slip joints, and can even wreck the factory seal on an undermount composite or stainless sink. You’ve got to figure out whether the imbalance is inside the grind chamber or up at the mounting bracket before a little rattle turns into a flooded cabinet.
How It Works
A modern continuous-feed food waste disposer runs on a heavy, balanced steel shredder plate driven by an electric induction motor. When you flip the wall switch, 120-volt current hits the motor and spins that grind plate at high speed. Mounted on top of that flat plate are two or more stainless steel swivel impellers—most folks call them lugs. Those impellers swing freely 360 degrees on pivot pins. They aren’t razor blades; centrifugal force throws the food waste outward against a stationary, perforated steel shredder ring around the chamber.
       [ Sink Basin & Flange ]
                 │
       [ 3-Bolt Mounting Ring ]  <-- Snug & Level
                 │
       ┌─────────────────────────┐
       │   Grind Chamber         │
       │   [Swivel Lug]  [Lug]   │  <-- Must Pivot Freely!
       │   ───────────────       │
       │     Shredder Plate      │  <-- 1,725–2,800 RPM
       │         │ Motor         │
       └─────────┴───────────────┘
The whole setup hangs off the underside of the sink on a three-bolt mounting ring or a quick-lock collar, with a rubber cushion mount helping isolate the vibration. That rubber’s there to absorb shock so the motor’s hum doesn’t get shoved straight into the sink metal or composite.
When both swivel lugs move freely and the plate’s evenly weighted, everything stays in balance. But throw in an uneven load—a chicken bone wedged under one lug, a blob of grease stuck to one side, or a busted lug pin—and that balance falls apart fast. The motor shaft starts wobbling off-center, and now those ugly side loads are hitting the mount and the drain lines.
Step-by-Step Fix
Work through these steps in order. That’s the cleanest way to find the imbalance, tighten up the mount, and quiet the whole mess down.
1. Cut the Electrical Power at the Main Panel
Flip the wall switch to OFF, then find your breaker panel and shut off the dedicated 15-amp or 20-amp kitchen disposal breaker.
- Don’t trust the wall switch by itself; somebody can bump it while your hands or tools are inside the chamber.
- If your unit plugs into an outlet under the sink instead of being hardwired, pull the 3-prong plug straight out of the GFCI receptacle and leave it where you can see it.
- Make sure the power’s truly dead by flipping the wall switch on. The unit should stay dead silent.
2. Inspect the Grind Chamber with a High-Lumen Light
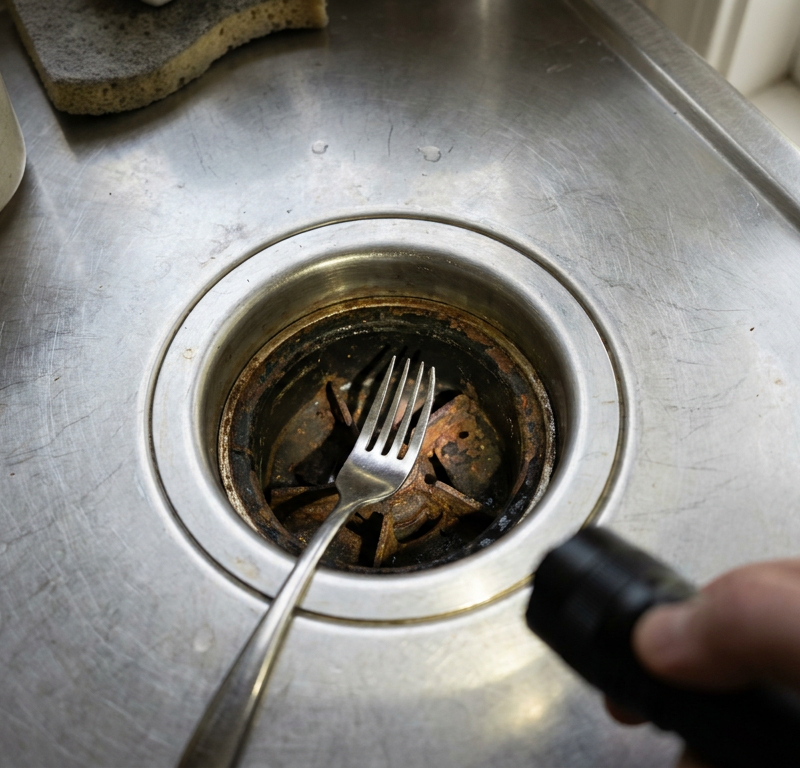
Shine a bright flashlight straight down through the sink opening and the rubber splash baffle.
- Peel the rubber splash guard flaps back, or pull the removable collar out of the drain opening so you can see the grind plate clearly.
- Look for foreign junk stuck between the rotating plate and the stationary outer shredder ring: bottle caps, cherry pits, twist ties, broken ceramic shards.
- Keep your bare hands out of the throat of the disposal. Metal burrs and glass fragments will cut you up in a hurry.
3. Check Swivel Lug Mobility with Pliers
Use a pair of 10-inch needle-nose pliers and grab one of the metal swivel lugs.
- Wiggle the lug back and forth on its pivot pin. It’s got to swing freely 360 degrees without sticking, dragging, or grinding.
- Check the other lug too. If one swings loose and the other’s jammed rigid against the plate, you’ve found your imbalance.
- Use the plier tips to pick out any small bones, fruit seeds, or hard gunk packed into the pivot pocket under the stuck lug until it moves like the other one.
4. Manually Cycle the Motor Shaft from Below
Get under the sink with an unjamming tool or a standard 1/4-inch hex wrench (Allen key).
- Stick the wrench into the hex socket centered on the bottom of the disposal housing.
- Crank the wrench back and forth through full 360-degree rotations both ways.
- Feel for binding, rough spots, or gritty drag. It ought to turn with smooth, even resistance. If it catches hard in one spot, the shredder plate may be bent, or something stubborn is jammed under the plate floor.
5. Check the Three-Bolt Mounting Ring Under the Sink
Look up where the disposal meets the bottom of the sink basin.
- Grab the disposal body with both hands and give it a firm twist and a little vertical pull. The housing shouldn’t wobble, shift, or rattle against the sink bottom.
- Find the three slotted adjustment bolts that hold the lower mounting ring to the upper flange.
- If any bolt’s backed out or feels loose, use a medium flathead screwdriver and tighten all three bolts evenly, turning each one clockwise 1 to 2 full turns until they bite firmly against the backup flange. Don’t over-torque it and bend the flange.
6. Verify the Quick-Lock Mounting Collar Engagement
Check the rotating metal collar that locks the disposal body onto the mounting ring tabs.
- This collar has three ramped ridges that slide over matching pins on the sink flange assembly.
- Make sure the collar’s rotated all the way to the right (clockwise) and pushed past the stop ridges.
- Slip the shaft of a screwdriver or the disposal hex wrench through one of the metal lug loops on the side of the collar and pull firmly to torque it until it clicks into the locked detent. If it’s sitting halfway on a ramp, the unit will shake like mad.
7. Inspect the PVC Drain Pipe Alignment
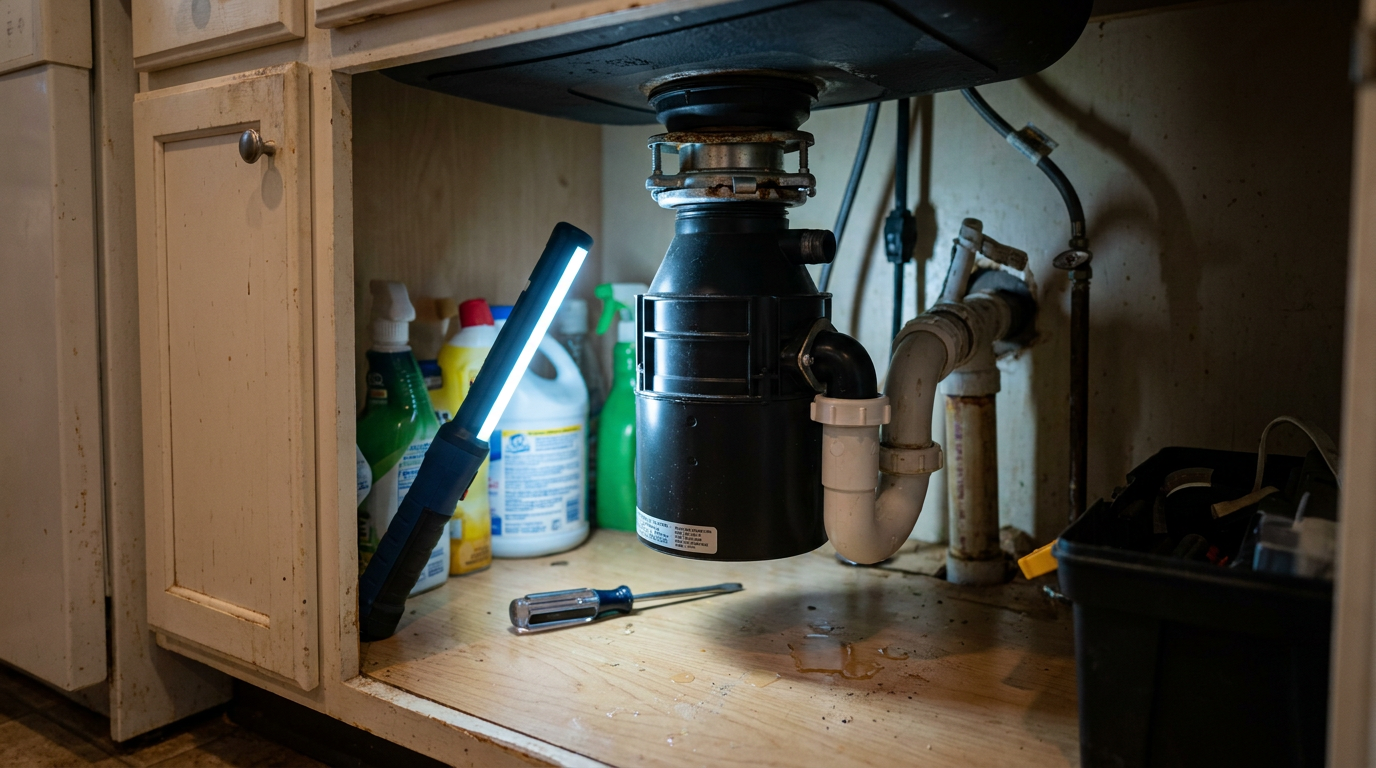
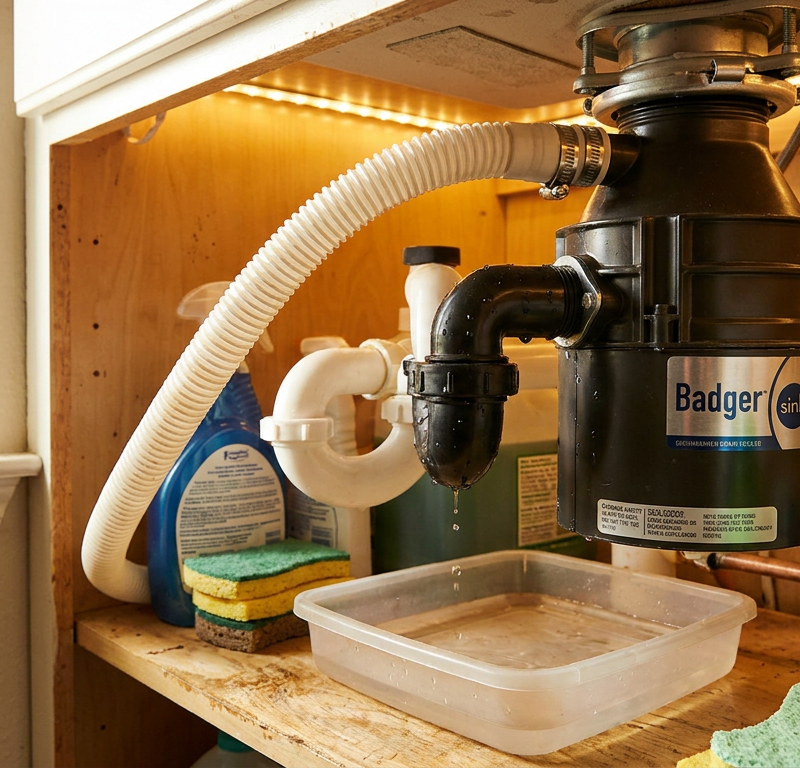
Check the black discharge elbow coming off the disposal where it ties into the P-trap.
- Loosen the slip nuts a bit by hand or with channel-lock pliers if the pipes are under heavy side stress or sitting at a goofy angle.
- A disposal shoved into crooked plumbing acts like a rigid tuning fork and sends that motor hum right into the wall studs.
- Line up the slip joints so the black discharge tube enters the trap squarely without pulling or twisting the disposal body, then hand-tighten the nuts plus a quarter-turn.
8. Clean and Degrease the Grind Plate
A pileup of solidified animal fats, starches, and fibrous debris can coat half the plate and create a hidden balance problem.
- Restore power at the breaker panel and plug the unit back in.
- Fill the disposal chamber with two cups of regular ice cubes and one cup of coarse rock salt.
- Run cold tap water, flip the switch ON, and let it run for 30 to 45 seconds. That ice-and-salt mix works like a scrub brush, knocking encrusted sludge off the underside of the swivel lugs and the balance points on the plate.
9. Conduct a Water and Vibration Balance Test
Turn the water on to medium flow and flip the wall switch to watch the disposal run.
- Put your fingertips lightly on the sink rim: you should feel a low, smooth, steady hum, not a sharp shudder.
- Watch the water in the sink. It shouldn’t ripple hard across the basin.
- Check underneath with your flashlight and make sure the P-trap and supply lines stay dead steady while the unit runs empty.
Common Causes
When a garbage disposal vibrates hard enough to shake the kitchen, the root cause usually falls into one of these buckets:
- Asymmetrically Jammed Swivel Lug: One impeller swings freely under centrifugal force while the other’s locked in place by a seed, bone fragment, or mineral scale. At 1,725 RPM, one weight sticking out and the other pinned flat creates an instant wobble.
- Loose Mounting Screws or Quick-Lock Ring: The three mounting screws that pull the flange against the sink basin work loose over time from heat cycles and everyday vibration. If the ring loosens by even 1/16 of an inch, the whole unit starts oscillating against the sink basin.
- Missing or Hardened Rubber Cushion Mount: The factory neoprene or rubber isolator between the disposal throat and the sink flange dries out, hardens, or splits. Once that rubber loses its give, the motor vibration goes straight into the sink basin without any damping.
- Warped or Bent Shredder Plate: Running metal utensils, hard bones, or construction debris through the disposal can warp the central steel rotating disk. Once that plate’s knocked out of true planar alignment, it wobbles vertically and horizontally like a bent bicycle rim.
- Worn Lower Motor Bearings: Over the years, water can get past the internal mechanical seal and wash the grease out of the motor bearings. As the bearings loosen up, the motor shaft shudders hard under load.
- Plumbing Strain: Drain pipes installed out of alignment can push or pull on the disposal discharge elbow. That locks the disposal in a stressed bind and turns little vibrations into loud cabinet-rattling resonance.
Common Mistakes
- Reaching Into the Chamber with Bare Hands: Folks will poke their fingers down the drain to feel for a stuck lug. Bad move. Sharp bone slivers, cracked glass, and machined metal edges will slice fingertips easy. Use long needle-nose pliers and an inspection light every time.
- Over-Tightening the Three Mounting Screws Unevenly: Cranking one mounting bolt down with all your strength tilts the upper ring, pinches the rubber gasket on one side, and leaves a gap on the other. That creates a chronic sink leak and a crooked mount that makes vibration worse. Tighten each bolt a little at a time, moving in a circle to keep pressure level.
- Ignoring a Damaged Mounting Collar Detent: Leaving the quick-lock ring half engaged is asking for trouble. The disposal can shake itself loose during heavy use and drop five to fifteen pounds of motor and plumbing lines right onto the cabinet floor while water runs down the drain.
- Using Chemical Drain Cleaners to Clear Jams: Pouring sulfuric acid or caustic lye drain opener into a vibrating disposal won’t unstick an impeller. It just leaves you with a toxic, corrosive mess that ruins the rubber gaskets and makes things worse when you crawl under the sink.
- Failing to Support the Disposal Weight While Tightening Rings: Letting the heavy motor hang unsupported while you tighten or realign the mounting hardware strips threads and warps the thin metal sink collar. Always prop a small bottle jack, wooden block, or car jack stand under the disposal base to take the weight off the flange while you wrench on it.
Cost & Time Breakdown
| Task | DIY Cost | Pro Cost | Time |
|---|---|---|---|
| Dislodging Stuck Swivel Lug | $0 | $120–$180 | 15–20 minutes |
| Tightening Mounting Ring Assembly | $0 | $100–$150 | 10–15 minutes |
| Replacing Splash Baffle & Cushion Mount | $10–$25 | $140–$200 | 30–45 minutes |
| Realigning Strained PVC Drain Lines | $5–$15 | $150–$220 | 30–60 minutes |
| Complete Disposal Replacement (Bent Plate/Bad Motor) | $90–$250 | $300–$550 | 1–2 hours |
Tips & Prevention
- Scour the Grind Plate Weekly with Ice: Dump two trays of ice cubes and a handful of coarse salt down the drain once a week and run the disposal with cold water for 30 seconds. The hard ice scrapes grease off the underside of the swivel lugs before they freeze up and throw the unit out of balance.
- Run Water for 15 Seconds After Turning Off the Switch: Don’t shut the cold water off the second you kill the disposal. Let it run another 15 seconds so all the chopped-up food gets flushed through the P-trap and out of the grinding chamber instead of settling on the plate overnight.
- Always Run Cold Water, Never Hot: Cold water keeps animal fats and oils solid, which lets the impellers chop them up and wash them away. Hot water melts fats into slick grease that coats the underside of the rotating plate and throws off the factory balance.
- Conduct a Quarterly Bolt Check: Stick your head under the sink every three or four months with a flashlight. Grab the bottom of the disposal and give it a firm wiggle to check for play before loose bolts ruin the sink basin's putty seal.
- Keep High-Starch and Fibrous Foods Out: Potato peels, corn husks, celery ribs, and artichoke leaves wrap around the center spindle and lug pins like twine, jamming the swivel action and knocking the whole system out of balance.
When to Call a Professional
If you tighten all three mounting ring bolts, seat the quick-lock collar all the way, and confirm that both swivel lugs swing freely, but the unit still shakes violently or lets out a loud metal screeching howl, the internal motor bearings are shot or the drive shaft’s bent for good. Disposals have hermetically sealed motor housings; you can’t safely tear them down and rebuild them on a workbench.
Call a licensed plumber if you see water trickling out of the bottom motor ventilation slots, spot scorch marks near the electrical wire junction box, or find that the sink flange has sheared away from a thin stainless steel or composite basin. I pulled a water heater in Frisco last month that had exactly this kind of hidden vibration issue nearby—different appliance, same kind of “looks minor until it isn’t” headache. If you live where the water’s hard and years of galvanic corrosion have fused the mounting bolts into solid blocks of rust that won’t budge with a screwdriver, a plumber with an oscillating cut-off tool can strip the old hardware away without punching through your kitchen sink.
       VIBRATION TROUBLESHOOTING MATRIX

  Is disposal shaking violently?
            │
            ├─► Check swivel lugs with pliers
            │     └─► One stuck? Clear debris / add ice & salt.
            │
            ├─► Check mounting hardware
            │     └─► Loose ring or backed-out screws? Tighten evenly.
            │
            └─► Check bottom of motor housing
                  └─► Water leaking from weep holes? Shaft seal blown; replace unit.
Related Articles
Keep troubleshooting with these hand-picked guides from FixlyGuide:
- The 5-Minute Trick to Stop a Dripping Single-Handle Faucet (No Plumber Needed) — A persistent drip from your single-handle faucet is usually caused by a worn-out cartridge, a repair you can typically complete yourself in…
- The One Trick to Silence a Humming Garbage Disposal (Without Calling a Plumber) — A humming garbage disposal is usually jammed. Learn how to quickly and safely clear the obstruction yourself with basic tools.
- Bathroom Faucet Handle Stuck? 12 Steps to Free It Without Breaking the Stem — Stuck bathroom faucet handle won't budge? Learn how to safely dissolve hard water scale, use a handle puller, and rebuild the valve cartrid…
- The #1 Mistake Homeowners Make When Their AC Drain Clogs (And The $5 Fix) — Discover the most common error homeowners make when tackling a clogged AC drain line and learn a simple, inexpensive solution to prevent co…
- Why Your Toilet Clogs Every Few Days (And the #1 Mistake Homeowners Make) — A toilet that clogs frequently is a frustrating problem, often caused by easily overlooked issues like trapway obstructions or ventilation…
- The #1 Reason Your Doorbell Suddenly Dies (and the 10-Minute Fix) — A non-functioning doorbell is often caused by a tripped transformer, a simple issue homeowners can usually resolve in minutes.
Should you do this yourself?
Answer five quick questions before you start. Safety outranks savings every time.
Your experience with work like this
How high do you have to work?
Does the job involve any of these?
Will it need a permit?
Specialty tools
Free and instant. Educational guidance only — not a quote, inspection, or professional diagnosis.
What should this project cost?
Enter your project details for a realistic cost range before you call anyone.
Common repairs run $150–$650; repipes and water-heater replacements reach $1,500–$4,500.
- Regional adjustment
- National average
- Labor share (typical)
- ~$754
- Quotes to collect
- 3 written estimates
Educational estimate based on national averages — not a binding quote. Always confirm with written local estimates.
Frequently asked questions
Can a vibrating garbage disposal damage my sink or plumbing?},{answer:+
Yes. A violently shaking garbage disposal transfers heavy torsional stress to your sink basin. Over time, that vibration breaks the watertight seal made of plumber's putty or silicone under the sink flange, causing hidden leaks into your base cabinet. It can also loosen PVC slip joints and crack undermount sink clips.
Why does my disposal shake if there is no food inside it?},{answer:+
Disposals rely on balanced centrifugal weight. When one of the two swivel lugs locks up from a trapped bone fragment or hard scale, the rotating plate spins lopsided like an unbalanced washing machine. Freeing the stuck lug with needle-nose pliers instantly restores the smooth spin.
Does grinding ice cubes really help with disposal vibration?},{answer:+
Ice does not sharpen disposal impellers (they have blunt edges, not blades), but it does knock dried food grease and sludge off the underside of the balance plate and free up sticky swivel lugs. Running ice cubes with cold water is one of the quickest ways to fix an unbalanced grind plate.
Can I lubricate the disposal motor to stop it from shaking?},{answer:+
No. Disposals are built with permanently lubricated, sealed sleeve or ball bearings. Spraying WD-40 or silicone into the grind chamber washes away into your drain, contaminates the water, and never penetrates the sealed motor beneath. If internal bearings fail, the unit must be replaced.
How do I know if the internal motor bearings are failing?},{answer:+
If you hear heavy, rough vibration accompanied by a grinding roar even when the chamber is empty, place a wooden dowel or screwdriver handle against the disposal side and hold your ear to the other end. If you feel gritty scraping directly at the bottom motor housing, the bearings are shot. Water dripping from the bottom electrical weep hole is another dead giveaway that bearings have flooded and ruined the motor.
How tight should the three garbage disposal mounting bolts be?},{answer:+
Firmly hand-tight plus one to two full turns with a screwdriver until the rubber gasket compresses smoothly against the bottom of the sink basin. Do not crank them down with an impact driver or huge lever; over-tightening bends the upper metal flange and distorts the sink bottom, creating permanent water leaks.
Why are my PVC drain pipes shaking whenever the disposal runs?},{answer:+
Plumbing pipes that are forced into the disposal discharge elbow at an angle pull on the disposal body. This eliminates the rubber mount's ability to absorb shock and turns your rigid plastic drain line into an acoustic amplifier that shakes the entire cabinet framework. Realigning the slip nuts so the pipe enters square and loose relieves this tension.
How many years should a garbage disposal last before needing replacement?}],hero_image_alt:+
The average kitchen garbage disposal has an expected lifespan of 8 to 12 years. If your unit is in that age bracket and begins shaking violently due to internal plate wear, loose motor shafts, or bearing corrosion, buying a new replacement unit ($90 to $250) is significantly more cost-effective than attempting mechanical repairs.
Discussion
Loading comments…