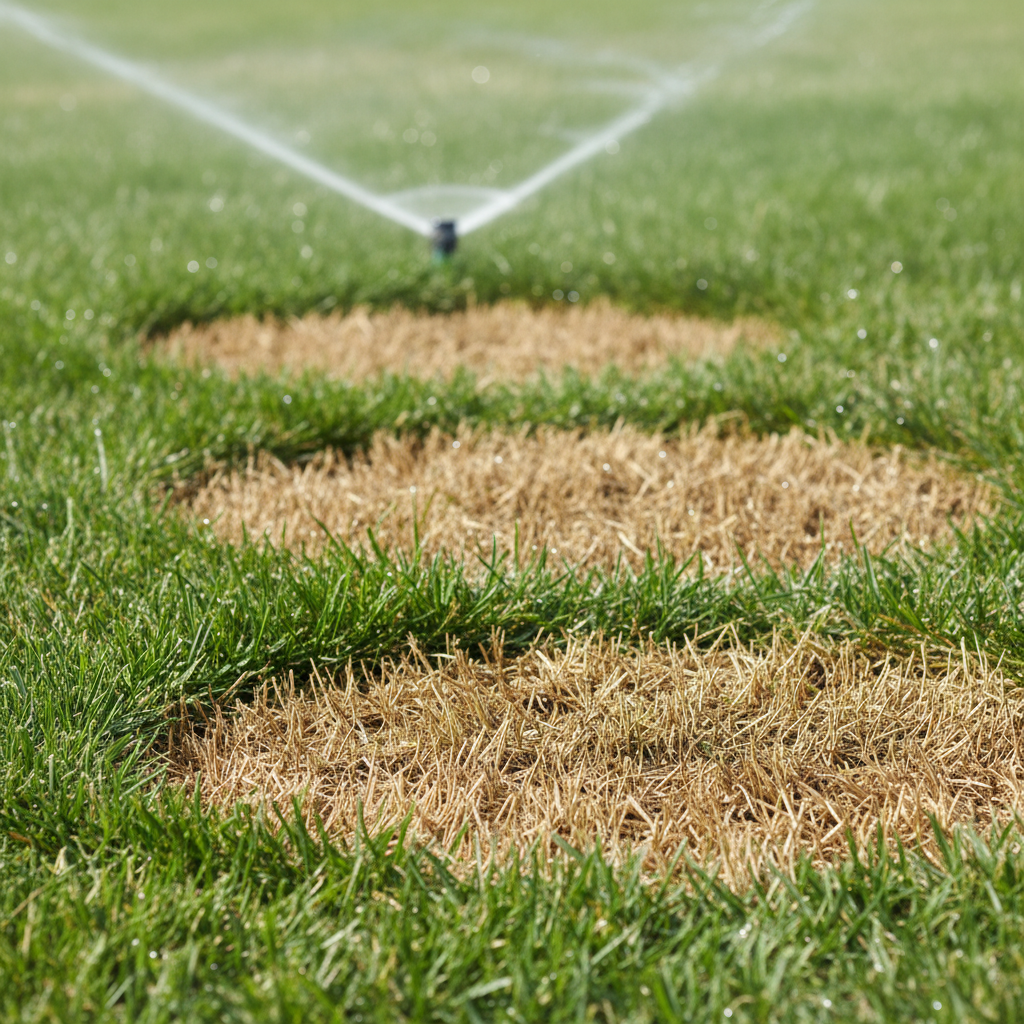
- Clogged Nozzles: The tiny orifices in sprinkler nozzles can easily become blocked by mineral deposits from hard water, dirt, or grass clippings, leading to reduced spray distance or completely blocked spray patterns.
- Misaligned or Tilted Sprinkler Heads: Over time, sprinkler heads can get bumped, run over by mowers, or shift due to soil settling, causing them to spray sidewalks, driveways, or other non-lawn areas instead of the grass.
- Incorrect Water Pressure: Too low pressure results in short, weak sprays that don't reach adequately, creating dry spots. Too high pressure can cause misting and uneven distribution, particularly on windy days.
- Damaged Sprinkler Heads: Cracked casings, broken risers, or worn-out internal components can lead to leaks, loss of pressure, and incorrect spray patterns.
- Soil Compaction/Excessive Thatch: Even with perfect irrigation, if water can't penetrate the soil due to compaction or heavy thatch layers, the grass roots won't receive the necessary moisture, leading to stress and browning.
Landscaping · Deck or fence project
| Project category | Landscaping |
|---|---|
| Problem type | Deck or fence project |
| Trade required | Landscaping |
| Urgency | Planned project |
| Safety risk | Moderate safety risk |
| DIY suitability | DIY for experienced homeowners |
| Cost category | High cost |
| Typical timeline | Most builds 3–10 days depending on size |
| Contractor type | Landscaping contractor |
Repair option
Replace failed boards, posts, and hardware; reseal the surface.
Replacement option
Rebuild when framing or the ledger connection is unsafe.
Common causes
- Rot at posts and ledger
- Storm damage
- Adding outdoor living space
Relevant tools:home improvement material pricesproject cost estimator
Published July 9, 2026Last updated August 17, 2026
Tools & materials you'll need
Affiliate linksAs an Amazon Associate FixlyGuide earns from qualifying purchases — at no extra cost to you. Prices and availability are accurate as of publication and subject to change.
Quick Answer
Brown spots showing up in your lawn after you've just watered it can be incredibly frustrating and confusing. Often, these spots aren't a sign of disease or pests, but rather an underlying problem with your sprinkler system's ability to deliver water evenly and effectively. The most common cause is uneven water distribution, leaving certain areas parched while others get enough, or even too much, water. Diagnosing the specific issue, from clogged nozzles to incorrect head height, is key to restoring a uniformly green lawn.
The Problem
Imagine you've just spent time and effort watering your lawn, only to walk outside later and notice – new brown spots! It's a common and perplexing issue for homeowners. These aren't the dry spots from drought; these are areas that appear to be dying despite receiving water, or sometimes because they're not receiving water as effectively as you think. The paradox often lies with your irrigation system. It's designed to provide life-giving moisture, but when malfunctioning, it can create the very problems it's meant to prevent. These brown patches quickly detract from your lawn's aesthetic and, if left unaddressed, can lead to permanent damage and costly re-seeding or re-sodding.
How It Works
Understanding how your sprinkler system is supposed to work helps identify why it's failing. A well-designed irrigation system aims for head-to-head coverage, meaning each sprinkler head should spray far enough to reach the adjacent heads, ensuring uniform water application across the entire lawn area. This overlap is crucial for even distribution. Sprinkler heads come in various types: pop-up spray heads deliver a consistent fan of water, while rotor heads rotate to cover larger areas with a stream. Each head has specific nozzles, designed for different arcs, distances, and precipitation rates. Filters within the system, and sometimes in the heads themselves, prevent debris from clogging these nozzles. Water pressure, regulated by a main valve and sometimes further reduced at individual zones, dictates how far and effectively water is propelled. When any part of this intricate system falters – a nozzle clogs, a head drops too low, pressure fluctuates, or a zone valve sticks – the result is uneven watering. Some areas receive a deluge, leading to runoff and wasted water, while others receive mere sprinkles, leaving the grass to suffer from dehydration, manifesting as those frustrating brown spots, especially after the heat of the day intensifies the stress on inadequately watered turf. The soil in these dry spots can become hydrophobic over time, making it even harder for future watering to penetrate effectively.
Step-by-Step Fix
1. Conduct a Water Distribution Test — The most crucial diagnostic step.
Place several tuna cans or rain gauges evenly across a suspected brown area and surrounding green areas within a single sprinkler zone. Run that zone for 15-20 minutes. After the cycle, measure the water depth in each can. Significant differences (more than 1/4 inch) indicate uneven distribution.
2. Inspect Sprinkler Heads for Clogs — Debris is a common culprit.
With the system off, carefully unscrew and remove the nozzle from any suspicious sprinkler head. Check for visible dirt, grass clippings, or mineral deposits blocking the tiny openings. Use a small brush or a thin piece of wire (like a paperclip) to gently clear any obstructions. Reinstall the nozzle, ensuring it's tightened securely but not overtightened.
3. Check for Misaligned or Tilted Heads — Proper aim is vital.
Turn on the zone and observe each sprinkler head's spray pattern. Is it hitting the intended lawn area, or is it watering the driveway, sidewalk, or house foundation? If a head is tilted, gently try to straighten it. If it's a pop-up head, its riser may be bent or broken, requiring replacement. Adjust the spray arc and distance using the adjustment screw on the top of the head (refer to your sprinkler head's manual for specific instructions).
4. Adjust Sprinkler Head Height — Low heads can be ineffective.
If a sprinkler head is too low and the grass growth interferes with its spray pattern, you'll need to raise it. Dig carefully around the head, exposing the flexible swing pipe or rigid riser. Unscrew the head and add an extender or a taller riser nipple. Ensure the top of the pop-up head is flush with the soil surface when retracted.
5. Replace Damaged or Leaking Heads — Cracks cause pressure loss.
Inspect heads for cracks, chips, or visible leaks around the base or top. Even a small crack can significantly reduce pressure and spray distance, creating dry spots. To replace a head, dig around it, unscrew the old head from the riser, and screw on a new one of the same type and brand to ensure compatibility and consistent performance.
6. Verify Proper Nozzle Type and Arc Settings — Match the right spray to the area.
Ensure you're using the correct nozzle type for the area. For corners, use 90-degree nozzles; for edges, 180-degree; and for wider areas, 360-degree. Many nozzles are adjustable, allowing you to fine-tune the arc. Adjust these settings carefully while the system is running to ensure complete coverage without overspray.
7. Check Water Pressure (If Multiple Zones Affected) — System-wide issue?
If brown spots are widespread across multiple zones, you might have a system-wide pressure issue. You can buy a basic pressure gauge that screws onto a spigot. Ideal irrigation pressure is typically between 30-50 PSI. If your pressure is consistently too low, it could be a main shut-off valve partly closed, a problem with your pressure regulator (if you have one), or even an issue with your main water supply. Consult a professional plumber or irrigation specialist if you suspect a main line or regulator problem.
8. Consider Soil Compaction or Thatch — Beyond just water distribution.
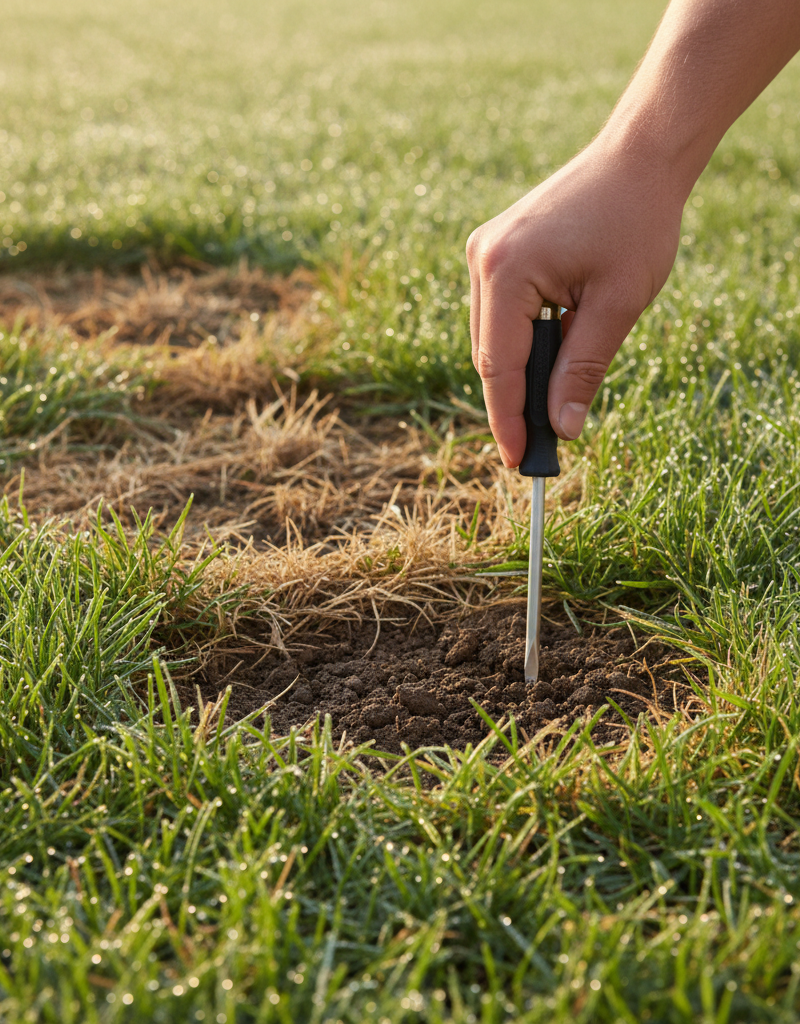
If water penetration seems poor even with good distribution, soil compaction or excessive thatch (more than 1/2 inch thick) could be the issue. Compacted soil prevents water from soaking in, leading to runoff. Thatch creates a fibrous barrier. Aerating your lawn (renting a core aerator or hiring a service) can alleviate compaction, and dethatching can remove excessive thatch, allowing water to reach the soil and roots effectively.
Common Causes
- Clogged Nozzles: The tiny orifices in sprinkler nozzles can easily become blocked by mineral deposits from hard water, dirt, or grass clippings, leading to reduced spray distance or completely blocked spray patterns.
- Misaligned or Tilted Sprinkler Heads: Over time, sprinkler heads can get bumped, run over by mowers, or shift due to soil settling, causing them to spray sidewalks, driveways, or other non-lawn areas instead of the grass.
- Incorrect Water Pressure: Too low pressure results in short, weak sprays that don't reach adequately, creating dry spots. Too high pressure can cause misting and uneven distribution, particularly on windy days.
- Damaged Sprinkler Heads: Cracked casings, broken risers, or worn-out internal components can lead to leaks, loss of pressure, and incorrect spray patterns.
- Improper Nozzle Selection or Adjustment: Using the wrong nozzle type for a specific area (e.g., a full circle nozzle in a corner) or incorrect arc/distance settings can lead to significant overwatering in some areas and underwatering in others.
- Soil Compaction/Excessive Thatch: Even with perfect irrigation, if water can't penetrate the soil due to compaction or heavy thatch layers, the grass roots won't receive the necessary moisture, leading to stress and browning.
Common Mistakes
- Ignoring the problem: Thinking brown spots are just 'dry' and simply watering more. This often overwaters some areas while still leaving the problem areas undersupplied, potentially leading to fungal issues.
- Assuming it's a disease: Jumping to conclusions about lawn diseases or pests without first checking the most common cause – irrigation system issues. Many homeowners apply costly fungicides unnecessarily.
- Not checking all heads: Only inspecting the heads directly adjacent to the brown spot. The problem could be with a head further away that's failing to provide coverage to that specific area.
- Over-adjusting blindly: Twisting adjustment screws without understanding what they do or using the
Related Articles
Keep troubleshooting with these hand-picked guides from FixlyGuide:
- The #1 Mistake That Leaves Brown Spots After Watering (It's Not Overwatering) — Uncover the surprising truth behind brown spots appearing in your lawn immediately after watering, and learn how to fix this common issue.
- The #1 Mistake Turning Your Healthy Lawn Brown After Watering — Discover the hidden culprit behind brown spots appearing in your lawn immediately after watering and learn how to correct this common mista…
- The #1 Reason Your Sprinkler Head Stays Down (and the 10-Minute Fix) — Before you dig, learn the most common culprit behind a stuck sprinkler head and how to get your irrigation system flowing again in minutes.
- The 3 Hidden Reasons Your Sprinkler Head Won't Pop Up (And How to Fix It FAST) — Discover the most common reasons your sprinkler head isn't popping up and follow our step-by-step guide to quickly diagnose and fix the iss…
- The #1 Mistake Turning Your Healthy Lawn Brown After Watering — Discover the most common, overlooked reason your lawn develops brown spots right after you water it, and how to fix it with simple steps.
- The Surprising Culprit Behind Your Wobbling Ceiling Fan (It's Not Always Loose Screws) — A wobbling ceiling fan is annoying and potentially dangerous. Learn how to diagnose and fix the most common causes, from imbalanced blades…
What should this project cost?
Enter your project details for a realistic cost range before you call anyone.
Cost depends heavily on which system turns out to be the source.
- Regional adjustment
- National average
- Labor share (typical)
- ~$1,620
- Quotes to collect
- 3 written estimates
Educational estimate based on national averages — not a binding quote. Always confirm with written local estimates.
Frequently asked questions
How do I know if my brown spots are from my sprinkler system or something else?+
The easiest way is to perform a tuna can or rain gauge test. Place cans around the brown spot and in green areas, run your sprinklers for 15-20 minutes, then measure the water collected. If the brown areas consistently collect significantly less water, your sprinkler system is likely the culprit. Also, observe if the brown spots follow a pattern related to sprinkler head placement.
Can low water pressure cause brown spots?+
Yes, absolutely. Low water pressure means your sprinkler heads can't distribute water to their intended range, leading to short sprays and dry, brown patches at the edges of their coverage. This often results in a 'doughnut' pattern of green grass around the head and brown areas between heads.
How often should I check my sprinkler heads for problems?+
It's a good practice to visually inspect your sprinkler system at the beginning of each watering season and then once a month during active use. Look for tilted heads, obvious leaks, or spray patterns hitting unintended areas. Conduct a full water distribution test annually.
What tools do I need to fix most sprinkler issues?+
For most common issues like clogs, minor adjustments, or head replacement, you'll typically need a flathead screwdriver (or a specific sprinkler head adjustment tool), a small utility brush or paperclip for cleaning nozzles, and a sturdy trowel or small shovel for digging if you need to raise or replace a head. A tuna can test only requires a few empty cans and a ruler.
When should I call a professional for sprinkler brown spots?+
If you've checked for common issues like clogs and misalignments and are still experiencing widespread uneven watering, or if you suspect a problem with main line pressure, zone valves, or underground leaks that are beyond your comfort level or diagnostic ability, it's time to call a licensed irrigation specialist. They have advanced tools to diagnose and repair complex system issues without damaging your lawn.

Discussion
Loading comments…