- Honeywell: Often involves pressing and holding two buttons (like the fan and up arrow) for 5-10 seconds.
- Nest: Navigate to Settings Equipment Continue Temp Correction.
- Ecobee: Go to Main Menu Settings Installation Settings Thresholds Temperature Correction.
- If you're unsure, Google your thermostat model number + "installer manual" or "advanced settings."
HVAC · High energy usage
| Project category | HVAC |
|---|---|
| Problem type | High energy usage |
| Trade required | HVAC |
| Urgency | Planned project |
| Safety risk | Low safety risk |
| DIY suitability | DIY for experienced homeowners |
| Cost category | High cost |
| Typical timeline | Assessment within weeks; replacement planned off-season |
| Contractor type | Licensed HVAC technician |
Repair option
Duct sealing, insulation, and a tune-up before touching the equipment.
Replacement option
High-efficiency replacement sized by a load calculation, not a rule of thumb.
Common causes
- Aging, low-efficiency equipment
- Leaking ducts losing conditioned air
- Insufficient attic insulation
- Oversized system short-cycling
Relevant tools:project cost estimatorrepair or replace
Published September 30, 2026Last updated September 30, 2026
Tools & materials you'll need
Affiliate linksAs an Amazon Associate FixlyGuide earns from qualifying purchases — at no extra cost to you. Prices and availability are accurate as of publication and subject to change.
Quick Answer
If your thermostat's reading is off, it's usually one of three things: bad placement, dust on the sensor, or air leaks around the box. Start simple. Crack it open, blow it out with compressed air, and make sure it isn't sitting in direct sun or right beside a heat source. If that doesn't fix it, dig into the offset settings in the advanced menu and recalibrate it.
The Problem
You set the thermostat to 72°F, but you're still sweating like it's July in a tin shed. Or you bump it to 75°F in the winter, and the place still feels chilly. The number on the screen doesn't match what's happening in the room. That's a common one. The thermostat is working — it just isn't accurate. In plain English, it's lying to you, and that can make your house miserable while your energy bill climbs.
A thermostat that reads wrong can keep your HVAC system running too long or shut it down too soon, which means the temperature swings all over the place. It thinks the house is hotter or colder than it really is, so you're paying for comfort you aren't getting. Before you toss the thing in the trash, there are a handful of fixes you can try yourself.
How It Works
Your thermostat is the brain of your HVAC system. Its job is simple: read the air temperature and tell your furnace or AC when to fire up and when to shut off. Inside that little box is a sensor, usually a thermistor. That's just a resistor that changes with temperature. As the air gets warmer, the resistance drops. As it cools off, the resistance rises.
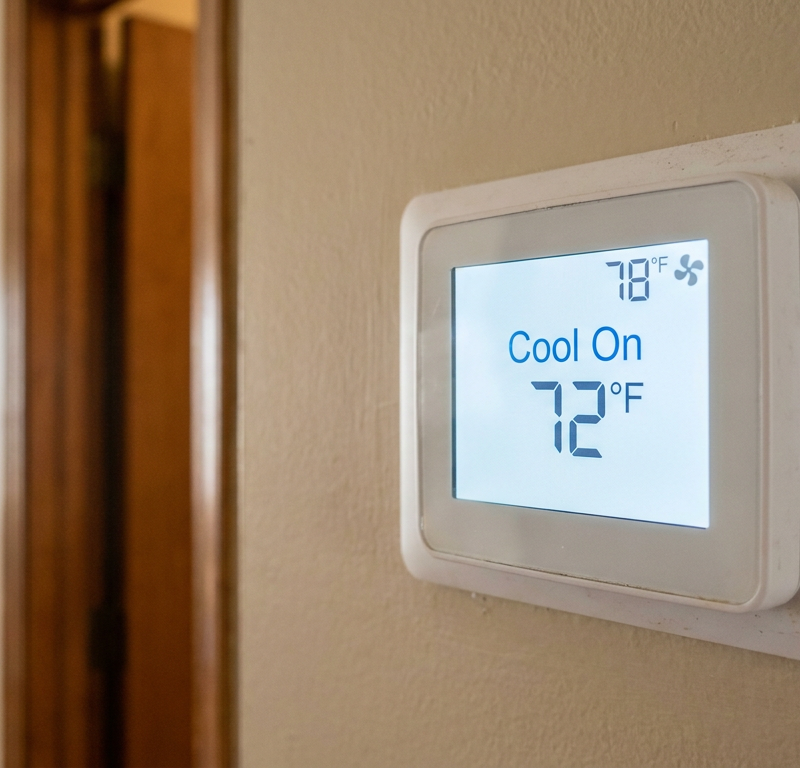
The circuit board inside the thermostat keeps checking that resistance. It turns that signal into the temperature you see on the display — say, 74°F. Then it compares that reading to your setpoint, meaning the temp you actually want. If you've got it set to "Cool" at 72°F and the sensor says 74°F, the thermostat closes a low-voltage circuit and tells the AC to kick on. It keeps going until the sensor says the room's cooled down to 72°F, then it opens the circuit and shuts the system off. Heating works the same way, just flipped around. Pretty basic feedback loop. But if that first reading is wrong, the whole thing goes sideways.
Step-by-Step Fix
Here’s how I'd track down a thermostat that's feeding you bad numbers.
-
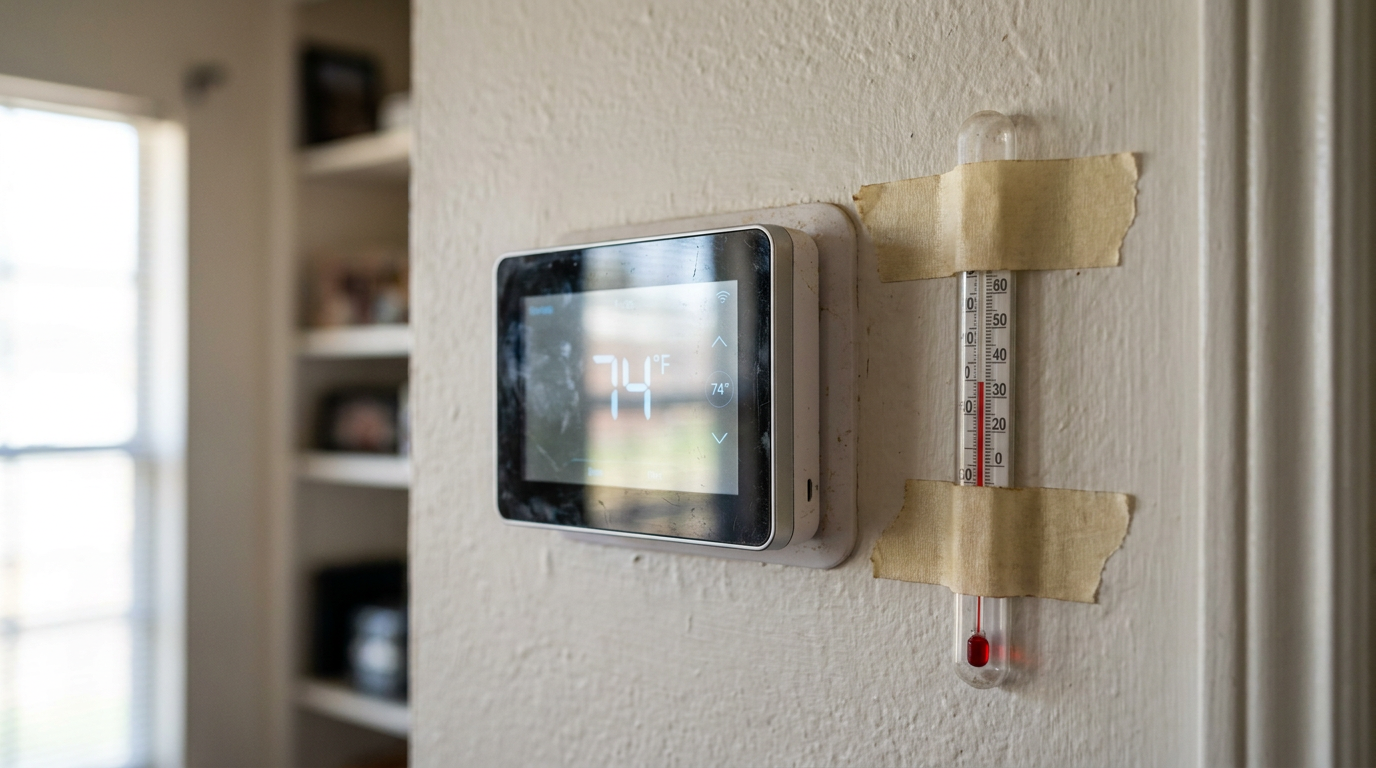
Confirm the Inaccuracy. — First things first, make sure it's actually off. Tape a reliable, simple thermometer — a glass bulb one or even a kitchen thermometer will do — to the wall an inch or two away from the thermostat. Let it sit for 20 minutes so it settles out. If the reading is off by more than 2-3°F, you've got a real problem.
-
Clean the Thermostat. — Dust is sneaky. It'll coat the internal thermistor and basically insulate it from the room air. Pop the faceplate off — most of them pull straight off, or there's a little tab at the bottom — and use compressed air to blow out the dust from the board and sensor parts. Don't hit it with a vacuum. Static can fry the electronics, and then you're shopping for a new one.
-
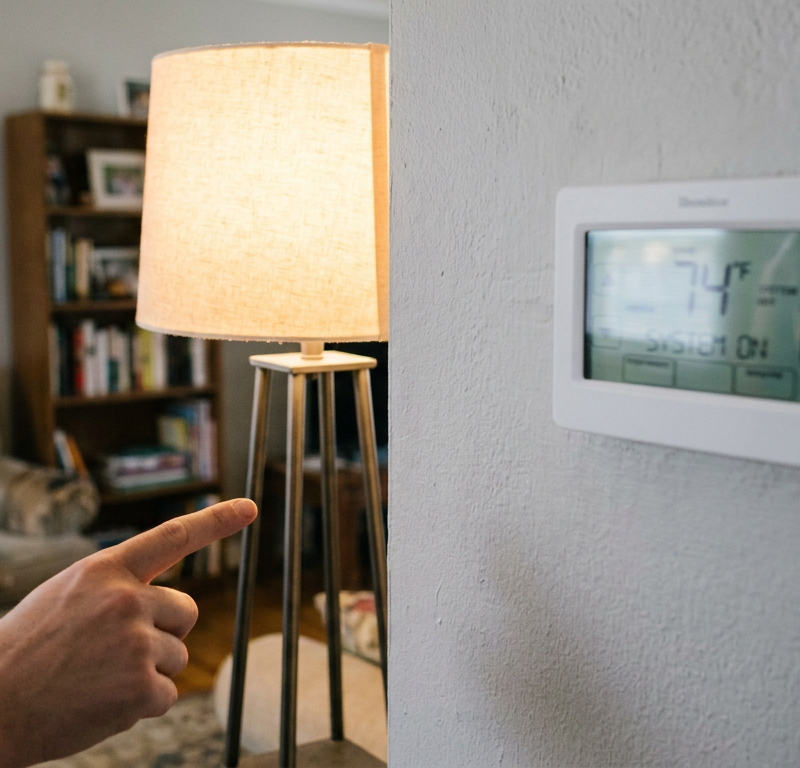
Check the Location. — Is it in a lousy spot? If afternoon sun blasts it, it'll think the house is hotter than it is and keep the AC running. Same thing if it's sitting next to a lamp, TV, or kitchen appliance that throws heat. On the flip side, an exterior wall or a drafty window can make it read too cold. Moving a thermostat isn't always a quick job, but you can often reduce the problem — close the blinds, move the lamp, that kind of thing.
-
Seal Air Gaps. — Drafts behind the thermostat can make a mess of the reading. The hole in the drywall where the wires come through can let cold air from inside the wall cavity blow right onto the sensor. I ran into that in a Frisco hallway last month — customer swore the stat was bad, and it turned out the wall cavity was feeding it a cold breeze every time the AC kicked on. Shut off HVAC power at the breaker, pull the base off the wall, and plug that hole with a small amount of non-expanding foam insulation or plumber's putty. Now it's reading the room air, not the air inside the wall.
-
Level It. — This mostly matters on older, non-digital thermostats with a mercury switch. If that tiny glass vial isn't level, it won't make contact at the right time and the calibration gets thrown off. Set a small torpedo level on top and adjust until the bubble sits dead center.
-
Find the Temperature Offset Setting. — A lot of digital thermostats have a calibration feature called a "temperature offset" or "temperature correction." That lets you nudge the reading up or down by a few degrees. You'll have to get into the installer or advanced settings menu. The path changes a lot by brand:
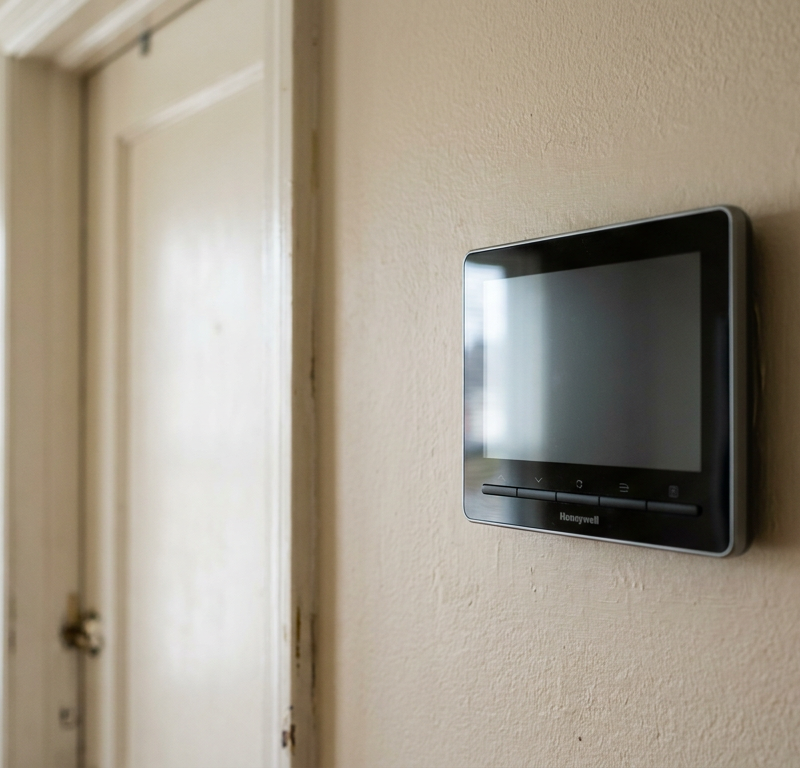
- Honeywell: Often involves pressing and holding two buttons (like the fan and up arrow) for 5-10 seconds.
- Nest: Navigate to Settings > Equipment > Continue > Temp Correction.
- Ecobee: Go to Main Menu > Settings > Installation Settings > Thresholds > Temperature Correction.
- If you're unsure, Google your thermostat model number + "installer manual" or "advanced settings."
-
Recalibrate the Reading. — Once you're in there, find the offset setting. Use what you found in Step 1. Say the thermostat reads 78°F but the room is really 75°F — you'd need a -3°F offset. Save it and back out. Give it 30 minutes to an hour, then check it again. Don't rush it.
-
Consider a Remote Sensor. — If the thermostat is stuck in a bad spot — like a hallway that's always hotter than the bedrooms — a remote sensor might be the clean fix. Brands like Ecobee and Nest offer them. You can put a sensor in the room you actually care about, like the bedroom, and tell the system to prioritize that reading. That sidesteps the location problem completely.
Common Causes
- Direct Sunlight: The sun bakes the thermostat housing, heats it up to 85°F, and suddenly the whole house looks like a sauna to it.
- Drafts: Cold air from a leaky window, a nearby vent, or the wall cavity itself can fool the sensor into reading low.
- Heat Sources: Lamps, electronics, and kitchen appliances all throw off heat that can skew the reading.
- Dirty Sensor: Dust on the internal thermistor acts like insulation and slows down what it's sensing.
- Unlevel Installation: Big deal on older mercury-switch models, not so much on modern digital ones.
- Bad Wall Placement: An uninsulated exterior wall can make the thermostat read colder than the rest of the house in winter.
Common Mistakes
- Guessing the Temperature: Don't go by feel. Put a trusted thermometer right next to the thermostat and get an actual reading before you change anything.
- Using a Vacuum: Never stick a vacuum nozzle inside a thermostat. Static discharge can trash the circuit board. Compressed air is the way to go.
- Over-correcting the Offset: Don't throw a -5°F offset at it just because the house feels warm. Make small changes based on your thermometer test. Too much correction just creates a new problem.
- Ignoring the Hole in the Wall: Folks swap a thermostat and leave the wire hole open all the time. That's a prime source of drafts and bad readings. Plug it.
- Setting the Offset to Zero Without Thinking: If you reset the thermostat, the offset often goes back to 0. If somebody had set it to compensate for a bad location, you've just undone the fix. Check it.
Cost & Time Breakdown
Here's a look at what you can expect to spend in time and money to fix an inaccurate thermostat.
| Task | DIY Cost | Pro Cost | Time |
|---|---|---|---|
| Cleaning the Sensor | $5 (can of air) | $90–$150 (as part of a tune-up) | 10 minutes |
| Sealing Air Gaps | $5 (plumber's putty) | $90–$150 (as part of a tune-up) | 20 minutes |
| Recalibrating Offset | $0 | $90–$120 (service call) | 15 minutes |
| Replacing Thermostat | $25–$300 (for new unit) | $150–$500+ (installed) | 1 hour |
| Adding a Remote Sensor | $40–$100 (per sensor) | N/A (usually a DIY add-on) | 10 minutes |
Tips & Prevention
- Annual Cleaning: Make it a habit. Once a year, when you change your HVAC filter, pop the cover off and give the thermostat a quick shot of compressed air.
- Check Your Manual: If you're installing a new thermostat, read the manual first. Pay attention to placement and calibration so you don't build in a problem from day one.
- Mind the Decor: Don't hang pictures or cram tall furniture right next to it. Give the thermostat at least 8-10 inches of open space on all sides so air can move around it.
- Watch for Warning Signs: If your energy bill starts creeping up or the system seems to run all the time, a bad thermostat could be the quiet culprit. Don't shrug it off.
- Consider Sun and Seasons: A spot that works great in winter can get hammered by summer sun. You may need to close blinds or make a small adjustment as the seasons change.
When to Call a Professional
If you've cleaned the unit, sealed the drafts, and set the temperature offset correctly but the reading's still off by more than 5°F, the sensor itself may be failing. At that point, it's time to replace the thermostat. Plenty of homeowners can handle that, sure, but if you're not comfortable working with low-voltage wiring, if the wires are old and brittle, or if you're stepping up to a complicated smart thermostat and aren't sure about the C-wire, call an HVAC tech. They'll wire it up right and make sure it matches your furnace or air handler, which keeps you from causing bigger headaches down the line.
Related Articles
Keep troubleshooting with these hand-picked guides from FixlyGuide:
- The Hidden Reason Your AC Freezes — And Why Most Homeowners Get It Wrong — Discover the surprising truth behind why your outdoor AC unit is freezing and learn the most common mistake homeowners make when trying to…
- The Secret Reason Your Furnace Turns On and Off So Much (It's Not What You Think) — Short cycling strains your furnace and wastes energy. Learn the most common surprising causes and how to fix them to restore efficient heat…
- The #1 Reason Your Microwave Runs But Doesn't Heat (It's Not What You Think) — Uncover the most common, often overlooked, reason your microwave runs but fails to heat food, and learn how to fix it safely.
- The #1 Mistake Homeowners Make When Their Heat Pump Stops Heating in Winter — Discover the most common reason your heat pump struggles in cold weather and how a simple homeowner fix can restore warmth to your home.
- The #1 Reason Your AC Won't Turn On (And It's Not the Thermostat) — Discover the most common, overlooked reason your AC won't power on and how a simple reset can get your cool air flowing again.
- The #1 Summer Lawn Mistake Turning Your Grass Yellow (and How to Fix It) — Discover the most common summer mistake that causes lawns to turn yellow and learn how to correct it for a greener, healthier yard.
Should you do this yourself?
Answer five quick questions before you start. Safety outranks savings every time.
Your experience with work like this
How high do you have to work?
Does the job involve any of these?
Will it need a permit?
Specialty tools
Free and instant. Educational guidance only — not a quote, inspection, or professional diagnosis.
What should this project cost?
Enter your project details for a realistic cost range before you call anyone.
Service calls and common repairs run $150–$900; full system replacement typically $6,000–$12,000.
- Regional adjustment
- National average
- Labor share (typical)
- ~$1,935
- Quotes to collect
- 3 written estimates
Educational estimate based on national averages — not a binding quote. Always confirm with written local estimates.
Fixly Project Decision Box
- DIY difficulty
- Advanced
- Estimated time
- Homeowner checks 20–30 minutes
- Cost level
- Moderate
Main tools / materials
- Clean air filter
- Garden hose for condenser coils
- Shop vac for the condensate line
When to stop and call a pro
- Burning smell, smoke, or a tripping breaker
- Refrigerant lines iced over or hissing
- Any work inside the sealed refrigerant circuit (EPA-licensed only)
- Gas smell near a furnace — leave and call the utility
Need professional help?
Find an HVAC Pro Near YouBefore you start
Check the difficulty, permits, and safety risk — then decide whether to call a pro.
- Estimate this projectGet a cost range for your scope and ZIP before you call anyone.Open
- Get local estimatesSend one request and compare written estimates from vetted pros.Open
Free, no signup required. Estimates are educational guidance, not a quote or an inspection.
Get the print-ready PDF of this guide
A clean, ad-free, printable version you can keep on your phone or pin to the workshop wall. Free with a FixlyGuide account.
- Print-optimized layout
- Tools, materials & every step included
- Saved to your account
Frequently asked questions
How much of a temperature difference is normal for a thermostat?+
A difference of 1 to 2°F between the thermostat's reading and a separate thermometer is generally acceptable. Once you see a consistent difference of 3°F or more, it's time to investigate and recalibrate.
Can a bad thermostat cause a high electric bill?+
Absolutely. If your thermostat incorrectly thinks the room is warmer than it is, it will run the AC longer than necessary. The opposite is true for heating. This wasted runtime is a common cause of unexpectedly high energy bills.
Why does my thermostat read a higher temperature at night?+
This could be due to heat from electronics like TVs that are on in the evening. It can also happen if the thermostat is near a lamp that's turned on after dark, artificially warming the sensor.
Is it better to repair or replace an inaccurate thermostat?+
Thermostats aren't typically repaired. If cleaning and recalibration don't solve the problem, the internal sensor is likely faulty, and the entire unit should be replaced. Thankfully, new thermostats are relatively inexpensive.
How do I know if my thermostat sensor is bad?+
The clearest sign is a large, persistent temperature discrepancy (5°F or more) that doesn't resolve after cleaning, sealing drafts, and attempting to recalibrate via the offset setting. At that point, you can assume the sensor itself has failed.
Does the placement of the thermostat really matter that much?+
Yes, it's one of the most critical factors for accuracy. Placing it in direct sun, on an uninsulated wall, or near a drafty door is a guaranteed way to get false readings and an uncomfortable home.
What is a temperature 'swing' or 'differential' setting?+
This is an advanced setting that controls how far the temperature must drop below (for heat) or rise above (for cool) your setpoint before the system turns on. A tight swing of 0.5°F means more frequent cycles, while a wider swing of 2°F means longer but fewer cycles.
Could a wiring problem cause an incorrect temperature reading?+
Generally, no. Thermostat wiring issues typically cause a total failure—like the screen going blank or the system not turning on at all. An incorrect temperature reading is almost always related to the sensor, its location, or its calibration.
Discussion
Loading comments…