
- Check the Breaker — The First Stop
- Verify Cooktop Specifications — Know Your Needs
- Confirm Circuit Breaker Rating — Matching Power
- Inspect Wiring at Terminal Block — Secure Connections
- Check Wire Gauge — Is it Thick Enough?
General remodeling · Renovation planning
| Project category | General remodeling |
|---|---|
| Problem type | Renovation planning |
| Trade required | General contracting |
| Urgency | Planned project |
| Safety risk | Low safety risk |
| DIY suitability | Pro recommended |
| Cost category | Major investment |
| Typical timeline | Design and permitting often 2–4 months before work starts |
| Contractor type | General contractor |
Repair option
Phase the work and fix the building envelope first.
Replacement option
Full renovation with permits, design, and a general contractor.
Common causes
- Space no longer fits how the household lives
- Resale preparation
- Deferred maintenance stacking up
Relevant tools:project cost estimatorcompare quoteshome improvement material prices
Published September 22, 2026Last updated September 22, 2026
Tools & materials you'll need
Affiliate links- AmazonVoltage Tester or MultimeterCapable of reading 240V AC
- AmazonScrewdriver SetPhillips and flathead for terminal screws
- AmazonCooktop Owner's ManualFor specifications and wiring diagrams
- AmazonWork GlovesFor handling the cooktop and safety
- AmazonFlashlight or HeadlampFor dark cabinet spaces
- AmazonWire StrippersIf you need to re-terminate a wire
- AmazonPliersFor bending or tightening wires
- AmazonElectrical TapeOptional, for securing connections
As an Amazon Associate FixlyGuide earns from qualifying purchases — at no extra cost to you. Prices and availability are accurate as of publication and subject to change.
Quick Answer
Your brand-new induction cooktop, all shiny and high-tech, just sitting there dark after installation? Don’t panic yet. Nine times out of ten, it ain’t a bad unit — it’s an electrical snag. Usually it’s a tripped breaker, a loose wire, or, most often, the wrong kind of circuit feeding the thing. Check the breaker panel first, then work your way to the connections. It’s usually a pretty simple fix, but it’s still 240V, so you’ve got to respect it.
The Problem
You just spent good money on a sleek induction cooktop, got it installed, and now... nothing. No lights, no heat, just a quiet expensive slab of glass. That’ll make anybody mutter under their breath. You probably checked the plug already, if it’s a plug-in model, or you looked over the wiring, but it’s still dead. What’s going on? This isn’t like an old gas range where you can just light it and call it a day. Induction needs the electrical setup to be right. If that setup’s off even a little, the cooktop won’t power up, and a lot of them shut themselves down on purpose so they don’t get damaged.
How It Works
Alright, here’s the short version of how these things work, because once you get that, the wiring starts making a lot more sense. An induction cooktop doesn’t use old-school heating elements like a coil burner or a radiant glass-top. It uses electromagnetic fields to heat your cookware directly. Under that slick glass top are copper coils — folks call them inductors — and when electricity runs through them, they create a fast-changing magnetic field. Put a magnetic pot or pan on the burner, and that field induces eddy currents in the bottom of the pan. Those currents make heat inside the pot itself, not on the cooktop surface.
That setup is efficient. Real efficient. But it also wants a solid power supply. We’re talking 240 volts (V) of alternating current (AC), not your usual 120V wall outlet. Depending on the model and how many burners it’s got, these units can pull a serious load — anywhere from 30 to 50 amps (A). For comparison, your fridge usually runs on a 15A or 20A circuit. So yeah, this thing needs a dedicated circuit run straight from the panel, with the right wire size — usually 8-gauge or 6-gauge copper — and a matching double-pole breaker. If any piece of that chain is off, the breaker, the wire gauge, the connection, whatever, the cooktop won’t get enough juice to even wake up its electronics, much less make that magnetic field do its job.
Step-by-Step Fix
Before you touch anything, turn off the power at your main electrical panel. I’m serious. This is 240V. Not a place for cowboy moves. Safety first, every single time.
- Check the Breaker — The First Stop
- Go to your panel and find the breaker labeled for the cooktop. It’ll be a double-pole breaker, meaning two switches tied together and taking up two slots. If it’s tripped, it’s often sitting in the OFF or middle position. Flip it all the way OFF, then back ON with some force. Sometimes it looks on but isn’t really reset. This is the easiest fix, and I’ve seen it a pile of times.
- Verify Cooktop Specifications — Know Your Needs
- Grab the owner’s manual or look at the data plate on the cooktop itself, usually on the underside or behind a panel. Find the voltage (V) and amperage (A) requirements. Most induction cooktops want 240V and usually 30A, 40A, or even 50A. Write those down. That’s your target.
- Confirm Circuit Breaker Rating — Matching Power
- Back at the panel, check the breaker for the cooktop. Does the amperage rating — like “30,” “40,” or “50” — match or exceed what the cooktop needs? If the breaker’s too small, it’ll trip all the time, or the cooktop may not even try to start. If it’s mismatched, there’s your trouble. You’ll need a new breaker put in by a pro.
- Inspect Wiring at Terminal Block — Secure Connections
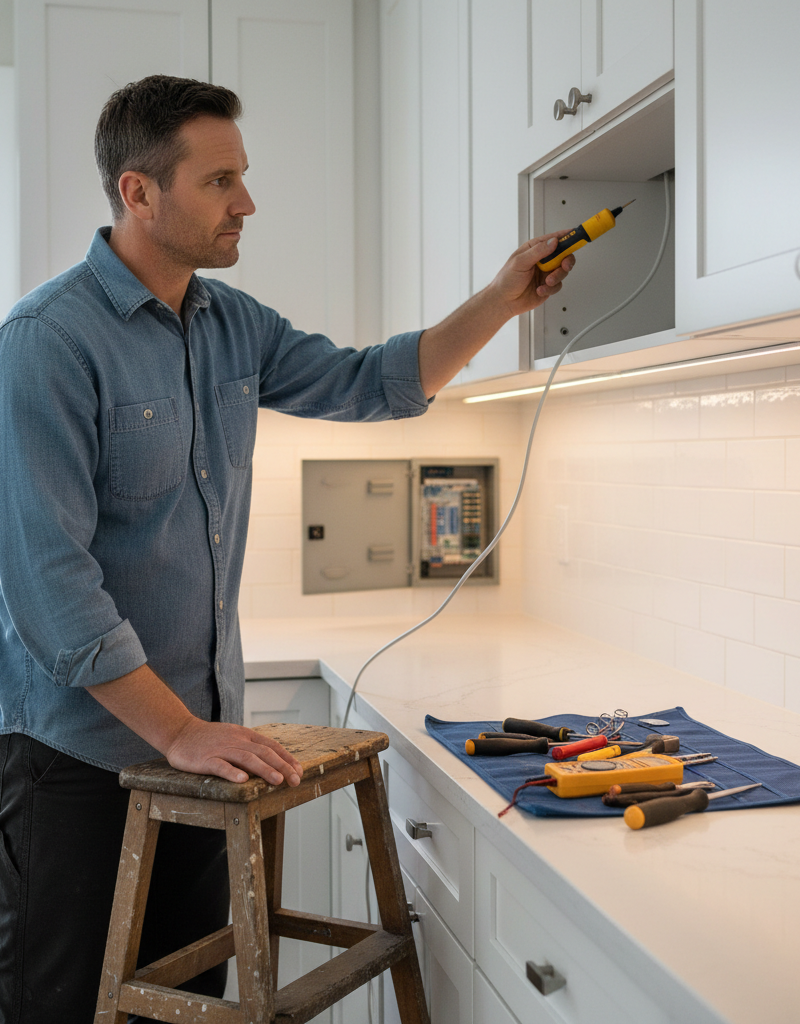
- With the power still off, carefully pull the cooktop out of the cabinet opening. Find the access panel on the underside or back where the power wires land. Take the cover off. You should see three or four wires hooked to a terminal block: two hot wires, usually black and red, a neutral, white if it applies, and a ground, bare copper or green. Make sure every connection is tight. Use a screwdriver and snug them down, not gorilla-tight, just firm. I pulled a water heater in Frisco last month that had exactly this kind of issue — brand-new install, dead as a doornail. One hot wire was hanging on by a thread. Tightened it up, and the thing came alive. Loose connections are way more common than folks think.
- Check Wire Gauge — Is it Thick Enough?
- This is where it can get a little more technical. The thickness, or gauge, of the wires from the panel to the cooktop matters. Thinner wires — higher gauge number, like 12-gauge or 14-gauge — can’t handle the current an induction cooktop draws, and they’ll heat up, which is a fire risk. For a 30A circuit, you typically need 10-gauge wire. For 40A, 8-gauge. For 50A, 6-gauge. If you spot wire that looks too skinny — say 10-gauge on a 50A breaker — STOP. That thing’s toast as-is. Call a licensed electrician right away. Do NOT use the cooktop.
- Verify Voltage at Terminal Block — Live Test (Careful!)
- WARNING: Only do this if you’re comfortable working around live electricity and you’ve got a multimeter. If not, skip straight to a pro. With the cooktop pulled out and the access panel open, turn the breaker back ON. Using your multimeter set to AC Volts (range >250V), carefully touch the probes to the two hot terminals (black and red wires). You should see around 240V. Then test between one hot terminal and the neutral (white, if present), and between one hot and ground. You should see around 120V on each. If you don’t get 240V between the hot terminals, the issue’s upstream in the wiring or panel.
- Inspect Cooktop's Internal Wiring — For the Advanced DIYer
- Some cooktops have internal fuses or thermal cutoffs. That’s not common on a brand-new unit that won’t power on at all, but it can happen. If all the outside power checks out and you’re still getting nothing, check the manual for any diagnostic steps or internal parts you can safely look at. Still, with a new unit, this usually ends up being a warranty issue once you know the supply power is good.
Common Causes
- Tripped Circuit Breaker: The usual suspect. Induction cooktops pull a lot of power, especially on startup or if there’s a little surge.
- Incorrect Breaker Amperage: The breaker may be too small for the cooktop’s demand, so it trips over and over or won’t let it start.
- Loose Electrical Connections: Wires at the terminal block, either in the cooktop or at the junction box or panel, can work loose over time or if they weren’t torqued right during install.
- Inadequate Wire Gauge: The cable running to the cooktop might be too thin for the load, which means overheating and breaker trips.
- No Dedicated Circuit: The cooktop may be sharing a line with other hungry appliances, and that’s just asking for overload.
- Faulty Cooktop: Not as common on a brand-new unit, but a factory defect or shipping damage can keep it from turning on.
Common Mistakes
- Ignoring Breaker Trips: Just resetting a breaker that keeps tripping without finding out why. That’s a red flag, plain and simple.
- Using the Wrong Breaker: Putting a 30A cooktop on a 20A circuit, or the other way around, and hoping it’ll be “close enough.” It won’t.
- Leaving Loose Connections: Not tightening terminal screws at the cooktop and junction box. Those can shake loose and cause flickering power or arcing.
- Guessing Wire Gauge: Assuming the existing wiring is fine. Check the wire size against the cooktop and breaker every time.
- Not Shutting Off Power: Trying to troubleshoot or tighten anything without killing power at the main panel. That’s dangerous. Real dangerous.
- Not Reading the Manual: Skipping the installation instructions. They’ve got the wiring diagram and power requirements for that model, not some generic version.
Cost & Time Breakdown
| Task | DIY Cost | Pro Cost | Time |
|---|---|---|---|
| Breaker Reset | $0 | $0 (if part of service call) | 1-2 minutes |
| Tighten Loose Connections | $0 | $100-$200 (service call) | 10-20 minutes |
| Replace Cooktop Breaker | $15-$30 | $150-$300 | 30-60 minutes |
| Install New Dedicated Circuit | $100-$200 (materials) | $500-$1000+ | 4-8 hours |
| Cooktop Replacement | $0 (warranty) / $500-$3000+ | $100-$300 (labor) | 1-2 hours |
Tips & Prevention
- Pre-Installation Check: Before you buy, make sure your panel has enough capacity and open slots for a 240V dedicated circuit at the right amperage. Don’t assume it’s ready.
- Professional Installation: For new circuits or messy wiring situations, hire a licensed electrician. It’s not just about making it work — it’s about staying safe and staying code-compliant.
- Inspect Wiring Annually: If you’re comfortable doing it, check the terminal block connections now and then for tightness, especially after the first few months.
- Use Correct Cookware: This one won’t cause a no-power issue, but wrong cookware can make you think the cooktop’s busted when it’s really just not sensing the pan.
- Keep Manual Handy: Stash the owner’s manual and install guide somewhere you can find them. They’ve got model-specific troubleshooting steps.
When to Call a Professional
Look, I’ve been at this a long time, and I’ve watched homeowners get themselves in a bind trying to save a few bucks on electrical work. If you’ve checked the breaker and tightened the reachable connections, and the cooktop still won’t turn on, it’s time to bring in a licensed electrician. Any problem with incorrect wire gauges, replacing or upgrading a breaker, or running a dedicated circuit for the cooktop has to be handled by a pro. Don’t go poking around in 240V wiring unless you’re absolutely sure what you’re doing. It’s not worth the risk of fire, shock, or wrecking an expensive appliance. A good electrician will find the exact fault, make sure your home’s wiring meets current code, and get that cooktop running safely and reliably. Don’t put your family or your house on the line for something that needs expert hands.
Related Articles
Keep troubleshooting with these hand-picked guides from FixlyGuide:
- The Grimy Secret Under Your Bathroom Sink: Why Your Faucet Is Slow — A slow-flowing bathroom faucet is often more than just an annoyance; it's a clear sign of mineral buildup or internal damage that's surpris…
- That New Grout Is Already Cracking? Here’s the Hidden Cause — Cracked grout weeks after a renovation is often a sign of a deeper issue with your subfloor or tile installation, not just a problem with t…
- Why Your New IKEA Shelf is Already Wobbly (It's Not the Instructions) — Even flat-pack furniture like IKEA shelves can become wobbly soon after assembly if common mistakes are made; learn how to identify the cau…
- The Nasty Truth About Your Slow Kitchen Drain (And How to Unclog It for Free) — Don't let a sluggish kitchen sink drain ruin your day—most clogs are easy fixes with common household items, saving you a costly plumber's…
- Why Your Paint Just Won't Cover (and How to Stop the Struggle) — Struggling with paint that just won't cover the old color, even after multiple coats? I'll show you why it happens and how to fix it for go…
- The #1 Mistake Homeowners Make When Their AC Won't Turn On (And the Easy Fix) — Learn the most common reason your AC isn't turning on and how to fix it with simple troubleshooting steps, potentially saving a costly serv…
Should you do this yourself?
Answer five quick questions before you start. Safety outranks savings every time.
Your experience with work like this
How high do you have to work?
Does the job involve any of these?
Will it need a permit?
Specialty tools
Free and instant. Educational guidance only — not a quote, inspection, or professional diagnosis.
What should this project cost?
Enter your project details for a realistic cost range before you call anyone.
Outlet and switch work usually $150–$400; panel upgrades commonly $1,800–$4,200.
- Regional adjustment
- National average
- Labor share (typical)
- ~$709
- Quotes to collect
- 3 written estimates
Educational estimate based on national averages — not a binding quote. Always confirm with written local estimates.
Fixly Project Decision Box
- DIY difficulty
- Professional Recommended
- Estimated time
- Diagnosis 1–2 hours
- Cost level
- Moderate
Main tools / materials
- Non-contact voltage tester
- Outlet tester
- Flashlight
When to stop and call a pro
- Burning smell, scorch marks, or a warm outlet or switch plate
- A breaker that trips again right after being reset
- Any work inside the service panel
- Aluminum wiring or cloth-insulated wiring
Need professional help?
Talk to a Licensed ElectricianGet the print-ready PDF of this guide
A clean, ad-free, printable version you can keep on your phone or pin to the workshop wall. Free with a FixlyGuide account.
- Print-optimized layout
- Tools, materials & every step included
- Saved to your account
Recommended for DIYers & woodworkers
Sponsored
The Top 20 Tools for Workshops of Any Budget
No stationary machines or power tools required — plus 3 fundamental tools that can't be bought at any price.
Get the free guide
Ted's Woodworking — The #1 Woodworking Resource
Detailed instructions, dimensioned drawings, materials & cutting lists, and 3D schematics for every skill level.
See the plansSponsored: links above are affiliate links. FixlyGuide may earn a commission on qualifying purchases — at no extra cost to you.
Frequently asked questions
Why would a brand-new induction cooktop not turn on?+
The most common reason a new induction cooktop won't turn on is an electrical issue. This usually means a tripped circuit breaker, loose wiring connections at the terminal block, or an insufficient power supply (incorrect voltage or amperage) for the cooktop's requirements.
What kind of power does an induction cooktop need?+
Most induction cooktops require a dedicated 240-volt (V) circuit. The amperage can vary, typically ranging from 30 to 50 amps (A), depending on the model and the number of burners. Always check your specific cooktop's manual for exact requirements.
Can I install an induction cooktop myself?+
You can if you have the proper 240V dedicated circuit already in place and are comfortable with electrical connections. However, if a new circuit needs to be run, or if you're unsure about wiring, it's always best and safest to hire a licensed electrician for installation.
What's the difference between 120V and 240V power?+
120V is your standard household outlet power, used for most smaller appliances. 240V (sometimes called 220V or 208V) is higher voltage power, typically used for large appliances like electric ovens, dryers, and induction cooktops, allowing them to draw more energy for heating.
What does it mean if my circuit breaker keeps tripping?+
A continually tripping circuit breaker is a clear sign of an overloaded circuit or a short circuit. For a new induction cooktop, it usually means the cooktop is drawing more power than the circuit (or its wiring) is designed to handle, or there's a problem with the appliance itself. Do not keep resetting it without investigating.
How do I know what size breaker I need for my cooktop?+
Your cooktop's owner's manual or data plate will specify the required amperage. You'll need a double-pole circuit breaker with that matching amperage rating (e.g., 30A, 40A, 50A) in your electrical panel.
Is it safe to use an extension cord with an induction cooktop?+
Absolutely not. Induction cooktops draw too much power for extension cords. Using an extension cord can lead to overheating, fire, and damage to your appliance or home's electrical system. Always connect directly to a dedicated 240V outlet or hardwire it correctly.
What if my cooktop is getting power but still not heating pans?+
If the cooktop lights up but pans aren't heating, first ensure you're using induction-compatible cookware (magnetic bottom). If so, it could indicate an internal sensor issue, a problem with the induction coils, or a fault in the cooktop itself, often requiring professional service or warranty claim.
Can a loose wire connection prevent an induction cooktop from turning on?+
Yes, a loose wire connection, especially one of the hot wires (black or red) at the cooktop's terminal block or in the junction box, can prevent the cooktop from receiving the full 240V it needs to power on. Always ensure all electrical connections are snug and secure.
Should I replace old aluminum wiring for a new induction cooktop?+
If your home has old aluminum wiring, especially if it's connected to a new high-amperage appliance like an induction cooktop, it's highly recommended to have a licensed electrician inspect and potentially replace or pigtail the connections with copper. Aluminum wiring can be prone to loosening and overheating, posing a fire risk.

Discussion
Loading comments…