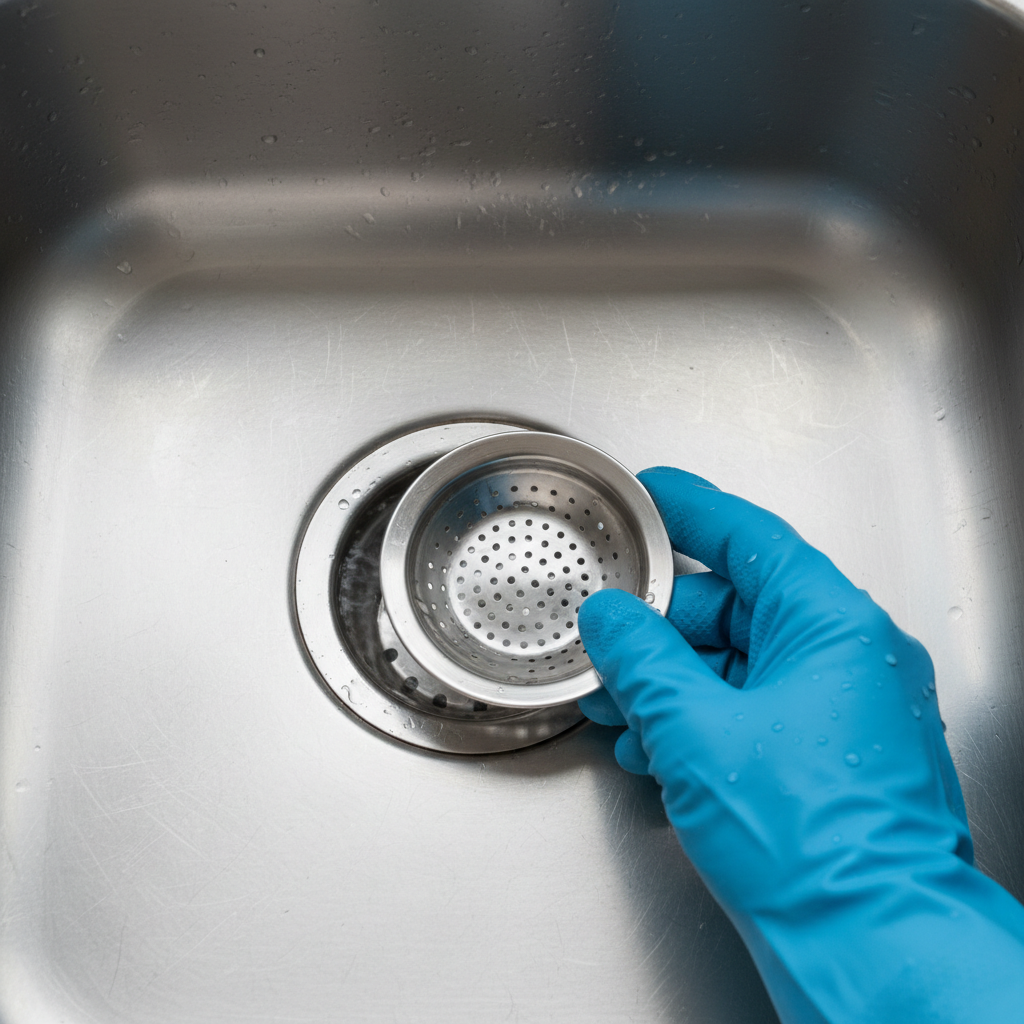
- Ignoring the Early Warning Signs: A drain that’s just a little slow is telling you something. Don’t wait until it’s completely stopped. Handle it early, and it’s usually a quick fix.
- Not Using Strainers: Simple, cheap drain strainers catch a surprising amount of gunk. Use ’em. Clean ’em out regularly.
- Pouring Grease Down the Drain: This is the cardinal sin. Let grease cool and solidify, then scrape it into the trash. Every. Single. Time.
- Using a Toilet Plunger for a Sink: Toilet plungers have a flange designed for toilets. Kitchen sinks need a flat-bottomed cup plunger to get a good seal. Using the wrong tool means you’re just splashing water around.
Plumbing · Clog
| Project category | Plumbing |
|---|---|
| Problem type | Clog |
| Trade required | Plumbing |
| Urgency | Soon — within weeks |
| Safety risk | Low safety risk |
| DIY suitability | DIY friendly |
| Cost category | Low cost |
| Typical timeline | Same-day DIY attempt; pro visit within a day or two |
| Contractor type | Licensed plumber |
Repair option
Plunger, hand auger, or trap cleanout before chemicals.
Replacement option
Line replacement when clogs return in the same spot repeatedly.
Common causes
- Hair and soap buildup in the trap
- Grease cooling in the branch line
- Flushed wipes or foreign objects
Relevant tools:diy difficultydiy or hire a pro
Published September 15, 2026Last updated September 15, 2026
Tools & materials you'll need
Affiliate linksAs an Amazon Associate FixlyGuide earns from qualifying purchases — at no extra cost to you. Prices and availability are accurate as of publication and subject to change.
Quick Answer
Look, a slow kitchen sink drain is almost always grease and grime setting up camp in your pipes. Before you panic and call a plumber, you can usually bust that clog wide open with stuff you’ve already got under the sink. I’m talking boiling water, maybe some baking soda and vinegar, or a good old drain snake. It’s often a free fix, and you’ll feel like a champ when that water starts swirling down like it should.
The Problem
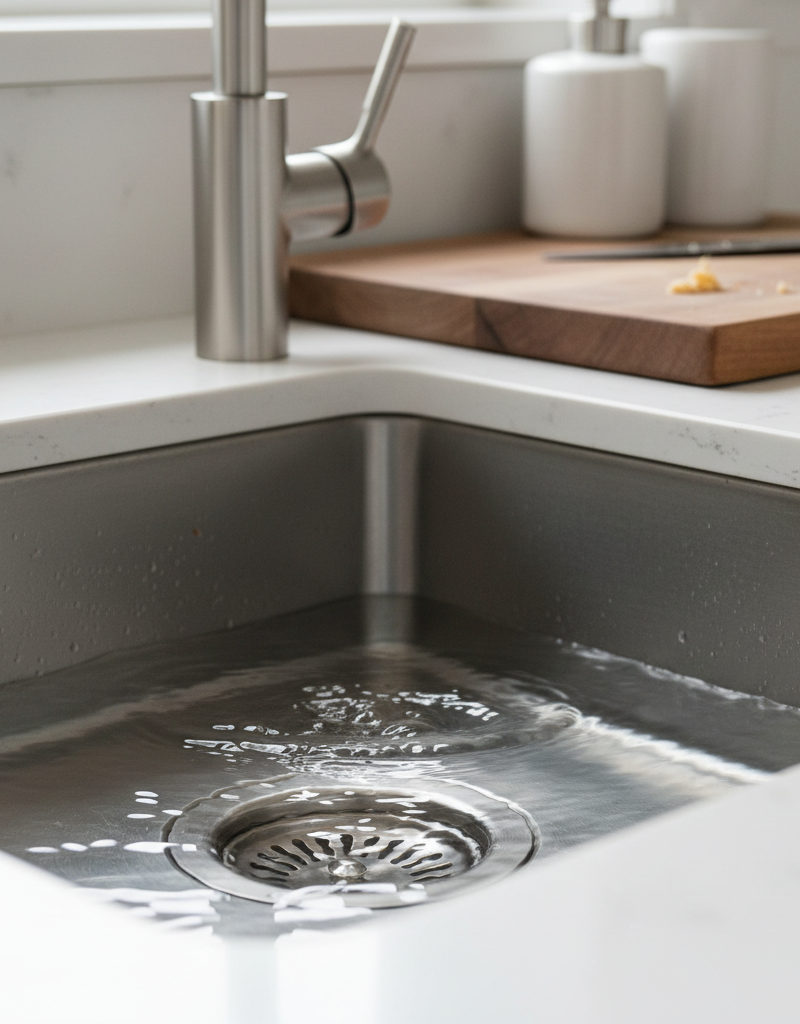
You know the drill: you’re rinsing dishes, and the water just sits there, slowly inching its way down. Or worse, it backs up. That’ll test your patience real quick. That sluggishness isn’t just annoying; it’s a symptom. It means there’s something — or a whole mess of somethings — grabbing onto the inside of your drainpipe and choking off the flow. Most folks think it’s just food, but it’s a wicked brew of grease, coffee grounds, soap scum, tiny bits of food, and sometimes even hair that sneaks in there. Over time, that gunk builds up, coating the pipe walls until the opening gets smaller and smaller. Eventually, it’s not just slow; it’s a full-blown blockage, and that’s when things get ugly.
How It Works
Okay, let’s break down your kitchen drain. It’s not just a straight shot down. First, you’ve got the sink basin, then the drain opening, usually covered by a strainer to catch big stuff. Underneath, you’ve got the basket strainer assembly, which connects to the tailpiece. Below that is the P-trap — that U-shaped bend that always holds a bit of water. That water seal matters; it keeps sewer gases from stinking up your kitchen. From the P-trap, the drainpipe typically runs horizontally for a bit before tying into the main wastewater line in your house, which eventually leads to the sewer or your septic system.
Here’s where the trouble starts: as greasy dishwater cools, the grease hardens up. Food particles, coffee grounds, and detergent residue then stick to that congealed grease, building layers inside the pipes. The P-trap is a common culprit because of its bend — it’s a natural collection point for heavier debris. The horizontal sections of the pipe are prime real estate for clogs too, since gravity isn’t helping much there. Over time, that mess constricts the pipe’s diameter, cutting water flow from a brisk 5-gallons-per-minute gush to a pathetic trickle. This isn’t just gross; it can lead to standing water, foul odors, and, if you ignore it long enough, overflowing sinks or burst pipes in older, corroded systems. Knowing that pathway helps you target the clog right, usually starting close to the sink and working your way deeper.
Step-by-Step Fix
Alright, let’s get that drain moving again. I’ve cleared hundreds of these, and nine times out of ten, you don’t need a pro.
-
Boiling Water Blast — Your first, easiest shot
- Tools: Large pot or kettle.
- First, try to bail out any standing water from the sink. Then, slowly pour 2-3 quarts of boiling hot water down the drain. Let it sit for about 10-15 minutes. The heat can sometimes dissolve or soften greasy clogs. Repeat if necessary, but if it doesn’t budge after two tries, move on. Don’t use this if you’ve already tried chemical drain cleaner — that mix is dangerous.
-
Baking Soda & Vinegar Volcano — Old-school, but surprisingly effective
- Materials: 1 cup baking soda, 1 cup white vinegar.
- Scoop out any standing water. Pour the cup of baking soda directly into the drain. Let it sit for a minute or two to settle. Follow it up with the cup of white vinegar. You’ll see it fizz and foam — that’s the chemical reaction doing its thing, breaking down the gunk. Cover the drain with a stopper or a plate to contain the foam and push it down into the pipe. Let it sit for at least 30 minutes, or even an hour for stubborn clogs. Finish by flushing with a pot of hot water.
-
Plunger Power — When the clog needs a push
- Tools: Flat-bottomed plunger (not a toilet plunger!).
- Fill the sink with enough hot water to cover the plunger’s rubber cup. If you have a double sink, plug the second drain opening with a wet rag or stopper to create a good seal. Place the plunger firmly over the drain opening, ensuring a good seal. Give it 10-15 vigorous plunges, maintaining the seal. On the last pull, yank the plunger up quickly to break the suction. Repeat a few times. This creates pressure that can dislodge the clog.
-
Clean the P-Trap — The most common culprit, if you’re willing to get your hands dirty
- Tools: Bucket, channel-lock pliers, old rag, wire brush (optional).
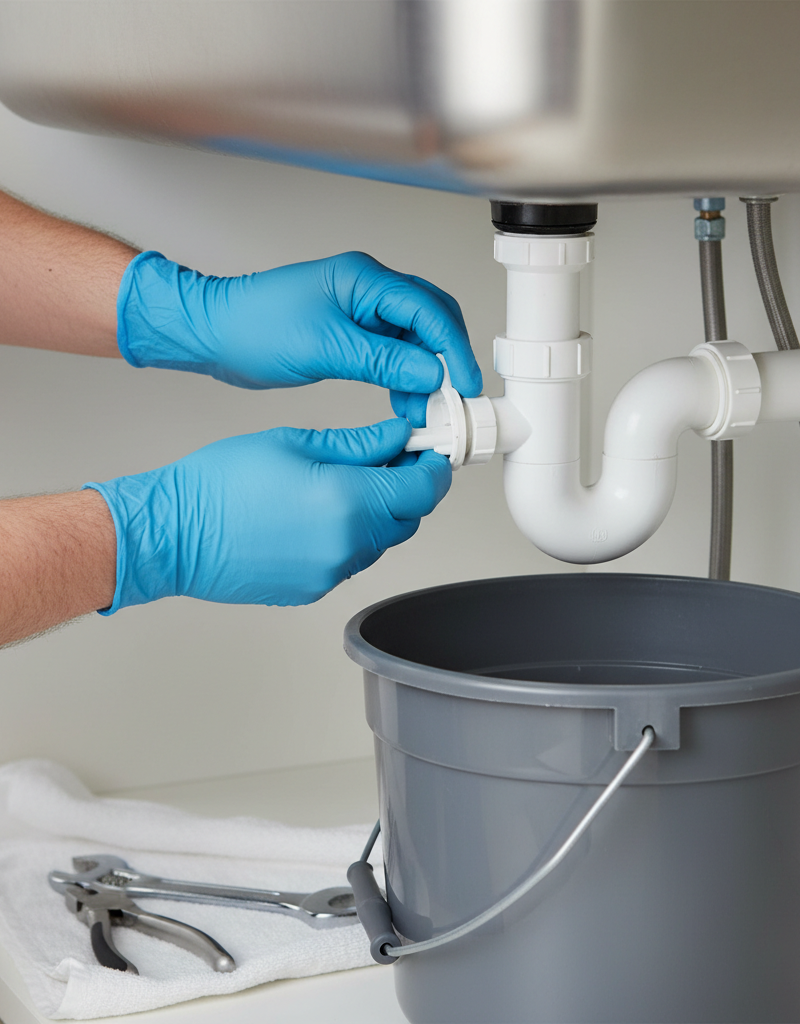
- Safety: Wear rubber gloves. Turn off the water to the sink. Place a bucket directly underneath the P-trap (that U-shaped pipe under the sink) to catch water and debris. Use the channel-lock pliers to loosen the slip nuts on both ends of the P-trap. Be careful not to overtighten when reassembling. Once loose, carefully remove the P-trap. Expect some smelly, nasty water to come out — that’s normal. Inspect the trap for clogs. Clear out any gunk with your fingers, a wire brush, or even an old coat hanger. I remember one time, down in a house in East Nashville, I pulled out a solid mass of coffee grounds and chicken fat that was almost perfectly molded to the P-trap’s shape. It was like plumbing archaeology. When it’s clear, reattach the P-trap, hand-tighten the slip nuts, then gently tighten with pliers a quarter turn. Run water to check for leaks.
-
Drain Snake Attack (Hand Auger) — For deeper clogs the P-trap didn’t solve
- Tools: Hand auger (drain snake).
- If cleaning the P-trap didn’t do the trick, or if you skipped that step, remove the P-trap and insert the hand auger into the drainpipe leading into the wall. Feed the cable into the pipe until you feel resistance. Crank the handle to rotate the snake, pushing it through the clog. When you feel the clog break up, pull the snake back out, cleaning any gunk off the end. You might have to repeat this a few times. Once you think the clog is clear, reattach the P-trap (if removed) and flush with hot water for several minutes.
Common Causes
Alright, so what’s causing this crud in the first place? It’s usually a mix of bad habits and the nature of what goes down the drain.
- Grease and Fat: This is the biggest offender, hands down. Pouring cooking oil, bacon grease, or even just letting fatty food scraps rinse down the drain causes it to solidify in your pipes, acting like glue for other debris. I’ve seen pipes almost completely closed off by years of this stuff. Always wipe greasy pans with a paper towel before washing.
- Food Particles: Small bits of food, even if you have a garbage disposal, can pile up. Coffee grounds are especially bad about settling and compacting into dense clogs. Starches from pasta or rice can swell up and make the problem worse.
- Soap Scum: Dish soap, especially conventional bar soap if used in the kitchen for some reason, contains fats that combine with minerals in hard water to create a sticky film inside pipes. That film then traps food and grease.
- Hair and Debris: While less common in a kitchen than a bathroom, hair can still find its way down there, often mixing with grease to form a nasty little web. Other small non-food items, like labels from bottles or tiny pieces of plastic, can get caught too.
- Old or Improperly Pitched Pipes: Older homes often have cast iron pipes that corrode internally, creating rough surfaces where gunk loves to hang on. If drainpipes aren’t installed with the correct downward slope (a minimum of 1/4 inch per foot), water won’t move fast enough to carry solids away, leading to build-up.
Common Mistakes
I’ve seen homeowners make the same blunders over and over. Dodge these if you want to keep your drain clear and your wallet full.
- Using Chemical Drain Cleaners: These things are nasty. They often don’t fully clear the clog, instead just eating a small hole through it. Worse, they can damage your pipes, especially older PVC or metal ones, and are super dangerous if they splash back or if you then try a plunger or snake. Plus, if it doesn’t work, now your plumber has to deal with a corrosive mess.
- Ignoring the Early Warning Signs: A drain that’s just a little slow is telling you something. Don’t wait until it’s completely stopped. Handle it early, and it’s usually a quick fix.
- Over-relying on Garbage Disposals: A disposal is for grinding food, not for sending massive amounts of grease, fibrous vegetables (like celery or potato peels), or eggshells down the drain. It just grinds it smaller, which makes it easier to stick to pipe walls.
- Not Using Strainers: Simple, cheap drain strainers catch a surprising amount of gunk. Use ’em. Clean ’em out regularly.
- Pouring Grease Down the Drain: This is the cardinal sin. Let grease cool and solidify, then scrape it into the trash. Every. Single. Time.
- Using a Toilet Plunger for a Sink: Toilet plungers have a flange designed for toilets. Kitchen sinks need a flat-bottomed cup plunger to get a good seal. Using the wrong tool means you’re just splashing water around.
Cost & Time Breakdown
When that drain slows down, here’s what you’re looking at:
| Task | DIY Cost | Pro Cost | Time (Hands-on) |
|---|---|---|---|
| Boiling Water / Baking Soda | $0–$5 | N/A | 15–60 minutes |
| Plunging | $0 (if you own) | N/A | 10–20 minutes |
| P-Trap Cleaning | $0–$10 (supplies) | $150–$250 | 30–60 minutes |
| Hand Augering | $0–$30 (tool) | $200–$400 | 1–2 hours |
| Main Line Snaking | N/A | $300–$600+ | N/A |
| Emergency Call (after hours) | N/A | $400–$800+ | N/A |
Tips & Prevention
An ounce of prevention is worth a pound of cure, especially with drains. Trust me, you don’t want to be dealing with a backed-up sink on Thanksgiving.
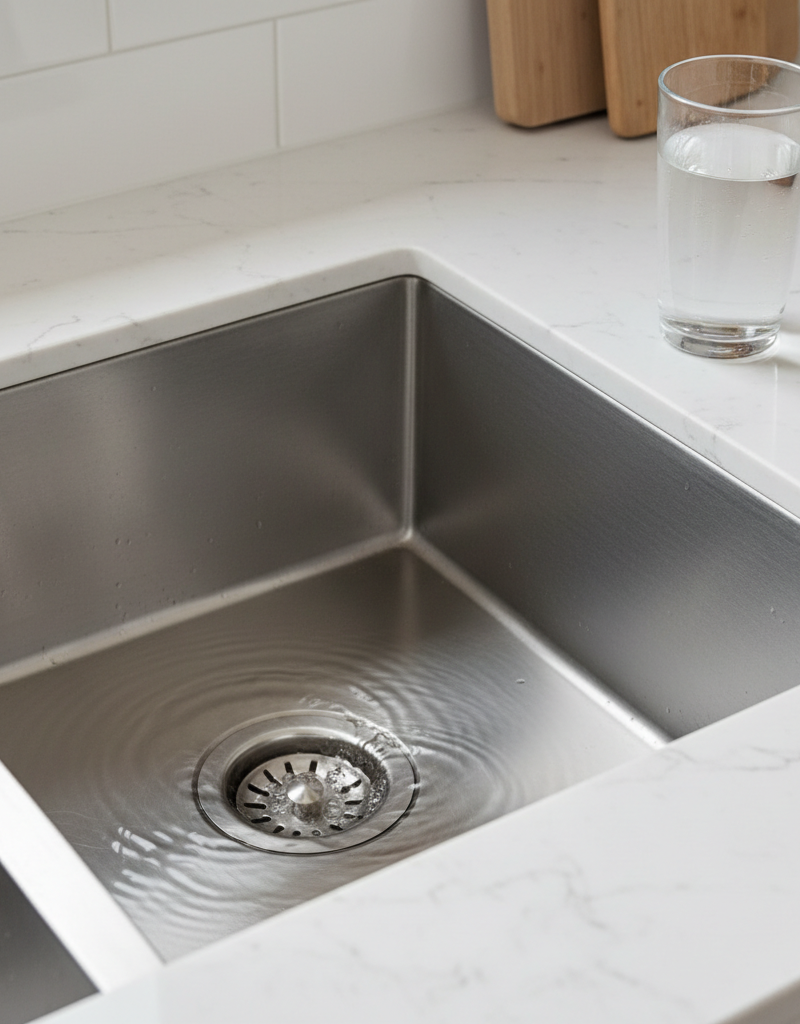
- Hot Water Flush: After doing dishes, run the hottest tap water down your drain for a minute or two. That helps push any lingering grease and food particles farther down the pipe, so they don’t solidify too close to the sink.
- Weekly Baking Soda & Hot Water: Every week or two, pour a cup of baking soda down the drain, let it sit for 15 minutes, then flush with a gallon of hot tap water. It’s a gentle, proactive cleaner.
- Dispose of Grease Properly: Let cooking oils, bacon grease, and fat cool and solidify in a disposable container (like an old yogurt cup or tin can), then toss it in the trash. This is the single most important prevention tip.
- Use Drain Strainers: Simple mesh strainers for both sink basins are dirt cheap and incredibly effective at catching food scraps before they go down. Clean them out after each use.
- Run Your Disposal Regularly (and with cold water): If you have one, use it regularly. Always run cold water before, during, and after using the disposal. Cold water helps any fats solidify so they can be ground up and flushed away more easily. Hot water will just liquify and push it farther down where it’ll cool and stick.
- Avoid Problem Foods: Keep fibrous foods like celery, banana peels, and corn husks, and expandable foods like rice and pasta, out of the disposal. They’re better off in the compost or trash.
When to Call a Professional
Look, I’m all for DIY, but there are definitely times when you gotta know when to throw in the towel and call in the cavalry. If you’ve tried plunging, the baking soda and vinegar trick, and even gotten down and cleaned the P-trap, and that water is still just sitting there — or worse, draining into another fixture — it’s time for a licensed plumber. Specifically, if the clog is deep in the main line, indicated by multiple fixtures (like your kitchen sink and a nearby bathroom sink or tub) draining slowly or backing up, then you’ve got a bigger issue than a simple P-trap blockage. Also, if you’re dealing with very old, fragile pipes, or if you’ve got water leaking from under the sink and can’t identify the source after messing with the P-trap, don’t risk water damage. A professional has the right tools, like powered augers and camera inspections, to find and clear those stubborn, deep-seated clogs without damaging your plumbing. They’ll also guarantee their work, which is peace of mind you can’t put a price on.
Related Articles
Keep troubleshooting with these hand-picked guides from FixlyGuide:
- The Mystery of Your Stripped Cabinet Hinge: One Simple Fix — Don't let a stripped screw hole ruin your kitchen cabinets. I'll show you how to fix that loose hinge fast, often with just a few household…
- That Annoying Sawhorse Wobble: The Simple Fix Your Shop Needs — Don't let a wobbly sawhorse ruin your cuts or—worse—cause an accident. I'll walk you through the real reasons your sawhorses are unstable a…
- Why Your Freestanding Shelf Wobbles Like a Drunk Sailor (and the 5-Minute Fix) — Don't let a shaky shelf ruin your organization or your peace of mind. I'll show you how to stabilize that wobbly unit in minutes, no matter…
- The 4-Inch Drywall Hole Fix: Why Most DIY Patches Fail (And How to Do It Right) — Don't let a small drywall hole become a recurring nightmare – discover the secret to a seamless, lasting repair that disappears into your w…
- The Grimy Secret Under Your Bathroom Sink: Why Your Faucet Is Slow — A slow-flowing bathroom faucet is often more than just an annoyance; it's a clear sign of mineral buildup or internal damage that's surpris…
- The #1 Mistake Homeowners Make with a Slow Kitchen Drain (And the Simple Fix) — A slow kitchen sink drain is frustrating, but often stems from a common mistake homeowners make when attempting a fix, leading to recurring…
Should you do this yourself?
Answer five quick questions before you start. Safety outranks savings every time.
Your experience with work like this
How high do you have to work?
Does the job involve any of these?
Will it need a permit?
Specialty tools
Free and instant. Educational guidance only — not a quote, inspection, or professional diagnosis.
What should this project cost?
Enter your project details for a realistic cost range before you call anyone.
Common repairs run $150–$650; repipes and water-heater replacements reach $1,500–$4,500.
- Regional adjustment
- National average
- Labor share (typical)
- ~$754
- Quotes to collect
- 3 written estimates
Educational estimate based on national averages — not a binding quote. Always confirm with written local estimates.
Fixly Project Decision Box
- DIY difficulty
- Moderate
- Estimated time
- 30 minutes – half a day
- Cost level
- Moderate
Main tools / materials
- Adjustable wrench
- Plunger or drain auger
- Bucket and towels
- Thread tape
When to stop and call a pro
- Water you cannot shut off at the fixture or main
- Sewage backing up into more than one fixture
- Water near electrical panels or outlets
- Gas water heater work beyond relighting a pilot
Need professional help?
Get a Licensed PlumberBefore you start
Check the difficulty, permits, and safety risk — then decide whether to call a pro.
- Estimate this projectGet a cost range for your scope and ZIP before you call anyone.Open
- Get local estimatesSend one request and compare written estimates from vetted pros.Open
Free, no signup required. Estimates are educational guidance, not a quote or an inspection.
Get the print-ready PDF of this guide
A clean, ad-free, printable version you can keep on your phone or pin to the workshop wall. Free with a FixlyGuide account.
- Print-optimized layout
- Tools, materials & every step included
- Saved to your account
Recommended for DIYers & woodworkers
Sponsored
The Top 20 Tools for Workshops of Any Budget
No stationary machines or power tools required — plus 3 fundamental tools that can't be bought at any price.
Get the free guide
Ted's Woodworking — The #1 Woodworking Resource
Detailed instructions, dimensioned drawings, materials & cutting lists, and 3D schematics for every skill level.
See the plansSponsored: links above are affiliate links. FixlyGuide may earn a commission on qualifying purchases — at no extra cost to you.
Frequently asked questions
What's the most common reason for a slow kitchen drain?+
The most common culprit is a buildup of grease, food scraps (especially coffee grounds and starches), and soap scum. These combine to create a sticky, stubborn blockage that restricts water flow.
Can I use chemical drain cleaners?+
I strongly advise against chemical drain cleaners. They can damage your pipes, are dangerous to handle, and often only burn a small hole through the clog, leaving the rest to reform. They're also toxic for the environment.
How often should I clean my kitchen drain?+
Prevention is key. A weekly flush with hot water, or a bi-weekly baking soda and hot water treatment, can help keep things clear. If you notice it slowing, address it immediately.
What kind of plunger should I use for a kitchen sink?+
Always use a flat-bottomed cup plunger for sinks, not the flanged type designed for toilets. The flat cup creates a better seal over the drain opening.
What if my garbage disposal is the cause of the slow drain?+
If the disposal hums but doesn't spin, or if water backs up only when the disposal is used, check for jammed impellers or a clogged air gap. Always run plenty of cold water with the disposal.
Should I call a plumber for a slow drain?+
Try DIY methods first. If multiple fixtures are draining slowly, or if you've exhausted all your options and the clog won't budge, that's the time to call a pro. It might indicate a deeper main line issue.
How can I prevent grease from clogging my drain?+
Never pour cooking grease down the drain. Let it cool and solidify, then scrape it into the trash. Wiping greasy pans with a paper towel before washing also helps immensely.
Is it safe to clean the P-trap myself?+
Yes, cleaning the P-trap is a common DIY task and generally safe for anyone with basic tools. Just make sure to place a bucket underneath, wear gloves, and don't overtighten the slip nuts when reassembling. Turn off the water supply to the sink first.
Discussion
Loading comments…