- Tools: Drill, drill bits, metal mending plates, screws, corner braces.
- Materials: Wood glue (optional, for maximum rigidity).
- If this doesn't work: The wood might be split or too far gone. At that point, it’s usually smarter to replace the bad piece or, if the whole thing’s cheap, replace the whole sawhorse.
General remodeling · Renovation planning
| Project category | General remodeling |
|---|---|
| Problem type | Renovation planning |
| Trade required | General contracting |
| Urgency | Planned project |
| Safety risk | Low safety risk |
| DIY suitability | Pro recommended |
| Cost category | Major investment |
| Typical timeline | Design and permitting often 2–4 months before work starts |
| Contractor type | General contractor |
Repair option
Phase the work and fix the building envelope first.
Replacement option
Full renovation with permits, design, and a general contractor.
Common causes
- Space no longer fits how the household lives
- Resale preparation
- Deferred maintenance stacking up
Relevant tools:project cost estimatorcompare quoteshome improvement material prices
Published August 31, 2026Last updated August 31, 2026
The shop list for this build
Hand-picked tools & materials — shop on Amazon, ships fast.
Power tools
· The heavy hitters — buy once, use for decades.- Shop on AmazonDrill and drill bits
Why it's here: for reinforcing or adding new bracing
Hand tools & jigs
· Layout, joinery, and the everyday workbench essentials.- Shop on AmazonAdjustable wrench
- Shop on AmazonSocket set
Why it's here: if your sawhorse uses bolts
- Shop on AmazonScrewdriver
Why it's here: Phillips or flathead, as needed
Materials & hardware
· Lumber, fasteners, glue, abrasives — the consumables.- Shop on AmazonWood shims· 1 pack
- Shop on AmazonWood glue
Why it's here: for wooden sawhorses, optional but recommended
- Shop on AmazonSmall wood screws· assorted box
- Shop on AmazonScrap lumber (1x4 or 2x2)· 1-2 ft
Why it's here: for cross-bracing, if needed
Quick Answer
Listen, a wobbly sawhorse ain't just annoying — it's downright dangerous. I’ve seen plenty of good cuts go sideways because the stand under ’em was dancing around. Most of the time, it’s something basic: an uneven floor, a leg that shrunk a touch, or a bolt that rattled loose. The good news? You can usually track it down and fix it with a few common tools in about 15-30 minutes. Don’t shrug it off. A steady sawhorse means safer cuts and cleaner work.
The Problem
Picture this: you’re lining up a critical cut on a nice board, and right as the saw bites, your sawhorse shifts. Your stomach drops, the cut goes crooked, and now you’ve got scrap instead of the piece you wanted. Or worse, the workpiece slips and you’re staring at a blade that’s a whole lot too close for comfort. That’s the real issue here. It’s not just a nuisance; it’s a safety problem and a precision killer. I’ve been on jobs where a guy tried to “make do” with a shim jammed under one leg, only to have it spit out halfway through the cut. No dice. Not worth it. We’re talking about keeping fingers safe and materials from getting ruined.
How It Works
A sawhorse is pretty basic shop gear at heart. It’s built to hold a load up high and stay put while you work. But that stability depends on a few simple things. First, there’s triangulation: three points make a plane, so a four-legged stand needs all four feet planted solid to sit steady. If even one leg is off by a hair, or the floor itself isn’t level, you’ll get a wobble. Same idea as that restaurant table that always rocks, no matter which way you turn it.
Second, the joints matter. Most sawhorses are held together with a mix of bolts, screws, and sometimes glue. Sawing, hammering, and just dragging them around can work those fasteners loose over time. Wood’s got its own tricks, too. It expands and contracts with humidity and temperature. I’ve had a sawhorse built in a dry winter garage go wobbly by July, just from the wood swelling unevenly. Typical wooden sawhorses, especially DIY ones, are often built from 2x4s or 2x6s. The legs usually splay out a bit to widen the base, which helps. The top rail, often 3.5 inches wide, carries the load. Metal sawhorses use the same basic idea, just with welded or riveted joints instead of screws, though even those can loosen, bend, or get tweaked if they’ve taken enough abuse. Bottom line: you need a rigid frame with even support.
Step-by-Step Fix
Alright, let’s get that sawhorse standing solid. I’d start with the easy stuff and work up from there.
-
Inspect the Scene — Check your floor and the sawhorse itself. First thing: is the floor level? Half the time, it’s not the sawhorse at all — it’s the slab under it. Move the horse to a different spot, or set it outside on a known flat surface. If it stands firm there, the floor’s the troublemaker. If it still rocks, then yeah, the sawhorse is the guilty one.
-
Identify the Culprit Leg — Find the short one. Once you’ve ruled out the floor, give the sawhorse a gentle rock. You’ll feel which corner lifts. That’s the short leg. You can use playing cards, shims, or even a stack of nickels to see how much you’re missing. Keep adding until the wobble disappears.
-
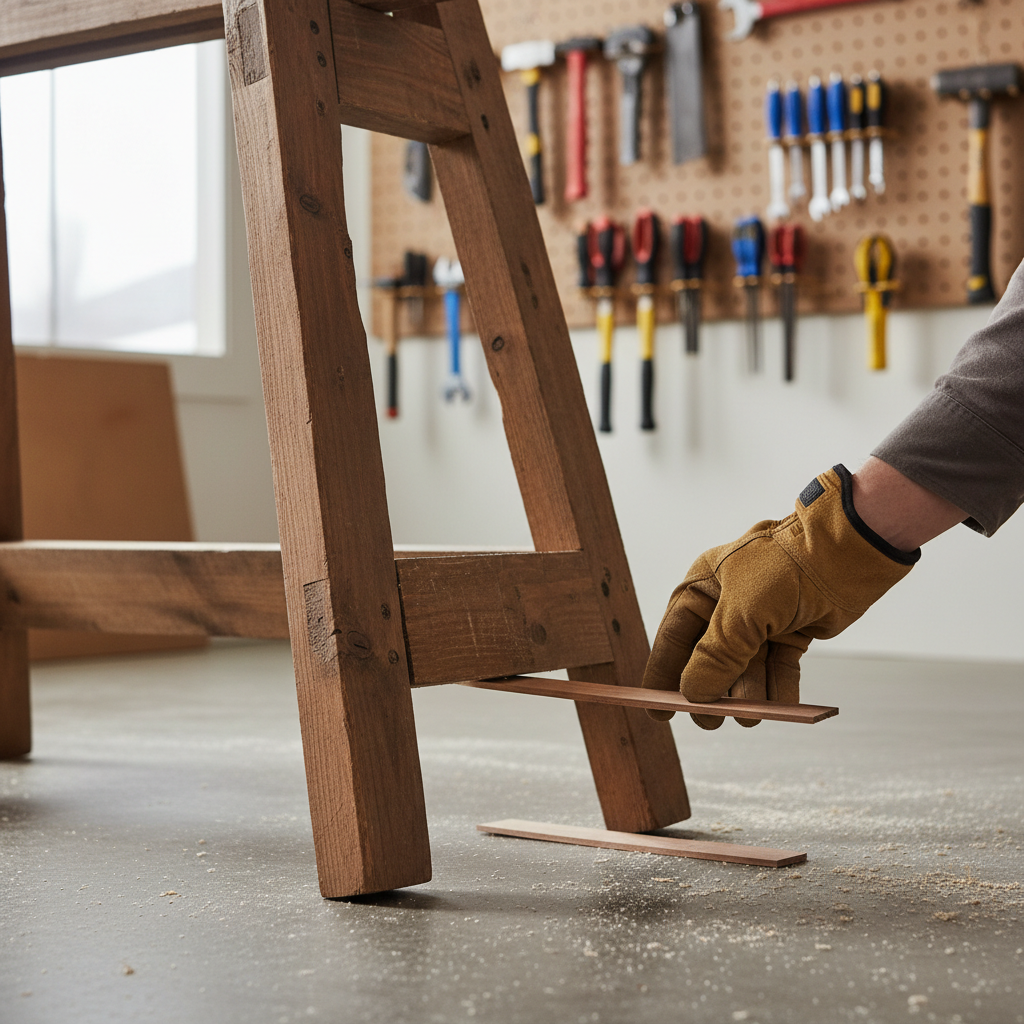
Shim It Temporarily — Quick fix for immediate use. If you need it working right now, grab wood shims — the kind you use for door jambs — or even a scrap of plywood. Slide it under the short leg until the stand stops rocking. Fine for getting through the day, but don’t kid yourself, it’s not a forever fix. Those shims can work loose.
-
Tighten All Fasteners — Reinforce the structure. Now grab your wrench or screwdriver and go over every bolt, screw, and nut. Snug ’em down. Don’t reef on them so hard you strip the threads, especially in wood, but don’t leave play in the joints either. A quarter-turn here and there can make a big difference. I pulled a pair of metal sawhorses in a shop out in Springfield last month — same kind of wobble, same complaint. Turns out the factory had left the pivot bolts just a little soft. Ten minutes with a wrench, and they were dead solid.
- Tools: Adjustable wrench, socket set, screwdriver (Phillips or flathead).
- Safety: Wear work gloves so you don’t get pinched up or catch a splinter.
-
Add Permanent Shims/Pads — Level the playing field for good. Once you know how much one leg is short, you can make it right permanently. On wooden sawhorses, you can fasten a piece of plywood or a thicker rubber pad to the bottom of the short leg with wood glue and small screws. On metal sawhorses, some models already have adjustable feet. If yours doesn’t, you can usually bolt on a small block of dense rubber or hard plastic. Keep it flush. You don’t want anything catching on the floor.
-
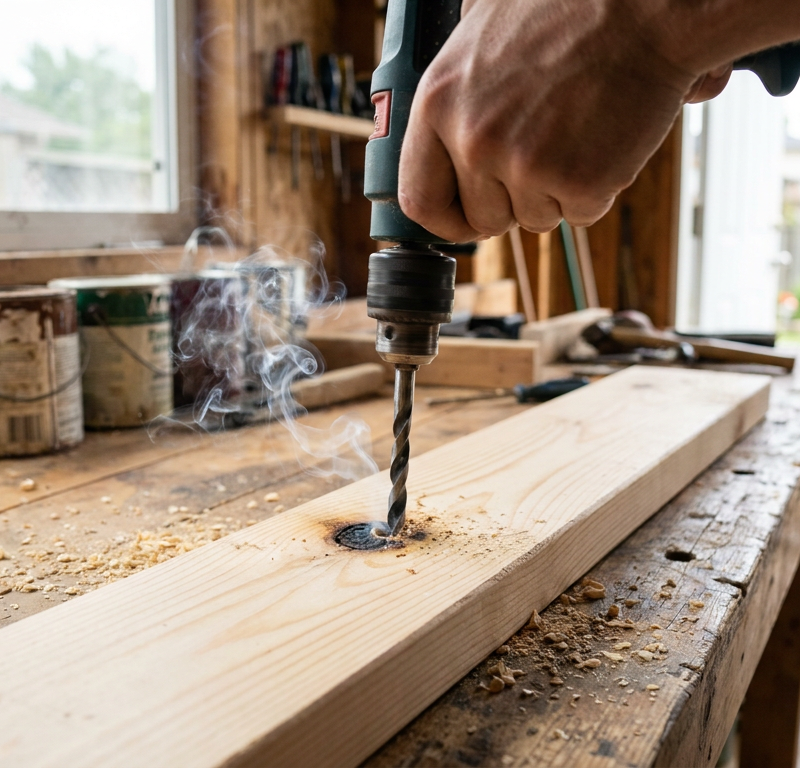
Reinforce Loose Joints — Strengthen weak points. If tightening doesn’t solve it, you may have joints that are wallowed out around the bolt. With wood sawhorses, add metal mending plates or corner braces on the inside where the legs meet the cross brace or top rail. Use short, strong screws that won’t poke through. You can also drill new pilot holes near the old ones and step up to slightly larger screws or bolts if the original holes are stripped.
- Tools: Drill, drill bits, metal mending plates, screws, corner braces.
- Materials: Wood glue (optional, for maximum rigidity).
- If this doesn't work: The wood might be split or too far gone. At that point, it’s usually smarter to replace the bad piece or, if the whole thing’s cheap, replace the whole sawhorse.
-
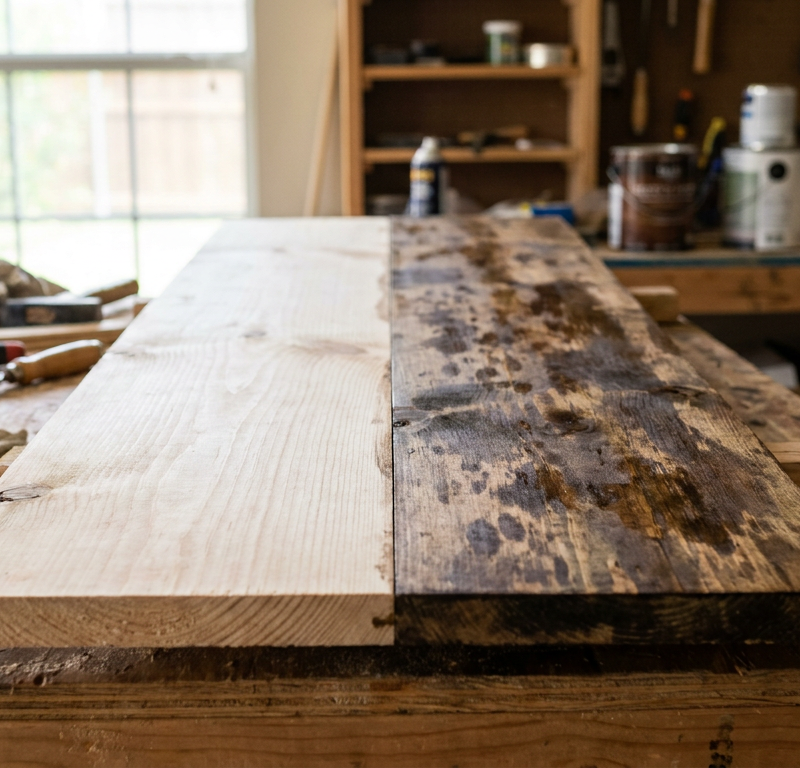
Check for Warped Lumber — Sometimes the wood itself is the problem. Grab a straightedge and check the legs and top rail. Anything bowed, twisted, or cupped? Lumber isn’t always dead straight to begin with, and it can move on you over time. If one leg is badly warped, it can throw the whole setup off. On a custom build, you may need to swap that piece out. On a store-bought sawhorse, that can point to a factory defect.
-
Consider Cross Bracing — Add rigidity. A lot of DIY sawhorses just don’t have enough bracing. Adding diagonal braces between the legs can make a huge difference. Even a simple 1x4 or 2x2 screwed diagonally from the bottom of one leg to the midpoint of the next can keep the frame from racking and wobbling. Do both ends if you want the best result.
- Tools: Miter saw or handsaw, drill, screws.
- Materials: 1x4 or 2x2 lumber, wood screws.
Common Causes
- Uneven Leg Lengths: This is the big one. Even a 1/16-inch difference can make a sawhorse rock, especially on a hard, flat floor. Lumber isn’t always perfectly uniform, and cuts can be a touch off. Wood can also take on or lose moisture unevenly, so one leg shrinks or swells more than the others. I’ve seen cheap particle board tops warp in a damp basement and twist the whole frame out of shape.
- Loose Fasteners: Screws, bolts, or nuts that aren’t tight leave play in the joints. Every bump, every heavy board, every saw vibration loosens ’em just a little more.
- Damaged Joints/Wood: Over time, wood can split around fasteners, or screw holes can strip out. Metal parts can bend or crack. That weakens the structure where the legs meet the top or cross-braces.
- Uneven Floor: Sometimes it’s not the sawhorse at all. Your garage or shop floor might have dips, humps, or even a slope built in for drainage. Always check the floor first.
- Inadequate Design: Some lightweight or poorly designed sawhorses just aren’t built to stay steady under load. They may handle light work fine, then fold into a wobble with a sheet of plywood on top.
- Wear and Tear: Constant use, dragging them around, and bumping into stuff all adds up. Even small dings and scrapes can start affecting stability after a while.
Common Mistakes
- Ignoring the wobble: Don’t just live with it. A wobbly sawhorse is a hazard, plain and simple. Fix it now, or you’re asking for trouble with your material — or your fingers.
- Only checking one leg: You might spot one short leg, but a lot of times it’s a combination of small issues. Check every leg and every fastener methodically.
- Overtightening fasteners: If you crank screws or bolts into wood too hard, you can strip the threads or split the wood and make things worse.
- Using flimsy shims: Cardboard or thin scraps compress and slip. Fine for a quick test, sure, but not for a real fix. For long-term use, you need something solid like dense rubber or a properly fastened block.
- Assuming it's a design flaw: Plenty of the time, a wobbly sawhorse is just a maintenance issue. Don’t toss it until you’ve checked the basics.
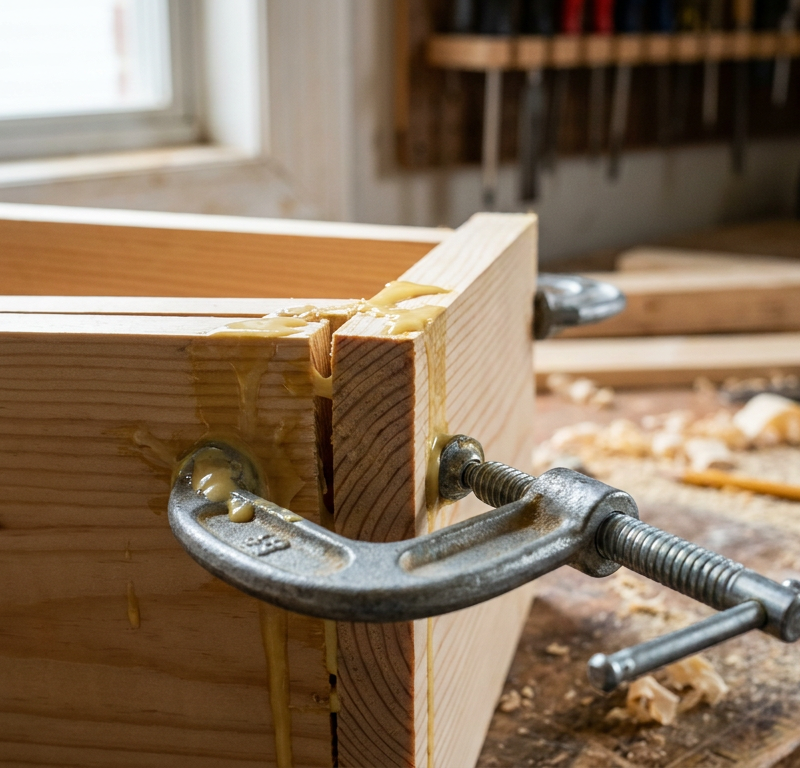
- Not using glue with wood joints: On DIY wooden sawhorses, a little wood glue in the joints before you screw or bolt them adds a lot of rigidity and helps keep the wobble from coming back. Don’t skip that step.
Cost & Time Breakdown
| Task | DIY Cost | Pro Cost (not applicable) | Time |
|---|---|---|---|
| Diagnosis & Inspection | $0 | N/A | 5-10 minutes |
| Tighten Fasteners | $0 | N/A | 10-20 minutes |
| Permanent Shims/Pads | $2–$10 | N/A | 15-30 minutes |
| Reinforce Loose Joints | $5–$25 | N/A | 30-60 minutes |
| Add Cross Bracing | $5–$15 | N/A | 45-90 minutes |
| Replace Damaged Lumber | $10–$20 per piece | N/A | 60-120 minutes |
Tips & Prevention
- Store Properly: Don’t just toss your sawhorses in a pile. Keep ’em upright or stacked neatly so you’re not putting extra stress on the frame.
- Regular Checks: Every few months, or before a big job, give them a quick once-over. Check the fasteners, look for cracks, make sure the feet are still secure.
- Build with Quality Materials: If you’re building your own, use straight, decent lumber. Pressure-treated wood is overkill for indoor use, but cheap particle board is asking for trouble. Use exterior-grade screws or bolts if you want it to last.
- Consider Adjustable Feet: Some metal sawhorses come with adjustable feet. On wood ones, you can buy threaded inserts and leveling feet at the hardware store. That’s a game-changer on a crooked floor.
- Don't Overload: Every sawhorse has a weight limit. Know it, and don’t blow past it. Stack too much on there and you’ll bend parts or wear out the joints over time.
- Use Anti-Slip Pads: Rubber pads on the feet help grip uneven floors better and cut down on slipping, which gives you another layer of stability.
When to Call a Professional
Honestly, fixing a wobbly sawhorse is almost always a DIY job. There just isn’t much reason to call a carpenter for this one. The only time I’d say it’s beyond your comfort zone is if you’ve got some elaborate custom-built shop piece that you don’t want to take apart or reinforce yourself. Or if it’s a manufactured sawhorse with major structural damage — like a bent main beam on a metal one — that’d need welding or fabrication. At that point, replacing it usually makes more sense. If the sawhorse is part of a bigger built-in workbench system and the wobble points to a deeper issue in the whole bench, then sure, a carpenter can help sort out the larger problem. But for a standalone sawhorse? You’ve got this.
Related Articles
Keep troubleshooting with these hand-picked guides from FixlyGuide:
- The #1 Mistake Homeowners Make Installing Floating Shelves (and How to Fix It) — Discover the crucial mistake most homeowners make when installing floating shelves into drywall, leading to sagging and damage, and learn t…
- The 4-Inch Drywall Hole Fix: Why Most DIY Patches Fail (And How to Do It Right) — Don't let a small drywall hole become a recurring nightmare – discover the secret to a seamless, lasting repair that disappears into your w…
- Swap Your Leaky Faucet This Weekend, No Plumber Needed — Ready to stop that annoying drip and give your kitchen an instant upgrade? This guide shows you how to replace a kitchen faucet yourself. W…
- The $10 Shower Fix Plumbers Don't Want You to Know — Stop that annoying drip! I'll show you how to fix a leaky shower faucet yourself, saving you money and preventing water waste.
- That Puddle By Your Shower? The Seal Trick You Don't Know — Stop that frustrating puddle on your bathroom floor by understanding the real reason your beautiful frameless shower door leaks and how a s…
- Why Your Dishwasher Leaves Dishes Soaking Wet (And It's Not Your Rinse Aid) — Discover the real reasons your dishwasher isn't drying dishes and how to fix them, from blocked vents to faulty heating elements. Don't let…
Should you do this yourself?
Answer five quick questions before you start. Safety outranks savings every time.
Your experience with work like this
How high do you have to work?
Does the job involve any of these?
Will it need a permit?
Specialty tools
Free and instant. Educational guidance only — not a quote, inspection, or professional diagnosis.
What should this project cost?
Enter your project details for a realistic cost range before you call anyone.
Cost depends heavily on which system turns out to be the source.
- Regional adjustment
- National average
- Labor share (typical)
- ~$1,620
- Quotes to collect
- 3 written estimates
Educational estimate based on national averages — not a binding quote. Always confirm with written local estimates.
Get the print-ready PDF of this guide
A clean, ad-free, printable version you can keep on your phone or pin to the workshop wall. Free with a FixlyGuide account.
- Print-optimized layout
- Tools, materials & every step included
- Saved to your account
Recommended for DIYers & woodworkers
Sponsored
The Top 20 Tools for Workshops of Any Budget
No stationary machines or power tools required — plus 3 fundamental tools that can't be bought at any price.
Get the free guide
Ted's Woodworking — The #1 Woodworking Resource
Detailed instructions, dimensioned drawings, materials & cutting lists, and 3D schematics for every skill level.
See the plansSponsored: links above are affiliate links. FixlyGuide may earn a commission on qualifying purchases — at no extra cost to you.
Frequently asked questions
Why does my sawhorse wobble even though the legs look even?+
Sometimes it's not the legs; it's the floor itself. Garage floors often have subtle dips or slopes for drainage. Try moving the sawhorse to a different, known-flat spot to check if the wobble persists.
Can I prevent my sawhorses from wobbling in the first place?+
Absolutely. When building, use good, straight lumber and plenty of wood glue in all joints. For store-bought sawhorses, regularly check and tighten all fasteners, and consider adding adjustable feet for uneven floors.
Is a wobbly sawhorse really that dangerous?+
Yes, it is. An unstable work surface can lead to inaccurate cuts, dropped materials, or, most critically, slips and falls that can cause serious injury, especially when using power tools.
What if my metal sawhorse is wobbly?+
Metal sawhorses can wobble due to loose rivets or bolts, or bent components. Check all fasteners and tighten them. If metal parts are bent, you might be able to gently bend them back into shape, or you may need to replace the sawhorse.
Can I use wood shims permanently to fix a wobbly sawhorse?+
Temporary shims like wood wedges can work in a pinch, but they're not a long-term solution as they can slip out. For a permanent fix, measure the gap and securely attach a block of wood, rubber, or plastic to the bottom of the short leg.
My sawhorse legs are splayed out; does that cause wobbling?+
Splayed legs actually increase stability by widening the base, making it less prone to tipping. However, if the splay is inconsistent between legs or if the joints where the legs attach are loose, it can still lead to a wobble.
When should I just replace a wobbly sawhorse instead of fixing it?+
If the sawhorse has significant structural damage like large splits in critical load-bearing wood, severely bent metal, or completely stripped out joints that can't be reinforced, it's safer and more cost-effective to replace it.
Can I add cross-bracing to an existing sawhorse?+
Yes, adding diagonal cross-bracing between the legs is an excellent way to increase rigidity and eliminate racking wobble on many sawhorses. Use screws and consider wood glue for a stronger connection.
How often should I inspect my sawhorses?+
It's a good practice to give your sawhorses a quick inspection before every major project. For general maintenance, a thorough check every few months will help catch potential issues before they become serious problems.
My sawhorse has rubber feet, but it still wobbles. What gives?+
Rubber feet help with grip and can slightly cushion against minor floor imperfections. But if the underlying structural issue is uneven leg lengths or loose joints, rubber feet alone won't solve the wobble. Address the root cause first.
Discussion
Loading comments…