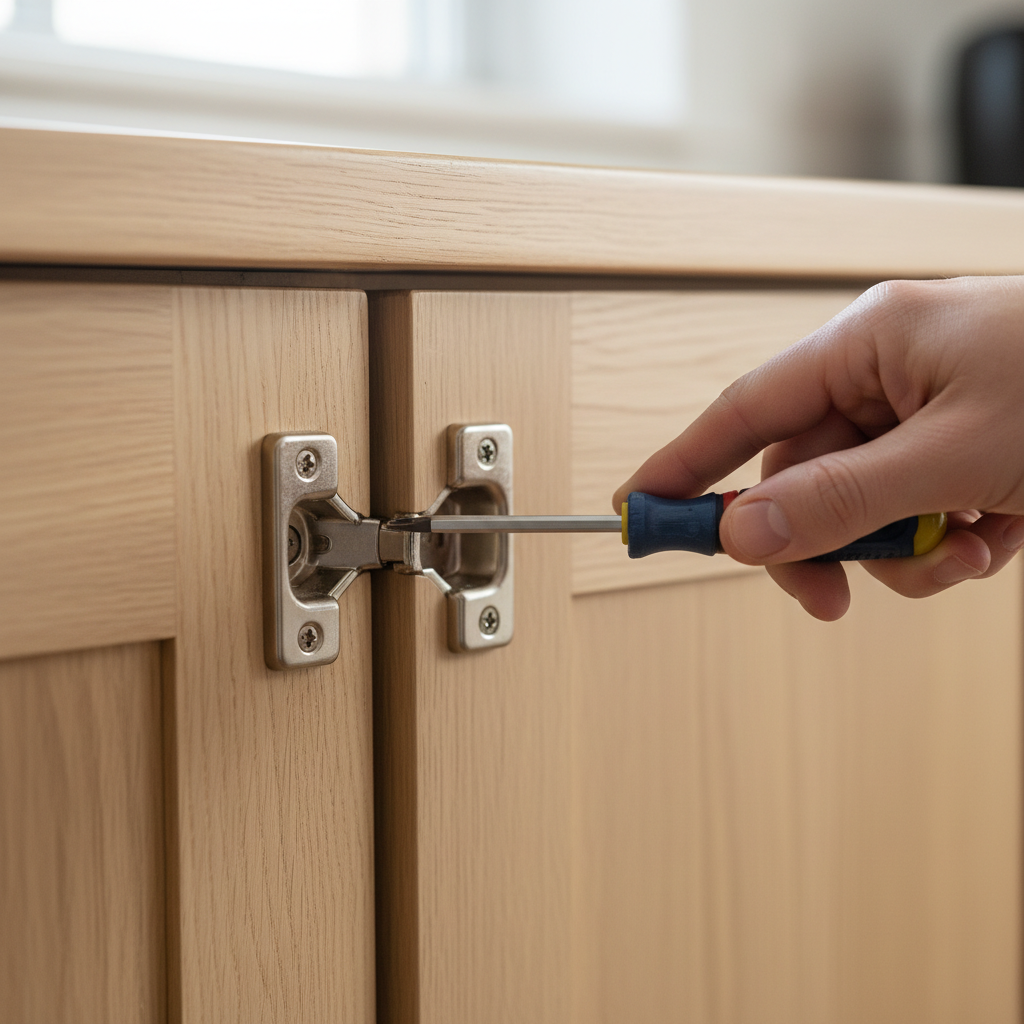
- Adjust Side-to-Side (Lateral Adjustment) – Even out gaps between doors
- Purpose: This is your go-to for getting even gaps between two adjacent cabinet doors or between a door and the cabinet’s side frame.
- Tip: If you’ve got multiple doors, get one door perfect first, then use that one as your guide for the rest.
Kitchen · Kitchen remodel
| Project category | Kitchen |
|---|---|
| Problem type | Kitchen remodel |
| Trade required | General contracting |
| Urgency | Planned project |
| Safety risk | Low safety risk |
| DIY suitability | Pro recommended |
| Cost category | Major investment |
| Typical timeline | Design and cabinet lead time 8–16 weeks; build 4–8 weeks |
| Contractor type | Kitchen remodeler or general contractor |
Repair option
Refacing, new counters, or hardware for a fraction of a gut remodel.
Replacement option
Full remodel when layout, plumbing, or electrical needs to change.
Common causes
- Dated layout
- Failing cabinets or counters
- Adding function or resale value
Relevant tools:project cost estimatorcompare quoteshome improvement material prices
Published August 25, 2026Last updated August 25, 2026
The shop list for this build
Hand-picked tools & materials — shop on Amazon, ships fast.
Hand tools & jigs
· Layout, joinery, and the everyday workbench essentials.- Shop on AmazonPhillips head screwdriver
- Shop on AmazonSmall level
Why it's here: Optional, for checking door squareness
- Shop on AmazonUtility knife
Why it's here: For trimming toothpicks
- Shop on AmazonStraightedge
Why it's here: For checking door warpage
- Shop on AmazonTape measure· 1
Materials & hardware
· Lumber, fasteners, glue, abrasives — the consumables.- Shop on AmazonWooden toothpicks
Why it's here: For stripped screw holes
- Shop on AmazonWood glue
Why it's here: For stripped screw holes
- Shop on AmazonShims
Why it's here: If cabinet frame is out of square
Quick Answer
Look, I’ve spent more than two decades wrestling with stubborn cabinet doors, and nine times out of ten, those ugly gaps and crooked lines come down to plain old hinge adjustments. Usually, a few turns of a screwdriver is all it takes to get things back where they belong. If the hinges are tight and adjusted right, then you’re probably dealing with a warped door or a frame that’s out of whack — and that’s when you might need to pull a few more tricks out of the bag.
The Problem
You know the drill: you walk into your kitchen, or maybe your bathroom, and there it is. That one cabinet door that just doesn’t sit right. Maybe it’s rubbing the frame, or there’s a big, ugly gap at the top or bottom. Sometimes it won’t even close all the way, so your stuff’s exposed or dust keeps sneaking in. It’s not just an eyesore; it nags at you every time you walk by. And once you notice it, you can’t unsee it. Makes a whole kitchen look tired, even if everything else is fresh. I’ve been on plenty of calls where a homeowner thought they needed all new cabinets, and all we did was spend twenty minutes with a screwdriver.
How It Works
Most modern cabinet doors, especially in kitchens and bathrooms, use European-style concealed hinges. Those are the hidden ones — you don’t see ’em when the door’s shut. They’ve got two main parts: the cup, which is mortised into the back of the door, and the mounting plate, which fastens to the cabinet frame. What makes these hinges so handy — and sometimes so aggravating — is that they’re adjustable. Usually you’ve got three different screws, and each one controls a different part of the door’s position.
Think of it like this: one screw, often the one furthest from the door’s edge, moves the door in and out relative to the cabinet opening and controls the reveal depth. Another screw — usually the middle one — shifts the door side to side, which is the one you use to get even gaps between doors. And the third screw, typically closest to the door edge or sitting on the mounting plate itself, handles the door’s up and down alignment. Old-school face-frame hinges, the kind you’ll see on older kitchen cabinets or furniture, usually don’t give you that kind of control. They might have slotted holes for a little up-and-down or side-to-side movement, but nothing as fine-tuned as the European style. The trick is knowing what each screw does so you’re not just cranking them at random — that’s a fast way to make a small problem bigger.
Step-by-Step Fix
Alright, let’s get those doors sitting right. We’ll start with the easy stuff and work our way up.
-
Assess the Situation – Identify the problem area
First off, stand back and really look at the door. Is it crooked? Is it rubbing? Is there a gap at the top, bottom, or side? Open and close it a few times. Listen for squeaks or scrapes. Figure out exactly what’s wrong before you start twisting screws. A common mistake is assuming it’s just a loose screw when the door might actually be binding somewhere else. -
Tighten All Hinge Screws – The first, easiest step
Before you start adjusting anything, make sure all the screws holding the hinges to both the door cup and the cabinet frame are snug. Cabinet doors get used a lot, and those screws work loose over time. Grab a Phillips head screwdriver — don’t use a power drill unless you’ve got the clutch set very low; you don’t want to strip the holes. Just hand-tighten them until they’re firm. Sometimes that’s the whole fix. I’ve walked into kitchens in suburban Plano, Texas, where the homeowner swore the doors were warped, and a quick tighten fixed ’em right up. -
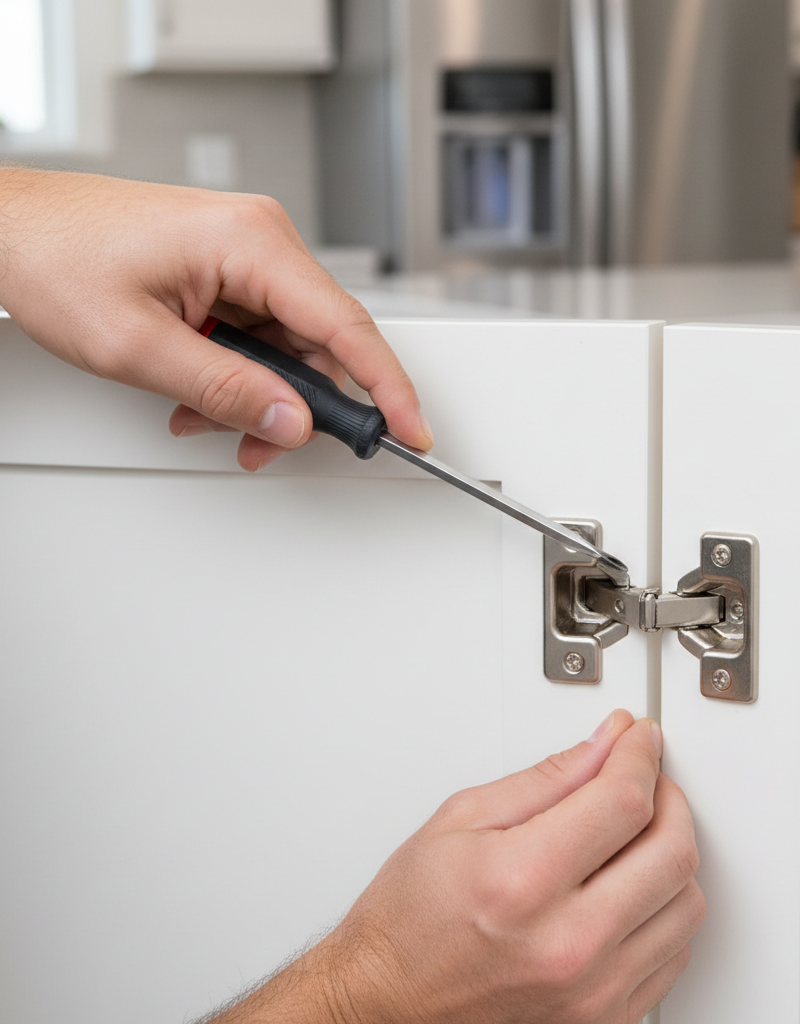
Adjust Side-to-Side (Lateral Adjustment) – Even out gaps between doors
- Purpose: This is your go-to for getting even gaps between two adjacent cabinet doors or between a door and the cabinet’s side frame.
- How: Look for the screw that’s usually closest to the edge of the door, or sometimes it’s the middle screw on the hinge body. Turning it usually moves the door horizontally. Turn it clockwise to move the door closer to the cabinet side, or counter-clockwise to move it away. Make small adjustments, maybe a quarter turn at a time, on both hinges (top and bottom) for that door, then close it and check your progress. You’re aiming for a consistent 1/16-inch to 1/8-inch gap all around.
- Tip: If you’ve got multiple doors, get one door perfect first, then use that one as your guide for the rest.
-
Adjust Up-and-Down (Vertical Adjustment) – Align the tops and bottoms
- Purpose: This adjustment is crucial for lining up the tops and bottoms of doors, especially if one door sits higher or lower than its neighbor, or if it’s dragging on the bottom frame.
- How: This screw is often on the mounting plate itself and might need another screw loosened first — usually a cam screw — so the hinge can move. Once loosened, you can slide the door up or down in the mounting plate. Tighten the cam screw once you’ve got the height where you want it. Same deal here: small moves on both hinges. On some older hinges, it’s just slotted holes on the mounting plate — you loosen the two screws holding the plate to the cabinet, move the door, then re-tighten.
- Warning: Don’t overtighten, especially on particle board cabinets, or you’ll strip the screw holes.
-
Adjust In-and-Out (Depth Adjustment) – Control how flush the door sits
- Purpose: This screw controls how far the door projects from the cabinet frame when closed. Use this if your door isn’t closing flush, or if it’s sunk too far into the opening.
- How: This is usually the screw furthest from the door’s edge. Turn it to pull the door in or push it out. If your door overlaps the frame too much, adjust it outward. If it’s not closing tightly, adjust it inward. Keep all the doors in a run at the same depth if you want it to look clean.
- Check: After the adjustment, make sure the door closes securely and doesn’t bounce back.
-
Address a Warped Door – When adjustments aren’t enough
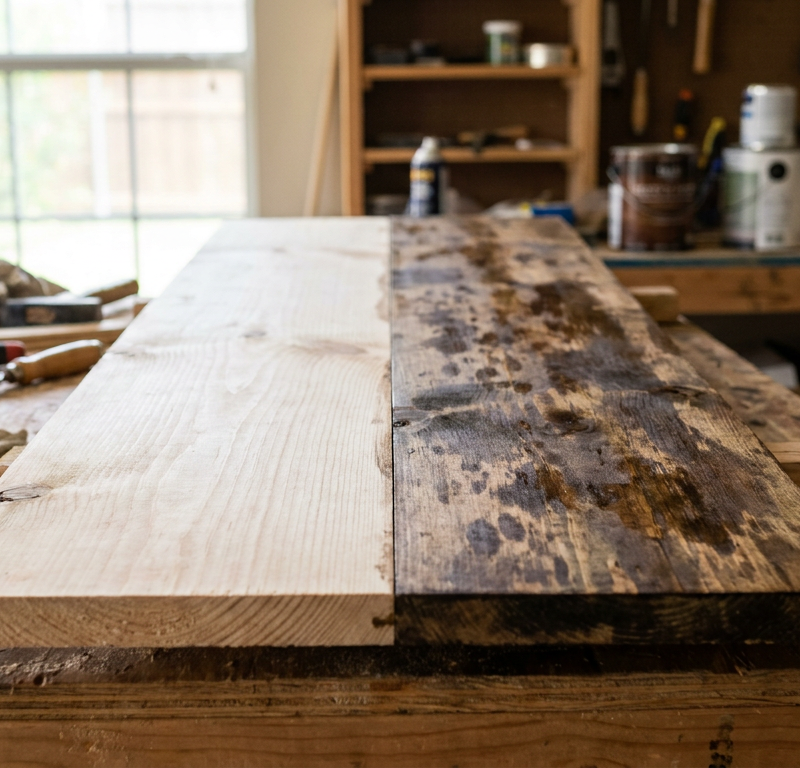
- Diagnosis: If you’ve adjusted the hinges as much as you can and still have a big gap, especially at a corner, you might have a warped door. Lay the door flat on a workbench and sight down its length, or set a straightedge across it. If it’s bowed by more than about 1/8 inch over 24 inches, it’s warped.
- Small Warps: For minor warps in solid wood doors, you might be able to put some pressure on it. I’ve had limited luck clamping a straight board across the concave side and leaving it for a few days, sometimes with a damp rag on the convex side — let it dry slowly.
- Major Warps: For severe warps or warped MDF/particle board doors, replacement is usually the only practical move. Sometimes you can order just a new door front from a cabinet supplier.
-
Reinforce Stripped Screw Holes – When screws just won’t hold
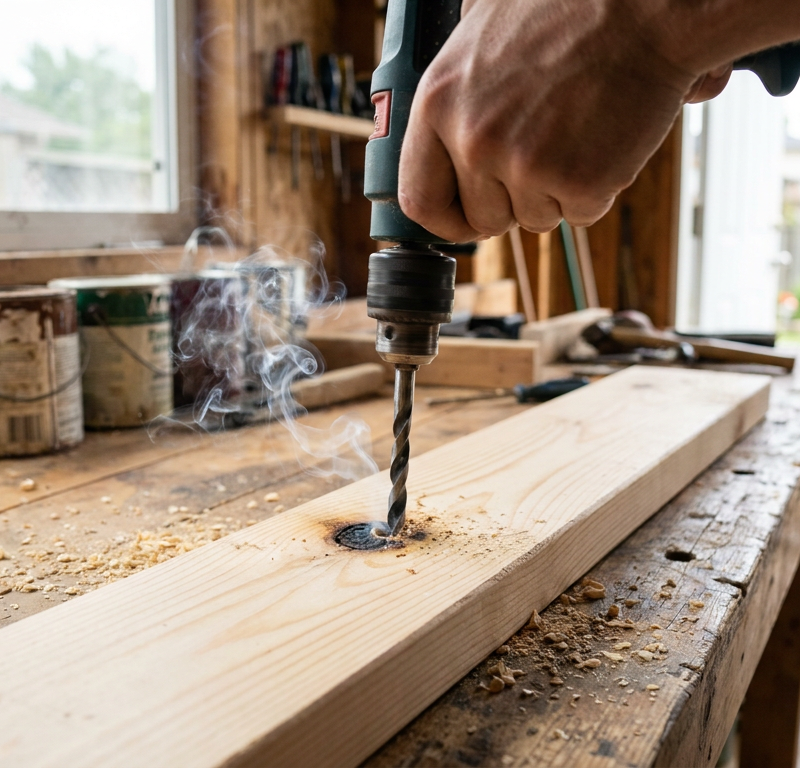
- Solution: If a hinge screw spins freely, the hole’s stripped. Don’t just jam a bigger screw in there. Pull the hinge, fill the stripped hole with wood glue and a few wooden toothpicks or a dowel rod of the right diameter. Let the glue dry completely — give it at least an hour. Then cut the toothpicks/dowel flush and re-drill a pilot hole (smaller than the screw shank, but larger than the screw core). Now the screw’s got something to bite into. This fix saves cabinets all the time.
- Safety: Wear safety glasses when cutting dowels or toothpicks.
-
Re-shim Cabinet Frame – For seriously out-of-square cabinets
- Diagnosis: If the entire cabinet box is clearly out of square — you can check with a large framing square inside or across the opening — then hinge adjustments will only get you so far. Usually that happens when cabinets weren’t installed level in the first place, or the house has shifted.
- The Fix: This is a bigger job. You might need to detach the cabinet from the wall, check for plumb and level, and add shims behind the cabinet where it meets the wall studs. That straightens the cabinet box back out. You’ll need a level, shims (wood or plastic), a stud finder, and maybe a drill/driver. If multiple cabinets are involved or you’re dealing with a structural issue, now you’re in pro territory.
Common Causes
- Daily Wear and Tear: Plain and simple, opening and closing doors hundreds of times a year loosens screws. Gravity and friction do their thing.
- Changes in Humidity: Wood expands and contracts with moisture changes. That can make doors warp or hinge screws loosen. It’s why doors sometimes bind in the summer and free up in the winter.
- Poor Initial Installation: If the cabinets weren’t installed level and plumb to start with, the doors are fighting uphill from day one.
- Overloaded Cabinets: Heavy contents inside a cabinet can make the frame sag a little over time, which throws off door alignment.
- Cheap Hardware: Inexpensive hinges may not hold adjustments as well or might fail early. A lot of builder-grade cabinets cut corners there.
Common Mistakes
- Random Screw Twisting: Just turning screws without knowing what each one does is a recipe for a mess. You’ll make it worse, I promise.
- Overtightening: It’s way too easy to strip screw holes, especially in particle board or MDF, if you hit them with a drill driver on a high clutch setting. Hand-tighten until snug, then stop.
- Ignoring Loose Screws First: Don’t jump straight to adjustments if screws are loose. Tighten first, then see where you stand. Saves a pile of headaches.
- Not Using a Level: For bigger issues, or if you suspect the cabinet itself is out of whack, a level is your best friend. Don’t eyeball it.
- Ignoring Warped Doors: Sometimes a door’s just warped past the point of adjustment. Try to force it with hinges and you’ll end up damaging the hinge or the cabinet frame.
- Not Checking Adjacent Doors: When you adjust one door, always check how it affects the neighbors. You want the whole run to look right, not just one door.
Cost & Time Breakdown
Here’s what you can expect in terms of effort and cost for different levels of door alignment fixes:
| Task | DIY Cost | Pro Cost (Est.) | Time |
|---|---|---|---|
| Basic Hinge Adjustment | $0-$5 | $50-$100 | 10-30 minutes |
| Stripped Hole Repair | $5-$10 | $75-$150 | 30-60 minutes |
| Minor Door Warping (DIY Attempt) | $0-$20 | N/A | Several days (passive) |
| New Hinge Installation | $15-$40 (per door) | $100-$200 (per door) | 30-90 minutes (per door) |
| Cabinet Re-shimming | $10-$30 | $200-$500+ | 2-4 hours |
| Door Replacement | $50-$200+ (per door) | $150-$400+ (per door) | 1-2 hours (installation) |
Tips & Prevention
- Routine Checks: Every six months or so, give your cabinet doors a quick once-over. Open and close them, jiggle them gently. Catching loose screws early keeps bigger problems off your plate.
- Gentle Use: Don’t slam your cabinet doors. I know, easier said than done with kids around, but a little care cuts down wear on hinges and frames.
- Maintain Humidity: If you live somewhere with big humidity swings, a whole-house humidifier or dehumidifier can help stabilize the wood and prevent warping. Aim for relative humidity between 35% and 55%.
- Quality Hinges: If you’re replacing hinges, spend a little extra on good-quality adjustable ones. They last longer and hold their settings better.
- Pilot Holes: Always drill proper pilot holes when installing new screws or re-attaching hinges, especially into hardwood or plywood. It keeps splitting down and makes screws easier to drive.
When to Call a Professional
Hinge adjustments are definitely DIY-friendly, but there are times you just need to throw in the towel and call in the cavalry. If you’ve got multiple cabinets that are badly out of square, that points to a bigger framing or installation problem, and that’s when you call a pro. If you suspect your house is settling and throwing everything off, get a general contractor or a structural engineer in there. Any time you’re dealing with a lot of cabinet replacement, or if you’ve got high-end custom cabinetry you don’t want to risk scarring up, a cabinet maker or experienced carpenter is your best bet. Don’t risk more damage or a costly mistake if you’re out of your depth — sometimes the smart money is on calling somebody who does this every single day.
Related Articles
Keep troubleshooting with these hand-picked guides from FixlyGuide:
- The 3 Tiny Screws That Keep Your Cabinet Doors From Closing — If your cabinet doors are crooked, sagging, or won't close, the problem isn't the wood—it's the three tiny, often-ignored adjustment screws…
- The Secret to a Flawless Drywall Patch Is In the Paper — Frustrated by drywall patches that always show through? That telltale bump or sanding mark can ruin a perfect wall. Discover the 'Californi…
- Swap Your Leaky Faucet This Weekend, No Plumber Needed — Ready to stop that annoying drip and give your kitchen an instant upgrade? This guide shows you how to replace a kitchen faucet yourself. W…
- The 7 Critical Wall Prep Mistakes Most DIY Painters Make (And How to Fix Them) — Prepping your walls correctly before painting is crucial for a smooth, lasting finish. Learn to avoid common DIY mistakes and achieve profe…
- The 7 Critical Wall Prep Mistakes Most DIY Painters Make (And How to Fix Them) — Discover the common wall preparation mistakes DIY painters make and how to avoid them for a flawless finish that lasts.
- The Surprising Reason Your Ceiling Fan Wobbles (It's Not Always the Blades) — A wobbly ceiling fan isn't just annoying—it can be a safety hazard. I'll show you how to diagnose and fix the common culprits.
Should you do this yourself?
Answer five quick questions before you start. Safety outranks savings every time.
Your experience with work like this
How high do you have to work?
Does the job involve any of these?
Will it need a permit?
Specialty tools
Free and instant. Educational guidance only — not a quote, inspection, or professional diagnosis.
What should this project cost?
Enter your project details for a realistic cost range before you call anyone.
Cosmetic refreshes start near $5,000; full remodels commonly $25,000–$45,000.
- Regional adjustment
- National average
- Labor share (typical)
- ~$8,550
- Quotes to collect
- 3 written estimates
Educational estimate based on national averages — not a binding quote. Always confirm with written local estimates.
Before you start
Check the difficulty, permits, and safety risk — then decide whether to call a pro.
- Estimate this projectGet a cost range for your scope and ZIP before you call anyone.Open
- Get local estimatesSend one request and compare written estimates from vetted pros.Open
Free, no signup required. Estimates are educational guidance, not a quote or an inspection.
Get the print-ready PDF of this guide
A clean, ad-free, printable version you can keep on your phone or pin to the workshop wall. Free with a FixlyGuide account.
- Print-optimized layout
- Tools, materials & every step included
- Saved to your account
Recommended for DIYers & woodworkers
Sponsored
The Top 20 Tools for Workshops of Any Budget
No stationary machines or power tools required — plus 3 fundamental tools that can't be bought at any price.
Get the free guide
Ted's Woodworking — The #1 Woodworking Resource
Detailed instructions, dimensioned drawings, materials & cutting lists, and 3D schematics for every skill level.
See the plansSponsored: links above are affiliate links. FixlyGuide may earn a commission on qualifying purchases — at no extra cost to you.
Frequently asked questions
How do I know which hinge screw does what?+
On most European-style hinges, there are three screws: one adjusts the door in/out (depth), one moves it side-to-side (lateral), and the third (often on the mounting plate) handles up/down (vertical) alignment. Experiment with small turns to see the effect.
Can I fix a seriously warped cabinet door?+
Minor warps in solid wood doors can sometimes be corrected by clamping with a straightedge or applying moisture. However, severely warped doors, especially those made from engineered wood, are usually beyond repair and will need to be replaced for a lasting fix.
My cabinet door is rubbing against the frame. What's the first thing I should check?+
First, tighten all hinge screws. If it's still rubbing, use the side-to-side (lateral) adjustment screw on both hinges to shift the door away from the frame. If it's rubbing at the bottom, try the up-and-down adjustment.
What's the ideal gap size between cabinet doors?+
Generally, you're aiming for a consistent gap of about 1/16 inch to 1/8 inch (roughly 1.5mm to 3mm) between cabinet doors and between doors and the cabinet frame. Consistency is key for a professional look.
How do I fix a stripped screw hole in a cabinet?+
Remove the screw, fill the hole with wood glue and a few wooden toothpicks or a small dowel. Let it dry completely, trim flush, then re-drill a small pilot hole before re-inserting the screw. This gives the screw new material to bite into.
My cabinet doors keep coming loose. What's wrong?+
If screws are repeatedly loosening, it could be due to constant heavy use, cheap hardware, or the holes are slightly stripped. Try the toothpick and glue method for stripped holes, or consider upgrading to higher-quality hinges if they're older and worn out.
Do I need special tools to adjust cabinet hinges?+
For most modern adjustable hinges, all you'll need is a standard Phillips head screwdriver. For older, non-adjustable hinges, you might need a level, shims, or possibly a drill if you're reinforcing screw holes.
My entire cabinet looks crooked. Can I fix that with hinge adjustments?+
Hinge adjustments can compensate for minor misalignments, but if the entire cabinet box is significantly out of square or level, it indicates an installation issue. This usually requires re-shimming the cabinet against the wall, which is a more involved process and may require a pro.
How often should I check my cabinet door alignments?+
A quick visual check and jiggle of the doors every six months or so is usually sufficient. Catching loose screws or minor misalignments early can prevent them from becoming bigger, more annoying problems down the line.
Can changes in humidity affect cabinet door alignment?+
Absolutely. Wood expands when humidity is high and contracts when it's low. These seasonal changes can cause doors to swell, warp slightly, or cause hinge screws to loosen, leading to alignment issues.
Discussion
Loading comments…