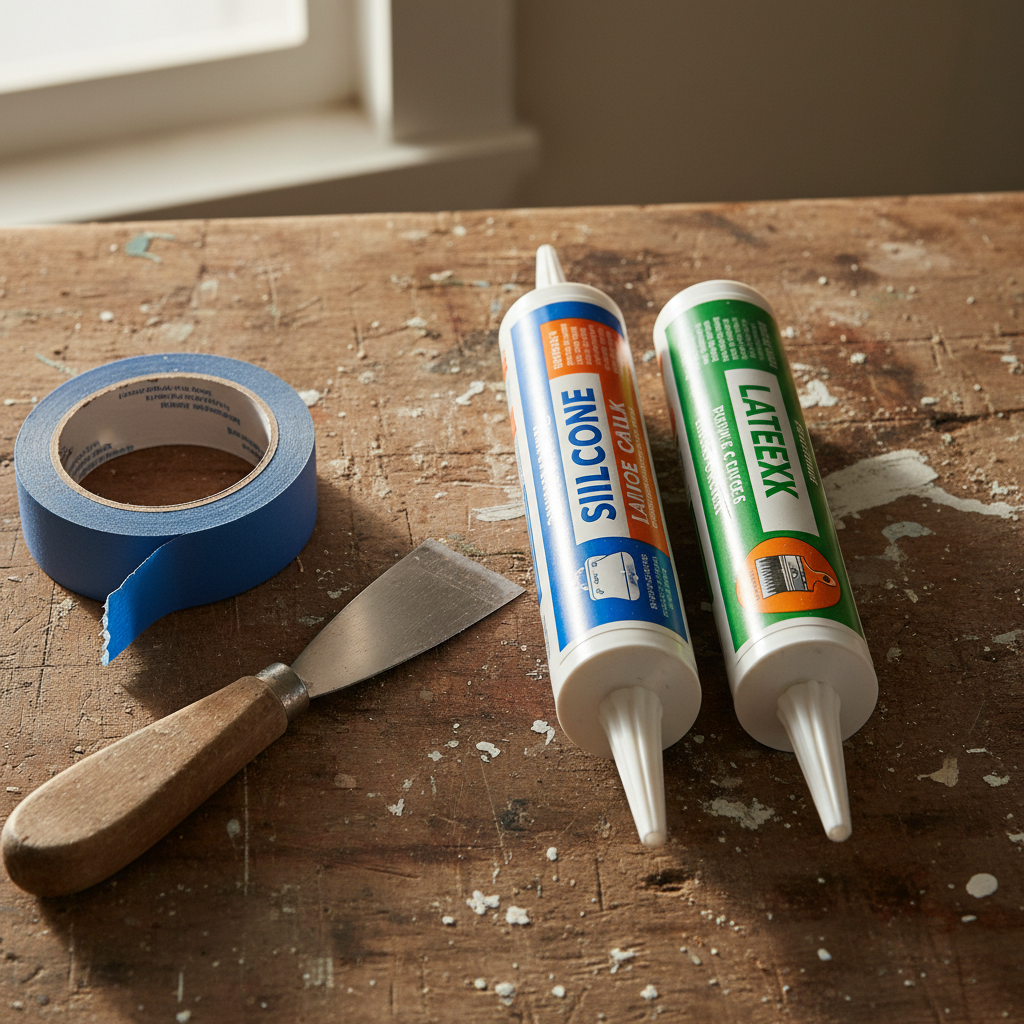
- Wrong Type for the Location: Using paintable latex caulk on an exterior window frame or around a bathtub guarantees failure due to water exposure and temperature-induced movement.
- Applying to a Dirty or Wet Surface: Caulk needs a pristine, dry surface to bond. Applying it over dust, old paint flakes, or moisture means it's bonding to that unstable layer, not the substrate itself.
- Applying Over Old Caulk: New caulk will not merge with or stick to old, cured caulk. It creates a weak, layered seal that will peel away easily.
- Painting Unpaintable Caulk: Attempting to paint 100% silicone results in a mess. The paint will bead up, never dry properly, and will flake off, leaving a tacky, ugly finish.
Windows · Drafty or failed seal
| Project category | Windows |
|---|---|
| Problem type | Drafty or failed seal |
| Trade required | Window replacement |
| Urgency | Planned project |
| Safety risk | Low safety risk |
| DIY suitability | Pro recommended |
| Cost category | High cost |
| Typical timeline | Made-to-order lead times commonly 4–10 weeks |
| Contractor type | Window replacement contractor |
Repair option
Glass pack replacement or weatherstripping on a sound frame.
Replacement option
Full-frame replacement when the frame or sill is compromised.
Common causes
- Failed insulated glass seal
- Worn weatherstripping
- Rotted or racked frame
Relevant tools:project cost estimatorhome improvement material prices
Published June 27, 2026Last updated August 17, 2026
Tools & materials you'll need
Affiliate links- AmazonDripless Caulking Gun1 · A good quality gun prevents excess caulk from oozing.
- AmazonCaulk Removal Tool / Utility Knife1 · For scraping out old caulk.
- AmazonCaulk Finishing Tool1 · Optional, but helps create a professional profile.
- AmazonSafety Gloves1 pair · Protect hands from solvents and sticky caulk.
- Amazon100% Silicone Caulk1-2 tubes · For kitchens, baths, and exterior use.
- AmazonPaintable Acrylic Latex Caulk1-2 tubes · For interior trim and baseboards.
- AmazonPainter's Tape1 roll · For creating clean, sharp lines.
- AmazonDenatured Alcohol1 bottle · Essential for cleaning surfaces before applying silicone.
- AmazonMineral Spirits1 can · For silicone cleanup. Use with ventilation.
- AmazonPaper Towels / Rags1 roll
As an Amazon Associate FixlyGuide earns from qualifying purchases — at no extra cost to you. Prices and availability are accurate as of publication and subject to change.
Quick Answer
The biggest mistake homeowners make is using the wrong caulk for the job. Latex caulk is paintable and easy to use but isn't waterproof, making it ideal for indoor trim but terrible for wet areas. 100% silicone caulk is waterproof, highly flexible, and ideal for kitchens, baths, and exterior windows, but it cannot be painted and requires mineral spirits for cleanup.
The Problem
It’s a frustratingly common homeowner chore: spending a Saturday afternoon scraping out cracked, peeling, or moldy caulk from around a window or bathtub, only to find yourself doing the exact same job a year or two later. The bead you so carefully applied has shrunken, pulled away from the wall, or turned a nasty shade of black. This recurring failure isn't a sign of a bad house or a bad application—it's almost always a sign of a bad choice. You used the wrong caulk.
The most frequent casualty of this mistake is the window seal. A homeowner, noticing a draft, grabs a tube of all-purpose "painter's caulk" (a latex variety) from the local hardware store and runs a bead around the exterior window trim. It looks great for a few months. Then the seasons change. The sun beats down, the rain falls, and temperatures swing from 80°F to 30°F. The latex, which isn't designed for significant movement or direct water exposure, hardens, cracks, and flakes away. Water now has a direct path into your wall assembly, turning a simple air seal problem into a potential rot and mold catastrophe. You've just witnessed the classic silicone vs. latex caulk mistake in action, and it cost you more than just a tube of caulk—it cost you your home's protective envelope.
How It Works
To understand why this failure happens, you have to look at the chemistry that makes these two products fundamentally different. They are not interchangeable, and their names—silicone and latex—describe their core composition.
Silicone caulk is an inorganic sealant made from siloxane polymers. Think of it as a synthetic rubber. Its backbone isn't carbon-based, which gives it incredible stability against heat, UV radiation, and water. When you apply it, moisture in the air triggers a chemical reaction (a "curing" process) that links these polymers together, forming a durable, permanently flexible, and waterproof membrane. This is why 100% silicone doesn't shrink, crack, or wash away when exposed to the elements, making it the undisputed champion for wet environments like showers, tubs, sinks, and exterior applications where weatherproofing is critical. Its main drawbacks are that it's unpaintable—paint simply won’t stick to its slick surface—and it requires solvents like mineral spirits for cleanup.
Latex caulk, on the other hand, is an acrylic-based product. It's essentially a mixture of acrylic and vinyl polymers suspended in a water base (hence its other name, "acrylic latex"). It cures through water evaporation. As the water leaves the caulk bead, the acrylic particles coalesce to form a seal. Because it's water-based, it's easy to tool with a wet finger and cleans up with soap and water. Its biggest advantage is that it is formulated to be painted, allowing it to blend seamlessly with trim and walls. However, this water-based nature is also its greatest weakness. It's not truly waterproof, only water-resistant, and it has significantly less flexibility than silicone. It’s perfect for sealing static, dry gaps, like between a baseboard and a wall, but it will quickly fail in a joint that experiences lots of movement or direct water contact.
Step-by-Step Fix
Achieving a professional, long-lasting seal isn't about fixing a single problem; it's about following a precise process to choose and apply the correct caulk for the joint. This guide will walk you through creating a perfect seal that lasts for years, not months.
1. Assess the Joint Before you buy anything, analyze the specific location. Ask yourself three questions: Will it get wet? (e.g., bathtub, kitchen sink, exterior window). What materials am I sealing? (e.g., wood to drywall, tile to fiberglass, vinyl to brick). Will the joint move? (e.g., corners of walls, window frames, expansion joints are high-movement).
2. Choose Your Caulk Based on your assessment, select your sealant. For bathrooms, kitchens, and exteriors, use 100% Silicone. For interior trim, baseboards, and crown molding that will be painted, use a high-quality Acrylic Latex with Silicone (this hybrid offers better flexibility than basic latex). Read the tube—it will specify its ideal use, flexibility rating, and whether it's paintable.
3. Remove Old Caulk Completely New caulk will not stick to old caulk. Use a sharp utility knife or a specialized caulk removal tool to slice along the edges of the old bead. Pry it out with a scraper or needle-nose pliers. For stubborn silicone, an oscillating multi-tool with a scraper blade is a highly effective time-saver. Your goal is to remove 100% of the old material.
4. Clean the Surface Thoroughly This is the most critical step for adhesion. Once the old caulk is gone, the surface must be immaculately clean and dry. For silicone applications (baths/kitchens), wipe the joint with denatured alcohol to remove all soap scum and solvent residue. For latex applications (trim), a damp rag followed by a dry one is sufficient. Let the area dry completely—at least an hour for porous surfaces.
5. Tape for Clean Lines For a perfectly straight, professional-looking bead, apply painter's tape to both sides of the joint. Leave a consistent gap of about 1/8" to 1/4" where the caulk will go. This step takes a few extra minutes but is the secret to a sharp finish.
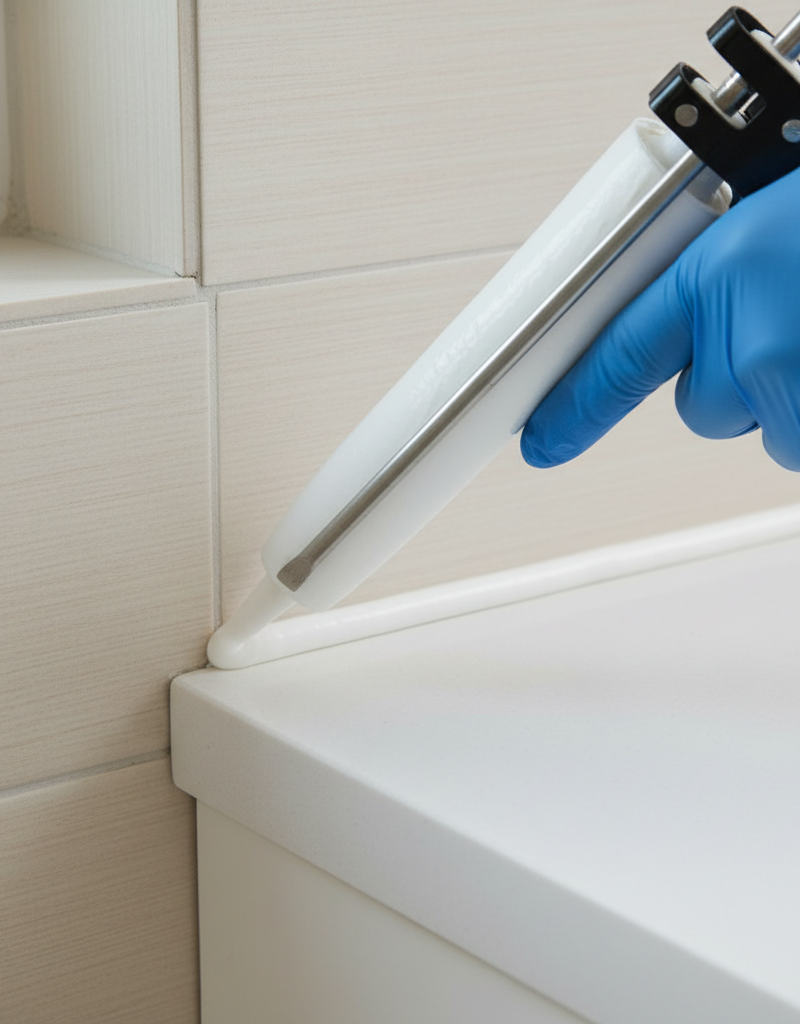
6. Load and Cut the Tube Place the tube in a high-quality dripless caulking gun. Use the gun's built-in cutter or a utility knife to snip the very tip of the nozzle at a 45-degree angle. The opening should be slightly smaller than the gap you intend to fill; you can always make it bigger. Puncture the inner seal with a long nail or the gun's built-in poker.
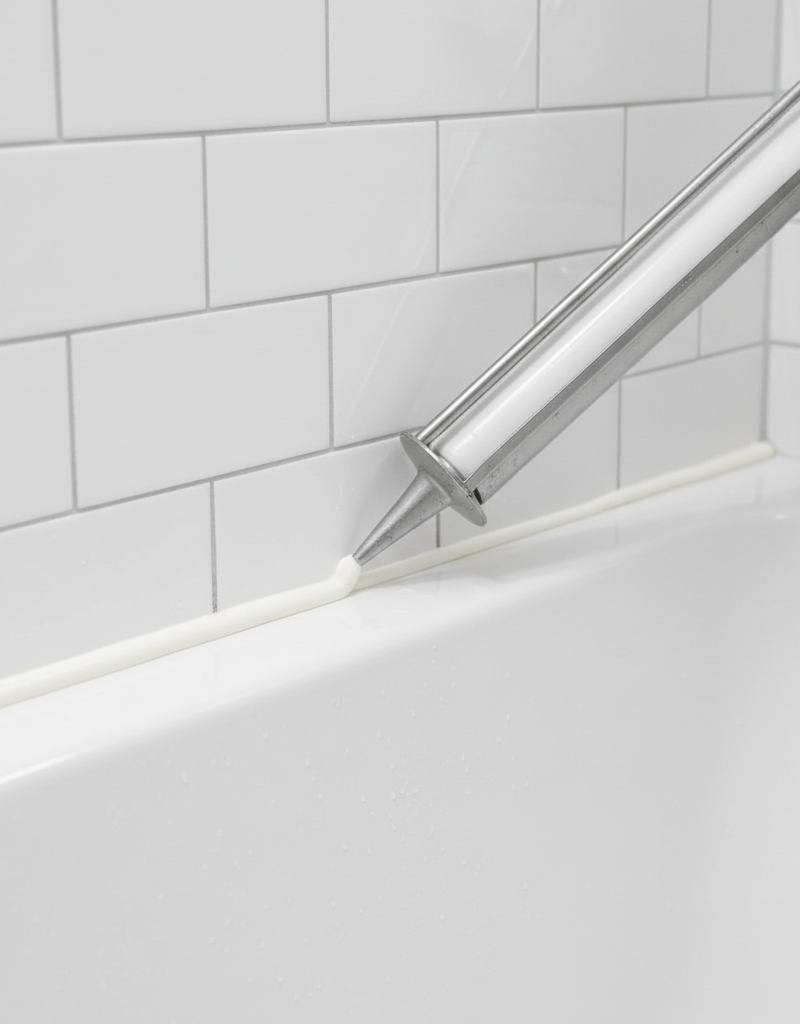
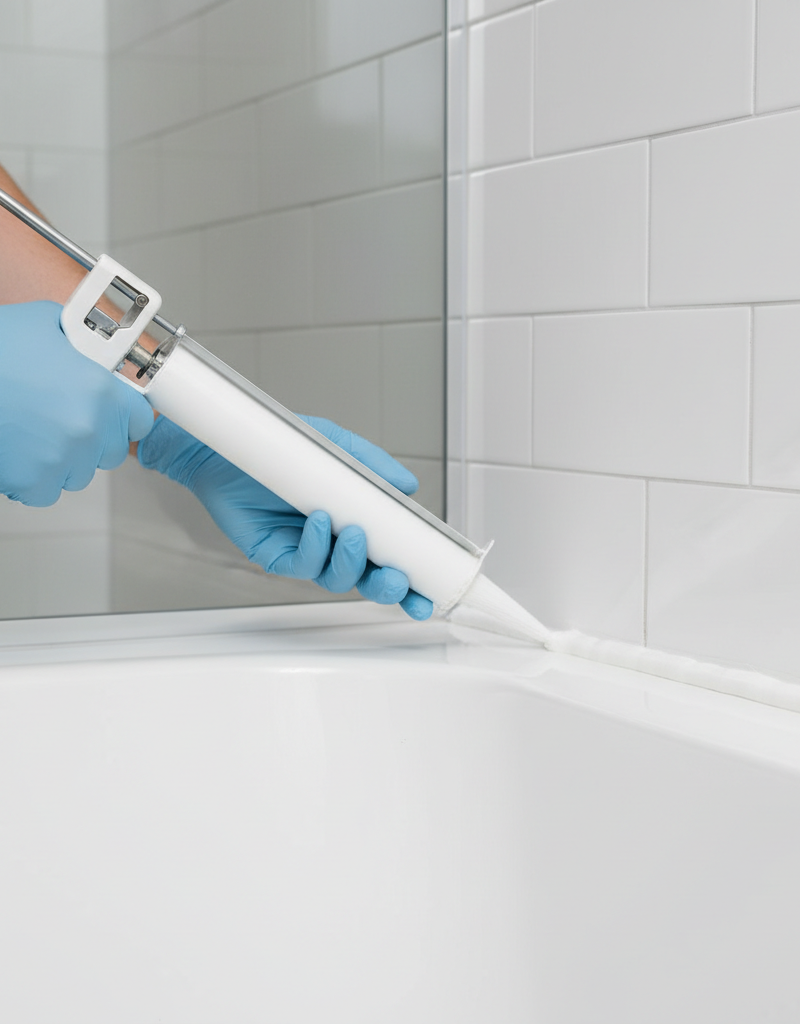
7. Apply the Caulk Bead Hold the caulk gun at a 45-degree angle to the joint. Here’s the pro tip: Push, don't pull. Applying pressure to push the bead into the joint forces caulk into the gap for a stronger bond, whereas pulling the bead tends to lay it on the surface. Move at a steady, consistent speed to apply a uniform bead.
8. Tool the Bead Immediately after applying the caulk, smooth or "tool" the bead. This presses the caulk into the surfaces for a complete seal and creates a neat, concave profile. For latex, use a finger dipped in water. For silicone, you can use a caulk finishing tool, the corner of a plastic spoon, or even an ice cube—the melting water prevents the silicone from sticking to the cube.
9. Remove the Tape While the caulk is still wet, carefully pull the painter's tape off. Pull it away from the caulk bead at a 45-degree angle to avoid smudging your fresh line. This will leave you with a perfectly straight, sharp edge.
10. Cure and Clean Up Check the tube for cure times. Latex caulk is typically paint-ready in 1-2 hours but needs 24 hours to fully cure. Silicone can be exposed to water in as little as 30 minutes (for some fast-cure formulas) but often requires 24-48 hours to fully cure and reach maximum hardness and adhesion. Clean wet latex with soap and water. Clean wet silicone with a dry paper towel followed by mineral spirits. Safety Note: Always ensure proper ventilation when working with mineral spirits.
Common Causes of Caulk Failure
- Wrong Type for the Location: Using paintable latex caulk on an exterior window frame or around a bathtub guarantees failure due to water exposure and temperature-induced movement.
- Applying to a Dirty or Wet Surface: Caulk needs a pristine, dry surface to bond. Applying it over dust, old paint flakes, or moisture means it's bonding to that unstable layer, not the substrate itself.
- Applying Over Old Caulk: New caulk will not merge with or stick to old, cured caulk. It creates a weak, layered seal that will peel away easily.
- Painting Unpaintable Caulk: Attempting to paint 100% silicone results in a mess. The paint will bead up, never dry properly, and will flake off, leaving a tacky, ugly finish.
- Exceeding Flexibility Limits: Every caulk has a flexibility rating (e.g., +/- 12.5%, +/- 25%). Using a low-flexibility caulk in a high-movement joint (like where a wall meets a ceiling) will cause it to tear as the house naturally expands and contracts.
Common Mistakes
- Cutting the Nozzle Too Big: This is the most frequent amateur error. It deposits a huge, messy bead that's hard to tool and wastes material. Start small; you can always cut more off.
- Forgetting to Tool the Bead: Simply laying down a bead without tooling it leaves a convex shape that is weak and prone to collecting dirt and mildew. Tooling creates a strong, concave, water-shedding profile.
- Using Expired Caulk: Caulk has a shelf life. Expired material can be hard to extrude, may not cure properly, and will not bond effectively. Check the date on the tube.
- Not Allowing Full Cure Time: Exposing new caulk, especially silicone in a shower, to water before it has fully cured can wash it out or prevent it from bonding, leading to immediate failure.
- Choosing the Cheapest Caulk: A $2 tube of basic latex painter's caulk is not the same as a $9 tube of 100% silicone with a 50-year warranty. The cost difference is negligible compared to the labor of redoing the job.
- Not Using Painter's Tape: Skipping the taping step often results in wavy, smeared lines and getting caulk on adjacent surfaces, creating a messy, unprofessional appearance.
Cost & Time Breakdown
Caulking is one of the most cost-effective DIY jobs. A professional handyman typically charges $60-$100 per hour plus materials.
| Task | DIY Cost | Pro Cost (Labor & Materials) | DIY Time | Pro Time |
|---|---|---|---|---|
| Reseal One Bathtub (Silicone) | $15-$25 | $150-$250 | 1-2 hours | 1 hour |
| Seal Exterior of 4 Windows (Silicone) | $20-$40 | $200-$400 | 3-4 hours | 1.5-2 hours |
| Caulk Baseboards in One Room (Latex) | $10-$20 | $120-$200 | 1.5-2.5 hours | 1-1.5 hours |
| Seal Kitchen Counter Backsplash (Silicone) | $15-$25 | $100-$180 | 1 hour | 0.5-1 hour |
Tips & Prevention
- Test on a Hidden Spot: Before applying to a visible area, run a small test bead on a scrap piece of wood or an inconspicuous area to check flow and color.
- Keep Caulks Separate: Store your silicone and latex caulk tubes in different, clearly marked bins to avoid grabbing the wrong one in a hurry.
- Regular Inspection: Once a year, walk through your home and inspect all caulk lines, especially in wet areas and on the exterior. Look for any cracks, peeling, or signs of mildew.
- Proper Cleaning: Clean silicone caulk in showers and sinks regularly with pH-neutral cleaners. Abrasive or acidic cleaners can degrade the sealant over time. A weekly spray with a 50/50 water and vinegar solution can help prevent mildew growth.
- Control Humidity: In bathrooms, always use the ventilation fan during and for 20-30 minutes after a shower to reduce the moisture that enables mold and mildew to grow on caulk surfaces.
- Don't Mix Bleach and Ammonia: Critical Safety Warning: Never use ammonia-based cleaners on moldy caulk if you have recently used (or plan to use) a bleach-based product. The combination creates toxic chloramine gas.
When to Call a Professional
While caulking is an excellent DIY skill, there are times when it's best to call in a professional. If you find extensive, dried-out, and cracked caulk around all your home's exterior window and door frames, a pro can often complete the job much faster and more effectively, especially if it requires working on high ladders. If removing old caulk reveals soft, damp, or rotten wood in a window frame or wall, this is a sign of a deeper water intrusion problem. Stop the caulking project and call a contractor or window specialist immediately. Sealing over the damage will only trap moisture and make the problem exponentially worse. Finally, for large-scale jobs or specialty applications like sealing concrete expansion joints, a professional will have the commercial-grade tools and sealants to ensure a durable, long-lasting result.
Repair or replace this system?
Plug in four numbers and see which choice holds up financially.
Free and instant. Educational guidance only — not a quote, inspection, or professional diagnosis.
Questions to ask before you sign
Ask every contractor the same questions and the cheapest bid stops looking cheapest. Check them off as you go — your progress is saved on this device.
Free, no signup. Bring this to every walkthrough so you compare bids on the same terms.
What should this project cost?
Enter your project details for a realistic cost range before you call anyone.
Mid-range remodels commonly $12,000–$22,000; small repairs often under $600.
- Regional adjustment
- National average
- Labor share (typical)
- ~$5,603
- Quotes to collect
- 3 written estimates
Educational estimate based on national averages — not a binding quote. Always confirm with written local estimates.
Repair or replace?
Run the age, cost ratio, and repair history through the calculator before you commit.
- Estimate this projectGet a cost range for your scope and ZIP before you call anyone.Open
- Get local estimatesSend one request and compare written estimates from vetted pros.Open
Free, no signup required. Estimates are educational guidance, not a quote or an inspection.
Recommended for DIYers & woodworkers
Sponsored
The Top 20 Tools for Workshops of Any Budget
No stationary machines or power tools required — plus 3 fundamental tools that can't be bought at any price.
Get the free guide
Ted's Woodworking — The #1 Woodworking Resource
Detailed instructions, dimensioned drawings, materials & cutting lists, and 3D schematics for every skill level.
See the plansSponsored: links above are affiliate links. FixlyGuide may earn a commission on qualifying purchases — at no extra cost to you.
Frequently asked questions
Can you put silicone caulk over old latex caulk?+
No. You should never apply new caulk over any type of old caulk. New caulk needs to bond directly to the clean, non-porous surfaces of the joint itself. Always completely remove the old caulk, clean the surface, and then apply the new bead.
How long does silicone caulk last compared to latex?+
High-quality 100% silicone caulk can last for 20 years or more, even in harsh conditions. Acrylic latex caulk typically has a shorter lifespan of 5-10 years, especially if it's in a joint with any movement or moisture exposure.
What happens if you paint silicone caulk?+
If you try to paint 100% silicone caulk, the paint will not adhere properly. It will look splotchy, remain tacky, and will easily peel or flake off. If a joint needs to be painted, you must use a 'paintable' acrylic latex or a paintable silicone hybrid formulation.
Is there a caulk that is both waterproof and paintable?+
Yes. These are often sold as 'siliconized' acrylic latex or 'paintable silicone.' They are hybrid products that offer better water resistance and flexibility than basic latex, while still being paintable. They are a good choice for areas like kitchen backsplashes or window trim, but for a truly waterproof seal in a shower or tub, 100% silicone is still the superior choice.
Discussion
Loading comments…