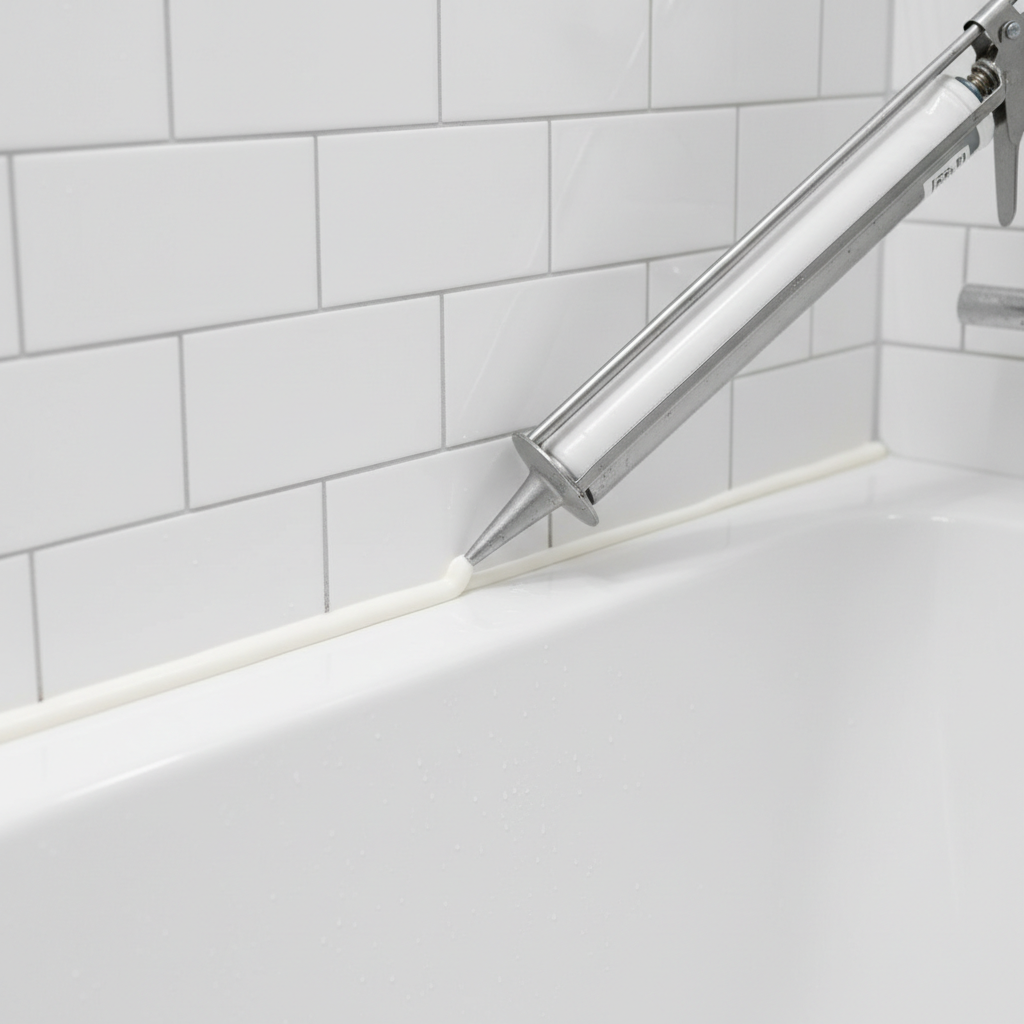
- Wrong Caulk Type: Using acrylic latex "painter's caulk" instead of 100% silicone caulk with an ASTM C920 Class 25 rating for flexibility.
- Improper Surface Prep: Any residual soap scum, oil, moisture, or old caulk will prevent the new bead from forming a strong, permanent bond, leading to adhesion failure.
- Joint Movement: Not accounting for the weight-induced movement of the tub. If you caulk an empty tub, the seal is immediately stretched to its limit the moment someone gets in.
- Three-Point Adhesion: Allowing the caulk to stick to the back of the joint as well as the two sides. This immobilizes the bead, preventing it from flexing and causing it to tear from the inside out (cohesion failure).
- Incorrect Bead Shape: Tooling a convex (humped) bead concentrates stress at the adhesion lines, causing it to peel away. A concave bead distributes stress and allows for proper elongation.
General remodeling · Renovation planning
| Project category | General remodeling |
|---|---|
| Problem type | Renovation planning |
| Trade required | General contracting |
| Urgency | Planned project |
| Safety risk | Low safety risk |
| DIY suitability | Pro recommended |
| Cost category | Major investment |
| Typical timeline | Design and permitting often 2–4 months before work starts |
| Contractor type | General contractor |
Repair option
Phase the work and fix the building envelope first.
Replacement option
Full renovation with permits, design, and a general contractor.
Common causes
- Space no longer fits how the household lives
- Resale preparation
- Deferred maintenance stacking up
Relevant tools:project cost estimatorcompare quoteshome improvement material prices
Published June 27, 2026Last updated August 17, 2026
Tools & materials you'll need
Affiliate links- Amazon100% Silicone Sealant (ASTM C920)1 tube · Kitchen & Bath formula with mold/mildew resistance.
- AmazonPainter's Tape1 roll
- AmazonMineral Spirits
- AmazonIsopropyl Alcohol
- AmazonLint-Free Rags or Paper Towels
- AmazonHousehold BleachFor mildew treatment, if needed.
- AmazonFoam Backer RodFor gaps wider than 1/4 inch.
As an Amazon Associate FixlyGuide earns from qualifying purchases — at no extra cost to you. Prices and availability are accurate as of publication and subject to change.
Quick Answer
Bathtub caulk primarily cracks due to joint movement and using the wrong type of caulk. As tubs settle with weight and temperatures change, the seam expands and contracts. If the caulk isn't flexible enough (like acrylic) or is too thin, it tears. The professional trick is to fill the tub with water before applying 100% silicone caulk, and then tooling the bead into a concave "hourglass" shape, which allows the seal to flex without tearing.
The Problem
You’ve seen it before. That once-pristine white line of caulk sealing your bathtub to the tile surround is now a cracked, yellowed, mildew-riddled eyesore. You cleaned it, you scraped it, you painstakingly applied a new bead last year, and yet, the cracks have returned. This frustrating cycle isn’t just ugly; it’s a flashing red light for potential water damage. Every crack is an invitation for water to seep into the wall cavity behind your tub, leading to rotted wood, delaminating backerboard, and a five-star resort for mold and mildew.
The failure you're seeing is typically one of two kinds: adhesion failure, where the caulk pulls away from the tub or the tile, or cohesion failure, where the caulk itself splits down the middle. Both result in a broken seal. Homeowners often blame the caulk brand, the house settling, or just bad luck. While these can be factors, the real culprits are almost always improper preparation, incorrect material selection, and, most importantly, flawed application geometry. A bead of caulk is a small, flexible bridge designed to span a dynamic gap. When that bridge isn’t built to flex, it’s destined to break.
This isn't just a cosmetic issue. A chronically failing caulk joint can turn a $15 tube of silicone into a $3,000 bathroom tear-out. The musty smell you might ignore is often the first sign of a much larger, hidden problem. Understanding the science of the seal is the only way to break the cycle and achieve a truly long-lasting, waterproof joint.
How It Works
A successful caulk joint is a masterclass in materials science and geometry. It’s not just a gap filler; it’s a high-performance, flexible gasket. The secret to a 10-year seal lies in accommodating movement.
The gap between your tub and tile is not static. It expands and contracts with temperature fluctuations and, more significantly, shifts every time someone gets in or out of the tub. A full cast-iron tub with water and a person can weigh over 800 pounds, causing the floor to deflect and the tub to settle by as much as 1/8th of an inch. Your caulk joint must be able to stretch and compress to handle this movement, thousands of times over its lifespan.
This is where caulk selection is critical. You need a material with high flexibility, or "elongation." Look for 100% silicone caulk that meets ASTM C920 standard, Class 25 or higher. This classification means the caulk can stretch and compress up to 25% of the joint’s width without failing. Cheaper acrylic or "painter's" caulk has far less elasticity and will quickly tear under the stress—this is the single most common material mistake.
The other critical component is the shape of the bead. Most DIYers apply a thick bead and smooth it into a convex (humped) or flat shape. This is fundamentally flawed. Stress concentrates at the thinnest points of the caulk. With a convex bead, the thinnest points are at the very edges where it adheres to the tub and tile. When the joint expands, all the force pulls on these weak adhesion lines, causing it to detach (adhesion failure).
The professional secret is to tool the bead into a smooth, consistent concave shape, like an hourglass on its side. In a concave bead, the caulk is thinnest in the middle and thickest where it bonds to the tub and tile. When the joint moves, the stress is distributed evenly across the entire body of the caulk, allowing the bead to stretch and flex from its center without ripping or peeling away at the edges. This maximizes the material's elastic properties and is the key to preventing cohesion and adhesion failure.
Finally, the caulk should only ever stick to two surfaces: the tub and the tile wall. If the gap behind the caulk is deep and the caulk sticks to the back wall, this creates "three-point adhesion." The joint can no longer stretch properly and will tear. For gaps wider than 1/4 inch, a foam backer rod is inserted to prevent this, ensuring the all-important two-point adhesion.
Step-by-Step Fix
1. Remove the Old Caulk Completely — Start by scoring the top and bottom edges of the old caulk line with a sharp utility knife. Be careful not to scratch the tub or tile. Then, use a dedicated caulk removal tool or a plastic scraper to dig in and peel the old caulk out in long strips. Needle-nose pliers are excellent for grabbing stubborn pieces.
2. Deep Clean the Joint — Scrape away any remaining caulk residue. Then, to remove soap scum and oils, wipe the joint thoroughly with a rag soaked in mineral spirits. Follow this with a final cleaning using isopropyl (rubbing) alcohol on a clean rag to remove any solvent residue. The surfaces must be surgically clean for the new silicone to bond properly.
3. Kill Mold and Mildew — If any black or splotchy spots remain, you must kill the mildew at its root. Apply a solution of 1 part bleach to 3 parts water with a small brush or spray bottle. Let it sit for 10-15 minutes until the stains disappear, then rinse thoroughly with water. Safety Note: Ensure the bathroom is well-ventilated, wear gloves and eye protection, and never mix bleach with ammonia-based cleaners, as this creates toxic gas.
4. Ensure Bone-Dry Surfaces — Silicone caulk will not adhere to a damp surface. Let the entire area air dry for a minimum of 24 hours. To be absolutely certain, aim a hairdryer on a low setting at the joint for 10 minutes to evaporate any lingering moisture hidden in the grout or seam.
5. Install Backer Rod (If Needed) — Inspect the gap. If it is wider or deeper than 1/4 inch at any point, use a foam backer rod. Select a rod diameter that is slightly larger than the gap (e.g., use a 3/8" rod for a 1/4" gap). Use a putty knife or a 5-in-1 tool to gently press the rod into the seam to a depth of about 1/8 inch. This prevents three-point adhesion and controls the depth of your caulk bead.
6. Fill the Tub (The Critical Pro-Tip) — Before you grab the caulk gun, fill the bathtub completely with water. This applies the maximum weight and opens the joint to its widest possible point. By caulking the seam in this "stressed" state, you are creating a seal that will be in a neutral or compressed state most of the time. When someone gets in, the caulk will simply relax to its neutral state rather than being stretched to its breaking point.
7. Tape for Clean Lines — For a razor-sharp, professional finish, apply painter's tape to create a consistent boundary, typically 1/8 to 3/16 inch from the corner on both the tub deck and the tile wall. Ensure the tape is pressed down firmly to prevent any caulk from bleeding underneath.
8. Cut the Nozzle Correctly — Snip the end of the caulk tube nozzle at a 45-degree angle. The size of the opening should be just large enough to bridge the taped-off gap, no larger. Puncture the inner foil seal with a long nail or the wire attached to your caulk gun.
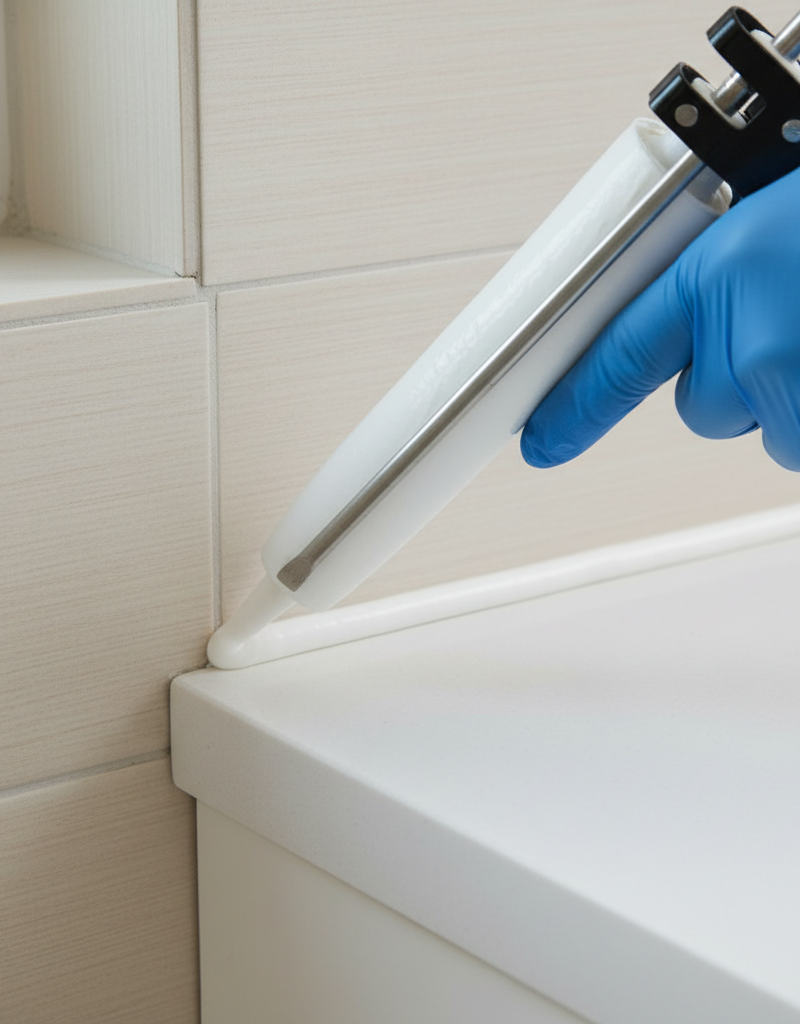
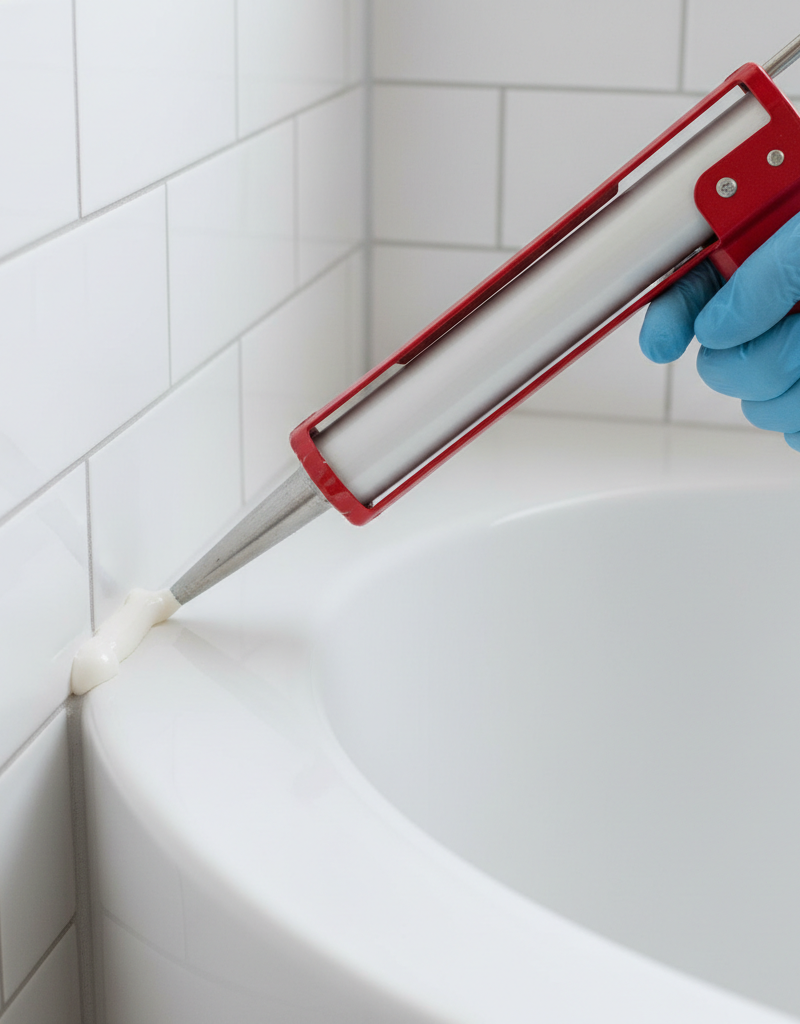
9. Apply the New Caulk Bead — Insert the tube into a dripless caulk gun. Start in a back corner and, holding the gun at a 45-degree angle, push the bead into the joint. Pushing the bead forces caulk into the seam, while pulling it tends to drag it along the surface. Move at a steady, consistent pace to apply an even, slightly convex bead that completely fills the taped-off area.
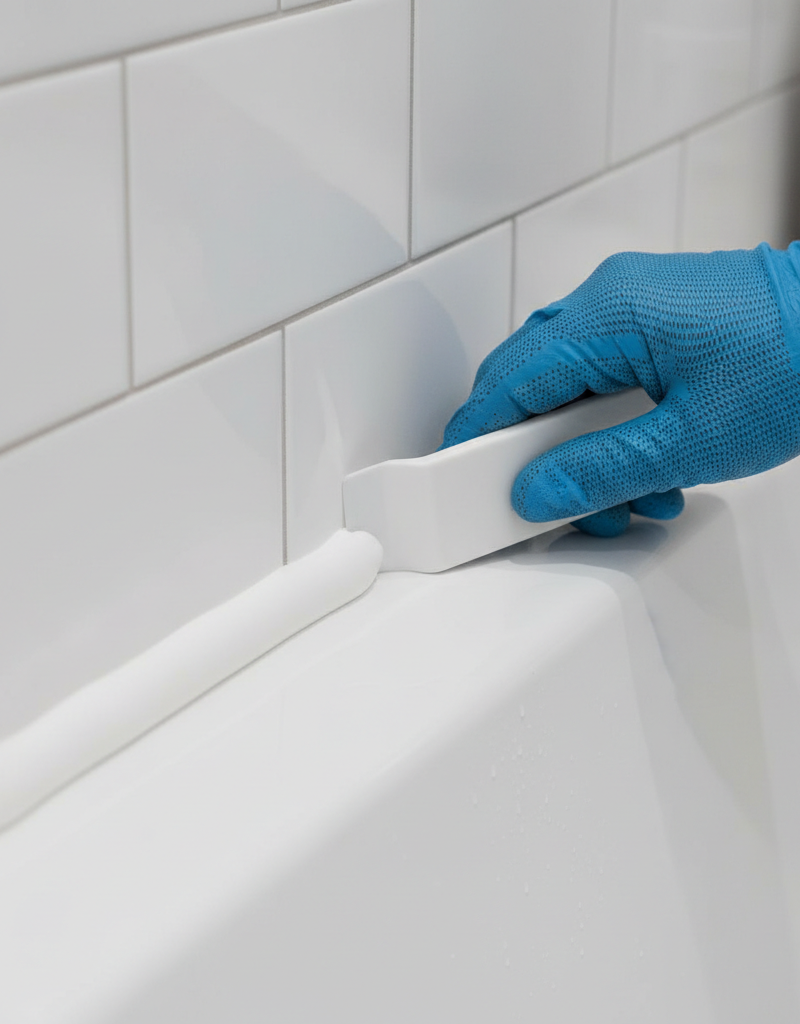
10. Tool the Perfect Concave Bead — This step creates the long-lasting shape. Lightly wet your finger with denatured alcohol (a pro-trick to prevent silicone from sticking to you) or use a dedicated caulk finishing tool. Starting in the corner, press firmly and drag the tool or your finger along the entire bead in one smooth, continuous motion. The goal is to press the caulk firmly into the joint and scoop out the excess, creating a clean, slightly concave profile. Clean the tool or your finger immediately on a paper towel.
11. Remove the Tape — Immediately after tooling, while the caulk is still wet, carefully pull the painter's tape off. Pull it slowly, at a 45-degree angle away from the freshly applied caulk line. This will leave a perfectly crisp, clean edge.
12. Let It Cure Completely — Do not touch the caulk or allow it to get wet. Check the manufacturer's instructions for cure times. Most 100% silicone caulks are water-ready in 24 hours, but a full cure can take 48-72 hours or even longer in humid conditions. Do not use the shower or tub until the full cure time has elapsed. You can now drain the tub.
Common Causes
- Wrong Caulk Type: Using acrylic latex "painter's caulk" instead of 100% silicone caulk with an ASTM C920 Class 25 rating for flexibility.
- Improper Surface Prep: Any residual soap scum, oil, moisture, or old caulk will prevent the new bead from forming a strong, permanent bond, leading to adhesion failure.
- Joint Movement: Not accounting for the weight-induced movement of the tub. If you caulk an empty tub, the seal is immediately stretched to its limit the moment someone gets in.
- Three-Point Adhesion: Allowing the caulk to stick to the back of the joint as well as the two sides. This immobilizes the bead, preventing it from flexing and causing it to tear from the inside out (cohesion failure).
- Incorrect Bead Shape: Tooling a convex (humped) bead concentrates stress at the adhesion lines, causing it to peel away. A concave bead distributes stress and allows for proper elongation.
- Application Thickness: Applying a bead that is too thin or too thick. A very thin bead will have no body to stretch; a very thick bead can fail to cure properly and can have internal stresses.
Common Mistakes
- Caulking over old caulk: Never do this. It’s like putting a new bandage on a dirty wound. The new caulk will not adhere properly and will fail in a fraction of the time.
- Skipping the cleaning steps: Thinking a quick wipe-down is enough. Microscopic soap scum or oil residue is the number one cause of adhesion failure.
- Forgetting to fill the tub with water: This is the most-skipped pro-tip and a primary reason for caulk splitting within the first year as it gets stretched beyond its limit.
- Using a wet, soapy finger to tool the bead: While wetting your finger is key, using soap can introduce surfactants that can interfere with the caulk's bond at the edges. Using denatured alcohol is a much safer bet.
- Rushing the cure time: Using the shower before the caulk has fully cross-linked and hardened. Surface moisture can interfere with the final cure and weaken the material.
Cost & Time Breakdown
Recaulking a bathtub is an inexpensive DIY project in terms of materials, but requires a significant time investment, mostly for cleaning and curing.
| Task / Item | DIY Cost | Pro Cost | Time Investment |
|---|---|---|---|
| Materials | |||
| 100% Silicone Caulk | $10 - $18 | (Included) | N/A |
| Caulk Gun & Tools | $15 - $30 | (Included) | N/A |
| Cleaners & Tape | $10 - $20 | (Included) | N/A |
| Labor | |||
| Caulk Removal & Cleaning | $0 | $100 - $200 | 1 - 2 hours |
| Application & Tooling | $0 | $50 - $150 | 0.5 - 1.5 hours |
| Totals | $35 - $68 | $150 - $350 | 1.5 - 3.5 hrs + Cure Time |
Note: Cure time of 24-72 hours is additional and critical for both DIY and Pro jobs.
Tips & Prevention
- Choose the Right Caulk: Always select a 100% silicone sealant that is rated for kitchen and bath use and explicitly states it meets ASTM C920 Class 25 or 35 standards. Pay the extra $5 for a quality tube; it's worth it.
- Ventilate Your Bathroom: After every shower, run your bathroom exhaust fan for at least 20-30 minutes. Reducing ambient moisture and humidity is the best way to prevent mildew from growing on your new caulk.
- Clean Regularly & Gently: Clean your caulk bead weekly. Use a pH-neutral cleaner and a soft cloth or sponge. Avoid abrasive powders, harsh brushes, or acidic cleaners, which can degrade the silicone over time.
- Test Cleaners: Before using any new cleaner on your caulk, test it on a small, inconspicuous area to ensure it doesn’t cause discoloration or softening.
- Inspect Annually: Once a year, do a close-up inspection of the entire caulk line. Look for any tiny pinholes, tears, or areas where the seal is pulling away. Catching a small failure early and touching it up can prevent a full-scale replacement.
When to Call a Professional
While recaulking is a manageable DIY task, there are clear signs when you should put the caulk gun down and call a professional handyman or licensed plumber. If you notice that the tiles next to the tub seem loose, the grout is crumbling, or the wall itself feels soft or spongy when you press on it, this indicates that water has already gotten behind the caulk and caused significant damage. Simply sealing over this problem will only trap the moisture and make the rot worse. A professional can open the wall, assess the extent of the damage to the studs and backerboard, and perform the necessary repairs before sealing the tub. Furthermore, if the gap between the tub and the wall is exceptionally large (over 3/8 inch), a pro may have better solutions for backing and filling the joint for a stable, long-term result. If you are not confident in your ability to follow the meticulous prep work required, hiring a pro for a few hundred dollars can save you thousands in future water damage repairs.
What should this project cost?
Enter your project details for a realistic cost range before you call anyone.
Mid-range remodels commonly $12,000–$22,000; small repairs often under $600.
- Regional adjustment
- National average
- Labor share (typical)
- ~$5,603
- Quotes to collect
- 3 written estimates
Educational estimate based on national averages — not a binding quote. Always confirm with written local estimates.
Fixly Project Decision Box
- DIY difficulty
- Professional Recommended
- Estimated time
- Monitoring over 60–90 days · engineer visit 1–2 hours
- Cost level
- Major Project
Main tools / materials
- Crack monitor or pencil marks with dates
- Tape measure
- Marble or level for floor slope
When to stop and call a pro
- A crack wider than 1/4 inch or growing month over month
- Doors and windows that suddenly stick or will not latch
- Stair-step cracks in brick or block
- Separation between walls and ceilings or floors
Need professional help?
Get a Foundation EvaluationRecommended for DIYers & woodworkers
Sponsored
The Top 20 Tools for Workshops of Any Budget
No stationary machines or power tools required — plus 3 fundamental tools that can't be bought at any price.
Get the free guide
Ted's Woodworking — The #1 Woodworking Resource
Detailed instructions, dimensioned drawings, materials & cutting lists, and 3D schematics for every skill level.
See the plansSponsored: links above are affiliate links. FixlyGuide may earn a commission on qualifying purchases — at no extra cost to you.
Frequently asked questions
What is the absolute best type of caulk for a bathtub?+
The best caulk is a 100% silicone sealant that meets ASTM C920 Class 25 or Class 35 specifications. This ensures it has the high flexibility (+/- 25% movement) required to handle the expansion and contraction of the tub joint without cracking or peeling. Avoid acrylic or siliconized acrylic caulks, as they are not as durable in wet, high-movement areas.
How long does bathtub caulk really need to dry before I can shower?+
Check the manufacturer's instructions, but most 100% silicone caulks are water-ready or 'shower-ready' in 24 hours. However, a full chemical cure that gives the caulk its maximum hardness and adhesion can take 48 to 72 hours, or even longer in very humid environments. It is always best to wait the full 72 hours if possible to ensure maximum longevity.
Can I just put new caulk over old, cracked caulk?+
No, you should never apply new caulk over old caulk. The new bead will not bond properly to the old, flaking material and will fail very quickly. Furthermore, this traps old mildew and moisture, which will continue to grow. You must completely remove the old caulk and thoroughly clean the joint for a successful, long-lasting seal.
Why do you have to fill the tub with water before caulking?+
Filling the tub with water adds weight, simulating the 'in-use' condition. This causes the tub to settle and the gap between the tub and the tile to open to its widest point. By caulking the joint in this expanded state, the caulk bead can cure in its maximum-stress position. When the tub is empty, the caulk is relaxed, and when someone gets in, it simply returns to its neutral state instead of being stretched beyond its limit, which is what causes cracking and tearing.
Discussion
Loading comments…