- Too Much Movement: If the joint keeps moving too much, maybe from settling or major expansion and contraction, the caulk will crack or pull away. You see this a lot around older window frames or big gaps between different materials.
- Applying in Extreme Temperatures: Caulk likes moderate temps. Put it on when it’s too cold (below 40°F/4°C) or too hot (above 90°F/32°C), and it may not cure or bond the way it should. It needs decent conditions to set up.
- Inadequate Curing Time: Rushing the cure is an old mistake. Getting the caulk wet or stressing the joint before it’s cured keeps it from building full strength and flexibility. The label matters.
- Not Enough Caulk in the Joint: If the bead is too thin, or it doesn’t get deep enough into the joint, it won’t have enough body to handle movement and it’ll fail fast.
General remodeling · Renovation planning
| Project category | General remodeling |
|---|---|
| Problem type | Renovation planning |
| Trade required | General contracting |
| Urgency | Planned project |
| Safety risk | Low safety risk |
| DIY suitability | Pro recommended |
| Cost category | Major investment |
| Typical timeline | Design and permitting often 2–4 months before work starts |
| Contractor type | General contractor |
Repair option
Phase the work and fix the building envelope first.
Replacement option
Full renovation with permits, design, and a general contractor.
Common causes
- Space no longer fits how the household lives
- Resale preparation
- Deferred maintenance stacking up
Relevant tools:project cost estimatorcompare quoteshome improvement material prices
Published September 6, 2026Last updated September 6, 2026
Tools & materials you'll need
Affiliate linksAs an Amazon Associate FixlyGuide earns from qualifying purchases — at no extra cost to you. Prices and availability are accurate as of publication and subject to change.
Quick Answer
Ever stare at that perfectly tooled caulk bead, then find it shriveled, cracked, or pulling loose a few weeks later? Yeah, that’ll make you grind your teeth. Most times, it comes down to one of three things: lousy prep, the wrong caulk for the job, or rushing the cure. If you want a seal that actually lasts, strip the old stuff out completely, match the material to the task — silicone for wet areas, acrylic for paintable seams — and give it the time and temperature it needs to set up right. Skip those steps and you’ll be right back at it, cussing under your breath.
The Problem
Alright, let’s talk caulk. Homeowners don’t think about it until it gives up, and then it gives up hard. I’m not just talking about an ugly line. I’m talking water getting where it shouldn’t, drafts sneaking in, bugs finding a doorway, and, down the road, real damage that costs real money. You put in the work — or paid somebody decent money — and a few months later those nice, clean lines have shrunk, cracked, or pulled clean away from the surface. Looks bad, sure. More importantly, it’s not protecting anything anymore. Kind of like a hole in a raincoat. What’s the point?
This isn’t just about looks. It’s a failure of the seal, and if you ignore it, the repair bill usually grows legs.
Why Caulk Fails: The Science Behind the Shrink
Caulk isn’t just pretty goo you squeeze out of a tube. It’s a sealant made to bridge gaps and handle movement between different building materials. But it’s got limits. When you see caulk shrinking, cracking, or pulling away, that usually means it lost its flexibility, never bonded right, or got pushed around by movement it couldn’t keep up with. Houses settle. Materials expand and contract with heat and humidity. Surfaces aren’t always spotless. Caulk has to live with all that.
If it’s the wrong product, or it went on wrong, it’ll quit on you. No dice.
How It Works
So what’s actually happening in that tube and on your wall? Caulk is a flexible material built to fill gaps and seal joints. The real work happens during curing. Most caulks are either water-based (like acrylic latex) or solvent-based (like silicone or polyurethane). Water-based caulks cure as the water evaporates, leaving behind a solid, flexible polymer. Solvent-based caulks cure as the solvent evaporates or by reacting with moisture in the air. That cure time is where the rubber meets the road — it’s when the caulk hardens, grabs the surface, and builds flexibility.
Different caulks do different jobs. Acrylic latex is easy to use and paintable, but it’s not as flexible or water-resistant as silicone. It also shrinks more as the water leaves it. Silicone, on the other hand, is super flexible and waterproof, which makes it the go-to for bathrooms and outside work. It cures with moisture in the air and leaves a strong, elastic seal. Polyurethane caulks are tough as nails and great for high-movement exterior joints, but they’re messier to work with and a pain to clean up.
I pulled a water heater in Frisco last month and found a shower surround with caulk that looked fine from ten feet away — until I touched it. It was hanging on by a prayer. That’s usually what bad prep or the wrong product gets you.
The trouble starts when the caulk cures too fast, too slow, or unevenly, or when the joint moves more than the caulk can handle. If the surface isn’t clean, it won’t stick worth a darn. If it shrinks too much, or it doesn’t have enough elasticity, it’ll crack when the joint expands or contracts with temperature swings. It’s a balancing act between material science and plain old job-site discipline.
Step-by-Step Fix
Fixing shrunken or cracked caulk isn’t about slapping more on top. That’s a band-aid, and it’ll fail just as fast. You’ve got to tear it back to basics and do it right.
-
Prep Like a Pro – Remove all the old stuff.
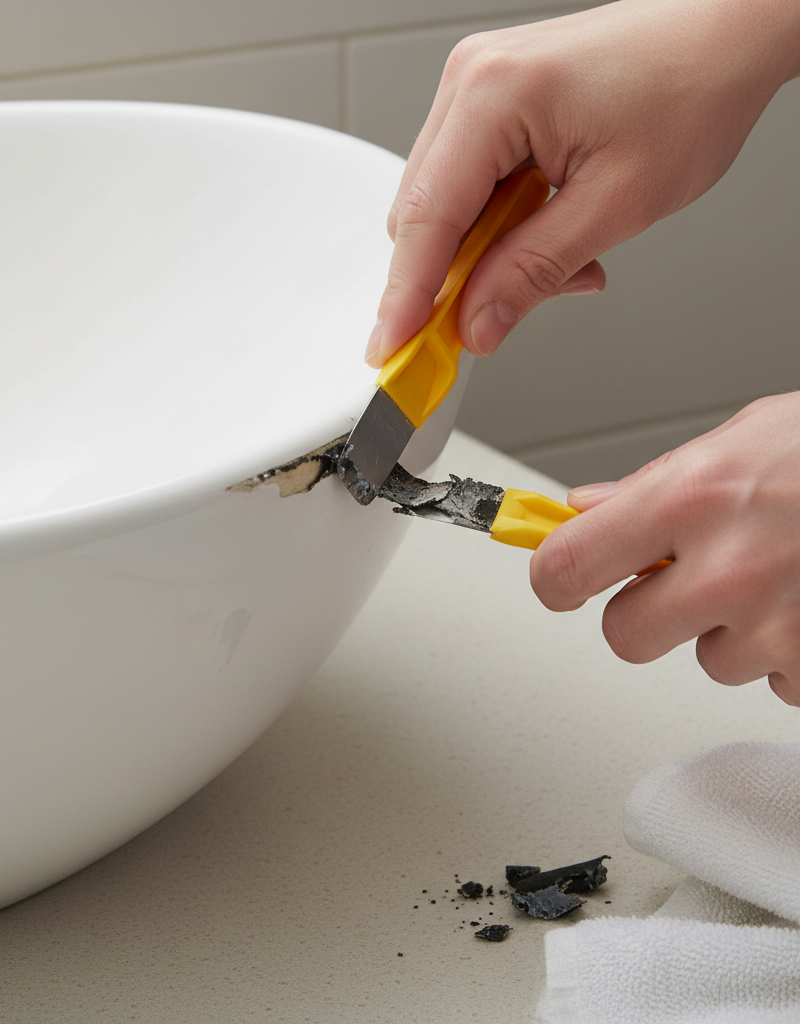
- First thing, you can’t put new caulk over failed caulk and expect it to last. Grab a utility knife, a caulk removal tool, or a stiff putty knife. Cut along both edges of the old bead, then pry it out. This is where patience pays off. Get every bit. For stubborn residue, a wire brush or mineral spirits (for silicone) can help. Make sure the surface is bone dry before you move on.
- Safety First: Wear safety glasses when you’re cutting. Those blades are sharp, and little scraps can pop loose.
-
Clean It Down – A clean surface is a happy surface.
- Once the old caulk’s out, you’ll probably still have residue, dust, or mildew hanging around. Clean the joint thoroughly. In bathrooms, I’ll use a bleach solution (1 part bleach to 10 parts water) to knock out lingering mildew. In other spots, denatured alcohol or rubbing alcohol does a good job cutting grease and grime. If you use soap or bleach, rinse it well, then let it dry completely. I’m talking hours, maybe overnight. I had a callback in Sudbury because the homeowner insisted it was dry — it wasn’t. That thing cost him a second trip.
- Tools: Stiff brush, old rags, denatured alcohol or bleach solution.
-
Choose Your Weapon Wisely – Pick the right caulk for the job.
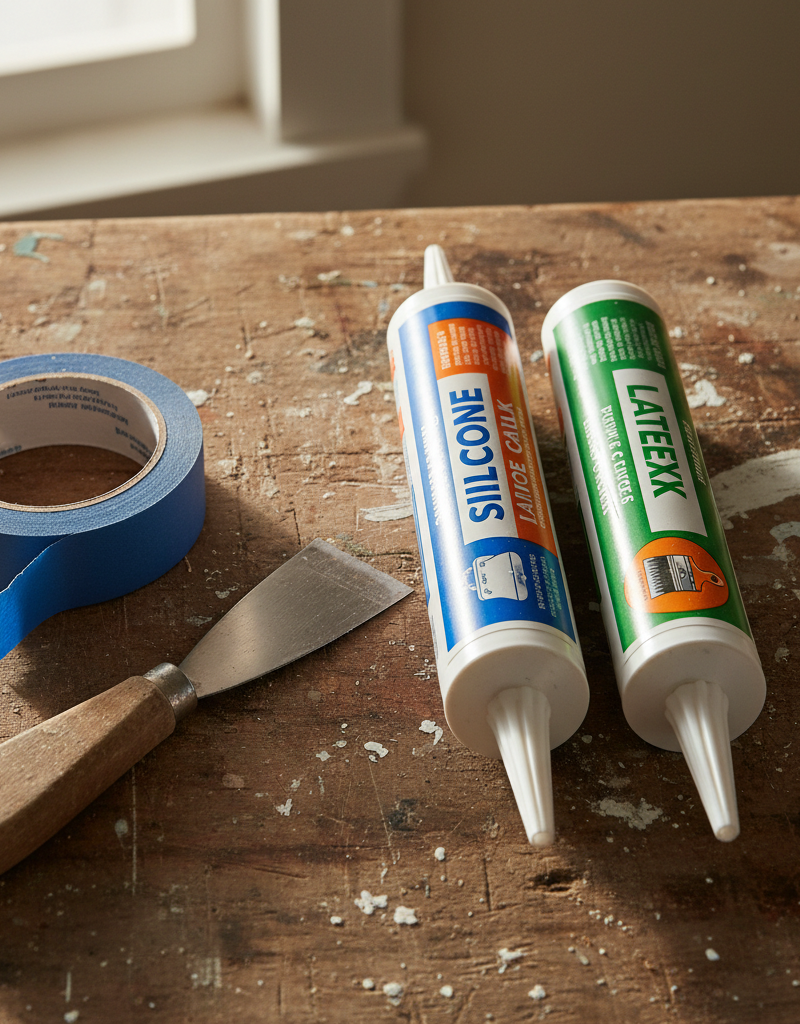
- This part matters a lot. Don’t grab the cheapest tube and call it a day. For wet spots like tubs, showers, and sinks, 100% silicone caulk is your friend. It’s flexible and waterproof. For paintable spots like trim or door frames, use an acrylic latex caulk with silicone added — it takes paint and still gives you some movement. For exterior work with a lot of movement, polyurethane sealant is worth a look. Check the label for flexibility ratings (joint movement capability) and intended use.
- Tip: If you’re sealing windows or door frames that move a lot, look for caulks marked “high flexibility” or “elastomeric.”
-
Cut the Tip Right – It’s not rocket science, but it matters.
- Use a sharp utility knife. Cut the nozzle at a 45-degree angle and make the opening just a touch smaller than the gap you’re filling. One big mistake is cutting it way too large. You want enough caulk to fill the joint, but not so much that you’re wasting it and fighting a mess when you tool it. Start small; you can always open it up more.
-
Load and Load Correctly – Get that gun ready.
- Puncture the inner seal on the tube — almost every one’s got it. Use a long nail or the poker built into the gun. Drop the tube into a decent caulk gun. I like a smooth rod gun; they’re easier to control. Squeeze the trigger a few times until the caulk starts moving.
-
Apply a Consistent Bead – This is where technique comes in.
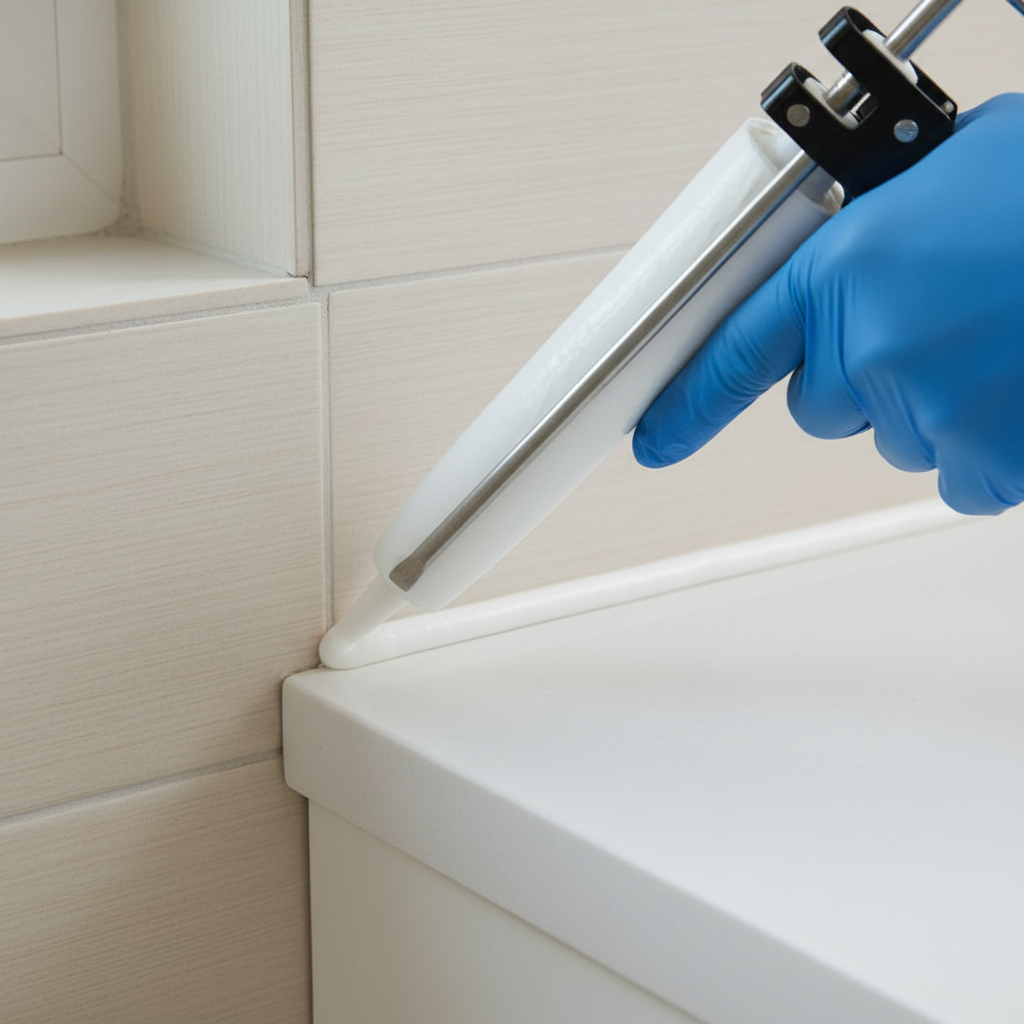
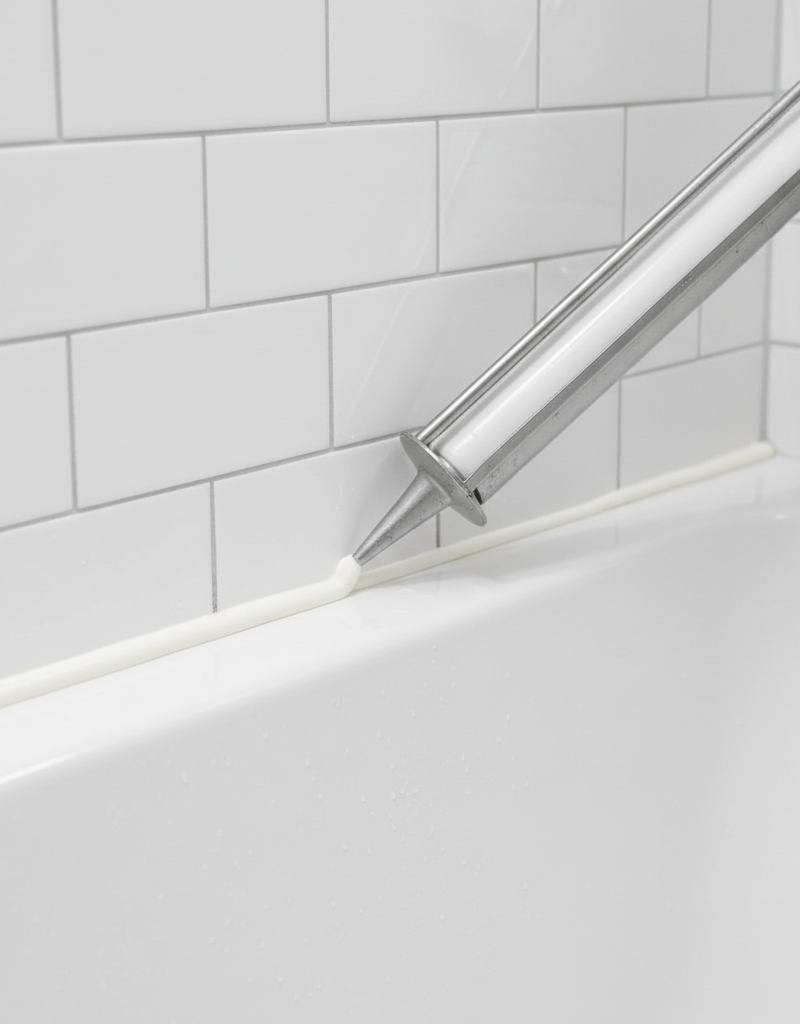
- Hold the gun at a 45-degree angle with the tip pointed into the joint. Keep steady pressure on the trigger and move at a consistent speed. You want to push the caulk into the joint, not just lay it on top. Work in 2-3 foot sections. Don’t try to run the whole wall in one shot — you’ll end up with an uneven mess. A clean, unbroken bead is what you’re after.
-
Tool the Bead – Smooth it out for adhesion and looks.
- Tool it right after you apply it. A wet finger works fine — I’ve used that for years — or use a caulk tool or even a plastic spoon. Tooling presses the caulk into the joint, helps it stick, and gives you a cleaner finish. With silicone, you’ve got to move quick because it skins over fast. Acrylic gives you a little more breathing room. Wipe off the extra with a wet rag.
- If this doesn't work: If the caulk won’t stick, the surface may still be dirty or damp. Go back to step 2.
-
Clean the Edges – Wipe away the excess.
- Use a damp cloth to wipe away any extra caulk from the joint edges before it cures. With silicone, I’ll sometimes hit it with a dry rag first, then a damp one. That gives you a crisp line. Don’t let it dry on the surface; scraping it later is a pain in the neck.
-
Cure Time is Critical – Patience, my friend.
- Read the tube. Seriously. Most caulks need at least 24 hours to fully cure, and some, like certain silicones, need up to 48 hours or more before they’re hit with water or heavy stress. Humidity and temperature can change cure time. Don’t touch it, don’t paint it (if it’s paintable), and don’t get it wet until the manufacturer says it’s ready. Rush this step and you’ll be back at square one.
- Rule of thumb: For a 1/4-inch bead of acrylic latex caulk, expect it to be surface-dry in 30 minutes, but fully cured in 24 hours. For silicone, it skins over in 15-30 minutes, but can take 24-72 hours to fully cure, especially in lower humidity.
-
Ventilation Helps – Especially for solvent-based products.
- If you’re using solvent-based caulk, get some air moving in the work area. Open windows, run a fan. It helps the cure and keeps the fumes from beating you up.
Common Causes
- Improper Surface Preparation: This is probably the biggest offender. If the joint isn’t clean, dry, and free of old caulk, the new stuff won’t hold worth a darn. It needs something solid to grab. Grease, dust, old paint, or leftover moisture all get in the way.
- Wrong Caulk for the Job: Using acrylic latex in a shower that’s always wet, or 100% silicone on exterior trim you plan to paint. Different caulks have different flexibility, adhesion, and resistance to moisture or UV. Match the product to the job — no shortcuts.
- Too Much Movement: If the joint keeps moving too much, maybe from settling or major expansion and contraction, the caulk will crack or pull away. You see this a lot around older window frames or big gaps between different materials.
- Applying in Extreme Temperatures: Caulk likes moderate temps. Put it on when it’s too cold (below 40°F/4°C) or too hot (above 90°F/32°C), and it may not cure or bond the way it should. It needs decent conditions to set up.
- Inadequate Curing Time: Rushing the cure is an old mistake. Getting the caulk wet or stressing the joint before it’s cured keeps it from building full strength and flexibility. The label matters.
- Not Enough Caulk in the Joint: If the bead is too thin, or it doesn’t get deep enough into the joint, it won’t have enough body to handle movement and it’ll fail fast.
Common Mistakes
- Applying New Caulk Over Old: Big no-no. That doesn’t fix the adhesion problem; it just stacks fresh failure on top of old failure. The old bead keeps breaking down underneath and drags the new one with it. Pull it all out.
- Ignoring Gaps and Cracks: Some folks just squeeze caulk on top without pushing it into the joint. It’s got to fill the whole gap and touch both sides to seal properly. Think of packing a suitcase — if you leave dead space, it shifts around.
- Cutting the Nozzle Too Big: Happens all the time. You end up wasting caulk and making a mess. Start smaller; you can always open it wider if you need to. Aim for an opening just a little smaller than the gap.
- Not Tooling the Bead: Skip this and the caulk won’t get pressed firmly into the joint. That means weaker adhesion and a sloppy look. Tooling isn’t optional if you want it to last.
- Using the Wrong Caulk for the Environment: Trying to seal an exterior concrete expansion joint with interior acrylic latex, or using paintable caulk in a shower. Each product has a place. Mix them up and they’ll fail quick.
- Cleaning Surfaces with Soap: Dish soap and some cleaners leave a film behind that can mess with adhesion. Stick with denatured alcohol, mineral spirits (for silicone removal), or a simple bleach solution for mildew, and rinse it well.
Cost & Time Breakdown
Here’s a rough idea of what you’re looking at for a typical caulk refresh around a tub, shower, or a few windows.
| Task | DIY Cost | Pro Cost | Time (DIY) |
|---|---|---|---|
| Tools & Materials | $20 – $50 | N/A | 1-2 hours (prep) |
| Caulk Removal & Cleaning | $0 | $50 – $150 (per area) | 1-2 hours |
| Caulk Application | $0 | $100 – $300 (per area) | 1-2 hours |
| Cleanup & Curing | $0 | N/A | 24-72 hours (passive) |
| Total (per area) | $20 – $50 | $150 – $450+ | 2-4 hours active |
Note: "Per area" typically means a bathroom (tub/shower/sink) or 2-3 average-sized windows.
Tips & Prevention
- Check Annually: Make it a habit to inspect caulked joints once a year, especially in wet spots like bathrooms and around exterior windows and doors. Catch small cracks early and you’ll save yourself trouble later.
- Clean Regularly: Keep caulked areas free of mildew and grime. A regular wipe-down with a mild cleaner helps preserve the seal and makes problems easier to spot.
- Match Caulk to Application: I can’t hammer this home enough. Wet area? Use silicone. Paintable interior trim? Use acrylic latex with silicone. Exterior expansion joint? Look at polyurethane. Read the label.
- Store Caulk Properly: Keep unused tubes in a cool, dry place and seal them tight — a nail in the tip or the cap works fine. That stretches the shelf life. Don’t use dried-out caulk; that thing’s toast.
- Consider Backer Rod: For wide gaps over 1/4 inch, use a foam backer rod before caulking. It gives the caulk something to bear against and helps avoid “three-sided adhesion,” which can lead to tearing.
- Maintain Moderate Temperatures: Whenever you can, apply caulk between 60°F and 80°F (15°C and 27°C). Try to avoid extreme heat or cold while it’s going on and curing.
When to Call a Professional
Look, I’m all for DIY, but some jobs are better handed off. If you’re dealing with stubborn caulk failure in critical spots like exterior foundation joints where water intrusion could lead to structural damage, or if you’ve got really large gaps that need special tools or materials, don’t hesitate to call a licensed contractor. Same deal if you’re not comfortable with sharp tools or you’re working around areas that need careful precision, like delicate tilework. If you’ve gone through the steps above and the caulk still fails within a few months, there may be something bigger going on — excessive movement, a bad installation detail, or both. A pro’s got the experience and the right materials to get you a long-lasting, waterproof seal, which saves time, frustration, and usually a bigger repair bill later. A good contractor won’t just cover it up; they’ll track down the root cause.
Related Articles
Keep troubleshooting with these hand-picked guides from FixlyGuide:
- The 10-Second Flaw Home Inspectors Spot (That Hides Water Damage) — Discover the often-overlooked sign professionals catch in seconds that points to hidden water damage, protecting your home from costly repa…
- The 3 Hidden Reasons Your Baseboards Are Pulling Away (And How to Fix It Right) — Discover the real reasons your baseboards are separating from the wall and learn how to fix them permanently with this comprehensive guide.
- The 30-Second Sump Pump Trick Most Homeowners Forget Before a Storm — A simple, 30-second test can prevent thousands in flood damage by ensuring your sump pump is ready for heavy rain.
- The #1 Mistake Homeowners Make When Diagnosing Low Water Pressure — Discover the most overlooked cause of frustrating low water pressure impacting your entire home and how to fix it yourself, saving hundreds…
- The #1 Mistake Homeowners Make with Ice Dams (and How to Fix It SAFELY) — Learn the safest and most effective ways to remove ice dams from your roof and prevent costly damage to your home, avoiding common DIY pitf…
- The 3 Hidden Reasons Your Sprinkler Head Won't Pop Up (And How to Fix It FAST) — Discover the most common reasons your sprinkler head isn't popping up and follow our step-by-step guide to quickly diagnose and fix the iss…
Should you do this yourself?
Answer five quick questions before you start. Safety outranks savings every time.
Your experience with work like this
How high do you have to work?
Does the job involve any of these?
Will it need a permit?
Specialty tools
Free and instant. Educational guidance only — not a quote, inspection, or professional diagnosis.
What should this project cost?
Enter your project details for a realistic cost range before you call anyone.
Cost depends heavily on which system turns out to be the source.
- Regional adjustment
- National average
- Labor share (typical)
- ~$1,620
- Quotes to collect
- 3 written estimates
Educational estimate based on national averages — not a binding quote. Always confirm with written local estimates.
Fixly Project Decision Box
- DIY difficulty
- Professional Recommended
- Estimated time
- Monitoring over 60–90 days · engineer visit 1–2 hours
- Cost level
- Major Project
Main tools / materials
- Crack monitor or pencil marks with dates
- Tape measure
- Marble or level for floor slope
When to stop and call a pro
- A crack wider than 1/4 inch or growing month over month
- Doors and windows that suddenly stick or will not latch
- Stair-step cracks in brick or block
- Separation between walls and ceilings or floors
Need professional help?
Get a Foundation EvaluationBefore you start
Check the difficulty, permits, and safety risk — then decide whether to call a pro.
- Estimate this projectGet a cost range for your scope and ZIP before you call anyone.Open
- Get local estimatesSend one request and compare written estimates from vetted pros.Open
Free, no signup required. Estimates are educational guidance, not a quote or an inspection.
Get the print-ready PDF of this guide
A clean, ad-free, printable version you can keep on your phone or pin to the workshop wall. Free with a FixlyGuide account.
- Print-optimized layout
- Tools, materials & every step included
- Saved to your account
Recommended for DIYers & woodworkers
Sponsored
The Top 20 Tools for Workshops of Any Budget
No stationary machines or power tools required — plus 3 fundamental tools that can't be bought at any price.
Get the free guide
Ted's Woodworking — The #1 Woodworking Resource
Detailed instructions, dimensioned drawings, materials & cutting lists, and 3D schematics for every skill level.
See the plansSponsored: links above are affiliate links. FixlyGuide may earn a commission on qualifying purchases — at no extra cost to you.
Frequently asked questions
Why does caulk shrink after I apply it?+
Caulk shrinks primarily due to solvent or water evaporation during its curing process. Acrylic latex caulks, being water-based, tend to shrink more than solvent-based silicones. Applying it too thinly or in very dry conditions can exacerbate shrinkage.
Can I just caulk over old, cracked caulk?+
No, absolutely not. Applying new caulk over old, failed caulk is a common mistake that will only lead to further issues. The new caulk won't adhere properly to the compromised surface, and the old caulk will continue to fail underneath, taking the new layer with it.
What's the best caulk for a shower or tub?+
For areas constantly exposed to water like showers and tubs, 100% silicone caulk is your best bet. It offers superior flexibility, excellent water resistance, and strong adhesion to non-porous surfaces like tile and fiberglass.
How long does caulk need to dry before it gets wet?+
The drying and curing time for caulk varies significantly by product. Always check the manufacturer's instructions, but generally, acrylic latex caulk needs at least 24 hours before exposure to water, while silicone can take 24-72 hours or even longer to fully cure.
Why does my caulk keep cracking even after I reapply it?+
Persistent cracking often indicates an underlying issue like excessive joint movement (e.g., house settling, materials expanding/contracting too much), using the wrong type of caulk for the joint's flexibility needs, or ongoing improper surface preparation. You might need a more flexible caulk or to address the structural movement.
What tools do I need to remove old caulk effectively?+
To remove old caulk, you'll need a utility knife with a fresh blade, a dedicated caulk removal tool (they have angled blades for scraping), and potentially a stiff putty knife or razor scraper. For silicone residue, mineral spirits can help loosen it.
Is it better to use a caulk gun or squeeze tubes?+
For any significant caulking job, a quality caulk gun is always preferred over squeeze tubes. A caulk gun provides much better control over the bead size and application pressure, leading to a smoother, more consistent, and professional-looking result.
How do I prevent mold or mildew from growing on my new caulk?+
To prevent mold and mildew, use caulk specifically formulated with mildewcides for bathrooms and kitchens. Ensure the surface is perfectly clean and dry before application, and allow the caulk to fully cure. Good ventilation in damp areas also helps immensely.
Can I paint over silicone caulk?+
Generally, no. Most 100% silicone caulks are not paintable because paint doesn't adhere well to their slick, non-porous surface. If you need a paintable caulk, opt for an acrylic latex caulk with silicone additives, which clearly states 'paintable' on the label.
Discussion
Loading comments…