- Heavy Clay Soil: Clay particles are tiny and pack together real easy, so air and water don’t have much room to move. That’s just the hand you’re dealt in a lot of places.
- High Traffic: Walking, playing, driving over the lawn — it all crushes the soil down. Think about that strip from the driveway to the side gate; bet it’s hard as a brick.
- Construction: New homes often get hammered by heavy equipment during the build. The yard ends up packed down like somebody rolled it with a steamroller.
- Lack of Organic Matter: Soil with little organic material (like compost or decomposed leaves) tends to be less
Landscaping · Deck or fence project
| Project category | Landscaping |
|---|---|
| Problem type | Deck or fence project |
| Trade required | Landscaping |
| Urgency | Planned project |
| Safety risk | Moderate safety risk |
| DIY suitability | DIY for experienced homeowners |
| Cost category | High cost |
| Typical timeline | Most builds 3–10 days depending on size |
| Contractor type | Landscaping contractor |
Repair option
Replace failed boards, posts, and hardware; reseal the surface.
Replacement option
Rebuild when framing or the ledger connection is unsafe.
Common causes
- Rot at posts and ledger
- Storm damage
- Adding outdoor living space
Relevant tools:home improvement material pricesproject cost estimator
Published July 27, 2026Last updated August 17, 2026
Tools & materials you'll need
Affiliate linksAs an Amazon Associate FixlyGuide earns from qualifying purchases — at no extra cost to you. Prices and availability are accurate as of publication and subject to change.
Quick Answer
Look, I’ve seen this a hundred times. Folks drag out the aerator thinking any old weekend’ll do, then they’re scratching their heads because the lawn still looks rough. The real trick isn’t just what you do — it’s when you do it. You’ve gotta catch that sweet spot when the grass is growing hard and can heal up quick. For cool-season grasses like fescue or bluegrass, that means late summer or early fall—think Labor Day to Columbus Day. If you’re working with warm-season Bermuda or St. Augustine, you want late spring to early summer, usually April through June. Miss that window and you’re just hammering the lawn for no reason, making it more likely to get weeds and disease. That thing’s toast if you push it at the wrong time. Kind of like asking somebody to run a marathon with a sprained ankle.
The Problem
You’re looking at your lawn and something just feels off. Maybe it’s not near as green as the one next door, even though you’ve watered and fertilized till you’re blue in the face. Maybe you’ve got bare patches. Maybe water just sits there like it’s confused. Or the mower cuts like a dream one week and sinks into a sponge the next. Those are all classic signs of compacted soil, and it’s way more common than people think. Foot traffic, kids running around, even plain old time — it all presses the soil particles together, squeezes out the air, and makes it tough for roots to breathe, for water to soak in, and for nutrients to get where they’re needed. I see it all the time in high-traffic spots and on new construction where heavy equipment’s been crawling all over the lot. I pulled a lawn core in Frisco last month that had exactly this problem; you could tell it had been packed down hard for years. The roots are basically suffocating down there, and fertilizer alone isn’t gonna fix it. You’ve got to break up that compaction, and aeration’s how you do it.
How It Works
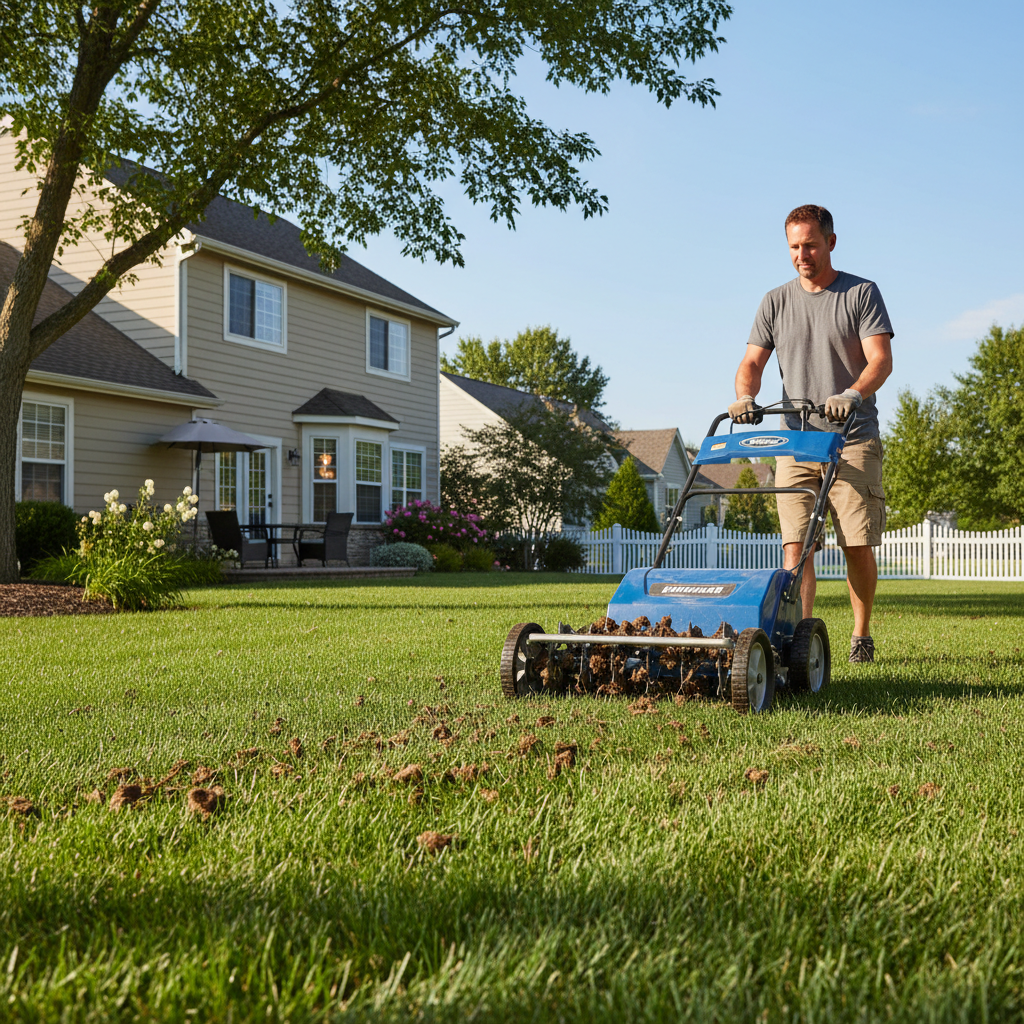
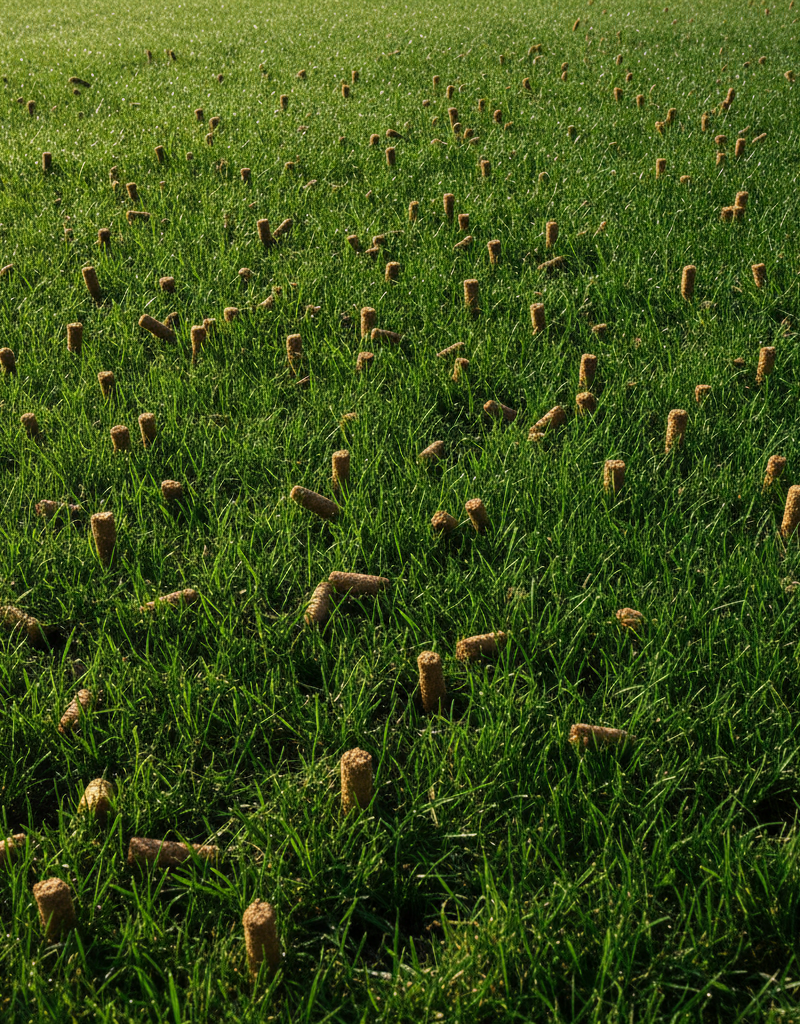
Alright, here’s what’s actually going on when you aerate. Picture your lawn soil like a crowded apartment building. When it’s compacted, everybody’s crammed together — no hallways, no breathing room, no easy path for water or nutrients. The roots, which are the tenants in this little mess, can’t spread out worth a darn. Core aeration uses a machine with hollow tines to punch out small plugs of soil, usually about 2-3 inches deep and a half-inch wide. Once those plugs pop out, they leave open channels in the ground. Those channels are like fresh lanes for oxygen, water, and nutrients to get down to the root zone where they belong. Roots get room to stretch. Turf thickens up. The whole lawn handles stress better.
And those plugs you pulled? They break down on the surface and feed a little organic matter and microbial life back into the soil. It really helps with drainage too, so you’re not dealing with puddles every time it rains. Your fertilizer and seed can actually do their job instead of just sitting on top like expensive confetti. I’ve been on jobs where the soil was so tight you could’ve bounced a wrench off it. After a solid aeration, the yard just opened up and started responding. No magic. Just giving the soil a chance to breathe.
Step-by-Step Fix
1. Prep the Lawn — Clear and moisten the area.
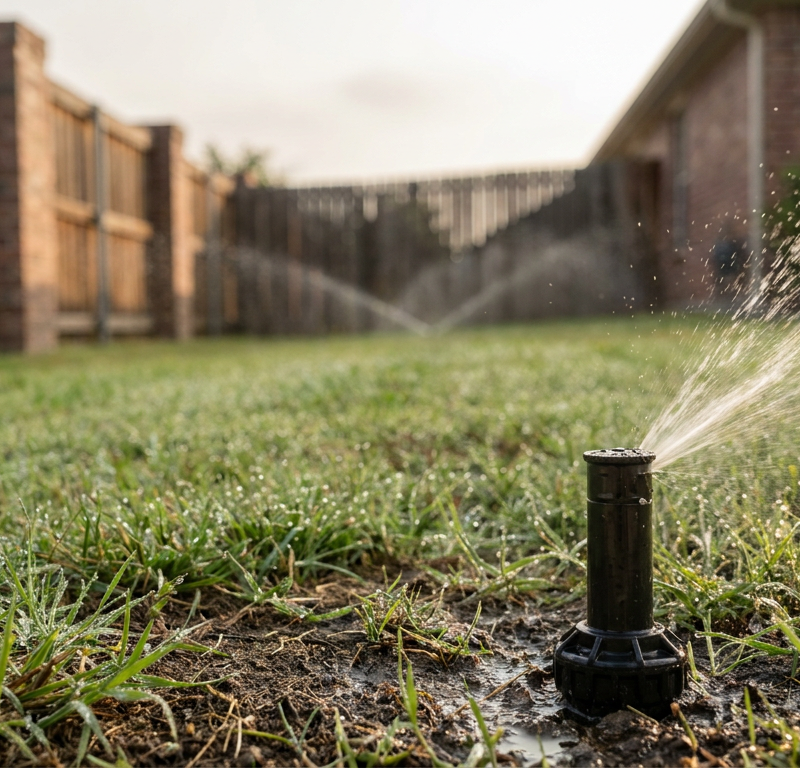
Before you even fire up the aerator, get the yard cleaned up. Pick up toys, sticks, hoses, dog bones, whatever’s lying around that could jam the machine or get caught in the tines. Mark sprinkler heads and buried utility lines with flags, because hitting one of those can turn a simple afternoon into a lousy repair call. I’ve nicked a low-voltage light line in Johns Creek before—thankfully not a sprinkler, but it still ate up time I didn’t want to spend. Then water the lawn well a day or two ahead of time. You want the soil moist, not swampy. Too dry and the tines won’t bite. Too wet and you’re making mud pie, plain and simple.
2. Choose Your Aerator — Rent or buy the right tool for the job.
For most real aeration, you want a core aerator, not a spike aerator. Spike aerators just jab holes; they don’t pull soil out, so they don’t do nearly as much for compaction. You can rent a walk-behind core aerator at most rental yards or big box stores for around $70-$120 for a half-day. If you’ve only got a tiny yard, a handheld manual core aerator can work, but once you’re over 1,000 square feet, that’s a slog you probably don’t want. Ask for a quick run-through before you leave the counter, and wear solid boots. Those machines aren’t toys.
3. Learn the Pattern — Overlap your passes for full coverage.
Running an aerator is a lot like mowing. You make straight passes and overlap a bit so you don’t leave skinny untouched strips between runs. If the soil’s badly compacted or the yard gets hammered with foot traffic, I like doing a second pass at a right angle to the first one. Crosshatch it. That puts more holes in the ground per square foot, and that’s the whole game. Shoot for about 20-40 holes per square foot if you want real results. Don’t get in a hurry. Let the machine do the heavy lifting.
4. Handle Obstacles — Navigate around trees, flowerbeds, and hardscapes.
Edges, trees, flowerbeds, patios — all that stuff needs a little respect. Aerators are heavy, and they can get clumsy in tight spots. Lift the tines when you’re turning sharp so you don’t tear up the turf or beat up the machine. Stay off delicate plants and keep away from tree roots you’re trying to protect. Give permanent structures a buffer zone of at least 6-12 inches. Why risk it?
5. Deal with the Plugs — Let them break down naturally.
When you’re done, you’ll have little soil plugs scattered across the lawn. Leave ’em alone. Don’t rake them up. Those plugs are full of useful organic matter and microbes. Let them dry out and crumble back in on their own, which usually takes a week or two, especially if you get a rain or a good watering. They’ll fade back into the turf like they were never there.
6. Overseed and Fertilize (Optional, but Recommended) — Boost new growth.
Right after aeration is the best time to overseed. Those fresh holes are perfect little pockets for seed to drop into, and they give you better seed-to-soil contact plus some protection from birds, wind, and runoff. Spread your grass seed evenly over the aerated lawn, then follow it up with a starter fertilizer. Those holes help push the nutrients right down where new seed and existing roots can use them. That usually means better germination and a thicker lawn overall. Water lightly but often afterward so the top inch or two of soil stays moist.
Common Causes
- Heavy Clay Soil: Clay particles are tiny and pack together real easy, so air and water don’t have much room to move. That’s just the hand you’re dealt in a lot of places.
- High Traffic: Walking, playing, driving over the lawn — it all crushes the soil down. Think about that strip from the driveway to the side gate; bet it’s hard as a brick.
- Construction: New homes often get hammered by heavy equipment during the build. The yard ends up packed down like somebody rolled it with a steamroller.
- Lack of Organic Matter: Soil with little organic material (like compost or decomposed leaves) tends to be less
Related Articles
Keep troubleshooting with these hand-picked guides from FixlyGuide:
- The #1 Lawn Aeration Mistake Most Homeowners Make (And When to REALLY Do It) — Discover the crucial mistake many homeowners make with lawn aeration and learn the optimal timing for a thriving, healthy lawn.
- The #1 Lawn Aeration Mistake Most Homeowners Make (And When to REALLY Do It) — Discover the crucial mistake many homeowners make with lawn aeration and learn the optimal timing for a healthier, more vibrant lawn.
- The #1 Lawn Aeration Mistake Most Homeowners Make (And How to Time It Right) — Timing your lawn aeration correctly is crucial for maximizing its benefits and ensuring a healthy, thriving lawn. Learn the secrets.
- The #1 Mistake Killing Your Lawn's Thickness (and How to Fix It in a Weekend) — Overseeding a thin lawn is essential for a lush green carpet, but many homeowners make a crucial mistake that hinders success. Learn the ri…
- The #1 Mistake Killing Your Thin Lawn (And How to Fix It in a Weekend) — Overseeding your lawn can transform it from thin and patchy to lush, but many homeowners make a crucial mistake that hinders success. Learn…
- The 3 Hidden Mistakes That Make Your Deck Sealer Fail (And How to Fix Them) — Properly sealing your wood deck protects it from the elements, but common mistakes often lead to early failure. Learn how to reseal your de…
What should this project cost?
Enter your project details for a realistic cost range before you call anyone.
Cost depends heavily on which system turns out to be the source.
- Regional adjustment
- National average
- Labor share (typical)
- ~$1,620
- Quotes to collect
- 3 written estimates
Educational estimate based on national averages — not a binding quote. Always confirm with written local estimates.
Frequently asked questions
How often should I aerate my lawn?+
For most lawns, aerating once a year is sufficient. If you have extremely heavy clay soil or very high traffic, you might consider aerating twice a year, spacing out the treatments by about six months.
What kind of aerator should I use?+
Always opt for a core aerator that removes plugs of soil. Spike aerators, while easier to use, only poke holes and can actually increase compaction around the edges of the holes. Rent a walk-behind core aerator for the best results.
Should I fertilize after aerating?+
Yes, absolutely! Aeration creates perfect channels for fertilizer to reach the root zone, making it much more effective. If you're also overseeding, use a starter fertilizer that's gentle on new seedlings.
Can I aerate when it's really hot?+
It's best to avoid aerating during periods of extreme heat or drought. The stress of aeration combined with heat can severely damage your lawn and delay its recovery. Make sure your grass is actively growing and stress-free.
What if my lawn is really dry?+
Never aerate a bone-dry lawn. It's much harder for the tines to penetrate, and you'll likely do more damage than good. Water your lawn thoroughly a day or two before aerating so the soil is moist but not muddy.
How long do I leave the plugs on the lawn?+
Leave the soil plugs on the lawn. They will naturally break down over a week or two, returning valuable organic matter and nutrients to your soil. Raking them up removes beneficial material.
Can I aerate a new lawn?+
It's generally recommended to wait until a new lawn is at least one year old and well-established before aerating. Aerating too soon can disturb the developing root system and harm the young grass.
What's the difference between cool-season and warm-season grasses for aeration timing?+
Cool-season grasses (like fescue, bluegrass, rye) thrive in cooler temperatures and should be aerated in late summer or early fall. Warm-season grasses (like Bermuda, Zoysia, St. Augustine) prefer heat and should be aerated in late spring to early summer when they are actively growing.
Discussion
Loading comments…