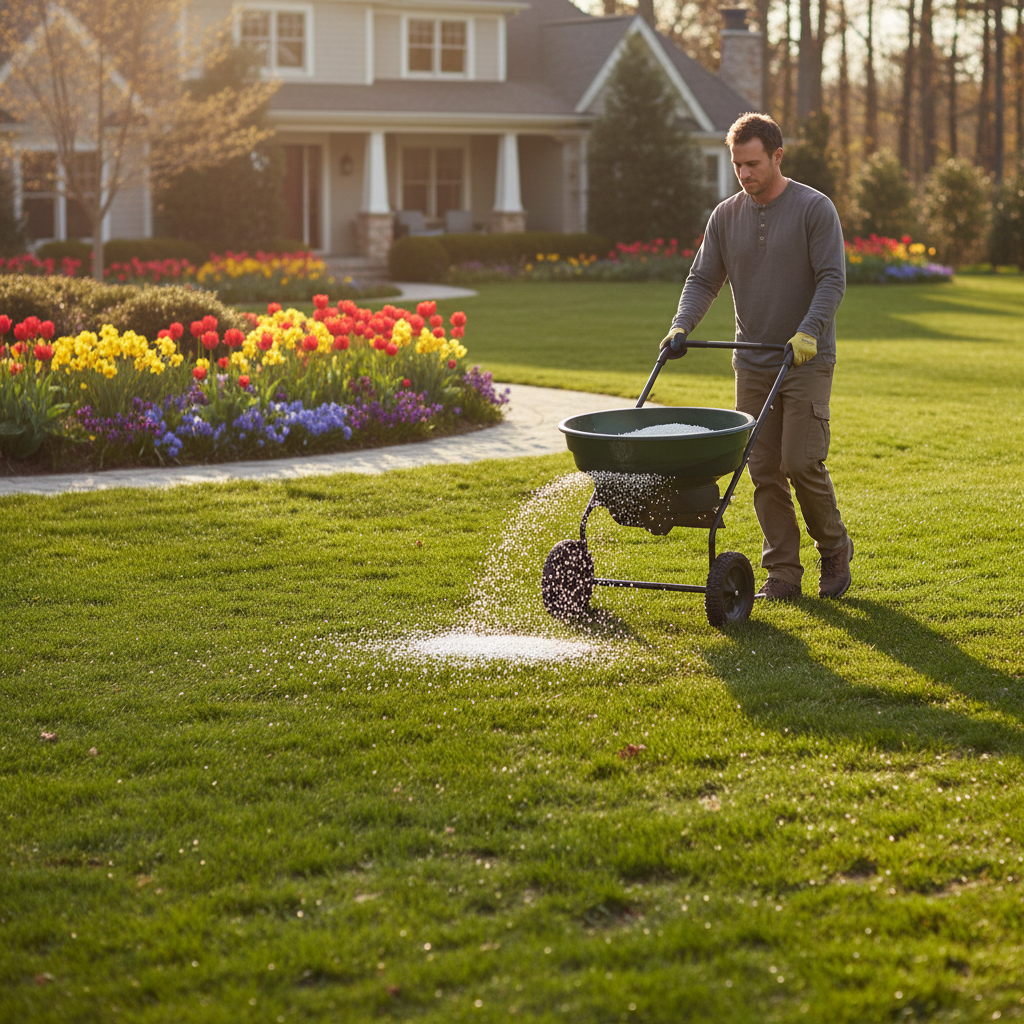
- Materials: Granular pre-emergent herbicide (e.g., prodiamine or pendimethalin-based).
- Tools: Broadcast spreader or drop spreader, soil thermometer (optional but highly recommended).
- Safety: Wear gloves, long sleeves, and eye protection. Avoid contact with skin and eyes. Keep pets and children off the lawn until the product is dry or watered in.
Landscaping · Deck or fence project
| Project category | Landscaping |
|---|---|
| Problem type | Deck or fence project |
| Trade required | Landscaping |
| Urgency | Planned project |
| Safety risk | Moderate safety risk |
| DIY suitability | DIY for experienced homeowners |
| Cost category | High cost |
| Typical timeline | Most builds 3–10 days depending on size |
| Contractor type | Landscaping contractor |
Repair option
Replace failed boards, posts, and hardware; reseal the surface.
Replacement option
Rebuild when framing or the ledger connection is unsafe.
Common causes
- Rot at posts and ledger
- Storm damage
- Adding outdoor living space
Relevant tools:home improvement material pricesproject cost estimator
Published July 28, 2026Last updated August 17, 2026
Tools & materials you'll need
Affiliate links- AmazonSoil test kit1 · from local extension office or garden center
- AmazonStiff garden rake1
- AmazonLeaf rake1
- AmazonBroadcast spreader1 · for even application of granular products
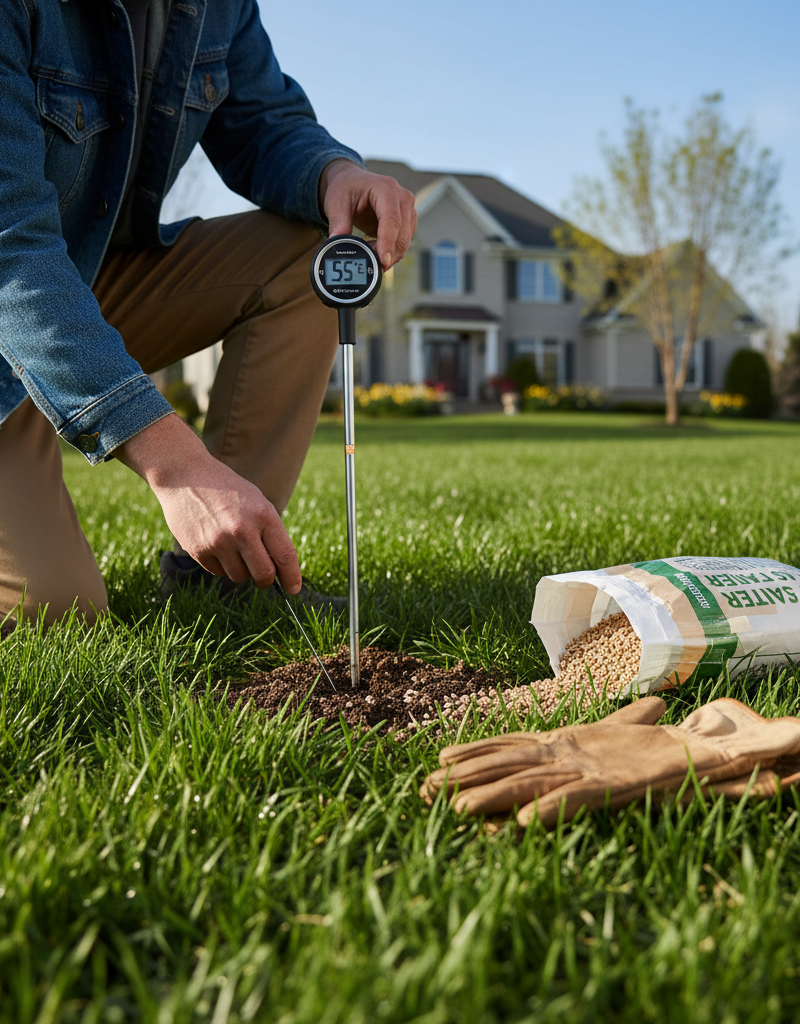
- AmazonSoil thermometer1 · crucial for accurate pre-emergent timing
- AmazonWrench set1 set · for removing mower blade
- AmazonMetal file or grinder1 · for sharpening mower blade
As an Amazon Associate FixlyGuide earns from qualifying purchases — at no extra cost to you. Prices and availability are accurate as of publication and subject to change.
Quick Answer
If you’re standing there every spring wondering why your lawn prep isn’t giving you that thick, green carpet you want, you’re not the only one. Nine times out of ten, it’s not because you didn’t work hard enough. It’s timing. It’s technique. Sometimes it’s the product itself. I’ve watched plenty of homeowners bust their hump and still end up with a so-so lawn because they did the right thing at the wrong time, or they used the wrong approach. Get your timing right on crabgrass preventer, figure out what your soil actually needs, and keep that mower blade sharp — that’s the difference between “eh” and a yard that gets talked about.
The Problem
Every spring, I get calls from folks who put down pre-emergent for crabgrass and still watch the stuff come up a few weeks later, or they fertilized too early and now the lawn looks thin and tired. Usually, they’re not lazy. They’ve just stepped into a few common traps that undo all that effort. Maybe they sprayed too late. Maybe too early. Maybe they grabbed a generic fertilizer without knowing what was going on below the surface. Sometimes it’s even simpler than that — raking a wet yard and packing the soil down, or scalping the grass right after winter. Little mistakes add up fast. Money gets wasted. Time gets wasted. And the yard still looks rough. Frustrating? You bet. But it doesn’t have to stay that way.
How It Works
Think of your lawn like a living system, because that’s exactly what it is. Every blade of grass, every root, every microorganism in the soil is either helping the cause or fighting it. In winter, most cool-season grasses slow way down and go dormant. Then spring rolls in, soil temperatures climb — usually once they’re holding steady around 50-55°F at a depth of about 2-3 inches — and everything wakes up. Roots start taking in nutrients again, and weed seeds, especially troublemakers like crabgrass, start germinating. That’s why timing matters so much.
Crabgrass has to be stopped before it pops up. Pre-emergent herbicide makes a barrier in the top quarter-inch or so of soil. When weed seeds sprout and try to push roots through, they hit that barrier and die off. But here’s the catch: put it down too early, and the barrier can fade before all the crabgrass germinates. Put it down too late, and some of it’s already breaking through. Then you’re playing a different game.
Fertilizer matters too. Grass needs nitrogen, phosphorus, and potassium — you’ll see those as NPK numbers like 10-10-10 or 20-5-10. Nitrogen drives green growth. Phosphorus helps roots. Potassium helps the plant handle stress. But if you load it up with too much nitrogen too early, you can force a bunch of weak top growth and not enough roots. That leaves the lawn more vulnerable later when the heat kicks in. A soil test takes the guesswork out of it. It tells you what’s missing so you’re not throwing expensive bags around and hoping for the best.
Even mowing is part of the system. A good cut tells the grass to produce more tillers — new shoots — which is how you get a denser lawn. But if the blade’s dull, it doesn’t cut clean. It tears the grass. Ragged edges. Brown tips. More disease pressure. I pulled a mower deck apart in Smyrna last month that was chewing grass like a blender full of bricks — no wonder the yard looked beat up. Once you understand the basics, lawn care stops feeling like magic and starts making sense.
Step-by-Step Fix
1. Get a Soil Test — Don't guess, know what your lawn needs.
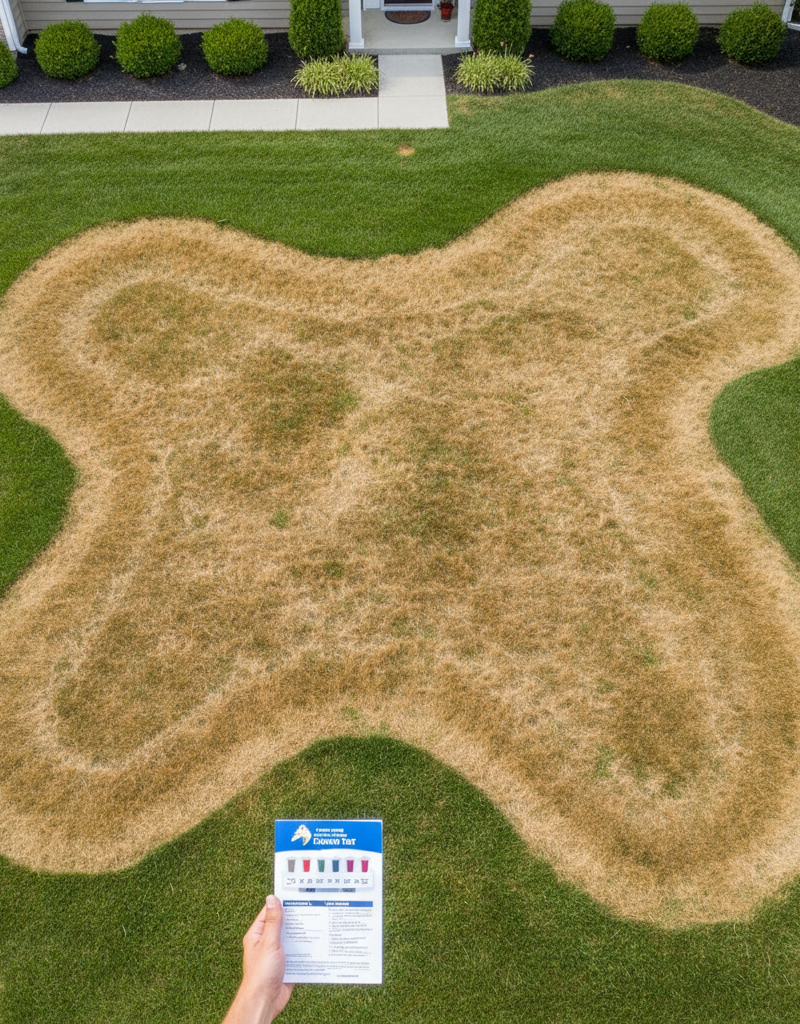
Before you drop a single granule of fertilizer, get a soil test. You can grab a kit from your local extension office or a garden center for about $15–$25. Follow the directions and take samples from a few different spots in the yard. Send it in, wait a couple of weeks, and you’ll get a report with your soil’s pH and nutrient levels (N, P, K, and micronutrients). That tells you what fertilizer to use and whether you need lime or sulfur. I tell every new homeowner I work with the same thing: this is the most important first step. I had a guy in Roswell who was dumping high-nitrogen fertilizer on his lawn every spring because he thought more had to be better. His soil test came back with crazy-high phosphorus and a low pH, so most of that nitrogen wasn’t doing much good anyway. We changed the plan, added lime, and the lawn finally turned around.
- Tools: Soil test kit, clean trowel or shovel, plastic bucket.
- Safety: Wear gloves when handling soil, especially if using a soil probe.
2. Clean Up Thoroughly — Clear the clutter for healthy growth.
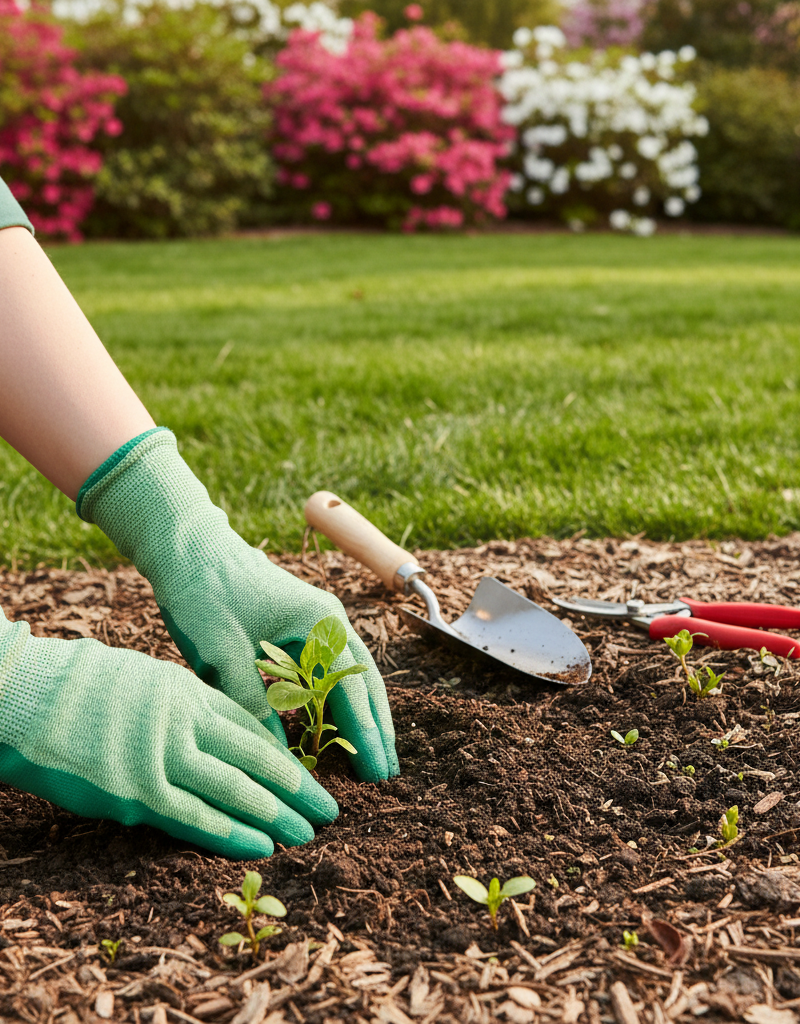
Once the snow’s gone and the ground isn’t waterlogged, rake up leftover leaves, twigs, and winter debris. A sturdy rake does the job. This matters more than people think. A mat of leaves or thatch can smother new grass, block sunlight, and create a nice little setup for fungus. It also helps later treatments like weed control and fertilizer actually reach the soil instead of sitting on top of junk.
- Tools: Leaf rake, stiff garden rake, wheelbarrow or yard waste bags.
- Tip: Be gentle if the ground is still soft to avoid compacting the soil.
3. Dethatch (If Needed) — Let your lawn breathe.
Thatch is that layer of dead grass, stems, and roots sitting between the green blades and the soil. A thin layer — less than 1/2 inch — is fine. But once you’re pushing an inch or more, water, nutrients, and air start getting blocked. To check it, cut a small pie-shaped piece of turf a few inches deep and lift it out. Look at that brown layer. If it’s thick, you’ll need to dethatch. A power dethatcher works best, and you can rent one for a few hours, or use a manual dethatching rake if the yard isn’t too big. It’s hard work. No sugarcoating it. For a regular-sized suburban lawn (around 8,000 sq ft), a solid dethatching job will probably take you 2-3 hours of active work.
- Tools: Dethatching rake or rented power dethatcher, leaf rake, wheelbarrow.
- When to Call a Pro: If your lawn is heavily thatched and you’re not comfortable operating power equipment, a pro can do this quickly and efficiently.
4. Aerate Compacted Areas — Loosen up for better roots.
If your soil is packed down — maybe you’ve got clay, maybe the kids and dogs have worn paths through it — aeration helps a lot. You’ll know it’s compacted if water puddles or you can barely stick a screwdriver in the ground. Core aeration pulls small plugs out of the lawn so air, water, and nutrients can get deeper where they belong. I like core aerators best; you can rent one for about $80-$100 for a half-day. Shoot for 20-40 holes per square foot. I always tell people to aerate before putting anything else down because it opens the soil up and helps whatever you apply work better.
- Tools: Rented core aerator, lawn markers (optional).
- Timing: Best done when soil is moist but not soggy, typically mid-spring or early fall.
5. Apply Pre-Emergent Herbicide — Stop weeds before they start.
This is your best shot at beating crabgrass. The trick is timing, plain and simple. You want to put it down when soil temps are consistently 50-55°F at a 2-inch depth. A soil thermometer helps, or you can watch local university extension updates. A lot of times, that lines up with lilacs blooming or forsythia starting to fade. Whatever product you use, follow the label exactly for the application rate. Don’t eyeball it. Use a spreader so it goes down evenly. Too heavy in one spot and you can hurt your grass; too light and weeds slip right through. Water it in lightly afterward to activate the barrier, usually within 24-48 hours.
- Materials: Granular pre-emergent herbicide (e.g., prodiamine or pendimethalin-based).
- Tools: Broadcast spreader or drop spreader, soil thermometer (optional but highly recommended).
- Safety: Wear gloves, long sleeves, and eye protection. Avoid contact with skin and eyes. Keep pets and children off the lawn until the product is dry or watered in.
6. Overseed Bare or Thin Spots — Fill in the gaps.
If you’ve got bare patches or thin spots, spring can work for overseeding, though early fall is still better for cool-season grasses because weeds aren’t fighting you as hard. If you do it in spring, make sure it happens after the pre-emergent, or use a pre-emergent that won’t stop new seed from sprouting. That part matters. Most standard crabgrass preventers will also stop your grass seed. Spread a thin layer of topsoil or compost over the bare areas, then spread the seed evenly. Rake it lightly so the seed touches soil, and keep it moist for 2-3 weeks with light watering several times a day. If you live in a place with a lot of oak trees like I do in Sandy Springs, sometimes those bare spots aren’t just thin turf — they’re dealing with acidic soil from all the leaf drop. A little lime can help there.
- Materials: High-quality grass seed appropriate for your region, topsoil or compost.
- Tools: Hand spreader or rake, watering can or gentle sprinkler.
- Tip: Look for grass seed varieties that match your existing lawn for a uniform look.
7. Fertilize Smartly — Feed your lawn what it needs.
Once your soil test is back, you’ll know what to put down. For cool-season grasses, a light feeding in early spring (April in most northern climates) after the grass starts greening up is usually the move. For warm-season grasses, wait until late spring or early summer when they’re actually growing. If the test shows low nitrogen, go with a slow-release nitrogen fertilizer. If phosphorus or potassium are low, use a balanced fertilizer. Again, spread it evenly and follow the label. Don’t overdo it. More isn’t better. It can run off, and it can make the grass weak. Water it in well after application.
- Materials: Fertilizer (based on soil test recommendations – e.g., 10-10-10, 20-0-10, etc.).
- Tools: Broadcast spreader.
- Safety: Read and follow all label instructions. Wear eye protection and gloves.
8. Sharpen Your Mower Blade — A sharp cut for a healthy lawn.
This is one of the easiest fixes, and somehow one of the most ignored. A dull blade tears the grass instead of cutting it clean, and that leaves ragged white or brown tips that make the whole yard look tired and open the door for disease. A sharp blade gives a clean cut, helps the lawn bounce back faster, and usually makes it look greener too. I sharpen mine at least twice a year — once in early spring and again mid-season. Takes about 15-20 minutes. You can do it yourself with a file or grinder, or just take it to a small engine repair shop for $10–$20. I still remember a place in Decatur where the homeowner kept saying the lawn looked dull no matter what he did. Turns out his mower blade was so beat up it looked like he’d been cutting cinder blocks with it. Same grass, same yard — new blade, totally different look.
- Tools: Wrench (to remove blade), bench grinder or metal file, blade balancer, vice, sturdy work gloves.
- Safety: ALWAYS disconnect the spark plug wire before working on your mower. Wear heavy gloves and eye protection when handling or sharpening the blade.
Common Causes
- Improper Timing of Applications: Putting down pre-emergent too early or too late, or fertilizing before the grass is really growing, is a big reason people get poor results.
- Skipping the Soil Test: If you don’t know your soil’s pH and nutrient levels, you’re guessing. That can lead to over or under-application, wasted money, and a lawn that never quite comes around.
- Dull Mower Blade: Tears grass instead of cutting it clean, which stresses the plant and leaves it looking brown and beat up.
- Over-watering/Under-watering: Both are trouble. Too much water leads to shallow roots and fungus problems; too little stresses the grass. Steady is better.
- Compacted Soil/Thatch Buildup: Blocks water, air, and nutrients from getting to the roots, and the lawn starts looking thin and patchy.
- Ignoring Disease or Pest Issues: Small problems can turn into big headaches fast if you don’t catch them early. Watch for strange spots, discoloration, or thinning.
Common Mistakes
- Applying Pre-Emergent After Crabgrass Appears: Once you can actually see crabgrass, pre-emergent won’t do squat. You’ll need a post-emergent herbicide for existing weeds. The clue for pre-emergent is
Related Articles
Keep troubleshooting with these hand-picked guides from FixlyGuide:
- Is Your Lawn Ready for Spring? 3 Hidden Mistakes Homeowners Make — Discover the common spring yard preparation mistakes that can undermine your lawn's health and how to avoid them for a vibrant, thriving ya…
- The #1 Mistake Killing Your Lawn's Crabgrass Defense (And the Easy Fix) — Discover why common crabgrass removal methods fail and how to naturally eliminate this stubborn weed for a healthier lawn.
- The 3 Crabgrass Mistakes Most Homeowners Make (And How to Fix Them Organically) — Discover the most common crabgrass removal mistakes and learn natural, organic methods to eliminate crabgrass from your lawn for good, fost…
- The #1 Mowing Mistake That Leaves Your Lawn Brown and Patchy — Discover the most common mowing mistake homeowners make that leads to unhealthy, patchy grass and how to fix it for a vibrant lawn.
- The #1 Mistake Killing Your Lawn (and Spreading Dandelions Everywhere) — Discover the most common mistake homeowners make that inadvertently encourages dandelions and how to achieve a weed-free lawn.
- The 3 Hidden Mistakes That Make Your Deck Sealer Fail (And How to Fix Them) — Properly sealing your wood deck protects it from the elements, but common mistakes often lead to early failure. Learn how to reseal your de…
Your seasonal maintenance checklist
The small jobs that prevent the expensive repairs. Tick them off — progress saves on this device.
Free, no signup. Skip anything that requires roof access or working near live electrical.
What should this project cost?
Enter your project details for a realistic cost range before you call anyone.
Cost depends heavily on which system turns out to be the source.
- Regional adjustment
- National average
- Labor share (typical)
- ~$1,620
- Quotes to collect
- 3 written estimates
Educational estimate based on national averages — not a binding quote. Always confirm with written local estimates.
Stay ahead of the next repair
Turn this guide into a schedule you will actually follow.
- Is this a safe DIY job?Check permits, tools, and risk before you start the steps below.Open
- Estimate this projectGet a cost range for your scope and ZIP before you call anyone.Open
Free, no signup required. Estimates are educational guidance, not a quote or an inspection.
Frequently asked questions
When should I apply crabgrass preventer?+
You should apply crabgrass preventer when soil temperatures consistently reach 50-55°F at a 2-inch depth. This often coincides with when local lilacs begin to bloom or forsythia flowers start to fade. Applying it too early or too late will reduce its effectiveness.
Is it okay to fertilize my lawn in early spring?+
For cool-season grasses, a light feeding in early spring, after the grass has started to green up, is generally appropriate. For warm-season grasses, it's best to wait until late spring or early summer when they are actively growing. Always check your soil test results first.
How do I know if my lawn needs dethatching?+
To check for thatch, cut a small, pie-shaped section of turf a few inches deep and lift it out. If the layer of dead grass, stems, and roots between the green blades and the soil surface is thicker than 1/2 inch, your lawn likely needs dethatching.
Should I sharpen my mower blade for spring?+
Absolutely! A sharp mower blade makes a clean cut, helping your grass recover faster and look greener. A dull blade tears the grass, which stresses the plant and makes it more susceptible to disease. Aim to sharpen it at least twice per season.
What's the ideal grass height for spring mowing?+
For most cool-season grasses, aim for a mowing height of 2.5 to 3 inches. Taller grass shades the soil, which helps suppress weeds and retains moisture. For warm-season grasses, the ideal height can vary from 1 to 2.5 inches depending on the type.
Can I overseed and apply pre-emergent at the same time?+
Most traditional pre-emergent herbicides will prevent grass seed from germinating. If you plan to overseed in spring, you'll need to use a specialized pre-emergent product that is safe for new grass seed, or wait to overseed until early fall after the pre-emergent has broken down.
How often should I water my lawn in spring?+
In spring, aim for about 1 inch of water per week, either from rainfall or irrigation. It's better to water deeply and less frequently to encourage deep root growth, rather than frequent shallow watering. Check soil moisture before watering again.
What are common signs of compacted soil?+
Signs of compacted soil include water puddling on the surface, slow drainage after rain, the ground feeling very hard, and difficulty pushing a screwdriver or shovel into the lawn. Sparse grass growth and an increase in weeds like dandelions and clover can also indicate compaction.
Can I use compost instead of fertilizer?+
Compost is an excellent soil amendment that improves soil structure, adds organic matter, and provides a slow release of nutrients. While it can reduce the need for synthetic fertilizers, a soil test will tell you if your lawn still requires specific nutrient boosts that compost alone might not fully provide.
When should I start mowing my lawn in spring?+
You should start mowing your lawn in spring once the grass has grown to a mowable height, typically around 3-4 inches. Don't cut more than one-third of the grass blade's height at any given time to avoid stressing the plant.
Discussion
Loading comments…