- Aerate Compacted Soil – Let your lawn breathe
- Tools: Core aerator (rentable), possibly a garden fork.
- For small stubborn spots, a garden fork works. Push it in about 6-8 inches, rock it a bit, pull it out, and keep going every 6 inches or so.
Landscaping · Deck or fence project
| Project category | Landscaping |
|---|---|
| Problem type | Deck or fence project |
| Trade required | Landscaping |
| Urgency | Planned project |
| Safety risk | Moderate safety risk |
| DIY suitability | DIY for experienced homeowners |
| Cost category | High cost |
| Typical timeline | Most builds 3–10 days depending on size |
| Contractor type | Landscaping contractor |
Repair option
Replace failed boards, posts, and hardware; reseal the surface.
Replacement option
Rebuild when framing or the ledger connection is unsafe.
Common causes
- Rot at posts and ledger
- Storm damage
- Adding outdoor living space
Relevant tools:home improvement material pricesproject cost estimator
Published September 27, 2026Last updated September 27, 2026
Tools & materials you'll need
Affiliate linksAs an Amazon Associate FixlyGuide earns from qualifying purchases — at no extra cost to you. Prices and availability are accurate as of publication and subject to change.
Quick Answer
Those soggy spots in your yard? They’re not just ugly. They’re your lawn waving a red flag. Most of the time, it’s compacted soil, a hardpan layer under the topsoil, or the yard just isn’t graded right. You’ve gotta find out why the water’s hanging around, then fix the path it’s supposed to take — sometimes that means breaking up the soil, sometimes it means adding organic matter, and sometimes it means putting in a system that moves the water along.
The Problem
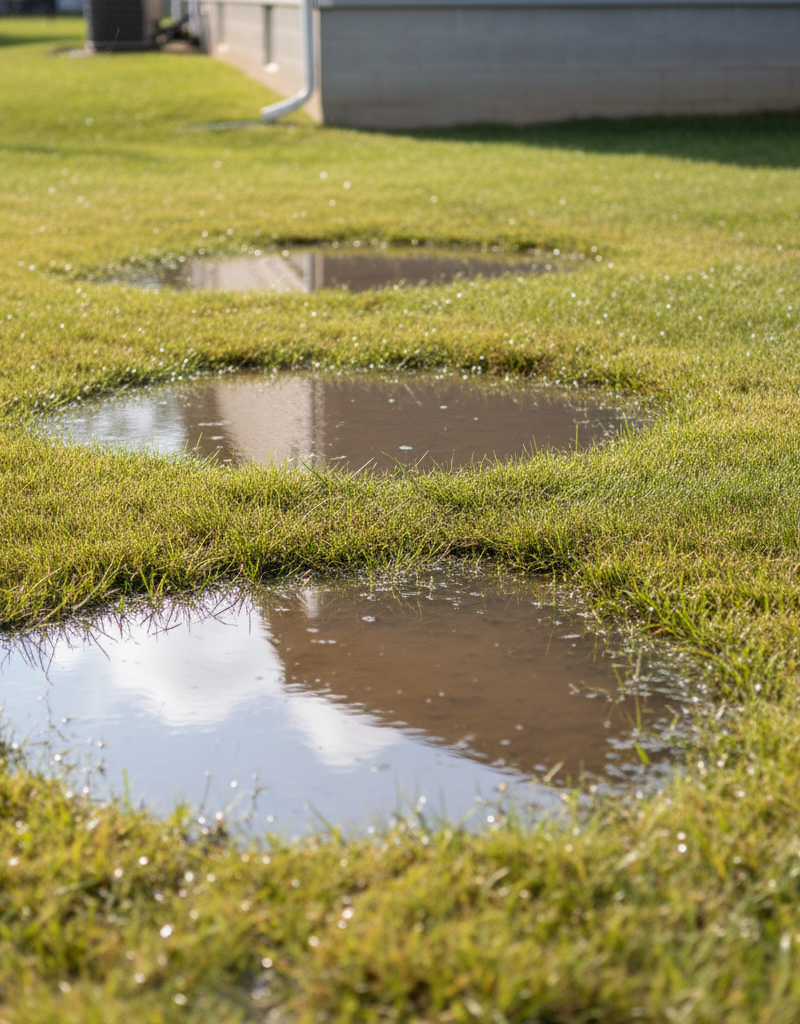
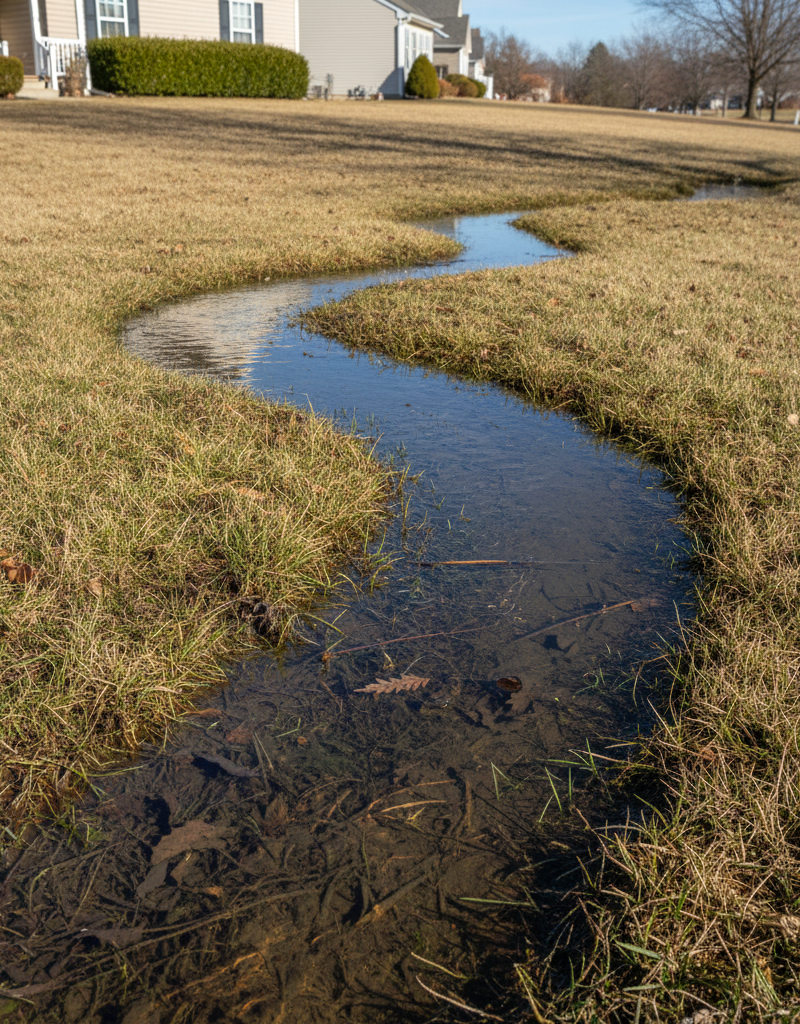
I’ve walked onto hundreds of yards and seen the whole circus — lawns that turn spongy after a light drizzle, puddles that sit there for days like they own the place. And every time, the homeowner’s got that same frustrated look, asking, “Why won’t my yard just drain?” Fair question. You’re not alone.
When your yard stays soggy, it’s not just a nuisance. It’s mosquito heaven, it chokes out your grass, and if that water’s hanging around near the foundation, it can turn into a real headache. I pulled a water heater in Frisco last month that had exactly this leak pattern near the slab — same kind of standing-water problem, same “how bad can it be?” look from the homeowner. Turns out, bad enough. This is the kind of problem you fix, not cover up and hope for the best.
How It Works
Drainage’s pretty straightforward once you strip it down: water needs a route from where it lands to somewhere else. Gravity does most of the heavy lifting. Healthy soil works like a sponge full of tiny pores — it takes in water, then lets it move deeper or sideways until it finds a lower spot. That balance of sand, silt, clay, and organic matter creates the air pockets water needs to keep moving.
When you’ve got soggy spots, that path is blocked or missing. Maybe there’s a dense clay layer a few inches down acting like a dam. Maybe years of foot traffic or heavy equipment packed the topsoil so tight it squeezed out the pores — that’s compaction, plain and simple. Or maybe the yard slopes towards the house instead of away, so every rainstorm sends runoff right where you don’t want it. Downspouts can be trouble too, dumping a pile of roof water into one little area. Water’s gotta go somewhere, whether that’s soaking in or running off to a lower spot. If it can’t move, it sits. Then it starts causing problems.
Step-by-Step Fix
Alright, let’s get your yard draining the way it should. This isn’t always a quick afternoon fix, but if you work it step by step, you’ll get there. Start by finding the real cause — otherwise you’re just slapping a patch on a symptom.
-
Assess the Situation – Figure out the why
- First, watch your yard during and after a rain. Where does the water pool? How deep is it? How long’s it sitting there? That’s the good stuff. If it only pools under a downspout, well, you’ve got your first suspect. If it’s a big flat area, grading or compaction’s probably the trouble. One yard in Maple Grove I looked at had construction debris buried under the topsoil by the builder, and every storm turned it into a little man-made pond. You can’t guess your way out of this stuff.
- Pro Tip: Dig a small test hole, about 1 foot deep and 1 foot wide, in the soggy area. Fill it with water. If it drains within 1-2 hours, your subsoil drainage is probably okay, and the problem is surface compaction. If it sits for 6+ hours, you’ve likely got a serious subsoil issue like hardpan or a high water table.
-
Redirect Downspouts – Easy win, often overlooked
- Tools: Downspout extensions (flexible or rigid), possibly a shovel.
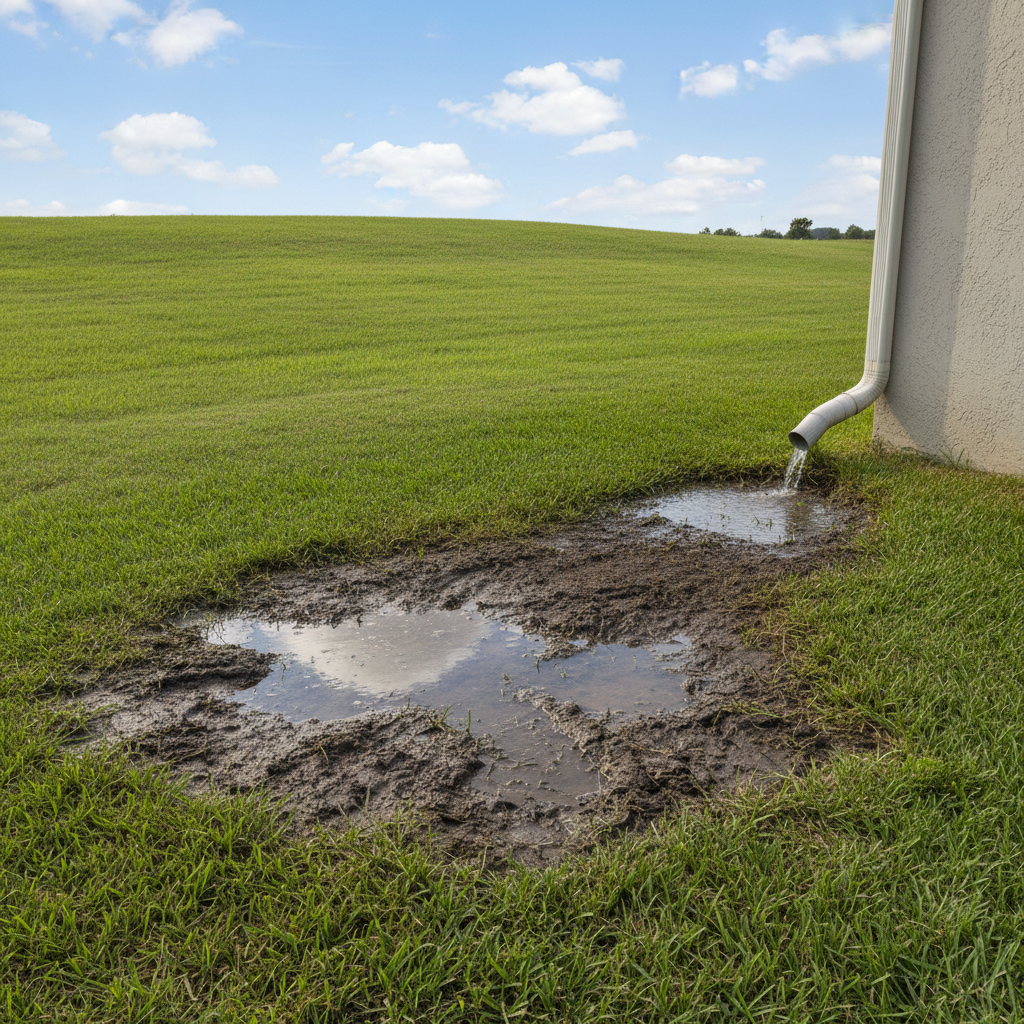
- Check all your gutter downspouts. Are they dumping water right next to your foundation or into a low spot? They should ideally extend at least 5 feet away from your house, sending water to a better-drained area. Sometimes that’s all it takes. A lot of “drainage problems” are really just roof runoff being handled badly.
-
Aerate Compacted Soil – Let your lawn breathe
- Tools: Core aerator (rentable), possibly a garden fork.
- If your test hole drained pretty fast, but you still have soggy spots, compaction’s likely the culprit. Rent a core aerator — the kind that pulls plugs of soil, not just pokes little holes. Run it over the wet areas, and honestly, do the whole lawn if you can. It’s good practice. Use it when the soil’s moist but not muddy. You’ll wind up with little soil cores all over the place — leave ’em. They break down on their own and open up channels for water and air.
- For small stubborn spots, a garden fork works. Push it in about 6-8 inches, rock it a bit, pull it out, and keep going every 6 inches or so.
-
Amend the Soil – Build better dirt
- Materials: Compost, sand (optional, if clay is severe).
- After aerating, spread a 1/2-inch layer of good quality compost over the problem area. Work it into the aeration holes if you can. Compost helps soil structure, feeds worms and microbes, and slowly breaks up heavy clay so water can move better. If you’ve got really nasty clay, you can mix in some coarse sand (not play sand!) with the compost, but don’t get cute with it — too much sand in clay can turn into something close to concrete if the ratio’s wrong. Start with organic matter.
-
Install a Dry Well (for smaller, isolated spots) – A localized fix
- Tools: Shovel, wheelbarrow, geotextile fabric, gravel, perforated drainage pipe.
- If you’ve got one small pooling spot, a dry well can work. It’s basically a gravel-filled pit. Dig a hole, say, 3 feet deep and 3 feet wide, right in the middle of the soggy area. Line it with geotextile fabric so soil doesn’t clog the gravel, and leave extra fabric hanging over the top. Fill it with gravel, fold the fabric over, then cover it with a few inches of topsoil and sod. The water collects there and slowly seeps into deeper soil.
-
Consider a French Drain (for larger areas or persistent issues) – The big guns for serious drainage
- Tools: Shovel or trenching tool (rentable), geotextile fabric, gravel, perforated drainage pipe.
- This one’s a bigger job. You dig a trench, usually 8-12 inches wide and 18-24 inches deep, running from the problem area to a lower, well-drained spot — or a street drain, if your area allows it. Line the trench with geotextile fabric, put down a layer of gravel, set the perforated drainage pipe in place (holes facing down), cover it with more gravel, fold the fabric over, then cap it with soil and sod. That pipe collects water and carries it away.
- Safety First: Before you dig any deep trench, call 811 (or your local utility locate service) to mark underground lines. You do not want to hit a gas line or electrical conduit. Trust me, I’ve seen it happen, and no dice — it’s not pretty, and it sure isn’t cheap.
-
Re-Grade the Area – Change the slope
- Tools: Shovel, rakes, level, wheelbarrow, topsoil.
- If your yard slopes toward your house, or if you’ve got a big flat section with nowhere for runoff to go, re-grading may be the fix. That means adding or removing soil to create a gentle slope — at least 2% or 1/4 inch per foot — away from the foundation and toward a drainage point. It can be a lot of work, and sometimes you’re into heavy equipment territory. For smaller areas, a few yards of topsoil and some sweat can absolutely do the trick.
Common Causes
- Compacted Soil: Years of foot traffic, heavy machinery, or even just pounding rain can press the soil particles together and kill those air pockets. Water can’t soak in, so it hangs on top.
- Hardpan Layer: Below the topsoil, you might have a dense, nearly impermeable layer of clay or rock, usually formed naturally or by construction equipment driving over wet soil. It acts like a hidden bathtub.
- Incorrect Grading: The yard might just be sloped wrong. Water should flow away from the foundation, but sometimes yards are flat, or worse, pitched inward.
- High Water Table: In some areas, the natural water table sits close to the surface, especially during wet seasons. The ground’s already loaded with water, so there’s nowhere for more to go.
- Blocked or Insufficient Downspouts: Gutters and downspouts are supposed to move roof runoff, but if they’re clogged or dumping right beside the house, they drop a huge amount of water in one spot.
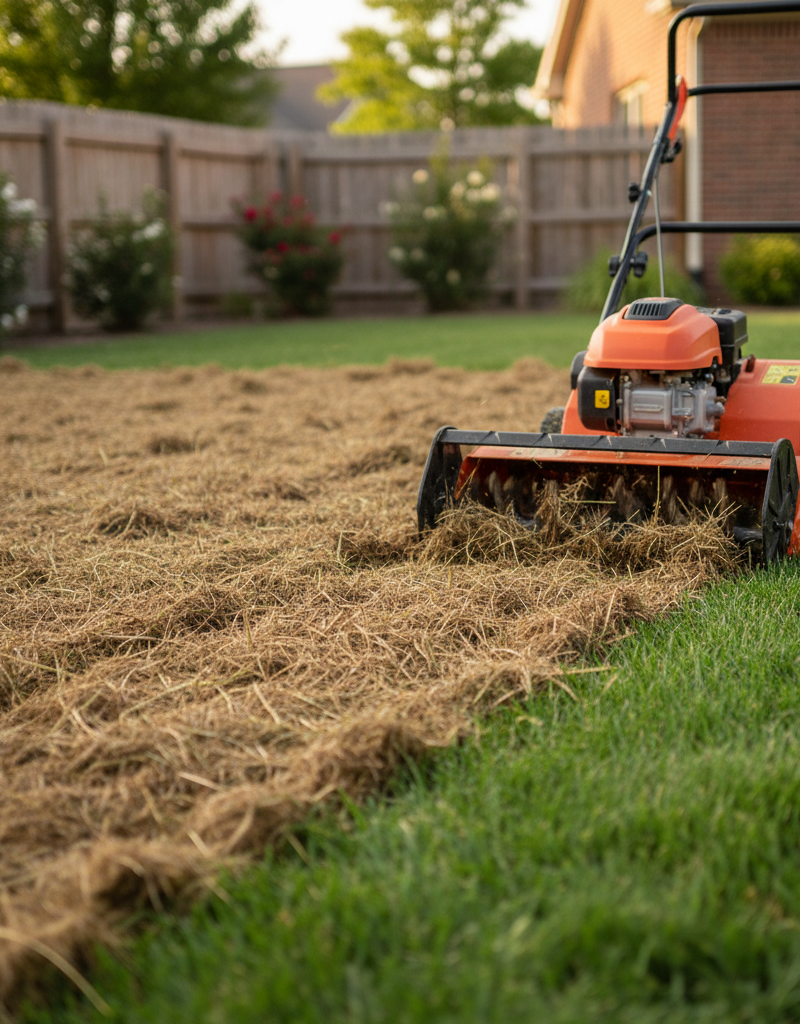
- Excessive Thatch: A thick layer of dead grass and organic material can get so dense it blocks water from reaching the soil below, which leads to surface pooling.
Common Mistakes
- Ignoring the Problem: Hoping it’ll dry out on its own, or blaming “just a lot of rain,” doesn’t fix the real issue. It usually gets worse — dead grass, mosquitoes, maybe foundation trouble.
- Digging Blindly: Never, ever dig deep without calling 811 first. Hitting utility lines is dangerous and can get expensive in a hurry.
- Adding Sand to Clay Soil (Without Organic Matter): Trying to “lighten” clay with just sand often gives you something close to concrete. You need organic matter like compost to actually improve the structure.
- Incorrectly Sizing a French Drain: If the drain’s too small for the water load, or if it doesn’t discharge to the right place, you’ve just built another soggy ditch.
- Not Addressing the Source: Slapping in a dry well without fixing compacted soil or rerouting a downspout is like putting a band-aid on a gushing wound. You’ve still got to fix what caused it.
- DIYing Major Re-grading: Small re-grading jobs can be DIY-friendly, sure. But moving a lot of dirt and dialing in the slope takes skill. Mess it up, and you might send water into the neighbor’s yard or, worse, back toward your house.
Cost & Time Breakdown
| Task | DIY Cost | Pro Cost | Time |
|---|---|---|---|
| Redirect Downspouts | $20-$100 | $100-$250 | 30 mins - 1 hour |
| Aeration (Rent Machine) | $70-$150 (rental) | $150-$400 | 2-4 hours |
| Soil Amendments (Compost) | $50-$200 | Included with service | 2-6 hours |
| Dry Well Installation | $100-$300 | $500-$1,500 | 1-2 days |
| French Drain (25 ft) | $200-$600 | $1,500-$5,000+ | 2-4 days |
| Minor Re-grading | $100-$500 (soil) | $1,000-$5,000+ | 1-3 days |
Tips & Prevention
- Regular Aeration: Try to aerate your lawn once a year, especially if you’ve got heavy clay soil or a lot of foot traffic. It keeps those little pores open so water can get in.
- Add Organic Matter: Top-dress your lawn with a 1/4-inch layer of compost every year. It’s not flashy, but it steadily improves the soil and helps keep compaction down.
- Maintain Gutters & Downspouts: Clean your gutters twice a year — once in spring, once in fall. Make sure downspout extensions are in place and carrying water well away from the foundation.
- Observe Your Yard: Watch what happens after a hard rain. Note where water collects, how long it hangs around, and whether anything changes with the seasons. Catching it early saves you a lot of grief.
- Mind Your Landscaping: Don’t accidentally build little dams with garden beds or raised planting areas if they block natural water flow away from the house. The ground around your foundation should slope away at least 6 inches over the first 10 feet.
- Consider Permeable Surfaces: If you’re putting in new patios or walkways, think about permeable pavers or gravel instead of solid concrete. That lets some water soak in instead of running off like crazy.
When to Call a Professional
Look, I’m all for DIY, but some drainage problems are just too big, too messy, or too risky to handle yourself. If you’ve got widespread standing water that still hasn’t drained after 24-48 hours, especially near the foundation, it’s time to call in the pros. Same goes for anything that needs serious excavation, especially if you suspect underground utility lines or if re-grading means changing the whole slope of the yard. Pros’ve got the heavy equipment, the experience to read the site properly, and the know-how to install systems like French drains or catch basins without creating a bigger mess. They can also spot stuff like a high water table, which usually needs a more advanced fix than most homeowners can tackle. Don’t gamble with your home’s structure or the utilities buried under it.
Related Articles
Keep troubleshooting with these hand-picked guides from FixlyGuide:
- Why Your Yard Stays Soggy (And When That Standing Water Means Big Trouble) — Persistent standing water in your yard can harm plants, damage your home’s foundation, and signal deeper drainage problems that require pro…
- The One Soil Secret Killing Your Garden (It Ain't Fertilizer) — Poor drainage and compacted soil can suffocate plant roots, leading to stunted growth, disease, and nutrient deficiencies. I'll show you ho…
- The Grassy Secret: Why Your Lawn Has Brown Patches (Even After Watering) — Discover the real culprit behind mysterious brown lawn patches—it might not be drought. Learn to identify and eliminate lawn grubs before t…
- The #1 Mistake Killing Your Summer Lawn (And How to Fix It in a Weekend) — Overwatering is the silent killer behind many yellow summer lawns, often mistaken for drought. Learn how to diagnose and correct drainage i…
- The #1 Mistake Homeowners Make When a Lawn Mower Won't Start (And the Easy Fix) — Before you despair, discover the most common culprit behind a non-starting lawn mower and how to fix it in minutes.
- The Secret Reason Your Dishwasher Won't Drain (And How to Fix It in 20 Minutes) — Before you call a plumber, learn the most common culprit behind a dishwasher that won't drain and how to fix it yourself with simple tools.
Should you do this yourself?
Answer five quick questions before you start. Safety outranks savings every time.
Your experience with work like this
How high do you have to work?
Does the job involve any of these?
Will it need a permit?
Specialty tools
Free and instant. Educational guidance only — not a quote, inspection, or professional diagnosis.
What should this project cost?
Enter your project details for a realistic cost range before you call anyone.
Common repairs run $150–$650; repipes and water-heater replacements reach $1,500–$4,500.
- Regional adjustment
- National average
- Labor share (typical)
- ~$754
- Quotes to collect
- 3 written estimates
Educational estimate based on national averages — not a binding quote. Always confirm with written local estimates.
Fixly Project Decision Box
- DIY difficulty
- Moderate
- Estimated time
- 30 minutes – half a day
- Cost level
- Moderate
Main tools / materials
- Adjustable wrench
- Plunger or drain auger
- Bucket and towels
- Thread tape
When to stop and call a pro
- Water you cannot shut off at the fixture or main
- Sewage backing up into more than one fixture
- Water near electrical panels or outlets
- Gas water heater work beyond relighting a pilot
Need professional help?
Get a Licensed PlumberBefore you start
Check the difficulty, permits, and safety risk — then decide whether to call a pro.
- Estimate this projectGet a cost range for your scope and ZIP before you call anyone.Open
- Get local estimatesSend one request and compare written estimates from vetted pros.Open
Free, no signup required. Estimates are educational guidance, not a quote or an inspection.
Get the print-ready PDF of this guide
A clean, ad-free, printable version you can keep on your phone or pin to the workshop wall. Free with a FixlyGuide account.
- Print-optimized layout
- Tools, materials & every step included
- Saved to your account
Frequently asked questions
Why does my yard have soggy spots after it rains?+
Soggy spots usually mean poor drainage. Common culprits include compacted soil that can't absorb water, an impermeable layer like hardpan beneath the surface, or improper yard grading that directs water to low points instead of away.
How can I tell if my soil is compacted?+
A quick test is to try pushing a screwdriver into the ground. If it's hard to push in more than a few inches, your soil is likely compacted. You can also perform a perk test: dig a small hole, fill it with water, and observe how long it takes to drain.
What is a hardpan layer and how do I fix it?+
Hardpan is a dense, compacted layer of soil, often clay, that water can't penetrate. If your test hole doesn't drain, you might have it. Breaking it up often requires deep tilling or subsoiling, or installing a drainage system like a French drain to bypass it.
Can just redirecting my downspouts really help?+
Absolutely! Downspouts can dump hundreds of gallons of water in one concentrated area during a storm. Extending them at least 5 feet away from your foundation to a well-drained spot can solve many localized soggy spot issues immediately.
Is aeration enough to fix drainage problems?+
Aeration helps significantly for surface compaction by creating channels for water and air. However, if the problem is severe subsoil compaction, a hardpan, or major grading issues, aeration alone won't be a complete solution; it's often part of a larger fix.
When should I consider a French drain versus a dry well?+
A dry well is good for small, isolated pooling areas where water just needs a place to collect and slowly seep away. A French drain is better for larger, linear problem areas, actively collecting and channeling water away from a source or an entire section of your yard.
How much slope should my yard have for good drainage?+
Ideally, your yard should have a minimum slope of 2% (or 1/4 inch of fall for every foot of horizontal distance) away from your home's foundation for at least the first 10 feet to ensure water moves away properly.
What's the best long-term solution for preventing soggy spots?+
The best long-term strategy involves a combination of regular soil amendment with organic matter like compost, consistent aeration to prevent compaction, and ensuring proper yard grading and downspout management to direct water away from problematic areas.
Can I use sand to improve drainage in clay soil?+
Only with extreme caution. Adding too much sand to clay without sufficient organic matter can create a concrete-like mixture. Focus on incorporating large amounts of compost, which improves clay soil structure much more effectively and safely.
What are the signs that I need to call a professional for drainage issues?+
If you have widespread standing water that lasts for days, if the soggy areas are very close to your home's foundation, if you suspect deep subsoil issues like hardpan, or if the solution requires extensive excavation and regrading, it's definitely time to call in a landscaping or drainage professional.
Discussion
Loading comments…