Tools & materials you'll need
Affiliate linksAs an Amazon Associate FixlyGuide earns from qualifying purchases — at no extra cost to you. Prices and availability are accurate as of publication and subject to change.
Quick Answer
The most critical step in winterizing a sprinkler system is ensuring all water is completely removed from the pipes. For most systems, this requires using an air compressor to blow out the lines, as simply draining isn't enough to prevent freezing and potential bursting. Neglecting this crucial step, especially for underground lines, can lead to extensive damage and expensive repairs when temperatures drop below freezing.
The Problem
As temperatures plummet, residual water left inside your underground sprinkler lines, valves, and sprinkler heads can freeze and expand. This expansion exerts immense pressure, often exceeding 50,000 pounds per square inch, easily rupturing even robust PVC or polyethylene pipes. The result? A perfectly fine irrigation system in the fall becomes a leaky, dysfunctional mess by spring, requiring extensive trenching, pipe replacement, and potentially damaging your landscaping. Many homeowners mistakenly believe simply shutting off the water and opening drain valves is enough, but hidden water traps and low points in the system can stubbornly hold water, leaving it vulnerable to freeze damage. Ignoring proper winterization can turn a simple seasonal task into a multi-hundred or even thousand-dollar repair.
How It Works
An automatic sprinkler system typically consists of main supply lines, manifold valves, lateral lines, and sprinkler heads. Water enters from your main water supply, passes through a backflow preventer (essential for preventing contaminated sprinkler water from entering your drinking supply), and then flows to a manifold of zone valves. Each valve controls a specific 'zone' of sprinklers in your yard. From these valves, thinner lateral lines branch out to individual sprinkler heads.
When you winterize, the goal is to eliminate standing water from every single component. Gravity drains can remove some water, but they often leave pockets in dips, bends, and at the bottom of valve bodies. The most effective method is 'blowing out' the system with compressed air. An air compressor is connected to a designated point (often a dedicated blow-out port or after the backflow preventer), and pressurized air is forced through the lines. This air pushes any remaining water out through the sprinkler heads, effectively 'drying' the system. The key is to manage air pressure and flow correctly to avoid damaging components while ensuring complete water removal. Different pipe materials (PVC, polyethylene) have varying pressure tolerances, making careful pressure regulation critical. Failing to purge all the water, even a small amount, can lead to a burst pipe or a cracked valve body, as water expands by about 9% when it freezes.
Step-by-Step Fix
Safety First! Always wear ANSI-approved eye protection when working with compressed air. Never stand directly over a sprinkler head while blowing out the system, as debris (or even the head itself) can be expelled with force. Ensure your air compressor is well-maintained and never exceed the recommended pressure for your sprinkler system materials.
-
Shut Off the Main Water Supply — Locate and close the main shut-off valve for your sprinkler system.
- This valve is typically found near your water meter, where the sprinkler system branches off your main house supply, or in an underground valve box. Twist the handle or turn the lever to completely stop water flow to the irrigation system. This prevents new water from entering the system during the blow-out process.
-
Drain the Backflow Preventer — Open drain and test cocks on your backflow device.
- Your backflow preventer, usually a brass assembly above ground, has small test cocks or bleed valves. Using a flathead screwdriver, slowly turn these valves until water drains out. There may also be larger shut-off handles; position them so they are at a 45-degree angle (between open and closed) to allow any remaining water to escape. This step protects the backflow device itself from freezing damage.
-
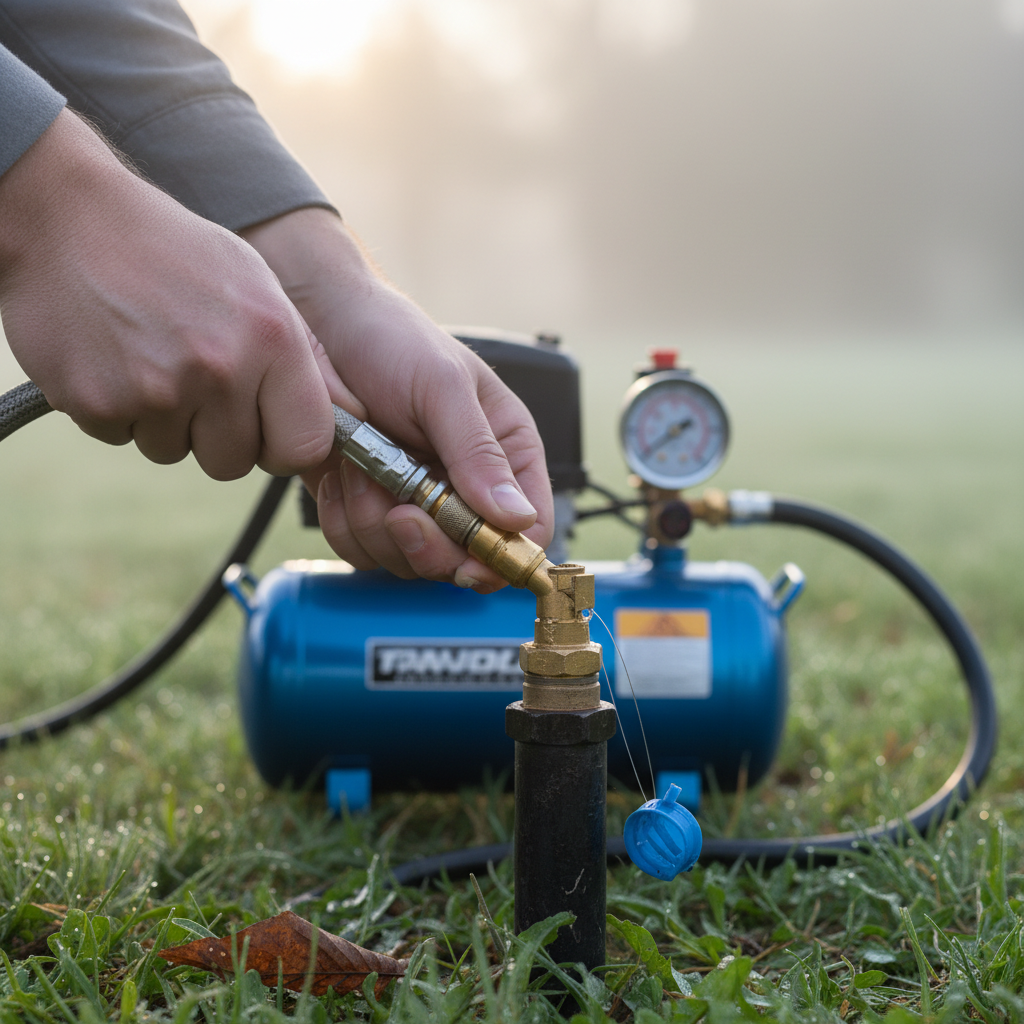
Connect the Air Compressor — Attach your air compressor to the designated blow-out port.
- Many systems have a dedicated blow-out port, often a capped pipe near the backflow preventer or main shut-off valve. It will have a male threaded fitting (usually 1/2-inch or 3/4-inch). Remove the cap, attach an appropriate adapter, and then connect your air compressor hose. If you don't have a dedicated port, you may need to adapt a connection at the backflow preventer's main shut-off valve on the supply side, but be careful not to back-pressure your home's plumbing. Set your compressor's regulator to 30-50 PSI for PVC systems and 50-80 PSI for polyethylene (black flexible pipe) systems. Exceeding these pressures risks damaging pipes or sprinkler heads. Start with a lower PSI and slowly increase if needed.
-
Open the Farthest Zone Valve — Manually activate the sprinkler zone furthest from your compressor connection.
- On your sprinkler controller, select the manual operation mode and activate the zone that is physically furthest from where your air compressor is connected. If your controller doesn't allow individual zone operation without water, you might need to manually open the solenoid on the valve itself (often a quarter-turn knob or lever). This ensures direct air flow to the longest run of pipes first.
-
Blow Out the First Zone — Gradually introduce air and watch for water expulsion.
- Slowly open the valve on your air compressor to introduce air into the system. You'll see water forcefully spraying from the sprinkler heads in the activated zone, followed by a mist. Allow the air to flow until only a fine mist or air is coming out of all heads in that zone. This indicates the water has been mostly purged. Do not run the compressor dry for more than 30-60 seconds per zone once water stops, as this can overheat and damage gears inside spray heads.
-
Repeat for All Zones — Systematically blow out each remaining sprinkler zone.
- Once a zone is clear, close its valve on the controller (or manually). Then, select and open the next zone on your controller (working from furthest to closest to the compressor connection). Repeat the blow-out process until all zones have been thoroughly cleared of water. Monitor your compressor's pressure and tank level, pausing to allow it to refill if necessary.
-
Clear Driplines and Micro-Irrigation (If Applicable) — Ensure specialized irrigation is also purged.
- If you have drip lines or micro-irrigation, treat them as separate zones. They often have very small emitters which can clog if water freezes. Ensure these lines are also thoroughly blown out until only air is expelled. Some drip systems have end caps that can be temporarily removed to aid drainage, then re-secured.
-
Disconnect and Release Pressure — Shut off the compressor and safely disconnect the hose.
- Once all zones are clear, shut off your air compressor. Release any remaining pressure in the main line by carefully opening a manual drain valve or test cock on your backflow preventer. Disconnect the air compressor hose and replace the cap on your blow-out port (or re-secure any fittings on the backflow preventer). Store your compressor for the season.
-
Winterize the Controller — Turn off your sprinkler system controller.
- Turn your irrigation controller to the
Related Articles
Keep troubleshooting with these hand-picked guides from FixlyGuide:
- The #1 Mistake Homeowners Make Winterizing Sprinklers (And How to Avoid Burst Pipes) — Discover the crucial mistake homeowners make when winterizing sprinkler systems and learn the correct way to prevent costly burst pipes thi…
- The #1 Mistake Homeowners Make Winterizing Sprinklers (and How to Avoid a Burst Pipe) — Learn the critical mistake most homeowners make when winterizing their sprinkler system and how to properly blow out the lines to prevent c…
- The #1 Mistake Homeowners Make Winterizing Sprinklers (And How to Avoid a Burst Pipe) — Learn the critical steps to properly winterize your sprinkler system and prevent costly burst pipes when temperatures drop below freezing.
- The #1 Sprinkler Winterization Mistake That Leads to $1,000s in Damage — Discover the crucial mistake many homeowners make when winterizing sprinklers and how to properly blow out your system to prevent costly fr…
- The #1 Sprinkler Winterizing Mistake That Leads to $1,000s in Damage — Discover the crucial mistake homeowners make when winterizing sprinkler systems and how to avoid costly freeze damage with a simple, effect…
- The #1 Mistake Homeowners Make When Their AC Drain Clogs (And The $5 Fix) — Discover the most common error homeowners make when tackling a clogged AC drain line and learn a simple, inexpensive solution to prevent co…
Get the print-ready PDF of this guide
A clean, ad-free, printable version you can keep on your phone or pin to the workshop wall. Free with a FixlyGuide account.
- Print-optimized layout
- Tools, materials & every step included
- Saved to your account
Frequently asked questions
How do I know if I've blown out all the water from my sprinkler system?+
You'll know the water is mostly purged when only a fine mist or clear air is consistently coming out of all the sprinkler heads within an activated zone. Avoid running the compressor for too long after the water stops to prevent damage to sprinkler heads.


Discussion
Loading comments…