Tools & materials you'll need
Affiliate linksAs an Amazon Associate FixlyGuide earns from qualifying purchases — at no extra cost to you. Prices and availability are accurate as of publication and subject to change.
Quick Answer
When a sprinkler head refuses to pop up, the most common culprits are low water pressure, a clogged nozzle, or physical obstructions around the head. Addressing these usually involves simple troubleshooting steps like cleaning the nozzle, clearing debris from the sprinkler's vicinity, or checking your system's water pressure. Most fixes are straightforward and can be completed by a homeowner with basic tools in under an hour.
The Problem
Picture this: the sun is beating down, your lawn is thirsty, and your irrigation system kicks on, but one or more sprinkler heads remain stubbornly recessed in the ground. You hear the water running, but nothing is emerging from that specific spot, leaving a dry patch that stands out like a sore thumb. This isn't just an aesthetic issue; consistent dry spots can lead to uneven growth, brown patches, and ultimately, an unhealthy lawn. A non-popping sprinkler head is a common, frustrating problem for many homeowners, often pointing to underlying issues with water pressure, blockages, or damaged components within the sprinkler unit itself.
How It Works
To understand why a sprinkler head isn't popping up, it helps to know how a pop-up sprinkler functions. These heads are designed to remain flush with the ground when not in use, retracting to prevent damage from lawnmowers and foot traffic. When the irrigation zone is activated, water flows into the supply line, creating pressure. This water pressure acts against a piston or riser assembly inside the sprinkler body, pushing it upwards against a spring. Once the riser is fully extended, water is dispersed through the nozzle, irrigating your lawn. When the water flow stops, the pressure drops, and the spring retracts the piston, pulling the sprinkler head back down into its housing.
Key components include the sprinkler body (the outer casing), the riser (the part that moves up and down), the spring (which retracts the riser), and the nozzle (which shapes the water spray). For the head to pop up effectively, there needs to be sufficient water pressure to overcome the spring tension and any friction from sediment or debris. A blockage in the nozzle or internal mechanism, or insufficient water pressure, prevents this upward movement, leaving your sprinkler head stuck in the ground.
Step-by-Step Fix
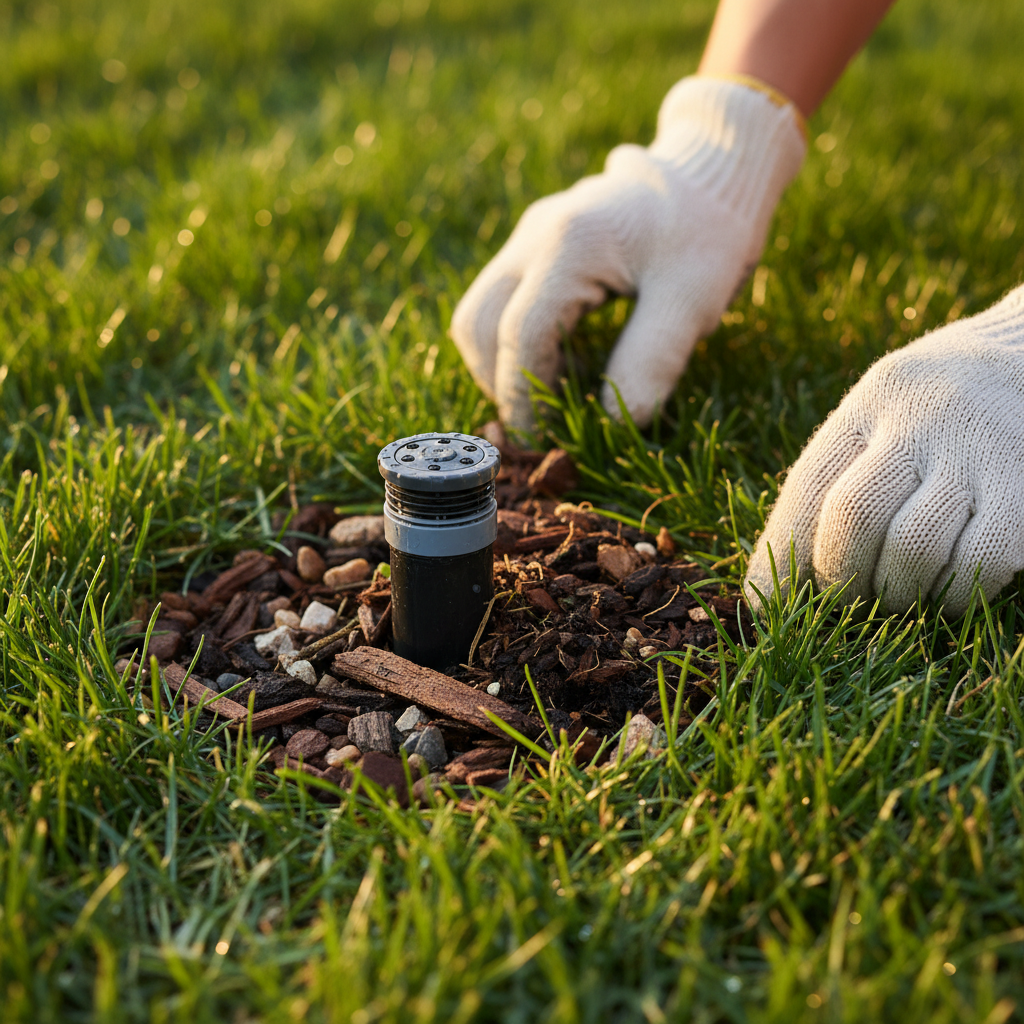
1. Inspect the Sprinkler Head and Surrounding Area — Carefully examine the sprinkler head for immediate obstructions.
- Clear Debris: Tall grass, weeds, mulch, dirt, or even small rocks can physically block the riser from extending. Use your hands or a small trowel to clear any impediments within a 6-inch radius around the sprinkler head. Look for grass that has grown over the cap or dirt that has accumulated in the small gap around the riser. Ensure the ground level around the head is not excessively high, allowing the head to fully retract without being buried.
- Check for Physical Damage: While clearing, also look for visible cracks in the sprinkler body or a broken nozzle. If the sprinkler cap is cracked or the riser appears bent, the internal mechanism might be compromised, requiring a replacement.
2. Clean the Nozzle and Filter Basket — A clogged nozzle is a frequent culprit for poor or no pop-up.
- Shut Off Water: Before attempting any work, locate your main irrigation shut-off valve (often in a green box near your water meter or where the main line enters your house) and turn it off. This prevents water from unexpectedly gushing out.
- Unscrew the Nozzle: Gently unscrew the nozzle from the top of the sprinkler head. Some nozzles can be hand-tightened, while others might require a small flathead screwdriver to pry up a tab or turn a small screw.
- Remove and Clean Filter: Below the nozzle, you'll find a small filter screen or basket. Pull this out. Rinse both the nozzle and the filter basket thoroughly under running water to remove dirt, grit, and mineral deposits. A small brush (like an old toothbrush) can be helpful for stubborn clogs. You can also use a paperclip to poke out any debris from the nozzle's tiny openings.
- Reassemble: Insert the clean filter back into the riser, then screw the clean nozzle back into place. Ensure it's snug but don't overtighten.
3. Check for Low Water Pressure — Insufficient pressure is a common system-wide problem.
- Observe Other Heads: If all or most sprinkler heads in a zone are not popping up, low water pressure is a likely cause. If only one head is affected, the problem is more localized.
- Open Main Valve Fully: Ensure your main irrigation shut-off valve and any zone valves are fully open. Sometimes they are accidentally partially closed.
- Check for Leaks: Listen for hissing sounds or look for wet, soggy spots in your lawn, which could indicate a leak in the main line, diverting water pressure away from the heads. A significant leak can drastically drop pressure throughout the system.
- Test Water Pressure: You can purchase a simple water pressure gauge (garden hose type) from a hardware store and attach it to an outdoor spigot. A healthy irrigation system typically requires 30-50 PSI for proper operation. If your pressure is consistently below 30 PSI when the system is running, you may need a professional to diagnose the main water supply or consider a pressure booster.
4. Flush the Sprinkler Body — Sediment can accumulate inside the sprinkler body.
- Turn Off Water: Again, shut off the water to the zone or entire system.
- Unscrew Sprinkler Cap: Carefully unscrew the entire top cap of the sprinkler body. This usually involves twisting counter-clockwise. Be prepared for some residual water to spill out.
- Lift Out Riser: Gently pull out the riser assembly. You'll see the spring and often a lot of muddy water or grit inside the body.
- Flush Manually: With the riser out and nozzle still removed, briefly turn on the water to the zone to flush out any sediment or debris from the sprinkler body. Have a bucket ready to catch the water. Do this for just a few seconds to avoid excessive water waste.
- Clean Riser Assembly: Clean the exterior of the riser and the spring thoroughly. Look for any grit or sand that might be causing friction. You can also clean the inside of the sprinkler body with a rag if it's accessible.
- Reassemble: Reinsert the riser, ensuring the spring is properly seated, then screw the cap back on tightly. Reinstall the nozzle and filter if you removed them.
5. Replace the Sprinkler Head — If all else fails, the internal mechanism might be broken.
- Purchase Replacement: Buy a new sprinkler head of the exact same model and height to ensure compatibility with your existing system and proper spray pattern. Different brands and models have different riser heights and connection types.
- Dig Around Head: Carefully dig a wide circle around the problematic sprinkler head, exposing the connecting elbow or flexible pipe. Be gentle to avoid damaging nearby pipes.
- Unscrew Old Head: Unscrew the old sprinkler head from the supply pipe. This may require channel locks or a pipe wrench. Note the direction of the threads – usually counter-clockwise to loosen.
- Screw On New Head: Apply a few wraps of new Teflon tape (pipe thread sealant tape) clockwise around the threads of the new sprinkler head. Screw the new head onto the supply pipe, hand-tightening first, then a quarter to half turn with a wrench until snug. Do not overtighten, as this can crack the plastic fitting.
- Test and Backfill: Turn on the water and test the new head for proper operation and leaks before backfilling the dirt. Once confirmed, carefully backfill the soil, ensuring the top of the sprinkler head is flush with the ground.
Common Causes
- Debris Obstruction: Grass, dirt, mulch, or rocks preventing the riser from moving freely.
- Clogged Nozzle or Filter: Sediment, mineral deposits, or small particles blocking the water flow and internal mechanisms.
- Low Water Pressure: Insufficient pressure in the irrigation line to overcome the spring tension and lift the riser. This can be due to a partially closed valve, a leak in the system, or issues with the main water supply.
- Damaged Internal Components: A broken spring, worn O-rings, a cracked riser, or other internal failures due to age, wear, or impact.
- Incorrect Installation/Burial: The sprinkler head might be buried too deep, preventing it from fully extending, or the wrong type of head was installed for the area.
Common Mistakes
- Ignoring Localized vs. System-Wide Issues: If only one head isn't popping up, it's likely a localized clog or obstruction. If many are affected, inspect water pressure and main valves before troubleshooting individual heads.
- Overtightening Nozzles or Caps: Over-tightening plastic components can strip threads or crack the plastic, leading to leaks or damaging the sprinkler head.
- Forgetting to Flush the Head: Simply cleaning the nozzle without flushing the body leaves internal sediment, which can quickly reclog the system.
- Using the Wrong Replacement Head: Different sprinkler heads have varying connection sizes, riser heights, and spray patterns. Using an incompatible head will lead to poor performance and potential leaks.
- Not Shutting Off Water: Always turn off the water to the zone or system before disassembling any part of a sprinkler head to avoid getting soaked or creating a geyser.
- Digging Blindly: Rushing to dig around a buried head without caution can damage underground pipes or electrical wires for solenoids.
Cost & Time Breakdown
| Task | DIY Cost | Pro Cost | Time |
|---|---|---|---|
| Clean Nozzle/Filter | $0 (DIY) | $75–$150 | 10–20 minutes |
| Clear Debris | $0 (DIY) | $75–$100 | 5–15 minutes |
| Flush Sprinkler Body | $0 (DIY) | $75–$150 | 15–30 minutes |
| Replace Single Sprinkler Head | $5–$20 (parts) | $100–$250 | 30–60 minutes |
| Diagnose Low Pressure | $15–$30 (gauge) | $150–$300+ | 15–30 minutes |
Tips & Prevention
- Regular Inspections: Periodically run your irrigation system during daylight hours to observe all heads. Look for any that aren't popping up fully, spraying correctly, or showing signs of damage.
- Mow Carefully: Be mindful when mowing or trimming around sprinkler heads to avoid direct hits that can damage the caps or internal components. String trimmers can particularly damage plastic risers.
- Edge Appropriately: Keep grass and soil from encroaching too much around the sprinkler heads. Consider installing small, round edging to create a clear border.
- Winterize Properly: In colder climates, ensure your system is properly winterized to prevent water from freezing and damaging internal components of the heads.
- Install Filter Before Zone Valves: If your water source has a lot of sediment, consider installing a larger main filter before your zone valves to catch debris before it reaches individual heads.
- Check System Pressure Annually: Fluctuations in municipal water pressure or changes in your home's plumbing can affect irrigation performance. An annual pressure check can preempt issues.
When to Call a Professional
While many non-popping sprinkler head issues are DIY-friendly, certain situations warrant calling a licensed irrigation professional. If you suspect a significant leak in your main irrigation line, especially if you see large soggy areas or a continuous drop in water pressure across multiple zones, a professional can accurately locate and repair it without extensive digging. For persistent low water pressure issues that aren't resolved by simple valve adjustments or leak checks, an expert can diagnose problems with your water meter, pressure reducing valve (if applicable), or main water supply. Additionally, if multiple heads within a zone consistently fail to pop up after you've tried all the troubleshooting steps, there might be a more complex electrical issue with the zone valve's solenoid or wiring, which requires specialized tools and knowledge to diagnose and fix safely. Don't hesitate to call a pro if you feel uncomfortable or out of your depth, particularly if it involves digging near other utility lines.
Related Articles
Keep troubleshooting with these hand-picked guides from FixlyGuide:
- The 3 Hidden Reasons Your Sprinkler Head Won't Pop Up (And How to Fix It Fast) — Uncovering why your sprinkler head isn't popping up often comes down to three common, easily fixable issues, helping you restore your lawn'…
- The 3 Hidden Reasons Your Sprinkler Head Won't Pop Up (And How to Fix It FAST) — Discover the most common reasons your sprinkler head isn't popping up and follow our step-by-step guide to quickly diagnose and fix the iss…
- The 3 Hidden Reasons Your Sprinkler Head Won't Pop Up (And How to Fix Them) — Frustrated by a sprinkler head that won't rise? Discover the top three culprits behind this common irrigation issue and how to resolve them…
- The #1 Reason Your Sprinkler Head Won't Pop Up (It's Not Clogs!) — A sprinkler head that won't pop up usually signals a deeper, yet surprisingly simple, issue than just a clog: low water pressure.
- The #1 Reason Your Sprinkler Head Won't Pop Up (And It's Not Clogging) — Discover the most common, often overlooked reason your sprinkler head isn't popping up and how to fix it with simple steps.
- The Secret Culprit Behind Your Whole-House Low Water Pressure (It's Not Always the City) — Whole-house low water pressure can be a frustrating and complex issue, ranging from simple fixes homeowners can do to signs that require a…
Frequently asked questions
Why would a new sprinkler head not pop up?+
Even new sprinkler heads can fail to pop up due to insufficient water pressure, a manufacturing defect, or debris (like dirt from installation) immediately clogging the nozzle or riser. Ensure your water pressure is adequate and thoroughly flush the line before installing new heads to prevent debris issues.
Can low water pressure stop a sprinkler head from popping up?+
Absolutely. Low water pressure is one of the most common reasons a sprinkler head won't extend. The pressure needs to be strong enough to overcome the internal spring resistance. Check for partially closed valves or leaks in your system if the pressure seems low.
How do you check a sprinkler internal spring?+
To check a sprinkler's internal spring, you'll need to turn off the water, unscrew the cap, and carefully pull out the riser assembly. The spring will be visible around the riser. Inspect it for signs of corrosion, stretching, or breakage. If it's damaged, the entire head usually needs to be replaced as springs are rarely sold separately.
How do you unclog a pop-up sprinkler head?+
To unclog a pop-up sprinkler head, first turn off the water. Then, unscrew the nozzle from the top and remove the small filter basket beneath it. Rinse both the nozzle and filter thoroughly under running water, using a small brush or paperclip to dislodge any debris. You can also briefly flush the sprinkler body by turning the water on for a few seconds with the riser removed.


Discussion
Loading comments…