- Spreader hopper spills and calibration slips: Setting the dial on a rotary spreader to "8" instead of "4," or stopping in the middle of the lawn while the hopper gate stays open, drops a deadly dose in seconds.
- Fertilizing bone-dry turf during high heat: Applying synthetic nitrogen when outdoor temperatures exceed 85°F, or when the grass is already suffering from midsummer drought stress, guarantees scorched leaves.
- Applying quick-release nitrogen without immediate irrigation: Leaving uncoated urea ($46-0-0$) sitting on dry grass blades for hours draws sap out of the leaf tissue before the granule ever reaches the dirt.
- Double-lapping spreader passes: Overlapping wheel paths with an uncalibrated broadcast spreader doubles the recommended pounds of nitrogen per 1,000 square feet along narrow parallel stripes.
- Dog urine compounding chemical fertilizer: A lawn already sitting at its maximum threshold for nitrogen will quickly turn brown anywhere a dog urinates, as urea compounds overwhelm the turf.
Landscaping · Deck or fence project
| Project category | Landscaping |
|---|---|
| Problem type | Deck or fence project |
| Trade required | Landscaping |
| Urgency | Planned project |
| Safety risk | Moderate safety risk |
| DIY suitability | DIY for experienced homeowners |
| Cost category | High cost |
| Typical timeline | Most builds 3–10 days depending on size |
| Contractor type | Landscaping contractor |
Repair option
Replace failed boards, posts, and hardware; reseal the surface.
Replacement option
Rebuild when framing or the ledger connection is unsafe.
Common causes
- Rot at posts and ledger
- Storm damage
- Adding outdoor living space
Relevant tools:home improvement material pricesproject cost estimator
Published October 24, 2026Last updated October 24, 2026
Tools & materials you'll need
Affiliate links- AmazonGarden hose with spray nozzle or oscillating sprinklerRequired for flushing cycle
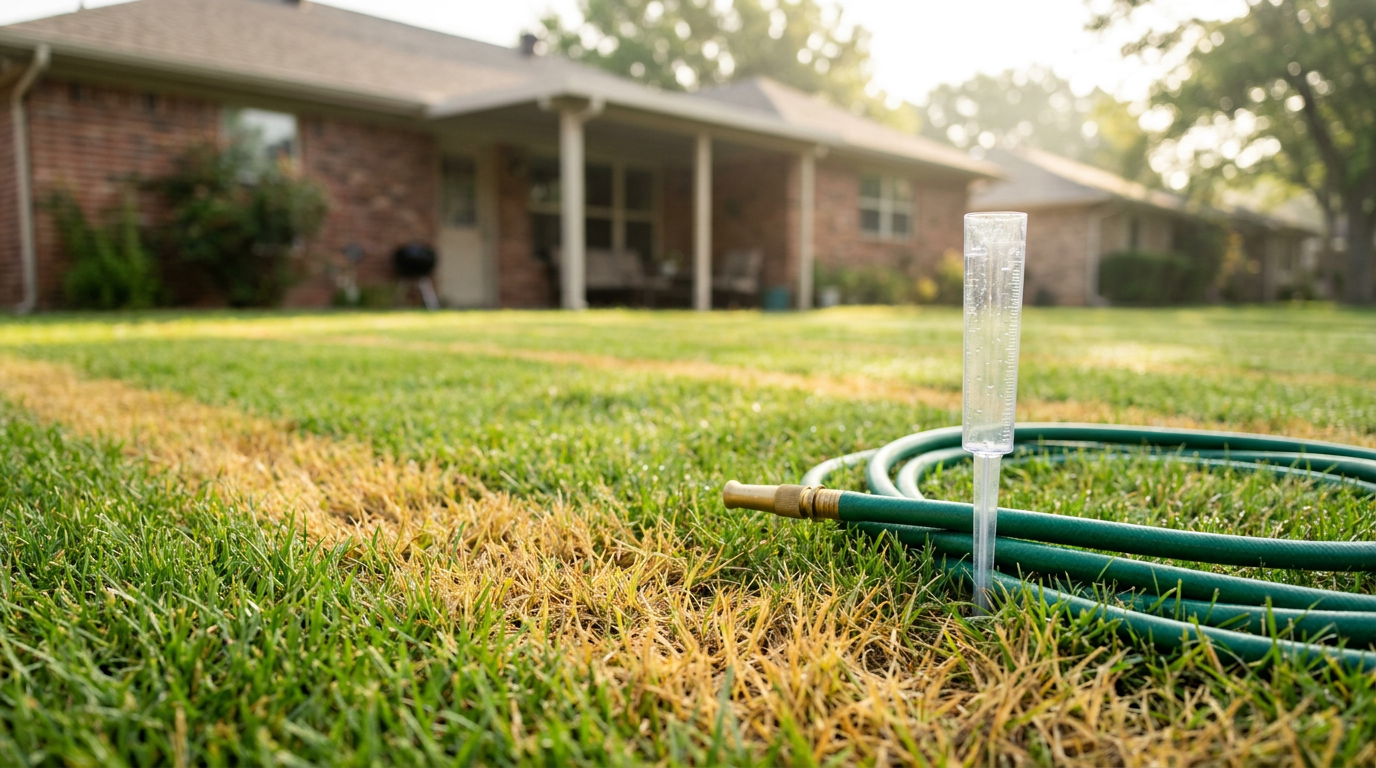
- AmazonEmpty tuna can or rain gauge1 · To measure 1 inch of water depth
- AmazonWet/dry shop vacuum1 · For collecting concentrated spills
- AmazonStiff-tine garden rake1 · To remove thatch and granules
- AmazonSterilized bypass hand pruners1 pair · For trimming scorched shrub foliage
As an Amazon Associate FixlyGuide earns from qualifying purchases — at no extra cost to you. Prices and availability are accurate as of publication and subject to change.
Quick Answer
Fertilizer burn happens when concentrated mineral salts pull moisture right out of plant roots through reverse osmosis, and that’s what leaves you with crispy brown foliage, yellow halos, and root desiccation within 24 to 72 hours. If you want to save the grass or the beds, you’ve gotta flush the soil right away with 1 inch of water every morning for three consecutive days to push the excess salts past the root zone, shut off all chemical feeding, and rake out any spilled granules by hand.
The Problem
You put down fertilizer expecting a nice, thick green carpet. Then three days later, the turf looks like somebody hit it with a blowtorch in random brown streaks, or your tomato plants are drooping with crispy, scorched edges even though the soil’s wet. That’s fertilizer burn.
It hits hard. Fast, too. No mercy. Homeowners see that crisping and think it’s drought stress or some fungal leaf spot, so they crank up the sprinkler or throw more product on it. No dice. That just piles on the mess. What’s really going on is a nasty chemical imbalance in the soil chemistry. You’ve loaded the dirt with concentrated mineral salts—ammonium nitrate, potassium chloride, urea—so the soil’s electrical conductivity gets shoved into toxic territory. Once the salt level gets that high, the soil turns hypertonic, and it starts desiccating the fine feeder roots until they give up. When the root tips shrivel and die, water intake falls off a cliff, and the top growth starves under the sun.
How It Works
Plant roots take in water and dissolved nutrients through a delicate cellular process called osmosis. Water naturally moves across semipermeable cell membranes from an area of lower salt concentration (healthy soil moisture) to an area of higher salt concentration (the inside of the root cell). That osmotic pressure keeps plants turgid, hydrated, and able to push sap up through the xylem tissue.
Healthy Osmosis:
[Soil Water (Low Salt)]  ---> [Root Cells (Higher Salt)]  ---> Leaves stay turgid

Fertilizer Burn (Reverse Osmosis):
[Soil Water (Extreme Salt)] <--- [Root Cells (Lower Salt)]  ---> Leaves scorch & die
When you broadcast synthetic fertilizer—whether it’s a quick-release 10-10-10 or a concentrated lawn weed-and-feed—those granules dissolve into straight mineral salts. If you overapply, drop granules on wet leaves, or skip watering afterward in high heat (above 85°F), the salt concentration outside the root shoots way up.
Then physics turns on you. Reverse osmosis kicks in, and that ultra-salty soil moisture literally pulls water out of the root cells. The root system goes through cellular plasmolysis—the cell membranes collapse away from their walls. Without hydrostatic pressure, the vascular tissues can’t move moisture up to the leaf tips. That’s why foliage tips brown first; they’re the farthest thing from the water source. If the burn’s localized, you’ll see scorched stripes that match your spreader pass. If it’s systemic, the whole root zone turns to black mush and dies. I pulled a water heater in Frisco last month and the homeowner had the same “I just watered more” logic with a burned zoysia strip out front—looked exactly like a spreader pattern. Same story, every time.
Step-by-Step Fix
-
Rake up any un-dissolved granules immediately — Grab a stiff-tine garden rake or a wet/dry shop vacuum and physically collect concentrated piles or stripes of fertilizer before another drop of water touches them. If you dumped a spreader hopper on the lawn, don’t hose it in; vacuum or sweep it off the turf down to the soil crown right away.
- Tools: Shop vac or flat-head broom and dustpan.
- Caution: Don’t run your lawn mower over the spill, or the blades will pulverize and scatter the concentrated pellets further.
-
Calculate your soil drainage profile — Stick a long screwdriver into the damaged ground. If it slides in 6 inches easy, your soil’s got decent permeability. If it stops dead after 2 inches in hard North Texas black gumbo clay, surface ponding’s gonna be a real risk during flushing.
- If soil is compacted: Poke holes with a hand core aerator around the perimeter of the burn zone to give flush water an escape path downward.
-
Begin the 72-hour flush cycle — Set an oscillating sprinkler or soaker hose over the affected zone and deliver exactly 1 inch of water early in the morning. Use an empty tuna can or rain gauge inside the sprinkler pattern to measure depth accurately; you want enough sustained volume to dissolve salts and drive them 6 to 12 inches below the root line.
- Timing: Run for 45 to 60 minutes depending on water pressure.
- If runoff occurs within 15 minutes, cycle the watering: run 20 minutes on, 40 minutes off, until the full inch is applied.
-
Repeat the deep flush on Day 2 and Day 3 — Apply another 1/2 to 1 inch of water on the second morning, and 1/2 inch on the third morning. This gradual flushing cuts the electrical conductivity of the pore water and leaches mobile nitrate ($NO_3^-$) and chloride ($Cl^-$) ions down past the root horizon where they can’t hammer the root hairs anymore.
- Avoid flushing during noon heat; high surface evaporation leaves behind concentrated salt crusts on the topsoil.
-
Prune damaged foliage on shrubs and perennials — Take bypass pruners sterilized with 70% isopropyl alcohol and cut back completely dead, crunchy leaves. Don’t strip leaves that still show partial green; the plant needs every square inch of working tissue it can keep to photosynthesize and rebuild root function.
- Cut 1/4 inch above healthy leaf nodes on woody stems.
- For turfgrass, resist the urge to scalp the lawn; raise your mower deck to its highest notch (3.5 to 4 inches) to shade the soil bed.
-
Apply activated liquid humic acid or compost extract — Once the third flush is done, spray a concentrated liquid humic acid product over the burned area at 2 to 4 ounces per 1,000 square feet. Humic substances bind to excess mineral ions and help rebuild the biological buffer zone you just stripped out of the soil profile.
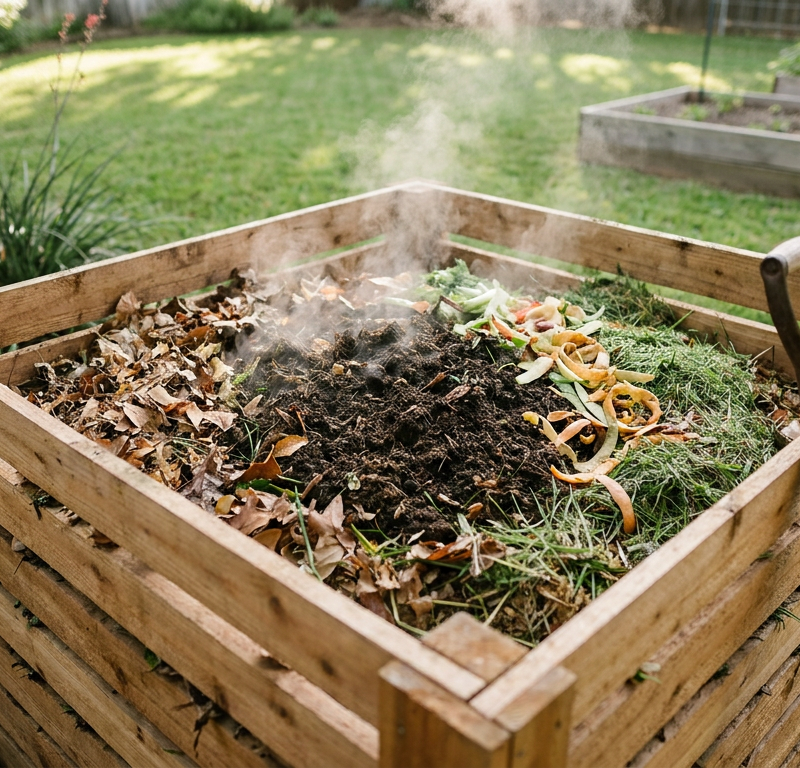
- Alternative: Topdress the damaged area with a thin 1/4-inch layer of fully decomposed, screened organic compost.
-
Test the root viability — Five to seven days after the initial burn, pull back the soil or gently tug on affected grass blades. If the roots are white or cream-colored with slight resistance, the vascular system’s still alive and new shoots should come back; if the roots are black, stringy, and pull up with zero resistance, that patch is dead tissue.
- For garden plants: Scratch the main stem with a thumbnail. Bright green tissue underneath means sap is moving; brown, brittle tissue means the plant didn’t make it.
-
Overseed or patch dead patches after a two-week rest — Wait a minimum of 14 days following your last heavy flush before introducing new seed or replacement sod. Residual salts in the top 1/2 inch will keep delicate grass seed from germinating if you jump the gun.
- Lightly rake out dead thatch, lay fresh topsoil blend, spread seed matched to your turf type, and roll it down for good seed-to-soil contact.
Common Causes
- Spreader hopper spills and calibration slips: Setting the dial on a rotary spreader to "8" instead of "4," or stopping in the middle of the lawn while the hopper gate stays open, drops a deadly dose in seconds.
- Fertilizing bone-dry turf during high heat: Applying synthetic nitrogen when outdoor temperatures exceed 85°F, or when the grass is already suffering from midsummer drought stress, guarantees scorched leaves.
- Applying quick-release nitrogen without immediate irrigation: Leaving uncoated urea ($46-0-0$) sitting on dry grass blades for hours draws sap out of the leaf tissue before the granule ever reaches the dirt.
- Double-lapping spreader passes: Overlapping wheel paths with an uncalibrated broadcast spreader doubles the recommended pounds of nitrogen per 1,000 square feet along narrow parallel stripes.
- Dog urine compounding chemical fertilizer: A lawn already sitting at its maximum threshold for nitrogen will quickly turn brown anywhere a dog urinates, as urea compounds overwhelm the turf.
Common Mistakes
- Dumping more fertilizer or "tonic" to green it back up: Homeowners see yellow or pale leaves and panic, assuming the grass needs iron, nitrogen, or a booster spray. Adding any chemical feed to salt-shocked roots finishes them off completely. Put the spreader away for at least eight weeks.
- Creating a swamp with unbroken, standing water: Leaving a hose running on full blast for three hours straight drowns remaining root structures by cutting off oxygen, trading salt burn for fungal root rot (Pythium or Rhizoctonia). Always cycle your flushing so water sinks in rather than sitting stagnant.
- Scalping the brown grass down to the dirt: Trimming your lawn down to 1 inch exposes stressed crowns to direct, scorching sun. Keep your mower blade high to protect the root crown while it recovers.
- Washing spilled dry granules into the lawn with a garden hose: Hosing down a spilled pile forces hundreds of grams of concentrated mineral salts straight into a concentrated six-inch patch of earth. Always sweep or vacuum dry spills first before applying a drop of moisture.
Cost & Time Breakdown
| Task | DIY Cost | Pro Cost | Time |
|---|---|---|---|
| Granule Cleanup & Soil Flushing | $0–$15 (water bill) | $150–$250 | 1–2 hours active |
| Liquid Humic Acid Treatment | $20–$35 | $75–$120 | 30 minutes |
| Core Aeration (Rental vs Service) | $40–$75 (half-day rental) | $120–$200 | 1–2 hours |
| Lawn Patch Reseeding / Sod Replacement | $30–$60 | $200–$450 | 2–3 hours |
| Soil Electrical Conductivity / Lab Test | $25–$40 | $100–$150 | 30 min (plus lab wait) |
Tips & Prevention
- Fill your spreader on the driveway or sidewalk: Never dump bags into your spreader while standing on your lawn or garden bed. If you spill half a bag, a broom and dustpan solve the problem in two minutes without hurting a single blade of grass.
- Switch to slow-release, sulfur-coated urea fertilizers: Look for bags that list at least 50% "Slow-Release Nitrogen" (SRN) or "Water-Insoluble Nitrogen" (WIN). These release salts gradually over 8 to 12 weeks through micro-porous polymer shells instead of dumping pure salts all at once.
- Calibrate your spreader every spring: Tape an 8-foot strip of butcher paper to the garage floor, push your spreader across it, and weigh the dropped granules to make sure your dial delivers the exact pounds per 1,000 square feet listed on the label.
- Water with 1/4 inch of moisture immediately after application: Unless the label explicitly states otherwise (such as certain foliar-stick weed-and-feeds), wash synthetic fertilizer granules off the leaf blades down into the topsoil within an hour of spreading.
When to Call a Professional
If you burned more than 2,000 square feet of high-end sod or ornamental landscaping, home-scale hose flushing might not put down enough uniform leaching volume to stop total plant loss. A licensed landscape or turf management professional brings commercial core aerators, bulk soil remediation surfactants, and commercial de-salinization polymers that break salt bonds a whole lot better than tap water alone.
Call a pro if your soil is dense clay and floodwater pools for more than 4 hours without soaking in, or if valuable mature trees and established privacy hedges are showing leaf tip necrosis, wilting, and branch dieback after your fertilizer treatment. In those cases, saving a $3,000 ornamental tree usually takes professional deep-root liquid injection to purge the root zones safely.
       BURN SEVERITY DECISION TREE

             Fertilizer Applied
                     │
         Leaves brown / crisping?
          ├── NO  ──> Regular watering schedule
          └── YES ──> Check root zone
                        │
       ┌────────────────┴────────────────┐
   Roots cream-colored?              Roots black / mushy?
       │                                 │
   [Mild Burn]                      [Severe Kill]
   Leach with 1" water              Flush thoroughly,
   daily for 3 days;                wait 14 days,
   apply humic acid.                rake up dead sod,
                                    and reseed / replace.
Related Articles
Keep troubleshooting with these hand-picked guides from FixlyGuide:
- The Surprising Reason Your Garden's Failing (And It's Not Water or Fertilizer) — Many gardeners struggle with wilting plants and stunted growth despite proper watering and fertilizing, often overlooking the critical role…
- The One Soil Secret Killing Your Garden (It Ain't Fertilizer) — Poor drainage and compacted soil can suffocate plant roots, leading to stunted growth, disease, and nutrient deficiencies. I'll show you ho…
- The #1 Summer Lawn Mistake Turning Your Grass Yellow (and How to Fix It) — Discover the most common summer mistake that causes lawns to turn yellow and learn how to correct it for a greener, healthier yard.
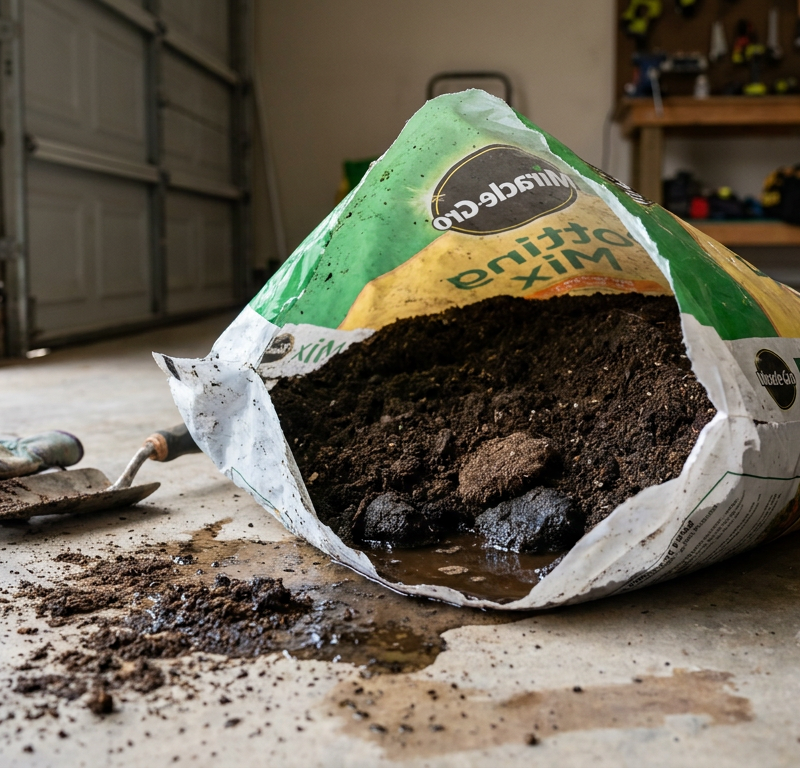
- Why Is My Bagged Soil Soaking Wet and Smelly? 5 Causes and How to Dry It Out — Is your new bag of potting soil or garden soil a stinky, soaking-wet mess? Here are the common causes and a simple 5-step process to dry it…
- The 3 Mulching Mistakes That Are Secretly Killing Your Plants — Discover the three common mulching mistakes that unknowingly harm your garden and learn how to apply mulch correctly for thriving plants.
- Your Refrigerator's Loud Hum? The Fix Most People Miss — A constant, loud refrigerator hum is more than annoying—it's a warning sign. Before you call a pro, discover the #1 most overlooked cause a…
Should you do this yourself?
Answer five quick questions before you start. Safety outranks savings every time.
Your experience with work like this
How high do you have to work?
Does the job involve any of these?
Will it need a permit?
Specialty tools
Free and instant. Educational guidance only — not a quote, inspection, or professional diagnosis.
What should this project cost?
Enter your project details for a realistic cost range before you call anyone.
Cost depends heavily on which system turns out to be the source.
- Regional adjustment
- National average
- Labor share (typical)
- ~$1,620
- Quotes to collect
- 3 written estimates
Educational estimate based on national averages — not a binding quote. Always confirm with written local estimates.
Get the print-ready PDF of this guide
A clean, ad-free, printable version you can keep on your phone or pin to the workshop wall. Free with a FixlyGuide account.
- Print-optimized layout
- Tools, materials & every step included
- Saved to your account
Frequently asked questions
How quickly do symptoms of fertilizer burn show up?+
Fertilizer burn appears fast, typically within 24 to 72 hours of application. Quick-release liquid fertilizers can show leaf scorching in as little as 12 hours under hot sun, while slow-release granular products might take up to a week to cause visible damage.
Can grass recover from fertilizer burn on its own?+
Yes, if you caught the problem early and the crown of the grass is still alive. If you flush the excess salts out within the first 48 hours, new green blades should begin pushing up from the root crown within 10 to 14 days. If roots are black and pull out effortlessly, that section must be reseeded.
Should I mow my lawn while it is recovering from fertilizer burn?+
No. Mowing burned grass adds mechanical stress to turf that is already suffering from severe moisture starvation. Raise your mower deck to its highest setting (3.5 to 4 inches) or hold off on cutting altogether until the grass shows active new growth.
Doesn't heavy flushing cause root rot or overwatering issues?+
Watering every day is generally bad because it causes shallow rooting and fungus, but fertilizer burn is an emergency exception. You must heavily flood the soil for three consecutive days to drive mobile mineral salts below the root system. Once flushed, return to deep, infrequent watering.
How long should I wait before fertilizing again?+
Hold off on all nitrogen, phosphorus, and potassium inputs for at least six to eight weeks. Adding extra nutrients will spike soil salinity right back up. You can safely apply organic humic acids or topdress with screened compost to rebuild microbial life.
How do I tell the difference between fertilizer burn and lawn fungus?+
Fertilizer burn creates hard, distinct lines or geometric patches that follow the path of your spreader, with uniform leaf tip browning. Lawn fungus (like brown patch or dollar spot) typically produces irregular, circular patches with dark rings or visible cobweb-like mycelium in the morning dew.
Can organic fertilizers cause fertilizer burn?+
Both fertilizers contain mineral salts, but synthetic fertilizers have a much higher salt index and release instantly, making burn common. Organic options like feather meal or compost release slowly as microbes break them down, drastically lowering burn risk, though concentrated fresh animal manures can still scorch roots.
Will adding agricultural gypsum fix fertilizer burn?+
Gypsum (calcium sulfate) is effective for breaking up high sodium salts in coastal soils or clay, but it will not neutralize excess nitrogen or potassium from standard fertilizers. Thorough water flushing remains the only proven method to leach out synthetic nitrogen salts.
Discussion
Loading comments…