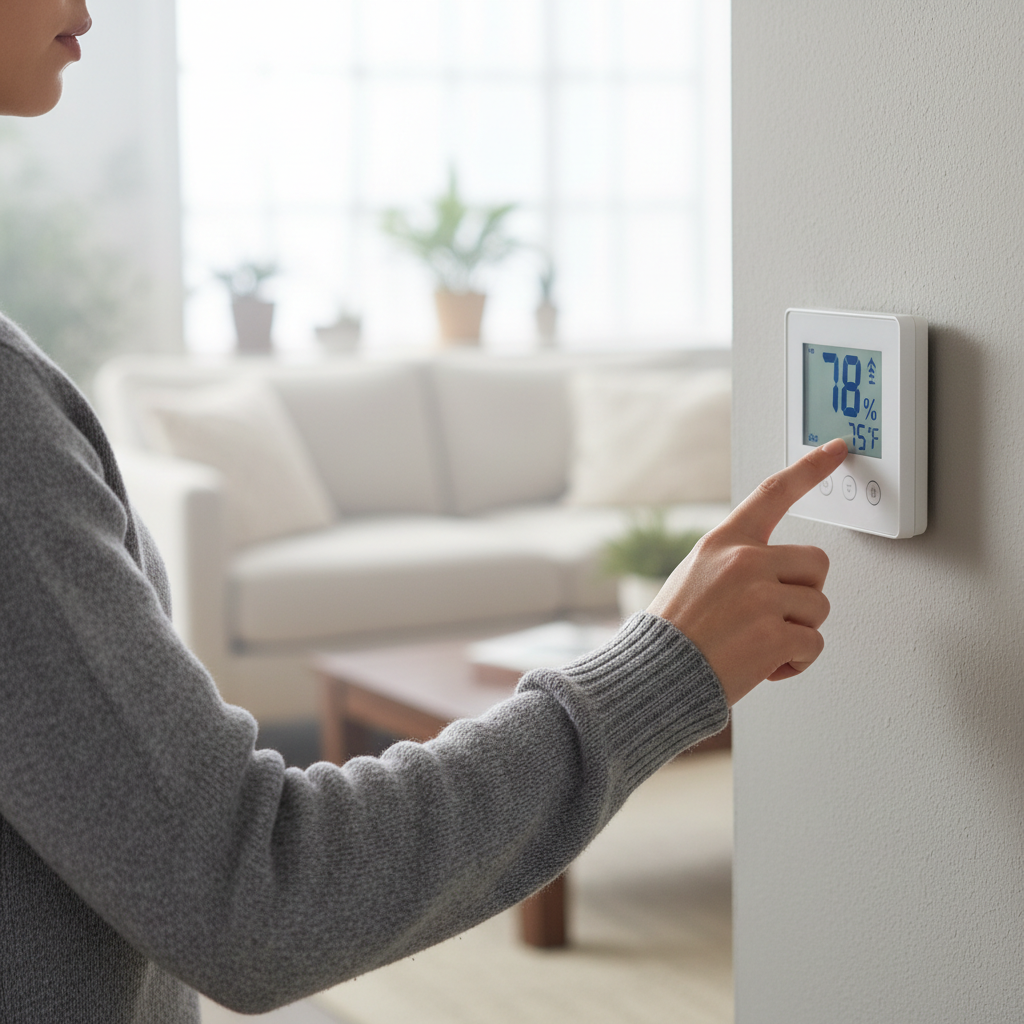
- Check Your Thermostat Fan Setting — The "Auto" Advantage
- Tools: Your eyes and fingers.
- If this doesn't work: Give it a day or two. If the humidity’s still hanging around, keep moving.
HVAC · High energy usage
| Project category | HVAC |
|---|---|
| Problem type | High energy usage |
| Trade required | HVAC |
| Urgency | Planned project |
| Safety risk | Low safety risk |
| DIY suitability | DIY for experienced homeowners |
| Cost category | High cost |
| Typical timeline | Assessment within weeks; replacement planned off-season |
| Contractor type | Licensed HVAC technician |
Repair option
Duct sealing, insulation, and a tune-up before touching the equipment.
Replacement option
High-efficiency replacement sized by a load calculation, not a rule of thumb.
Common causes
- Aging, low-efficiency equipment
- Leaking ducts losing conditioned air
- Insufficient attic insulation
- Oversized system short-cycling
Relevant tools:project cost estimatorrepair or replace
Published September 6, 2026Last updated September 6, 2026
Tools & materials you'll need
Affiliate linksAs an Amazon Associate FixlyGuide earns from qualifying purchases — at no extra cost to you. Prices and availability are accurate as of publication and subject to change.
Quick Answer
If your AC is cooling but your home still feels muggy, I’d first look at an oversized unit cycling too fast, or a thermostat setting that’s working against you. The system isn’t staying on long enough to wring the moisture out of the air. Usually, the first thing I tell people to do is switch the fan from "ON" to "AUTO" and see if that straightens things out. If that doesn’t do it, you might be dealing with a bigger imbalance in the system — or a unit that was sized wrong from the jump and needs a pro to sort it out.
The Problem
I get calls every summer from folks scratching their heads. "My AC's running," they'll say, "but it still feels damp in here. Like walking into a swamp!" And yeah, that’s usually the right description. That clammy, sticky feeling isn’t just annoying; it can snowball into mold, musty smells, and even damage to the bones of the house. People’ll crank the thermostat down to 68°F thinking colder air must mean drier air, but half the time they’re just running up the power bill and not fixing a thing. I’ve seen homeowners burn through hundreds of bucks chasing humidity with cooling alone. No dice.
The real problem isn’t always temperature. It’s the moisture hanging around in the air. Your AC isn’t just there to cool the place off; it’s supposed to pull humidity out too. When it misses that part of the job, you’re left living in a sticky mess. And trying to sleep in that? Feels like you’re wrapped in a damp towel. I had a client out in Marietta last year whose whole downstairs felt like a sauna even with the unit running non-stop. Turned out the system was kicking on for only five to ten minutes at a time — nowhere near enough runtime to actually dry the air.
How It Works
Alright, here’s how your AC is supposed to knock down humidity. Think of it like a cold sponge. Warm, damp air from the house gets pulled through the return vents and pushed over a super-chilled coil inside the indoor unit, called the evaporator coil. That coil usually runs around 40-45°F. When that warm air hits the cold coil, the moisture condenses and turns from vapor into liquid water. Same deal as a cold glass sweating on a hot day. Nothing fancy.
That water drips off the coil into a drain pan and heads out through the condensate drain line, usually a PVC pipe. That whole process is called latent cooling — that’s the part that actually strips humidity out of the air. The drier air gets sent back into the house. For all that to work right, the system needs to run for a good stretch — I’m talking at least 15-20 minutes, sometimes longer depending on the weather and the setup. If it’s cycling on and off too fast — what we call "short cycling" — it never gets enough time to finish the job. Sure, it might drop the temperature a few degrees, but the air can still feel sticky as all get-out.
Step-by-Step Fix
Here’s how I’d tackle a humid house call. Start with the easy stuff. Work your way up.
-
Check Your Thermostat Fan Setting — The "Auto" Advantage
- Tools: Your eyes and fingers.
- How-to: Look at the thermostat and find the "FAN" setting. Is it on "ON" or "AUTO"? If it’s on "ON," flip it to "AUTO." When the fan runs all the time, it can keep blowing air across a wet coil even when the compressor’s not cooling. That can re-evaporate moisture and send it right back into the house, which pretty much undoes the whole dehumidifying part of the system. "AUTO" means the fan only runs when the AC is actually cooling.
- If this doesn't work: Give it a day or two. If the humidity’s still hanging around, keep moving.
-
Inspect and Clean Your Air Filter — Keep the Air Flowing
- Tools: New air filter (check your old one for size), maybe a screwdriver if the filter slot’s a pain to open.
- Safety: Turn off your HVAC system at the thermostat or breaker before changing the filter so the thing doesn’t kick on while your hands are in there.
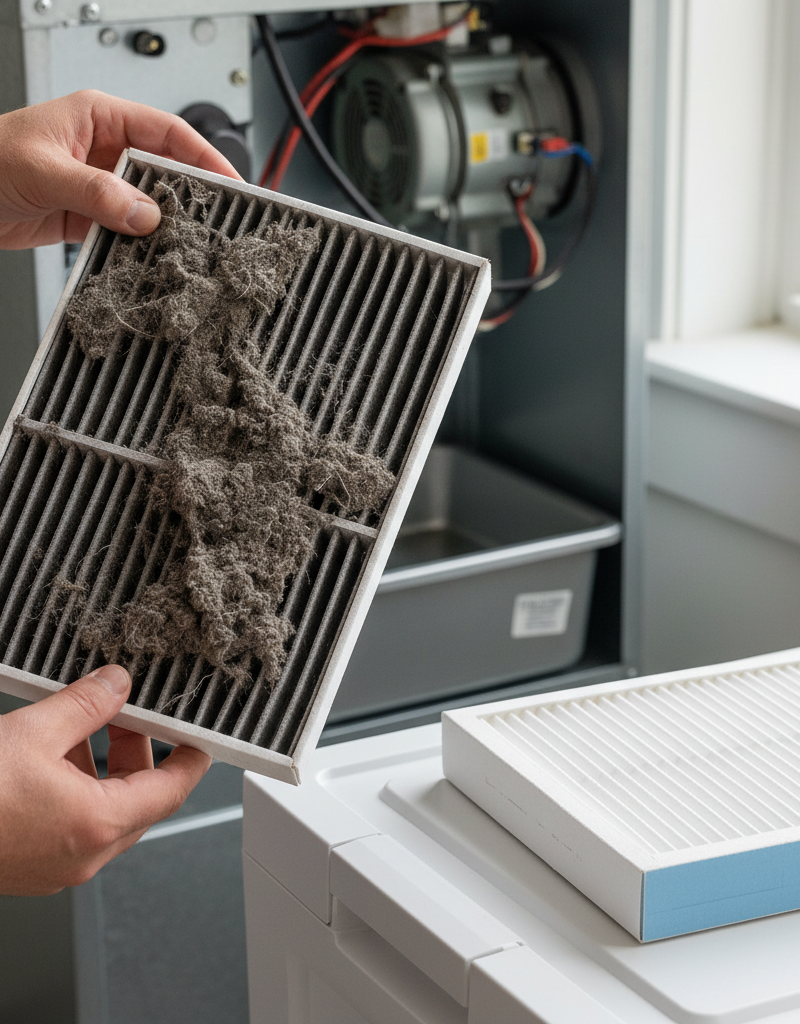
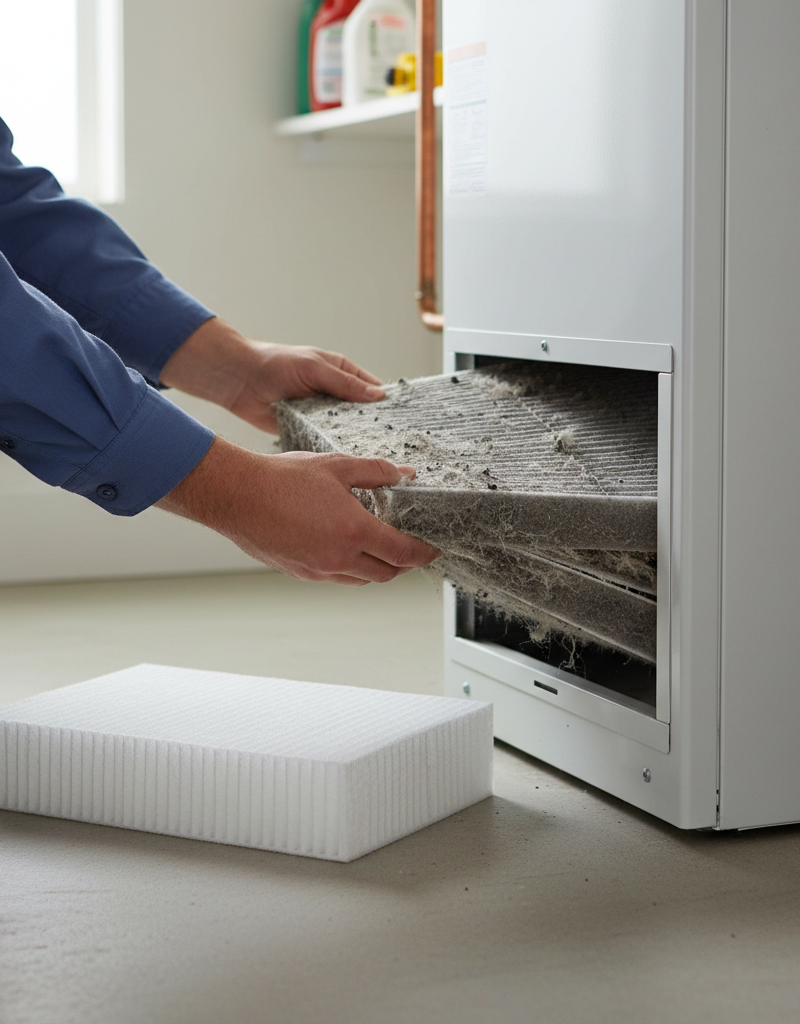
- How-to: A dirty filter chokes off airflow, and that makes the AC work harder. Sometimes you’ll get coil freeze-ups, sometimes just lousy efficiency, but either way dehumidification takes a hit. Find the filter — it’s usually in the return vent, inside the furnace, or in a dedicated slot. Pull the old one out. If it’s black with grime, it’s long past its prime. Put in a clean one. I tell people to change them every 1-3 months, especially when the cooling season’s in full swing.
-
Clean Your Outdoor Unit (Condenser) — Clear the Coil
- Tools: Garden hose, soft-bristle brush (optional).
- Safety: Kill power at the disconnect box near the unit, and also at the main panel, before you touch anything out there.
- How-to: The outdoor coil can get loaded up with dirt, leaves, and grass clippings. Once that happens, the system can’t dump heat like it should, and the whole machine gets less efficient — dehumidification included. Hose it down gently, and if you can, spray from the inside out so you push debris away instead of deeper in. Go easy. Those fins bend if you look at them wrong. I’ve seen a guy hit his condenser with a pressure washer, flatten half the fins, and then wonder why the whole thing was acting like it was done. That thing’s toast, or close enough.
-
Check for Leaky Ductwork — Air Where It Shouldn't Be
- Tools: Flashlight, HVAC foil tape or mastic sealant.
- How-to: Leaky ducts suck in hot, humid air from attics or crawl spaces, and that can overwhelm the system real quick. Pop into the attic or crawl space and look for cracks, gaps, or loose joints in the ductwork. You may even feel air blowing out where it shouldn’t be. Seal those leaks with HVAC foil tape — not regular duct tape — or mastic sealant. It’s not a five-minute fix, but it matters.
-
Clean Your Indoor Evaporator Coil — Sticky Business
- Tools: Coil cleaner spray (non-rinse type), brush (optional), gloves, safety glasses.
- Safety: Shut off all power to the indoor unit (furnace/air handler) at the breaker. Wear protective gear.
- How-to: The evaporator coil is where the magic happens, but it’ll get packed with dirt, mold, and dust if filters don’t get changed. A dirty coil can’t move heat well, and that hurts cooling and dehumidification. This one takes a little more elbow grease. The coil’s inside the furnace or air handler, and you may need to pull off an access panel to get to it. Spray it with a good non-rinse evaporator coil cleaner and let it drip into the drain pan. If you’re not comfortable digging into it, call a pro.
-
Inspect the Condensate Drain Line — A Clear Path for Water
- Tools: Wet/dry vacuum, funnel, vinegar or mild bleach solution.
- How-to: A clogged condensate drain line keeps water from draining, so it backs up into the pan and can overflow. In some cases it’ll even mess with airflow. Look for a PVC pipe coming out of the indoor unit. If it’s clogged, you might see standing water in the drain pan. Try clearing it with a wet/dry vac on the outdoor end of the pipe, or pour a vinegar solution (1 cup every few months) into the access port to knock out algae.
-
Consider a Thermostat Upgrade — Smarter Control
- Tools: Screwdriver, new smart thermostat.
- How-to: Some newer smart thermostats have settings that lean harder on dehumidification. They might let the house cool a degree or two lower so the system runs longer and pulls out more moisture, or they’ll have a dedicated "dehumidify" mode. If you’re still running an old mercury-switch thermostat, an upgrade can help in more ways than one. Just make sure the new thermostat actually works with your system before you buy it.
-
Evaluate System Size — The Big One
- How-to: This one’s not a DIY fix, but it’s a big diagnosis. If the AC is too large for the house, it cools the place too fast and shuts off before it has time to dehumidify properly. I see this a lot when somebody swaps out an old unit without doing the load math first. If you’ve checked the basics and your home still feels muggy, you may need an HVAC tech to run a Manual J load calculation and see whether the system is the right size for your home’s heat and humidity load. Replacing an oversized unit isn’t cheap, but sometimes it’s the only real fix.
Common Causes
- Oversized AC Unit: This is a big one. A unit that’s too large cools the house too fast, then shuts off before it can pull enough humidity out. It’s like trying to dry a car with a firehose — wet, sure, but not dry.
- Thermostat Fan Set to "ON": Like I said above, that keeps air moving all the time, which can blow moisture back off the coil and back into your living space.
- Leaky Ductwork: Gaps and cracks in duct runs pull in hot, humid air from attics or crawl spaces, and that overloads the system.
- Dirty Coils (Evaporator or Condenser): Both coils need to stay clean. If they’re gunked up, heat transfer suffers and dehumidification drops off.
- Clogged Condensate Drain Line: If water can’t drain, it sits in the pan, and sometimes the moisture gets carried right back into the airflow.
- Excessive Indoor Moisture Sources: Long hot showers without the bath fan, drying clothes inside, or even too many houseplants can bump indoor humidity up fast.
- Air Leakage in Home Envelope: Cracks around windows, doors, and foundations can let humid outdoor air sneak in and make the AC work overtime.
Common Mistakes
- Ignoring the Fan Setting: A lot of folks figure "ON" must be better because the air keeps moving. For humidity, that’s backwards. Start with "AUTO."
- Blasting the AC: Trying to solve humidity by just setting the thermostat lower doesn’t really work. You just get a colder house and a bigger bill, not drier air. A comfortable 72-75°F with decent humidity control is the sweet spot.
- Neglecting Filter Changes: A dirty filter isn’t just rough on air quality; it strangles the system. I’ve pulled filters so clogged you could’ve planted tomatoes on them.
- DIY Refrigerant Top-Offs: Unless you’re licensed, don’t mess with refrigerant. It’s unsafe and illegal. Low refrigerant can hurt performance, sure, but that’s pro territory.
- Forgetting About the Drain Line: Out of sight, out of mind — until water’s dripping through the ceiling because the condensate line backed up. You’ve got to keep an eye on it.
- Not Sealing the House Envelope: All the AC in the world won’t help if humid air’s sneaking in through every crack and gap. Treat the house like a container. Keep the outside out.
Cost & Time Breakdown
| Task | DIY Cost | Pro Cost | Time |
|---|---|---|---|
| Change Air Filter | $10–$30 | — | 5 min |
| Adjust Thermostat Fan Setting | $0 | — | 30 sec |
| Clean Outdoor Condenser Coil | $0 | $75–$150 | 30 min |
| Clear Condensate Drain Line | $0–$10 | $100–$250 | 15 min |
| Seal Duct Leaks | $20–$100 | $300–$800 | 1–4 hours |
| Clean Evaporator Coil | $15–$30 | $150–$400 | 1–2 hours |
| Thermostat Upgrade | $50–$300 | $200–$500 | 30–60 min |
| System Sizing (Load Calculation) | — | $150–$300 | 1–2 hours |
Tips & Prevention
- Run Your Fan on AUTO: Honestly, this is the easiest fix and usually the first one worth trying. It lets the AC dehumidify instead of just stirring up damp air.
- Regular Filter Changes: Set a reminder on your phone or calendar. A clean filter is the backbone of good HVAC performance. Change it monthly during peak cooling season.
- Consider a Whole-Home Dehumidifier: If you’ve already dealt with the AC side of things and the humidity still won’t quit — especially in basements or really humid climates — a whole-home dehumidifier tied into the HVAC system might be the answer. Those can hold humidity around 50-55% relative humidity, which is about right.
- Seal Your Home: Caulk around windows, weatherstrip doors, and seal any openings in the house envelope. Less humid air sneaking in means less work for your AC.
- Don't Close Too Many Vents: Closing vents in unused rooms sounds smart, but it can throw off pressure in the ductwork and hurt airflow, which messes with dehumidification. Leave most vents open.
- Annual Professional Maintenance: Get the AC serviced every spring. A good tech will clean the coils, check refrigerant levels, inspect the drain line, and make sure everything’s running right. Cheap insurance.
When to Call a Professional
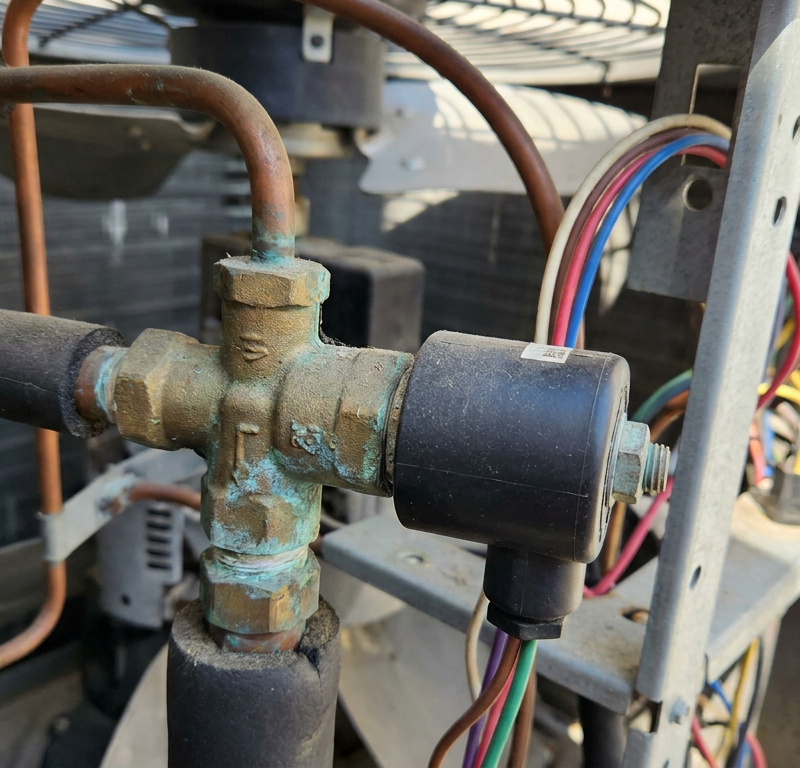
Look, I’m all for DIY, but some jobs belong to somebody with the right tools and training. If you’ve already tried the thermostat, changed the filter, and cleaned things up a bit, and the house still feels like a jungle, it’s time to call somebody. Persistent humidity, especially above 60% relative humidity, can point to a refrigerant leak, a major duct problem, a failing compressor, or a system that’s just plain too big. Those aren’t simple fixes. If you suspect refrigerant trouble, hear odd noises, or see water leaking from the indoor unit, shut it down and call a licensed HVAC technician. They’ve got the equipment to diagnose it safely. Don’t go poking around electrical parts or refrigerant lines yourself — that’s how folks get hurt or end up with a repair bill that’ll make their eyes pop.
Related Articles
Keep troubleshooting with these hand-picked guides from FixlyGuide:
- The Hidden Reason Your Furnace Short Cycles (and the $15 Fix) — Furnace short cycling can drive up energy bills and wear out your system prematurely; often, a simple fix like a dirty filter or miscalibra…
- The #1 Reason Your AC Freezes Solid (It's Not What You Think) — A frozen AC unit often points to poor airflow, which can be a simple fix if you know where to look.
- The Secret Culprit Behind Your Humid House (Even with the AC On) — If your house feels sticky and damp despite the AC running, a common and often overlooked issue is an oversized air conditioner.
- The Secret Reason Your Thermostat Lies (and How to Make It Tell the Truth) — Discover why your thermostat isn't reaching its set temperature and how to diagnose and fix common culprits with simple DIY steps.
- The #1 Reason Your AC Blows Warm Air (And It's Not What You Think) — Discover the most common and often overlooked reason your AC might be blowing warm air, and how a simple capacitor fix can restore cool air.
- The Real Reason Your Smoke Alarm Chirps Every 30 Seconds (It's Not Always the Battery) — Don't just swap batteries; a smoke detector chirping every 30 seconds can signal various issues, from dust to improper installation, demand…
Should you do this yourself?
Answer five quick questions before you start. Safety outranks savings every time.
Your experience with work like this
How high do you have to work?
Does the job involve any of these?
Will it need a permit?
Specialty tools
Free and instant. Educational guidance only — not a quote, inspection, or professional diagnosis.
Estimate your own project cost
National averages are a starting point. Enter your details for a range that fits your house.
HVAC replacement cost
- Equipment$2,200 – $3,800
- Installation labor$1,200 – $2,500
Always insist on a Manual J load calculation — sq-ft sizing is only a rough check. Federal heat-pump rebates may reduce cost significantly.
Educational estimate only — always confirm with written local bids.
What should this project cost?
Enter your project details for a realistic cost range before you call anyone.
Service calls and common repairs run $150–$900; full system replacement typically $6,000–$12,000.
- Regional adjustment
- National average
- Labor share (typical)
- ~$1,935
- Quotes to collect
- 3 written estimates
Educational estimate based on national averages — not a binding quote. Always confirm with written local estimates.
Fixly Project Decision Box
- DIY difficulty
- Advanced
- Estimated time
- Homeowner checks 20–30 minutes
- Cost level
- Moderate
Main tools / materials
- Clean air filter
- Garden hose for condenser coils
- Shop vac for the condensate line
When to stop and call a pro
- Burning smell, smoke, or a tripping breaker
- Refrigerant lines iced over or hissing
- Any work inside the sealed refrigerant circuit (EPA-licensed only)
- Gas smell near a furnace — leave and call the utility
Need professional help?
Find an HVAC Pro Near YouBefore you start
Check the difficulty, permits, and safety risk — then decide whether to call a pro.
Free, no signup required. Estimates are educational guidance, not a quote or an inspection.
Get the print-ready PDF of this guide
A clean, ad-free, printable version you can keep on your phone or pin to the workshop wall. Free with a FixlyGuide account.
- Print-optimized layout
- Tools, materials & every step included
- Saved to your account
Frequently asked questions
Why does my AC cool but not dehumidify?+
Your AC might be cooling but not dehumidifying because it's oversized, causing it to short cycle and not run long enough to remove moisture. Other causes include your fan being set to 'ON,' dirty coils, or leaky ductwork pulling in outside humidity.
What should my indoor humidity level be?+
Ideally, your indoor humidity level should be between 40% and 55%. Levels above 60% can feel uncomfortable, promote mold growth, and indicate a problem with your AC's dehumidification or excessive moisture sources in your home.
Can a dirty air filter cause high indoor humidity?+
Absolutely. A dirty air filter restricts airflow across the evaporator coil, which can lead to reduced cooling efficiency and sometimes even coil freeze-ups. This hinders the AC's ability to effectively condense and remove moisture from the air.
Does setting my thermostat fan to 'ON' affect humidity?+
Yes, setting your thermostat fan to 'ON' can significantly increase indoor humidity. When the fan runs continuously, it re-evaporates condensed moisture from the cold evaporator coil back into your home, undoing the dehumidification work.
How long should my AC run to properly dehumidify?+
For proper dehumidification, your AC should run for sustained cycles, typically 15 to 20 minutes or longer. Shorter cycles mean the coil doesn't stay cold enough for long enough to pull sufficient moisture from the air.
When should I consider a dedicated dehumidifier?+
If you've addressed all potential AC-related issues like fan settings, coil cleanliness, and duct leaks, and your home still struggles with high humidity, especially in specific areas like a basement, a dedicated whole-home or portable dehumidifier might be necessary.
Can air leaks in my home cause humidity issues?+
Yes, air leaks around windows, doors, and foundations allow humid outdoor air to infiltrate your home. This constantly introduces new moisture that your AC system then has to work harder to remove, often unsuccessfully.
Is an oversized AC unit always bad for humidity?+
An oversized AC unit is a common culprit for high indoor humidity. Because it cools the space too quickly, it cycles off before it can run long enough to effectively extract moisture from the air, leaving your home feeling cool but sticky.
How often should I clean my AC drain line?+
I recommend checking and cleaning your AC condensate drain line at least once or twice a year, ideally in the spring before heavy AC use and again in the fall. This prevents clogs from algae and mold buildup.
Discussion
Loading comments…