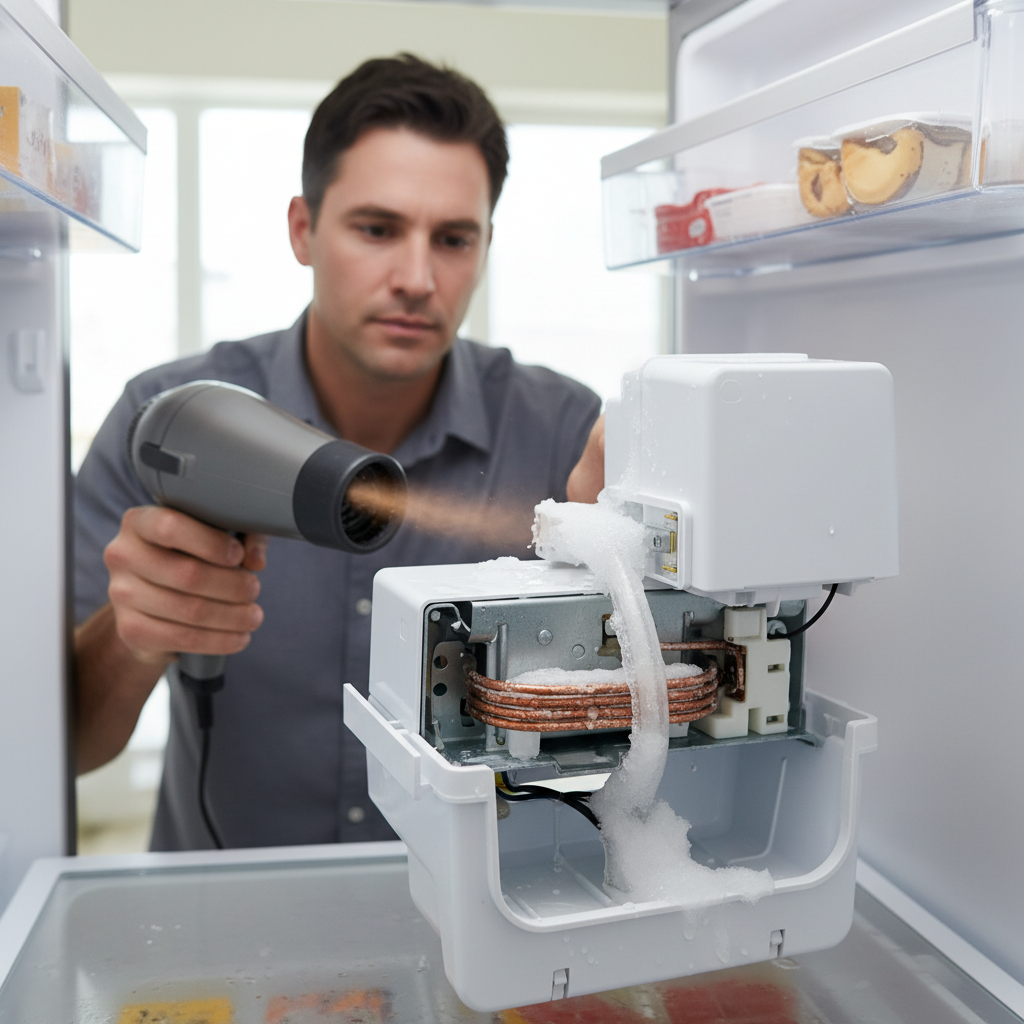
- Thaw the Ice Blockage — This is where you melt the problem away.
- Hairdryer: My go-to move. Set it on medium heat and aim it at the frozen fill tube. Keep it moving so you don't cook one spot or warp plastic parts. This usually takes 5-10 minutes. You'll hear water dripping once the ice starts giving up.
- Patience: If you've got time, leaving the freezer door open for a couple of hours with the fridge unplugged will eventually do it. But who wants to sit around that long for ice?
Plumbing · Clog
| Project category | Plumbing |
|---|---|
| Problem type | Clog |
| Trade required | Plumbing |
| Urgency | Soon — within weeks |
| Safety risk | Low safety risk |
| DIY suitability | DIY friendly |
| Cost category | Low cost |
| Typical timeline | Same-day DIY attempt; pro visit within a day or two |
| Contractor type | Licensed plumber |
Repair option
Plunger, hand auger, or trap cleanout before chemicals.
Replacement option
Line replacement when clogs return in the same spot repeatedly.
Common causes
- Hair and soap buildup in the trap
- Grease cooling in the branch line
- Flushed wipes or foreign objects
Relevant tools:diy difficultydiy or hire a pro
Published July 29, 2026Last updated August 17, 2026
Tools & materials you'll need
Affiliate links- AmazonTowels
As an Amazon Associate FixlyGuide earns from qualifying purchases — at no extra cost to you. Prices and availability are accurate as of publication and subject to change.
Quick Answer
If your refrigerator's ice maker isn't spitting out cubes, don't panic. Most times, it ain't a major repair. It's usually a clog in the water line or a frozen fill tube. I see that a lot. It can happen for a few different reasons, but the good news is you can usually knock it out with a DIY fix in under an hour. You'll need to find the fill tube behind the ice maker assembly, usually at the back of the freezer compartment, and gently thaw whatever ice is blocking it. Once it's clear, check for proper water flow and see what caused the freeze-up in the first place.
The Problem
I've pulled hundreds of these things apart over the years, and a no-ice complaint is probably in my top five service calls. What I keep finding, especially on older units, isn't a dead motor or a bad sensor — it's a frozen water inlet line or fill tube. Makes sense if you think about it: water comes into that little tube, and if it's just a weak trickle, or if your freezer's running a hair too cold, that water can freeze solid before it even reaches the ice mold. It's like trying to fill a bucket with a leaky garden hose in January; that water's gonna lock up before it gets far.
A lot of homeowners jump straight to replacing the whole ice maker assembly. Don't do it — not yet, anyway. You'll often spend seventy to a hundred bucks on a part you don't need, and you'll still be standing there looking at an empty bin. I've seen folks replace the fridge because of this, which is just nuts. I pulled a water heater in Frisco last month that had exactly this kind of “must be the big part” thinking — same deal, wrong fix. I usually start with the simplest explanation, and a frozen line is usually the culprit. Frustrating? Yep. Hard? No dice.
How It Works
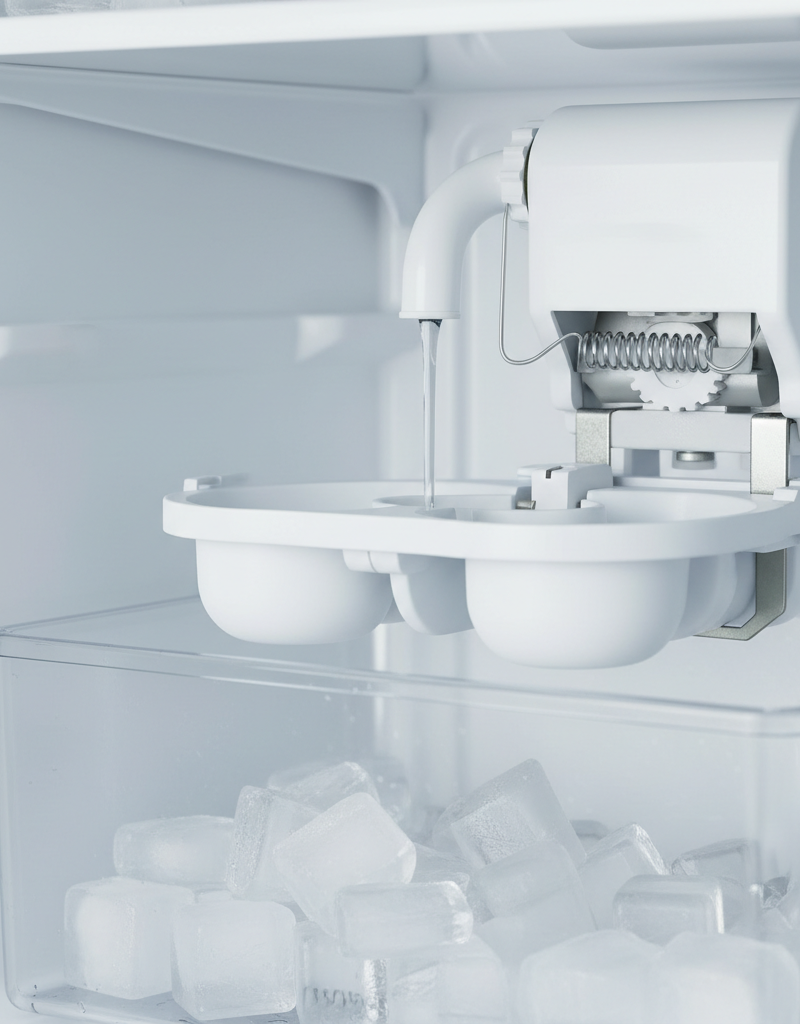
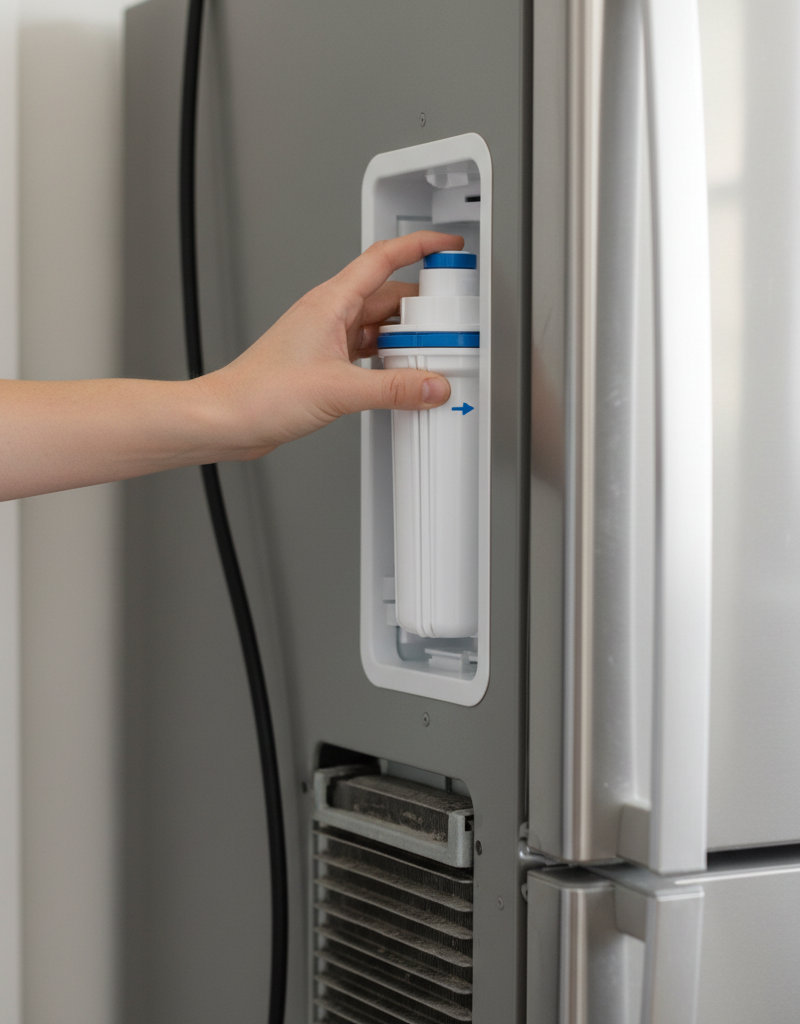
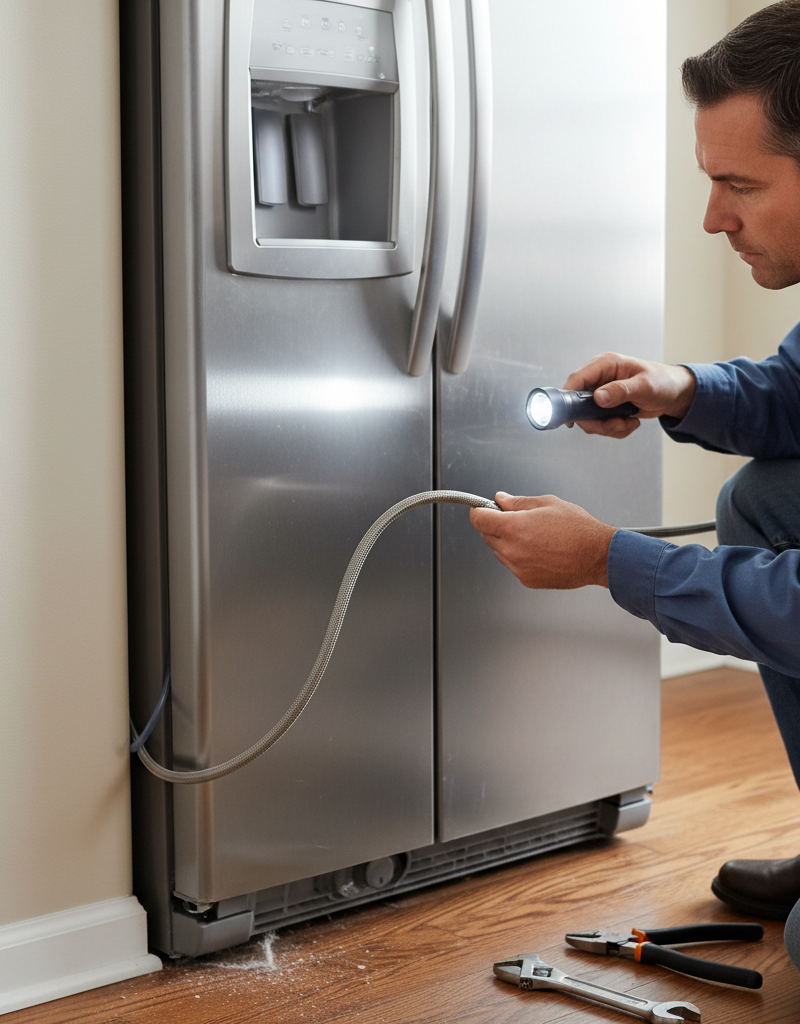
To understand why your ice maker isn't making ice, let’s quickly look at how it should work. Your refrigerator’s ice maker is basically a little Rube Goldberg machine with a job to do. First, water comes from your home’s main supply line, usually through a small saddle valve under your kitchen sink or from a dedicated line behind the fridge. That water then passes through a filter, often located inside the fridge or in a separate housing, which cleans it up before it reaches the ice maker. From there, a thin plastic or copper line runs to an electrically operated water inlet valve, usually on the back of the fridge near the bottom.
When the ice maker thermostat senses the ice mold is cold enough — typically around 5°F (-15°C) — it tells the water inlet valve to open. That valve is just a solenoid, nothing fancy. It lets a controlled amount of water flow into a small fill tube. This fill tube is usually a tiny plastic or rubber hose that runs from the back of the freezer wall right over the ice maker’s mold tray. Once the mold fills, the valve closes, and the water sits there to freeze. After about 60 to 90 minutes, when the water has turned solid, a heating element briefly warms the mold to loosen the cubes, and then an ejector arm twists and pushes the ice into the collection bin. Then it does it all over again. If anything in that chain — from the water supply to the fill tube — gets interrupted, especially by freezing, you won't get ice. The fill tube is usually the weak spot because it's small and sitting right in that cold freezer air.
Step-by-Step Fix
Here’s how I tackle a frozen ice maker fill line, step by step. Always unplug the fridge first, seriously. I once forgot on a Whirlpool Gold in Belmont and nearly got zapped — learned that lesson the hard way.
-
Safety First — Disconnect Power — Unplug the refrigerator from the wall outlet. Don't just shut off the ice maker switch. You'll be working around water and electrical parts, and you don't want any surprises.
-
Access the Ice Maker — Pull out the ice bucket. Then you'll usually need to remove the whole ice maker assembly. On most fridges, it's held in with two or three screws — often 1/4-inch hex head or Phillips head — on the sides or top of the unit. Carefully disconnect any wire harness plugged into the ice maker. It's usually a simple clip or squeeze tab. Snap a photo with your phone before you unplug anything; it'll save your bacon during reassembly.
-
Locate the Fill Tube — Find the small plastic or rubber tube that sends water into the ice maker mold. This tube usually comes through the back wall of the freezer compartment and dumps straight into the ice maker's fill cup or tray. It’s typically about 1/4-inch in diameter.
-
Inspect for Ice — Look closely inside and around the end of the fill tube. You're looking for a visible chunk of ice blocking the opening. Sometimes it's just a little plug right at the tip; other times, it'll run a few inches back into the wall. You might also see frozen drips piled up underneath the tube, which is a dead giveaway that water's been leaking slow and freezing as it goes.
-
Thaw the Ice Blockage — This is where you melt the problem away.
- Hairdryer: My go-to move. Set it on medium heat and aim it at the frozen fill tube. Keep it moving so you don't cook one spot or warp plastic parts. This usually takes 5-10 minutes. You'll hear water dripping once the ice starts giving up.
- Warm Water Syringe (or baster): If you can't get a hairdryer in there, or you want a little more control, use a turkey baster or even a kid's medicine syringe to drip warm (not boiling!) water into the tube. Keep a towel underneath to catch the meltwater and the mess. I've used this trick on tight spots in a side-by-side KitchenAid fridge where a hairdryer just wouldn't fit.
- Patience: If you've got time, leaving the freezer door open for a couple of hours with the fridge unplugged will eventually do it. But who wants to sit around that long for ice?
-
Verify Water Flow (Carefully!) — Once you think it's clear, test the flow. Reconnect the wire harness to the ice maker but do not re-mount the assembly yet. Plug the fridge back in. Now you need to manually cycle the ice maker to call for water. There's usually a test button on the ice maker itself, often a small button labeled
Related Articles
Keep troubleshooting with these hand-picked guides from FixlyGuide:
- The #1 Mistake Homeowners Make When Their Ice Maker Stops (And the Easy Fix) — Is your refrigerator ice maker on strike? Often, a simple oversight or minor clog is the culprit, easily fixable with basic tools.
- The #1 Reason Your Fridge Ice Maker Stops—And the 20-Minute Fix — Uncover the most common culprit behind a non-producing ice maker and learn how to implement a quick, effective fix in about 20 minutes.
- The 3 Hidden Reasons Your Ice Maker Isn't Working (and the $0 Fix) — Troubleshoot common refrigerator ice maker issues with this comprehensive guide, covering everything from simple fixes to when to call a pr…
- The Silent Killer of Your Ice Maker: Why Most Homeowners Miss This Easy Fix — A non-functioning ice maker is a common refrigerator issue, often due to a clogged water line or a faulty fill valve, which homeowners can…
- The #1 Mistake Homeowners Make When Their Ice Maker Stops (And the Easy Fix) — Before you call for service, learn the most common and easily fixable reason your refrigerator's ice maker isn't producing ice.
- The Surprising Culprit Behind Your Refrigerator's Water Leak (It's Not Always the Ice Maker) — Discover the most common, often overlooked reason your refrigerator is leaking water and how to fix it with simple steps.
Should you do this yourself?
Answer five quick questions before you start. Safety outranks savings every time.
Your experience with work like this
How high do you have to work?
Does the job involve any of these?
Will it need a permit?
Specialty tools
Free and instant. Educational guidance only — not a quote, inspection, or professional diagnosis.
What should this project cost?
Enter your project details for a realistic cost range before you call anyone.
Cost depends heavily on which system turns out to be the source.
- Regional adjustment
- National average
- Labor share (typical)
- ~$1,620
- Quotes to collect
- 3 written estimates
Educational estimate based on national averages — not a binding quote. Always confirm with written local estimates.
Before you start
Check the difficulty, permits, and safety risk — then decide whether to call a pro.
- Estimate this projectGet a cost range for your scope and ZIP before you call anyone.Open
- Get local estimatesSend one request and compare written estimates from vetted pros.Open
Free, no signup required. Estimates are educational guidance, not a quote or an inspection.
Get the print-ready PDF of this guide
A clean, ad-free, printable version you can keep on your phone or pin to the workshop wall. Free with a FixlyGuide account.
- Print-optimized layout
- Tools, materials & every step included
- Saved to your account
Frequently asked questions
Why would my ice maker stop making ice suddenly?+
The most common culprit is a frozen fill tube or water inlet line. This happens when water drips slowly into the ice maker, freezing before it can completely fill the mold. Low water pressure or a faulty water inlet valve can contribute to this.
Can I fix a frozen ice maker fill line myself?+
Absolutely. It's a common DIY repair. You'll typically need to unplug the fridge, remove the ice maker assembly, and use a hairdryer or warm water to carefully thaw the ice blockage in the fill tube.
What tools do I need to thaw a frozen ice maker line?+
You'll primarily need a hairdryer, some towels, and possibly a turkey baster or syringe for warm water. A screwdriver might be necessary to remove the ice maker assembly.
How long does it take to thaw a frozen fill tube?+
Using a hairdryer, it usually takes about 5 to 15 minutes of direct heat. With warm water, it might take a bit longer but can be more controlled. Allowing the fridge to defrost naturally will take several hours.
What causes the fill tube to freeze in the first place?+
Common causes include low water pressure, a leaky water inlet valve that constantly drips, or even air leaks around the freezer door. A freezer temperature that's set too low can also make the problem worse.
How can I prevent my ice maker's fill tube from freezing again?+
Check your home's water pressure, ensure the water inlet valve isn't dripping, and inspect your freezer door gaskets for airtightness. Installing a pressure regulator on your main water line can also help if pressure is consistently high.
Should I replace the water inlet valve if my fill tube keeps freezing?+
If you've confirmed good water pressure and thorough thawing, but the problem recurs, a slow-leaking water inlet valve is a strong suspect. It's an inexpensive part, usually $30-$50, and often a straightforward replacement.
Is it safe to use a hairdryer inside my freezer?+
Yes, but with caution. Keep the hairdryer moving to avoid overheating any one spot, and maintain a safe distance from plastic components. Ensure the refrigerator is unplugged before you start, and use it only for thawing ice, not for extended periods.
Discussion
Loading comments…