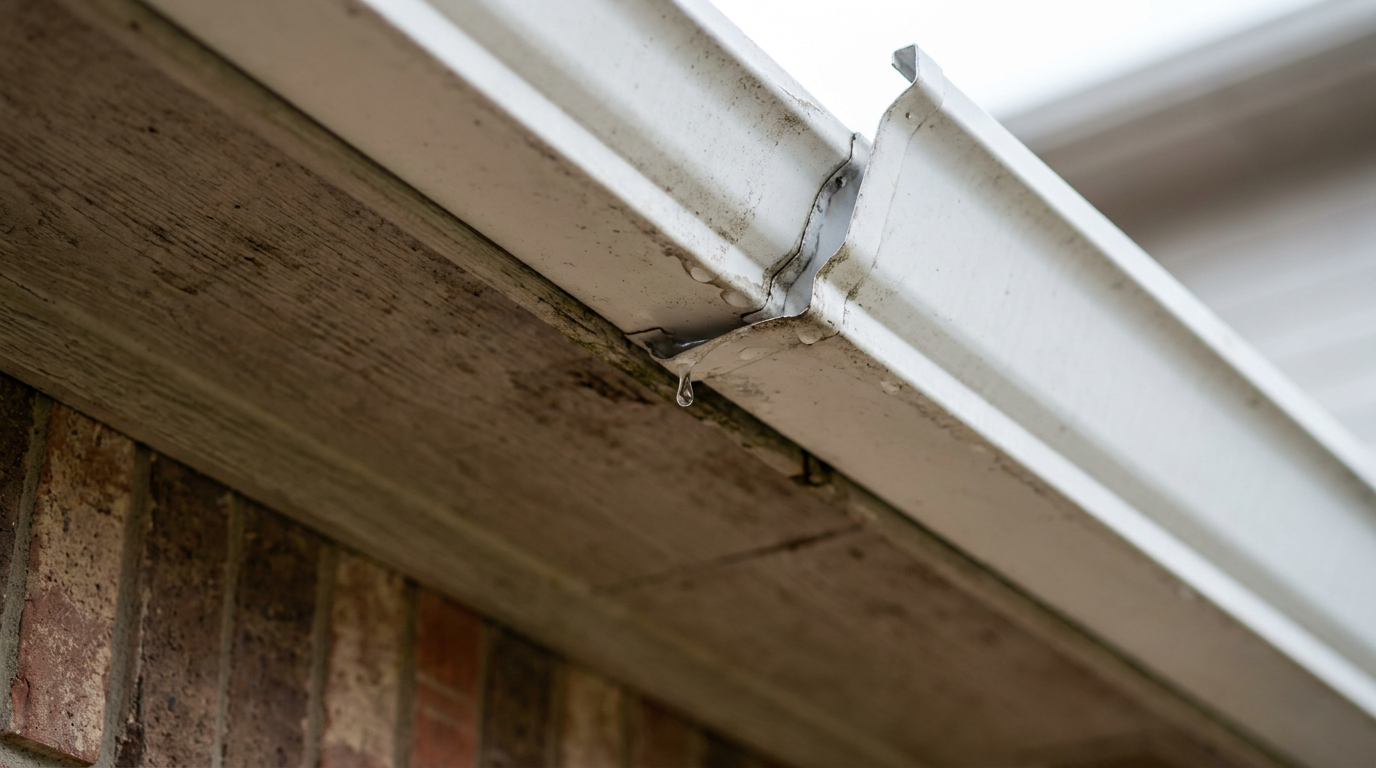
- Old, Brittle Sealant: This is the number one culprit. Sealant doesn’t live forever. Most caulks last 5-10 years before they shrink, crack, and pull away from the gutter.
- Improper Surface Prep: If the original installer didn’t clean the metal before sealing it, the bond was weak from the start. Oil, dirt, or even a little moisture on the surface will wreck a good seal.
- Thermal Expansion: Metal gutters expand in the heat and contract in the cold. That constant movement stresses the seams, and eventually the sealant gives up. Long runs of 50 feet or more are especially hard on it.
- Gutter Clogs: This doesn’t make the seam fail by itself, but a clog downstream can keep water sitting in the gutter way longer than it should. That standing water submerges the seam, puts pressure on the sealant, and finds every weakness.
- Physical Damage: A ladder set right on a seam, a fallen branch, or the weight of ice can bend the metal and break the seal.
Plumbing · Leak
| Project category | Plumbing |
|---|---|
| Problem type | Leak |
| Trade required | Plumbing |
| Urgency | Emergency — act now |
| Safety risk | High safety risk |
| DIY suitability | DIY for experienced homeowners |
| Cost category | Low cost |
| Typical timeline | Shut water off now; repair usually same or next day |
| Contractor type | Licensed plumber |
Repair option
Isolate at the shutoff, replace the failed component, and dry the cavity fully.
Replacement option
Repipe the run or the branch when corrosion is widespread.
Common causes
- Failed supply line or shutoff valve
- Worn washers, cartridges, or P-trap connections
- Pinhole corrosion in older copper
Relevant tools:emergency checklistdiy or hire a pro
Published October 6, 2026Last updated October 6, 2026
Tools & materials you'll need
Affiliate linksAs an Amazon Associate FixlyGuide earns from qualifying purchases — at no extra cost to you. Prices and availability are accurate as of publication and subject to change.
The Problem
You spot it every time it rains. That slow, maddening drip... drip... drip... from the underside of your gutter, right where two sections meet. It’s not a clog, and it’s not water blasting over the top. No, the water’s sneaking out through a joint, hitting the ground below, carving a little trench in your flower beds, and maybe even soaking your foundation while it’s at it. That tiny leak isn’t just annoying — it’s your gutter system telling you its first line of defense has gone sideways.
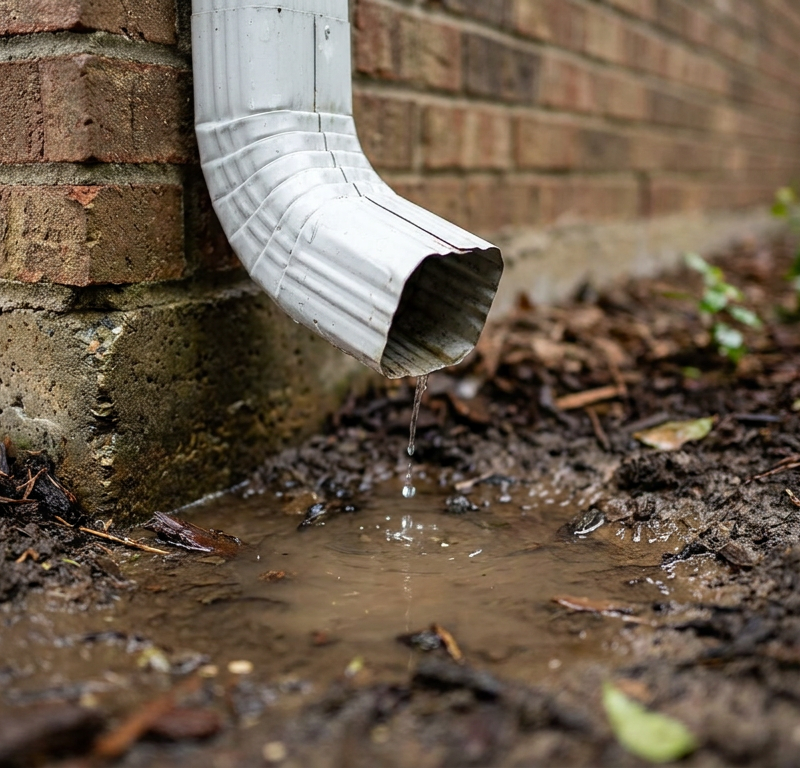
If you leave a leaky gutter seam alone, water stops using the downspout like it should and starts dumping in one spot. That’s how you end up with foundation erosion, basement moisture, and siding damage. Small problem? Sure. Cheap to ignore? Not even close.
How Gutter Seams Work
Your gutters aren’t one long, seamless piece of metal. They’re put up in sections, usually 10 to 20 feet long. Where those sections meet — or where a corner piece or end cap gets attached — you’ve got a seam. To keep that joint watertight, installers overlap the pieces and seal the inside.
Here’s how it’s supposed to go: one gutter section slides into the next by about an inch. Then the sections get fastened together, usually with a couple of short screws or rivets. After that — and this is the part that matters — a thick bead of specialized gutter sealant gets laid across the whole inside of the seam. That sealant’s made to stay flexible and waterproof, and it sticks to aluminum or steel while the metal expands and contracts with the weather.
Around here in North Texas, that movement’s no small thing. A dark gutter can hit 140°F or more in the summer sun and then drop to freezing in the winter. That constant stretch-and-shrink beat on the seam is rough. Over 5-10 years, UV rays and temperature swings make the original sealant brittle, cracked, or just plain loose. Once a pinhole opens up, water finds it. Every time.
Step-by-Step Fix for a Leaking Gutter Seam
This is a pretty simple repair, and you can knock it out in under an hour if you’re not fighting the weather. The trick isn’t slapping fresh sealant over the old junk — that’s a band-aid, and a flimsy one at that. You’ve got to get the bad stuff out first if you want the repair to last.
Safety First: Never work on a ladder during rain, high winds, or if you feel unsteady. Make sure your ladder’s on stable, level ground. Wear gloves so you don’t slice your hands on sharp metal edges or glue yourself to sticky sealant.
-
Set Your Ladder — Put a sturdy extension ladder against the house a few feet to the side of the leaking seam. You want it to extend at least 3 feet above the roofline for stability. Check the feet, check the angle — about a 4:1 ratio, meaning for every four feet of height, the base should be one foot away from the wall.
-
Clean the Area — Gloves on. Scoop out leaves, shingle grit, and whatever else has settled around the leak. You need a clean, dry surface, plain and simple. If the gutter’s wet, use old rags or paper towels to dry the seam area completely.
-
Scrape Out the Old Sealant — This is the big one. Use a 5-in-1 painter's tool or a stiff putty knife to dig, scrape, and pry out every bit of the old cracked sealant from inside the seam. It’ll probably come out in brittle chunks. Get it all if you can. An old flathead screwdriver helps in the tight corners — no shame in that.
-
Remove Sealant Residue — After the scraping, there’ll still be a thin film left behind. Soak a rag in denatured alcohol and wipe the seam area hard. That’ll cut the remaining oils and residue and give your new sealant a clean surface to grab.
-
Abrade the Metal — If you want the strongest bond, scuff the metal a little. Use a small wire brush or a piece of 80-grit sandpaper to lightly scratch the aluminum on both sides of the seam where the sealant’s going. You’re creating a tiny texture for the new material to bite into.
-
Wipe Clean Again — Take a clean, dry rag and wipe off any dust or metal shavings from the sanding. The surface should be clean, dry, and just a bit rough.
-
Apply the New Sealant — Load a tube of high-quality, flexible gutter sealant into a caulk gun. Look for something labeled "gutter and flashing sealant" or a tripolymer or elastomeric formula. Cut the tip at a 45-degree angle to make about a 1/4-inch opening. Puncture the inner seal with a long nail or the tool on the caulk gun.
-
Lay the Bead — Start about an inch to one side of the seam and run a continuous, generous bead right over the joint. Keep going to an inch past the other side. Don’t be stingy here — you want a thick, solid line of defense. The bead should be at least 3/8-inch wide.
-
Tool the Sealant — Put on a disposable glove. Use your finger to smooth the bead, pressing it firmly into the seam and feathering the edges. That keeps gaps and bubbles from sneaking in and makes a smooth, watertight transition. It also pushes the sealant into the little scratches you made earlier.
-
Check for Rivet Leaks — While you’re up there, look at the small rivets or screws holding the seam together. Sometimes water weeps through those fastener holes. If you spot any trouble, dab sealant right over the head of each rivet on the inside of the gutter.
-
Let It Cure — Gutter sealant needs time to cure the right way. Check the product label, but most need at least 24-48 hours of dry weather to fully set up. Don’t rush it; sealing a seam right before a predicted rainstorm is asking for a do-over. I pulled a gutter job in Frisco last month that had exactly this problem — nice fresh bead, then a thunderstorm rolled in overnight. No dice.
Common Causes of Seam Leaks
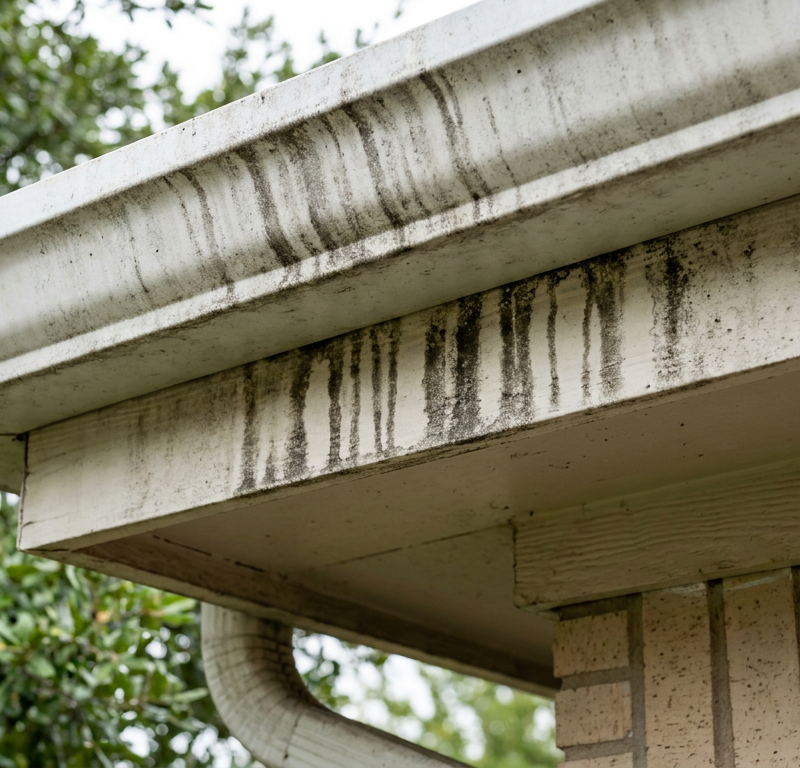
- Old, Brittle Sealant: This is the number one culprit. Sealant doesn’t live forever. Most caulks last 5-10 years before they shrink, crack, and pull away from the gutter.
- Improper Surface Prep: If the original installer didn’t clean the metal before sealing it, the bond was weak from the start. Oil, dirt, or even a little moisture on the surface will wreck a good seal.
- Thermal Expansion: Metal gutters expand in the heat and contract in the cold. That constant movement stresses the seams, and eventually the sealant gives up. Long runs of 50 feet or more are especially hard on it.
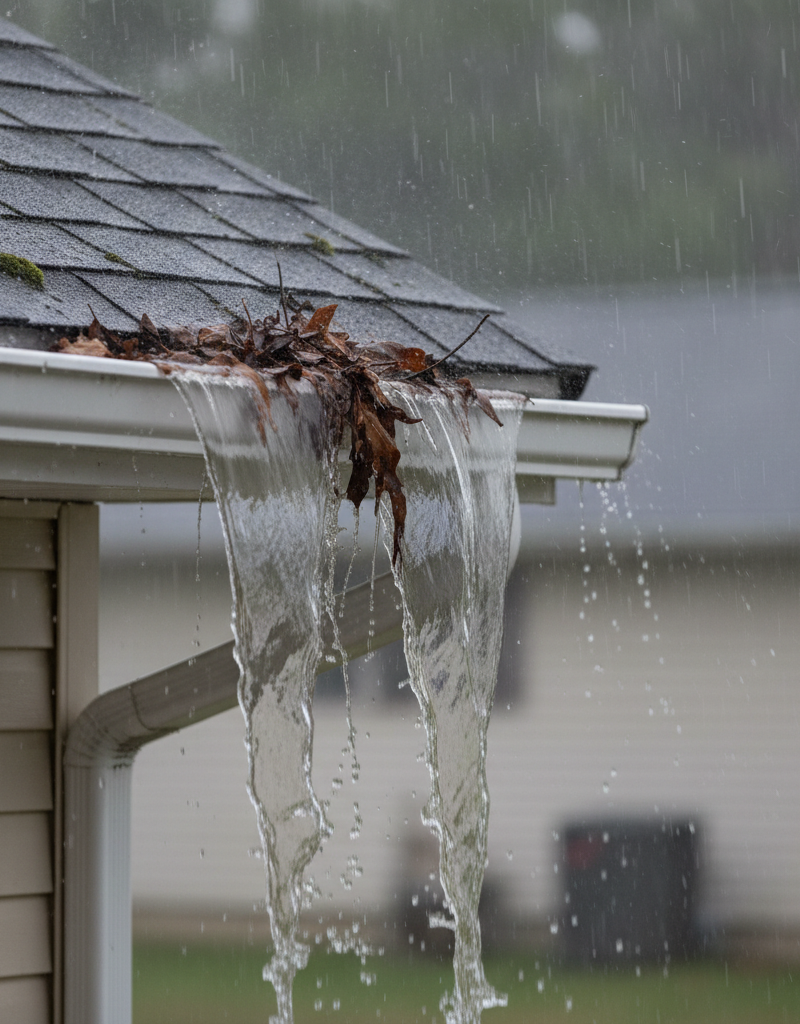
- Gutter Clogs: This doesn’t make the seam fail by itself, but a clog downstream can keep water sitting in the gutter way longer than it should. That standing water submerges the seam, puts pressure on the sealant, and finds every weakness.
- Physical Damage: A ladder set right on a seam, a fallen branch, or the weight of ice can bend the metal and break the seal.
Common Mistakes to Avoid
- Sealing from the Outside: Don’t try to fix a seam leak by smearing caulk on the bottom of the gutter. Water pressure from inside will just peel it off. The seal has to be on the inside where the water actually is.
- Using the Wrong Sealant: Don’t grab whatever silicone tube is kicking around in the garage. You need a gutter sealant made for outdoor use, temperature swings, and metal adhesion. Bathroom caulk or painter’s caulk will fail in short order.
- Sealing Over Old Caulk: Smearing new sealant over old cracked junk is just wasting time. The new bead sticks to the bad material, not the gutter, and the leak comes right back.
- Forgetting to Clean and Scuff: Skipping the cleaning and abrading steps is the most common DIY miss. If the surface isn’t prepped right, the bond won’t last.
- Not Checking the Fasteners: If the rivets or screws holding the seam together are loose or wallowed out, the joint’s got too much flex. Tighten or replace them before sealing so the seam’s solid.
Cost & Time Breakdown
For a DIY repair, the cost stays pretty low — mostly the sealant itself. A pro repair costs more because you’re paying for travel time and a service call, but it’s often rolled into a full gutter cleaning and inspection.
| Task | DIY Cost | Pro Cost (as part of a larger service) | Time |
|---|---|---|---|
| Gutter Seam Seal (1-2 seams) | $15 - $25 (for sealant & supplies) | $75 - $150 | 20-30 minutes per seam |
| Gutter Cleaning (Full House) | $5 (for gloves/bags) | $150 - $250 | 2-4 hours |
| Full Gutter System Tune-Up | N/A | $250 - $500+ | 3-5 hours |
| Replacing a Damaged Gutter Section | $50 - $100 | $200 - $400 | 2-3 hours |
Tips & Prevention
- Regular Cleaning is Key: Clean your gutters at least twice a year, in late spring and late fall. Keeping clogs out stops water from pooling over seams, and that’ll stretch the life of your sealant a lot.
- Annual Inspection: Once a year, on a dry day, walk around the house and look up under the gutters. Watch for drips, water stains, or sealant that’s cracked or peeling away from the joints.
- Choose Quality Sealant: When it’s time to reseal, spend the extra $5 on a high-end tripolymer or elastomeric sealant. It stays flexible a whole lot longer than basic silicone, so you’re looking at a repair that lasts for a decade instead of just two years.
- Mind the Ladder: Never lean your ladder directly on the gutter itself, and definitely not on a seam. Use a ladder stabilizer (also called a standoff) that rests on the roof or siding and keeps your gutters from getting dented up.
- Check the Slope: While you’re up there, check that the gutter slopes a little toward the downspout — about 1/4 inch of drop for every 10 feet of run. If water’s pooling, you might’ve got a slope issue that needs fixing.
When to Call a Professional
You can handle a few leaky seams yourself. But if the trouble’s spread out, it’s time to call a professional gutter installer. If more than a third of your seams are failing, that usually points to a bigger installation issue or tells me the whole system’s near the end of the road. And if you see rot on the fascia board behind the gutter, that’s not just a drip problem anymore. A pro can check the fascia damage, correct slope issues, and figure out whether a sectional replacement or a move to seamless gutters makes more sense long term. And sure — if you’re not comfortable climbing a tall ladder, hiring a pro for even a small repair is always the safer move.
Related Articles
Keep troubleshooting with these hand-picked guides from FixlyGuide:
- Did Wind Damage Your Roof? Find Out Before It's Too Late — High winds can inflict serious, yet subtle, damage to your roof. Learn to spot the hidden signs of wind damage from the safety of the groun…
- Is Your Gutter Sagging After Every Storm? The Hidden Flaw Most Homeowners Miss — Discover the overlooked reason your gutters sag after every storm and learn the lasting fix that most homeowners miss.
- The 3 Hidden Reasons Your Gutters Fail in Heavy Rain (It’s Not Just Leaves) — Overflowing gutters during heavy rain often stem from a few common, yet overlooked, issues beyond simple leaf clogs, leading to potential s…
- The Secret Reason Your Gutters Overflow (It's Not Always Clogs) — Discover the hidden culprits behind overflowing gutters during heavy rain and how to diagnose and fix them before they cause serious home d…
- The #1 Gutter Mistake That Causes Overflow (It's Not Clogs!) — Discover the often-overlooked culprit behind overflowing gutters during heavy rain and learn the surprising, easy fix most homeowners miss.
- Smoke Detector Goes Off When I Cook? 7 Reasons and How to Fix It — Is your smoke alarm blaring every time you sear a steak? Learn the seven most common reasons for cooking-related nuisance alarms and the si…
Should you do this yourself?
Answer five quick questions before you start. Safety outranks savings every time.
Your experience with work like this
How high do you have to work?
Does the job involve any of these?
Will it need a permit?
Specialty tools
Free and instant. Educational guidance only — not a quote, inspection, or professional diagnosis.
Questions to ask before you sign
Ask every contractor the same questions and the cheapest bid stops looking cheapest. Check them off as you go — your progress is saved on this device.
Free, no signup. Bring this to every walkthrough so you compare bids on the same terms.
What should this project cost?
Enter your project details for a realistic cost range before you call anyone.
Spot repairs commonly run $400–$1,800; full replacement typically $9,000–$18,000 for an average home.
- Regional adjustment
- National average
- Labor share (typical)
- ~$2,948
- Quotes to collect
- 3 written estimates
Educational estimate based on national averages — not a binding quote. Always confirm with written local estimates.
Fixly Project Decision Box
- DIY difficulty
- Professional Recommended
- Estimated time
- Inspection 1–2 hours · repairs 1–3 days
- Cost level
- High
Main tools / materials
- Binoculars for a ground-level look
- Flashlight for attic checks
- Moisture meter
- Roofing cement (temporary patch only)
When to stop and call a pro
- Active leak near lights, fans, or any wiring
- Sagging, bulging, or water-filled ceiling
- Steep, wet, or two-story roof — do not climb it
- Storm or hail damage you plan to claim on insurance
Need professional help?
Free roof assessment first — no phone calls until you ask for them.
Get Local Roofing HelpGet help with your roof now
Stay off the roof. These free tools help you protect the house and reach the right professional fast.
- Emergency repair checklistThe first steps that limit damage before a pro arrives.Open
- Repair or replace your roof?Answer 10 questions about age, leaks, and damage to get a clear next step.Open
- Get local estimatesSend one request and compare written estimates from vetted pros.Open
Free, no signup required. Estimates are educational guidance, not a quote or an inspection.
Get the print-ready PDF of this guide
A clean, ad-free, printable version you can keep on your phone or pin to the workshop wall. Free with a FixlyGuide account.
- Print-optimized layout
- Tools, materials & every step included
- Saved to your account
Frequently asked questions
Can I just use Flex Seal on my gutter seam?+
While products like Flex Seal can work as a temporary patch, they aren't a permanent solution. A proper repair involves removing the old sealant and using a dedicated, flexible gutter sealant that creates a stronger, longer-lasting bond with the metal.
What's the best sealant for aluminum gutters?+
Look for a tripolymer or elastomeric sealant specifically labeled for gutters and flashing. These formulas are designed to adhere strongly to metal and remain flexible through extreme temperature changes, which is crucial for preventing future cracks.
How long does gutter sealant take to dry?+
Most gutter sealants are waterproof within a few hours, but they require a full 24 to 48 hours to cure completely. Always check the manufacturer's instructions and plan your repair for a period of clear, dry weather.
Why is my new gutter installation leaking at the seams?+
If a new installation is leaking, it's almost always due to improper surface preparation. The installer likely didn't clean the factory oils off the metal before applying the sealant, resulting in a poor bond. This is a callback issue for your installer to fix.
Can I put new sealant over old sealant in a gutter?+
No, you should never apply new sealant over old, failed sealant. The new bead will only stick to the failing material, not the gutter itself. The leak will reappear quickly. You must scrape the old material out completely for a lasting repair.
Is it better to use screws or rivets for gutter seams?+
Both work well when installed correctly. Rivets provide a lower profile on the inside of the gutter, which is less likely to catch debris. Screws are easier to install and remove for DIYers. Either way, seal over them on the inside.
How often should gutter seams be resealed?+
With modern, high-quality sealants and regular gutter cleaning, you can expect a properly sealed seam to last 7-10 years, sometimes longer. If your gutters are frequently clogged, the standing water can cut that lifespan in half.
Should I switch to seamless gutters to avoid leaks?+
Seamless gutters are an excellent way to eliminate all straight-run seam leaks. However, you will still have seams at corners and downspout outlets that require sealant and periodic maintenance. They reduce the chance of leaks but don't eliminate it entirely.
Discussion
Loading comments…