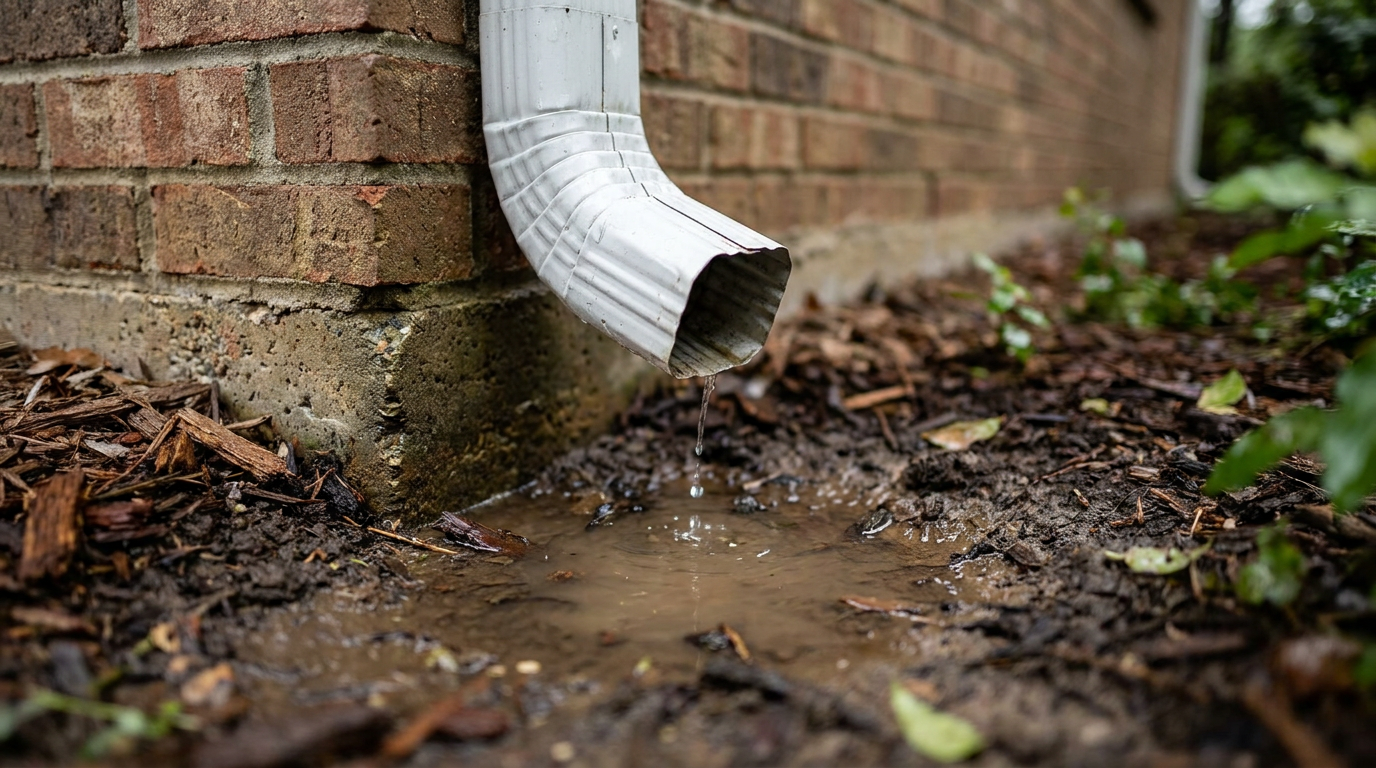
- Builder Oversight: Honestly, a lot of builders just install the basic elbow and call it a day. It meets code, sure, but it sure isn't best practice.
- Landscaping Changes: You or a previous owner might've pulled off an extension to mow the yard or do some planting and never put it back.
- Soil Settlement: Over time, the ground around your foundation can sink. That little splash block that used to angle away from the house might now tilt back toward it, making a puddle where you don't want one.
- Damage: Lawn mowers, kids, and pets are basically the natural enemies of downspout extensions. Plastic gets brittle in the sun and cracks; aluminum gets dented and crushed.
- Ignorance: A lot of homeowners just don't realize the danger. They see the water sitting on a splash block and figure they're in the clear, not seeing the trouble happening below the surface.
Gutters · Overflowing or clogged gutters
| Project category | Gutters |
|---|---|
| Problem type | Overflowing or clogged gutters |
| Trade required | Gutters |
| Urgency | Soon — within weeks |
| Safety risk | Moderate safety risk |
| DIY suitability | DIY for experienced homeowners |
| Cost category | Low cost |
| Typical timeline | Half a day for cleaning; 1 day for replacement |
| Contractor type | Gutter installer |
Repair option
Clean, reslope, and reseal seams; extend downspouts away from the foundation.
Replacement option
Replace with larger-capacity gutters when overflow is chronic.
Common causes
- Debris buildup
- Undersized gutters or downspouts
- Improper slope or loose hangers
Relevant tools:maintenance calendardiy or hire a pro
Published September 30, 2026Last updated September 30, 2026
Tools & materials you'll need
Affiliate linksAs an Amazon Associate FixlyGuide earns from qualifying purchases — at no extra cost to you. Prices and availability are accurate as of publication and subject to change.
The Problem
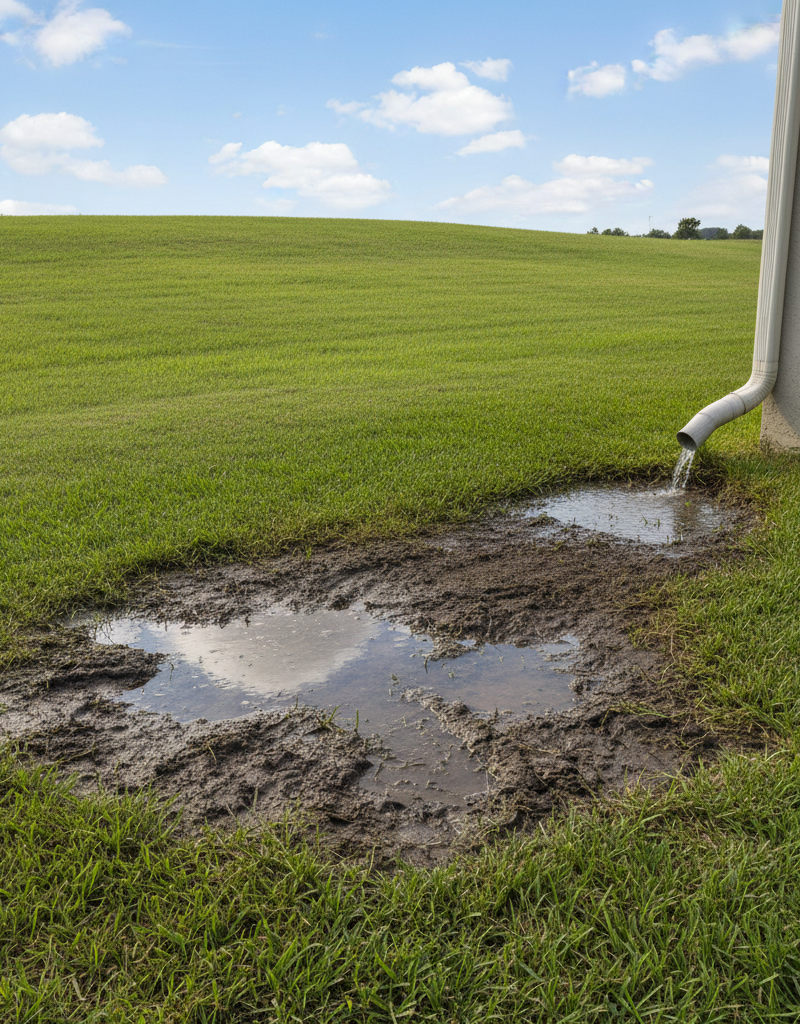
Walk outside during a heavy rain and take a look at where your gutter downspouts are dumping all that water. Is it landing in a neat little puddle right beside your house? If so, you've got a problem. A real one.
Each inch of rain that falls on a 1,000-square-foot roof produces over 600 gallons of water. Your gutter system's job is to catch that deluge and move it safely away from your home. The downspout is the last link in that chain, and it's a critical one. When it ends too close to the foundation, all that water gets shoved right back into the soil where it can do the most damage. That's one of the most common mistakes I see, and it's one of the easiest to fix.
That concentrated water soaks the soil and creates a pile of hydrostatic pressure against your foundation walls. Around here in Dallas-Fort Worth, with our shifting clay soils, that's a nasty combination. It can lead to cracks, leaks, a flooded basement or crawlspace, and long-term structural problems that can cost tens of thousands to repair. You might also notice erosion, mulch washing away, or a lawn that's soggy all the time.
How It Works
Think of your roof like a giant funnel. Rainwater runs down the surface, gathers in the gutters, and heads toward the downspout openings. Those vertical pipes take that concentrated flow from the roofline down to ground level. The whole idea is simple: get the water away from the house.
For the system to work right, the water needs a clear path from that bottom elbow to a discharge point far enough out that it can't just creep back toward the foundation. The standard rule of thumb is a minimum of 4 to 6 feet, but I tell every North Texas homeowner to shoot for 10 feet if there's room for it. Our expansive clay soil acts like a sponge; when it gets too wet, it swells, and when it dries out, it shrinks. That constant movement is what cracks slabs.
A short downspout, especially one dumping onto a splash block that's settled back toward the house, kills the whole purpose of the gutter system. It's like gathering all the trash in your house into one bag and then leaving it in the middle of the kitchen floor. Sure, it's contained. No dice on removal, though. Extending your downspouts is the same as taking that bag out to the curb where it belongs.
Step-by-Step Fix
Here's the good news: this is one of the easiest and cheapest home repairs you can tackle. You're really just adding a piece to the end of the existing downspout. Most times, it takes less than an hour.
1. Assess Your Current Setup
- Start by seeing what you've got. Standard metal elbow at the bottom? Short rigid extension? Plastic splash block? Measure how far it currently dumps water from the foundation wall. Anything less than 4 feet needs attention, period. Jot down the size, too, like 2x3 inch or 3x4 inch, plus the color of the downspout so you can match it.
2. Choose Your Extension Type
- You've got a few solid options, and each one fits a different situation.
| Extension Type | Best For... | Pros | Cons |
|---|---|---|---|
| Flexible Corrugated Pipe | Quick, easy fixes and navigating around obstacles. | Very inexpensive, flexible, easy to install. | Can hold debris if not sloped properly; can be damaged by mowers; less attractive. |
| Rigid Metal/Vinyl Extension | A straight, clean look that matches existing downspouts. | Durable, looks professional, good water flow. | Requires precise cutting and fitting; less forgiving around landscaping. |
| Roll-Out / Automatic Extender | Discreet, minimalist appearance. | Stays coiled up until it rains, then unrolls with water pressure. | Can fail to retract; prone to clogging or tearing. |
| Buried Drain Pipe | The most permanent, professional solution. | Completely hidden, directs water far away to a pop-up emitter. | Much more work (trenching); more expensive; can clog underground. |
- For most DIYers, rigid or flexible is the way to go. I'm partial to rigid extensions because they last longer and don't get crushed as easy.
3. Measure and Purchase Materials
- For a rigid extension: Measure the distance you need to cover. Buy a 10-foot section of downspout that matches your existing one, plus an extra elbow (Type A or B, depending on the turn you need to make) and some self-tapping gutter screws (1/4-inch hex head works best). You might also need a downspout connector if you're joining two finished pieces.
- For a flexible extension: These usually come in kits with a connector that fits your downspout size. Just grab one long enough for the run you've got.
4. Clean the Existing Downspout
- Before you attach anything, make sure the bottom of the existing downspout is clear. Reach inside the elbow and pull out any packed leaves or junk. If it's really caked up, you may need to tap the elbow off and clear the clog.
5. Cut the New Extension (If Needed)
- Safety First: Wear gloves and eye protection. Metal edges are razor sharp.
- If you're using a rigid downspout, you'll probably need to cut it to length. Mark a clean line with a pencil. Use tin snips or a hacksaw to make the cut. Pro tip: crimp the cut end slightly with pliers so it'll slide easier into the next fitting.
6. Attach the Extension
- Flexible: These usually friction-fit over the end of the existing downspout. Slide it on as far as it'll go. For a tighter connection, put a self-tapping screw on each side to lock it in place.
- Rigid: Slide the new elbow or straight section over the existing downspout outlet — the crimped end always goes inside the next piece. The overlap should be at least 1.5 inches. Secure it with two self-tapping screws on the sides.
7. Secure the Extension and Ensure Slope
- This is the part that matters most. The extension must keep a steady downward slope away from the house. A good rule of thumb is at least 1/4 inch of drop for every foot of run. Set the end on a brick or a purpose-made splash block to hold that angle and keep it from becoming a trip hazard.
8. Test Your Work
- Wait for a decent rain or just run a garden hose down the downspout from the roof. Watch the new extension. Is water moving freely all the way to the end? Any leaks at the new connections? If it leaks, add another screw or make sure the pieces are seated right.
Common Causes
Why does this happen in the first place? It's rarely one single thing. Usually, it's a few small problems stacking up over time.
- Builder Oversight: Honestly, a lot of builders just install the basic elbow and call it a day. It meets code, sure, but it sure isn't best practice.
- Landscaping Changes: You or a previous owner might've pulled off an extension to mow the yard or do some planting and never put it back.
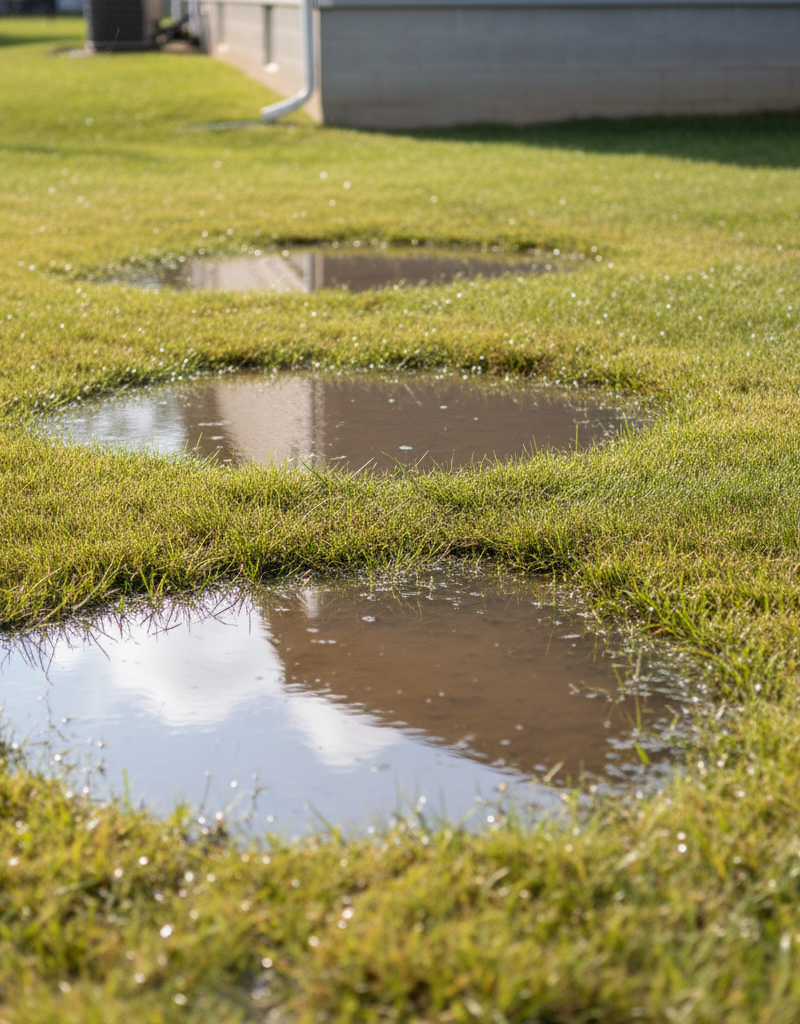
- Soil Settlement: Over time, the ground around your foundation can sink. That little splash block that used to angle away from the house might now tilt back toward it, making a puddle where you don't want one.
- Damage: Lawn mowers, kids, and pets are basically the natural enemies of downspout extensions. Plastic gets brittle in the sun and cracks; aluminum gets dented and crushed.
- Ignorance: A lot of homeowners just don't realize the danger. They see the water sitting on a splash block and figure they're in the clear, not seeing the trouble happening below the surface.
Common Mistakes
I see these all the time. Dodge them and you'll be ahead of the curve.
- Aiming for a Porous Surface: Don't point your new extension onto gravel or straight into a flower bed right next to the house. It's better than nothing, but that water can still work its way back to the foundation. You want to discharge onto a sloped, non-porous surface like the lawn or a driveway, well away from the house.
- Creating a "U" Shape: A flexible downspout with a dip in the middle will hold water, grow algae, and trap debris. It can also freeze and crack in winter. Keep that slope consistent.
- Not Securing the Pieces: Friction-fit connections will come apart. A single $0.10 screw on each side of the joint keeps it put when it gets hit with a blast of water or kicked by accident.
- Forgetting About Mowing: Don't just lay the extension where the mower's going to run over it every week. Think about a hinged extension you can flip up, or use landscaping to make a protected channel.
- Ignoring Clogs Higher Up: If water isn't even getting to your new extension, then the clog's up in the elbows or the downspout itself. You've got to clear that first before the extension can do its job.
Cost & Time Breakdown
This is a high-return, low-cost project. Most of the pro price is just the minimum service charge, which is why the DIY savings are so big.
| Task | DIY Cost | Pro Cost | Time |
|---|---|---|---|
| Assess & Measure | $0 | $75–$125 (Trip Fee) | 10 minutes |
| Install Flexible Extender | $10–$25 | $100–$200 | 20 minutes |
| Install Rigid Extender | $20–$40 | $150–$250 | 45 minutes |
| Install Buried Drain Line | $100–$300 | $500–$1,500+ | 1–2 days |
Tips & Prevention
- Walk the Perimeter: Every spring and fall, take a lap around your house and check the downspouts on purpose. Make sure they're attached, pointed away from the house, and not busted up.
- The 10-Foot Rule: For clay soil, 10 feet is the goal. Six feet is the bare minimum. Measure it. Don't eyeball it.
- Keep Gutters Clean: The best extension in the world won't help if the gutters above it are clogged. Clean them at least twice a year so water can keep moving.
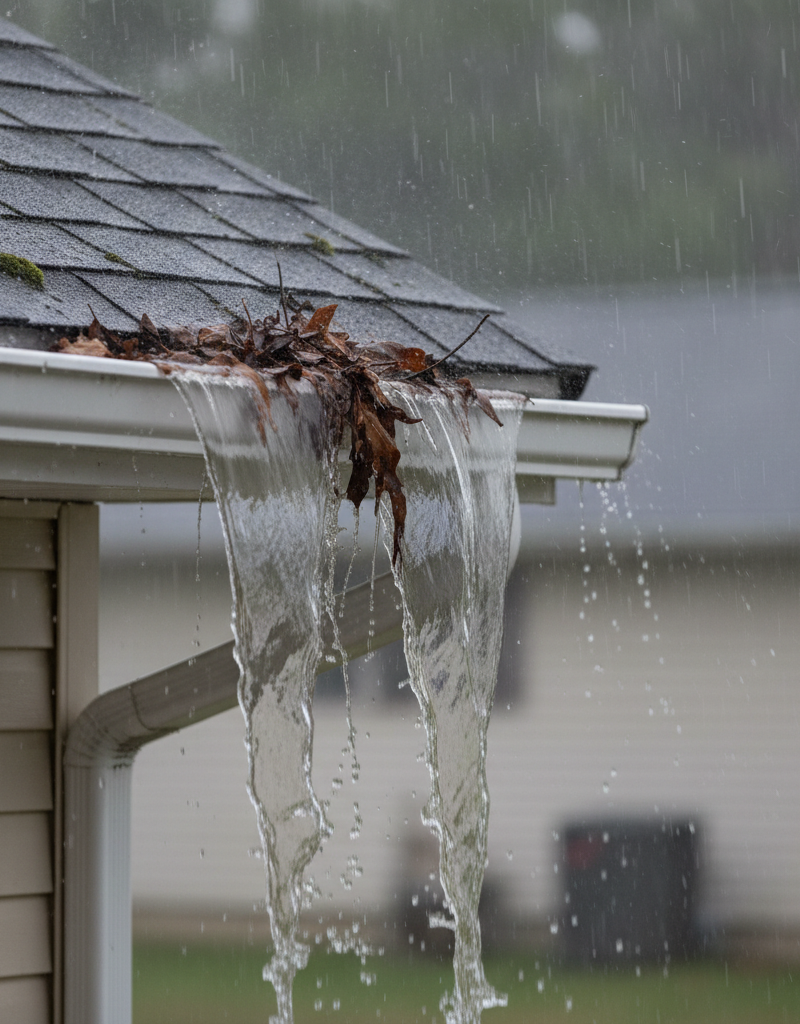
- Watch for Overflow: During a heavy rain, look for water spilling over the sides of your gutters. That's a clue there's a clog somewhere in the system and it needs attention now.
- Consider Hinges: Hinged downspout extenders are a smart upgrade. You can flip them up out of the way for mowing and landscaping, then drop them right back down.
When to Call a Professional
Extending a downspout is a classic DIY job, but there are times to bring in a pro. If you see signs that water's already damaged your foundation—like big stair-step cracks in the brick, water in your crawlspace, or doors that stick—call a foundation repair specialist right away. A gutter company is your best bet for more complex work, like tying multiple downspouts into a single underground drainage system or if your gutters are sagging and need to be re-pitched from scratch. Don't try to DIY major foundation work or a full drainage system; the stakes are just too high. I pulled a water heater in Frisco last month that had exactly this leak pattern around the slab, and by the time the homeowner noticed it, the repair bill had already gotten ugly.
Related Articles
Keep troubleshooting with these hand-picked guides from FixlyGuide:
- The Mystery of the Loose Siding Panel: Why It Flaps and How to Fix It Right — Loose siding panels aren't just an eyesore; they can lead to serious water damage if not addressed quickly. Learn why your siding is flappi…
- The One Mistake Homeowners Make When Shingles Blow Off (And How to Fix It Right) — After a storm, finding missing roof shingles can be alarming. Learn the critical mistake homeowners often make and how to properly assess a…
- The #1 Gutter Mistake That Causes Overflow (It's Not Clogs!) — Discover the often-overlooked culprit behind overflowing gutters during heavy rain and learn the surprising, easy fix most homeowners miss.
- Missing Shingles? The Real Trouble Is Under Your Roof — After a storm, missing shingles seem like a simple fix. But the high winds that tore them off likely broke the seals on surrounding shingle…
- Your Roof is Leaking. Now What? — A leaking roof after a storm is a homeowner's nightmare. Learn how to safely install a temporary roof tarp to prevent further water damage…
- Why Your Yard Stays Soggy (And When That Standing Water Means Big Trouble) — Persistent standing water in your yard can harm plants, damage your home’s foundation, and signal deeper drainage problems that require pro…
Should you do this yourself?
Answer five quick questions before you start. Safety outranks savings every time.
Your experience with work like this
How high do you have to work?
Does the job involve any of these?
Will it need a permit?
Specialty tools
Free and instant. Educational guidance only — not a quote, inspection, or professional diagnosis.
What should this project cost?
Enter your project details for a realistic cost range before you call anyone.
Spot repairs commonly run $400–$1,800; full replacement typically $9,000–$18,000 for an average home.
- Regional adjustment
- National average
- Labor share (typical)
- ~$2,948
- Quotes to collect
- 3 written estimates
Educational estimate based on national averages — not a binding quote. Always confirm with written local estimates.
Fixly Project Decision Box
- DIY difficulty
- Professional Recommended
- Estimated time
- Inspection 1–2 hours · repairs 1–3 days
- Cost level
- High
Main tools / materials
- Binoculars for a ground-level look
- Flashlight for attic checks
- Moisture meter
- Roofing cement (temporary patch only)
When to stop and call a pro
- Active leak near lights, fans, or any wiring
- Sagging, bulging, or water-filled ceiling
- Steep, wet, or two-story roof — do not climb it
- Storm or hail damage you plan to claim on insurance
Need professional help?
Free roof assessment first — no phone calls until you ask for them.
Get Local Roofing HelpDecide what your roof needs
Two minutes of questions turns "something is wrong up there" into a clear next step.
- Repair or replace your roof?Answer 10 questions about age, leaks, and damage to get a clear next step.Open
- Compare contractor quotesScore up to four bids on price, warranty, licensing, and timeline.Open
- Get local estimatesSend one request and compare written estimates from vetted pros.Open
Free, no signup required. Estimates are educational guidance, not a quote or an inspection.
Frequently asked questions
How far should a downspout drain from the house?+
The standard recommendation is a minimum of 4 to 6 feet away from the foundation. However, in areas with expansive clay soils like North Texas, extending them 8 to 10 feet provides a much safer buffer against soil saturation and foundation movement.
What is the cheapest way to extend a downspout?+
The cheapest and easiest method is a flexible corrugated plastic extender. These are inexpensive, widely available, and require no special tools to attach to your existing downspout.
Can I just use a splash block?+
A splash block alone is usually not enough. If it's small and sits on soil that has settled toward the house, it can actually make the problem worse. It's better to use an extender to carry the water several feet away *and then* place a splash block under the end to disperse the flow.
Is it better to bury downspout extenders?+
Burying your downspout drainage is the most effective and attractive long-term solution, as it completely hides the pipe and can carry water much farther away. However, it's also a lot more work, involving digging trenches and installing a pop-up emitter. For a simple, effective fix, above-ground extenders work great.
How do I connect two downspouts together?+
You can use a 'Y' connector or downspout diverter to join two downspouts into a single line. From there, you would typically run a larger pipe (e.g., a 4-inch PVC or corrugated pipe) to carry the combined flow away from the foundation.
What's the best way to run a downspout under a sidewalk?+
For sidewalks, you can sometimes use a technique called water-jetting to bore a tunnel underneath for a pipe. For a driveway, it's more complex and may involve cutting the concrete. In these cases, it's often best to consult a drainage professional.
Do downspout extenders get clogged?+
Yes, they can, especially the flexible corrugated type if it has low spots or isn't sloped properly. This is why keeping your main gutters clean is so important—it prevents leaves and debris from washing down and creating a clog in the extender.
Are automatic roll-out downspout extenders any good?+
They can be a good solution for maintaining a tidy look, as they automatically unroll with water flow and retract when dry. However, their moving parts can fail, they can be punctured, and they sometimes don't retract fully, making them a tripping hazard. Rigid or buried extenders are generally more reliable.
Discussion
Loading comments…