- Thermal Expansion/Contraction: Vinyl moves. Day after day, heat and cold work those fasteners loose, especially if the install wasn't dead on to begin with.
- Wind Damage: Strong gusts, especially those long, steady ones, can get under the bottom lip of a panel and pry it out of place. Corners and wind-facing walls get hit the hardest.
- Impact Damage: A baseball, a thrown rock, a ladder bump—anything like that can bend or knock a panel loose.
- House Settling: Not as common for just one panel, but bigger settling can stress the siding and make panels let go.
Roofing · Aging roof
| Project category | Roofing |
|---|---|
| Problem type | Aging roof |
| Trade required | Roofing |
| Urgency | Planned project |
| Safety risk | Low safety risk |
| DIY suitability | Pro recommended |
| Cost category | High cost |
| Typical timeline | Plan 4–12 weeks ahead for scheduling and material lead time |
| Contractor type | Licensed roofing contractor |
Repair option
Maintenance repairs to buy a season or two while you budget.
Replacement option
Planned replacement, which is almost always cheaper than a leak-driven emergency.
Common causes
- Normal weathering past the shingle service life
- Poor attic ventilation cooking the shingles from below
- Repeated repairs on the same slopes
Relevant tools:repair or replace roofproject cost estimatorhome improvement material prices
Published September 13, 2026Last updated September 13, 2026
Tools & materials you'll need
Affiliate links- AmazonSiding nails1.5-inch or 2-inch aluminum or galvanized
As an Amazon Associate FixlyGuide earns from qualifying purchases — at no extra cost to you. Prices and availability are accurate as of publication and subject to change.
Quick Answer
That loose siding panel isn't just a nuisance; it's an open door for water, bugs, and cold air to sneak behind your wall. Nine times out of ten, it's vinyl siding, and it's flapping because it wasn't fastened right, the house shifted a touch, or a hard wind yanked it loose. The good news? You can usually get it back in place yourself with a handful of the right tools and keep the house sealed up like it ought to be.
The Problem
Picture this: you're out by the hose, maybe washing pollen off the porch, and you spot it—a strip of vinyl siding hanging a little loose, maybe clacking in the breeze. Or worse, a whole panel has popped out of its lock. I see this stuff all the time. Folks think it's just an eyesore, but it isn't. That loose panel is a weak spot in your home's armor. Rain gets behind it, sits there, and starts eating away at sheathing, framing, and insulation. Wasps, mice, and every other little pest see it as a welcome mat. And in winter? That's a straight shot for cold air, which means your furnace works harder and your bills climb. Ignore it long enough and, well, that thing's toast.
How It Works
If you want to fix it right, you need to know how vinyl siding is supposed to behave. It doesn't get nailed down tight like wood clapboard. Vinyl's meant to float. Each panel has a nailing hem along the top edge, and that's where the nail goes. Under that, there's a J-hook or interlock that snaps into the top of the panel below it. That setup lets the siding expand and contract with temperature swings—and vinyl sure does move. On a hot summer day, a 12-foot vinyl panel can grow by a good half-inch or more. Nail it too tight, and it can't move, so it buckles or waves. Nail it too loose, or drive the nail through the face instead of the nailing hem, and it'll pop right out. Then a strong wind gets under the bottom lip, especially during a storm, and pries it loose. Once that happens, the panel starts flapping, and that's where the damage ramps up.
Step-by-Step Fix
Alright, let's put that panel back where it belongs. This ain't rocket science, but it does take a little patience and the right tools. Pick a calm, mild day if you can—vinyl gets brittle when it's cold and goofy-soft when it's blazing hot.
-
Safety First! — Put on safety glasses and gloves. If you're above arm's reach, use a sturdy ladder. Set it on level ground, and if somebody's around, have them spot you. No hero stuff.
-
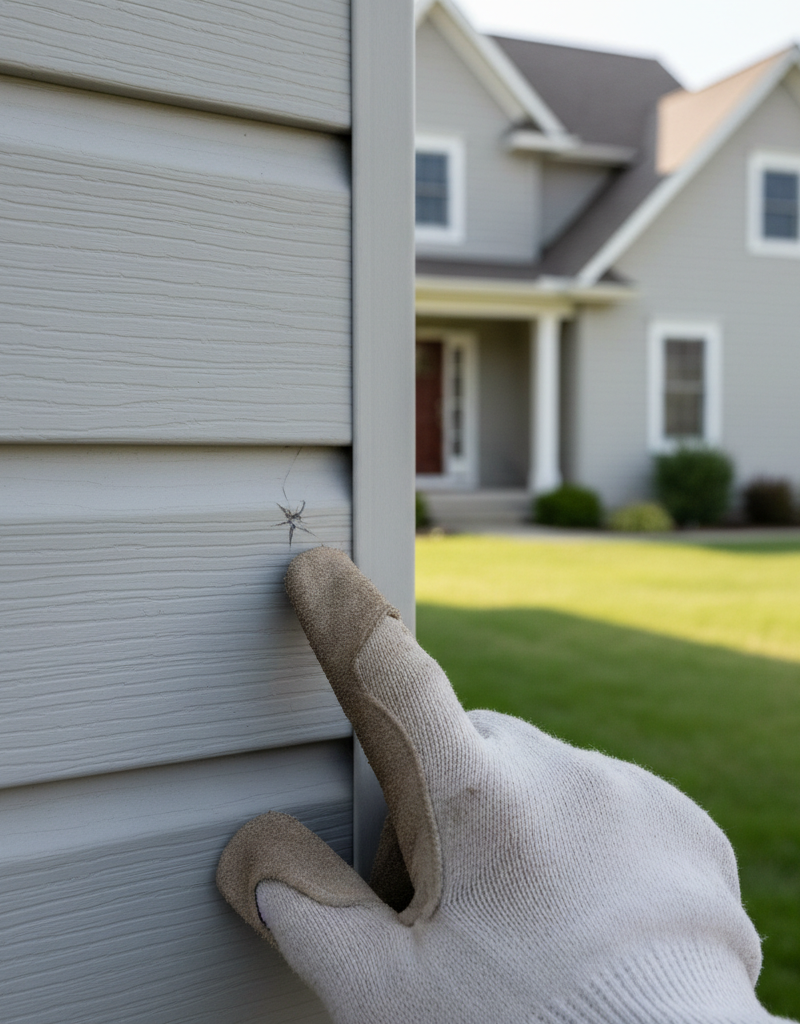
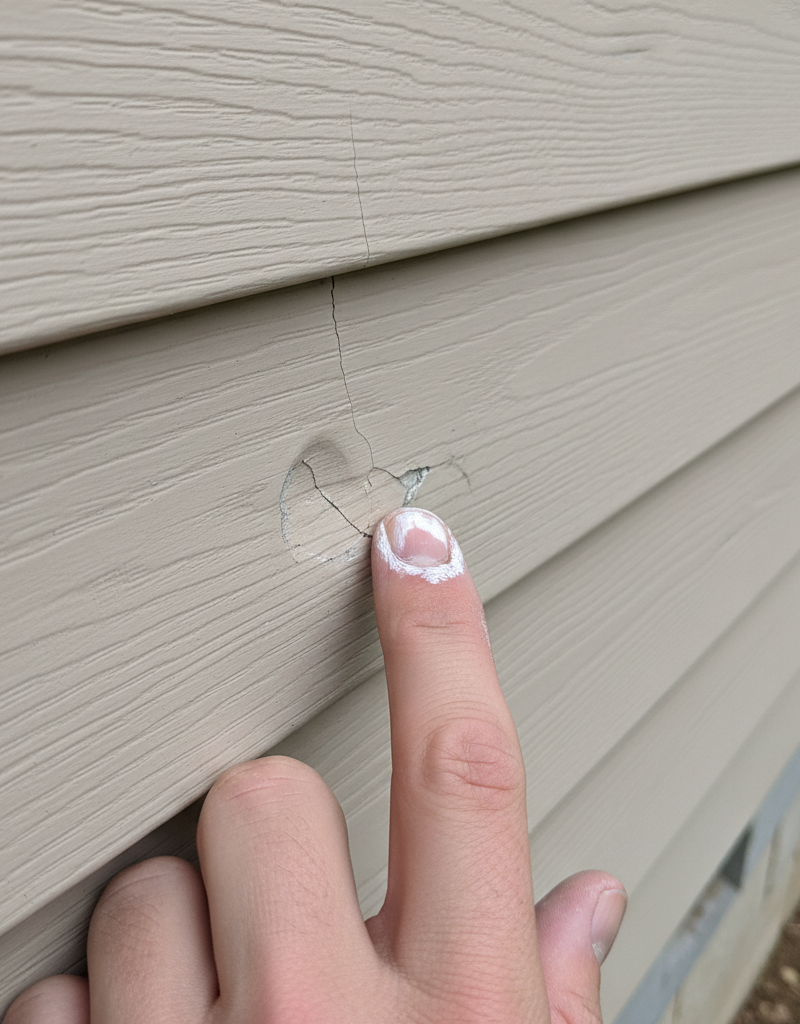
Assess the Damage — Take a good look at the loose panel and the ones around it. Is it just popped out of the interlock, or is it cracked, warped, or missing chunks? If it's badly damaged, you may be looking at a full panel swap, which is a bit more involved. For this fix, we're assuming the panel's mostly intact and just needs to be re-secured.
- Tools: Your eyes.
-
Locate the Nailing Hem — The panel directly above the loose one is the one you'll work on. Its bottom lip is locked into the top of your loose panel. You need to get under that upper panel so you can reach the nailing hem of the loose one.
-
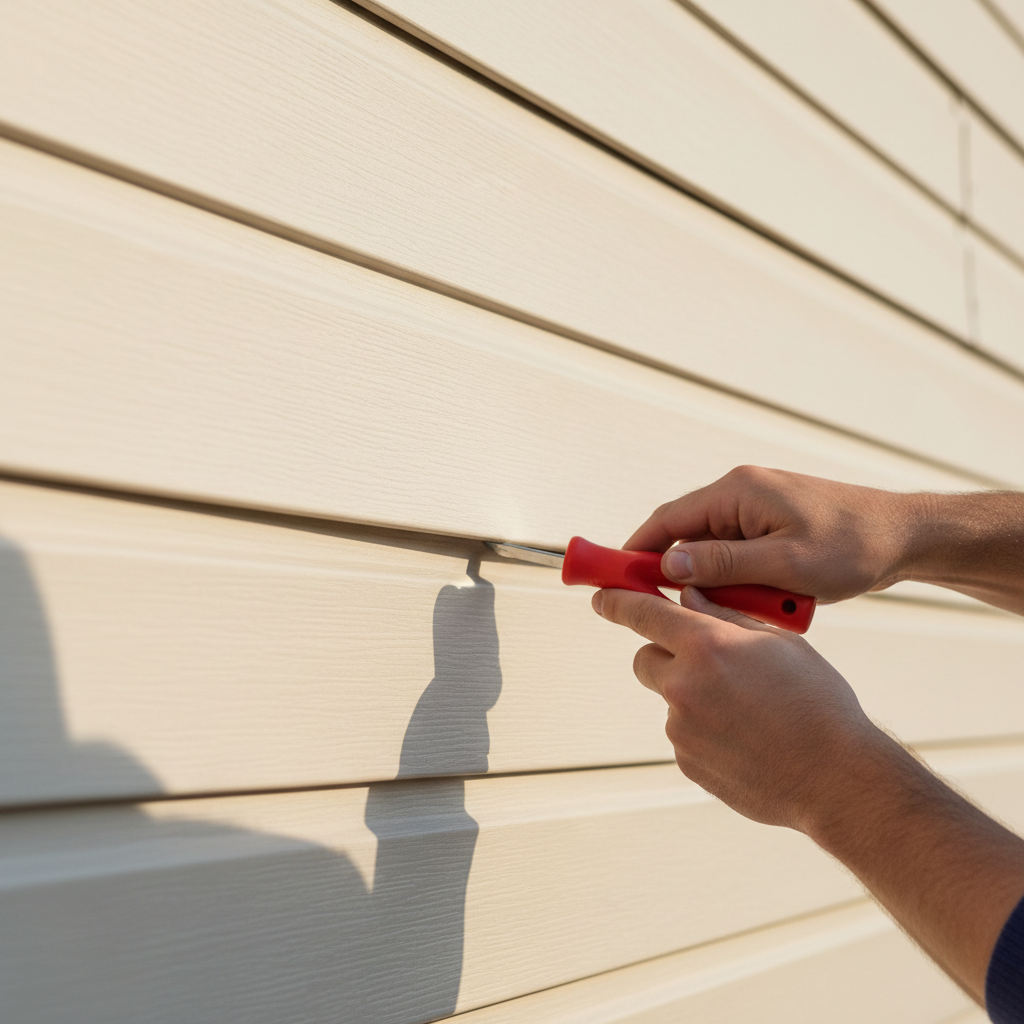
Unlock the Upper Panel — This is where your siding removal tool, or zip tool, earns its keep. It's a flat hooked tool. Slide the hook under the bottom edge of the panel directly above the loose one. Catch the lip and pull down gently but firmly. You're basically unzipping it. Work your way along the panel, every foot or so, until you can lift the upper panel enough to get at the nailing hem of your loose panel.
- Tools: Siding removal tool (zip tool).
- Pro Tip: Don't muscle it. If it's stubborn, change the angle a little or give it a touch more pressure. You don't want to crack the panel.
-
Examine the Loose Panel's Nailing Hem — With the upper panel lifted, you should see the nailing hem of your loose panel. Look for nails already there. Are they bent? Pulled through? Missing? That's where the fix happens.
-
Re-secure the Loose Panel — Now for the actual repair. If old nails have pulled through, take them out carefully. Line up the loose panel so the top edge, the nailing hem, is set right and the bottom lip is ready to lock into the panel below it. Using a hammer and siding nails (these have a wider head and a longer shank), drive new nails through the center of the pre-drilled slots in the nailing hem. Crucially, don't nail it tight! Leave about 1/32 to 1/16 of an inch between the nail head and the siding. That's what gives the vinyl room to move. I pulled a water heater in Frisco last month that had exactly this kind of sloppy siding repair nearby—nails punched tight, panels buckled, and water had been sneaking in for who knows how long. Nasty mess. You don't want to go down that road.
- Tools: Hammer, siding nails (1.5-inch or 2-inch aluminum or galvanized), measuring tape (for slot centering).
-
Interlock the Bottom Lip — Once the nailing hem is fastened, snap the bottom lip of your now-secured panel into the top edge of the panel below it. Push in and down gently until it clicks. It ought to sit snug, but still have a little side-to-side play.
-
Re-engage the Upper Panel — Remember that panel you unzipped in Step 4? Time to lock it back down. Start at one end and push the bottom lip of the upper panel over the top edge of your repaired panel. You should hear a string of clicks as it re-engages. If it's fighting you, use the siding removal tool again—hook the lip and guide it down and over. Don't force it like you're prying open a paint can.
-
Test and Inspect — Give the repaired area a gentle push and pull. It should feel secure, but not rigid. Look for ripples or buckles. If it all checks out, you just saved yourself a headache and maybe a water-damage bill.
Common Causes
- Improper Nailing: This is the big one. Nails driven too tight stop the siding from expanding and contracting, which leads to buckling or pop-outs. Same deal if the nail goes through the face instead of the nailing hem, or if it isn't centered in the slot.
- Thermal Expansion/Contraction: Vinyl moves. Day after day, heat and cold work those fasteners loose, especially if the install wasn't dead on to begin with.
- Wind Damage: Strong gusts, especially those long, steady ones, can get under the bottom lip of a panel and pry it out of place. Corners and wind-facing walls get hit the hardest.
- Impact Damage: A baseball, a thrown rock, a ladder bump—anything like that can bend or knock a panel loose.
- House Settling: Not as common for just one panel, but bigger settling can stress the siding and make panels let go.
Common Mistakes
- Nailing Too Tight: This is the mistake I see most. You need that 1/32 to 1/16 inch gap for movement. Skip it, and you're begging for waves and buckles.
- Using the Wrong Nails: Don't grab roofing nails or drywall screws. Use galvanized or aluminum siding nails with wide heads so they won't rust and won't pull through the slot.
- Nailing Through the Face: Never, ever drive a nail through the face of vinyl siding. It looks bad, it leaks, and it ruins the whole floating setup.
- Ignoring the Problem: A loose panel today can turn into a rotten wall tomorrow. Don't sit on it. It's a whole lot easier—and cheaper—to fix a loose panel than replace damaged sheathing.
- Working in Extreme Temperatures: Fixing vinyl when it's freezing makes it brittle and crack-prone. Doing it in scorching heat makes it too floppy and harder to handle, plus it'll shrink a lot when it cools off and may cause fresh trouble.
- Skipping the Zip Tool: Trying to pry siding apart with a screwdriver or pry bar is a fast way to crack it or damage the lock. Spend the few bucks on the proper siding removal tool.
Cost & Time Breakdown
| Task | DIY Cost | Pro Cost | Time (DIY) |
|---|---|---|---|
| Secure 1-2 loose panels | $5-$20 | $150-$350 | 20-40 minutes |
| Secure 3-5 loose panels | $10-$30 | $300-$600 | 45-90 minutes |
| Replace 1 damaged panel | $25-$75 | $250-$500 | 1-2 hours |
| Replace multiple damaged panels | $50-$200+ | $500-$1,500+ | 2-4 hours+ |
| Full siding inspection/minor fix | $0 (DIY) | $100-$250 | 30-60 minutes |
Tips & Prevention
- Regular Inspections: Walk the house twice a year—spring and fall. Look for loose panels, cracks, holes, or buckling. Catch it early and you'll save money.
- Proper Installation is Key: If you're putting on new siding, make sure your contractor understands how vinyl moves with temperature. Check for proper nail spacing and proper tightness.
- Clear Gutters: Clogged gutters spill water right down the siding, and that water can get behind loose panels and stir up trouble.
- Trim Landscaping: Keep shrubs and trees cut back from the siding. Branches rubbing on it can loosen panels over time or just wear them down.
- Don't Pressure Wash Too Hard: Pressure washing can clean siding, sure, but too much pressure or pointing the nozzle upward can force water behind the panels and weaken the fasteners.
- Use the Right Fasteners: Always use aluminum or galvanized nails made for siding. Stainless steel is even better if you're near saltwater.
When to Call a Professional
If you've got just one or two loose panels and they're easy to reach, go ahead and try the DIY fix. But there are plenty of times to call a siding pro. If you see several panels loose across a big section of the house, especially after a storm, that can point to bad installation or even structural movement—not just one panel coming loose. If the panels are high up and you'd be leaning a ladder around in a way that doesn't feel safe, don't push your luck; call a pro. Same goes if you open it up and find real water damage behind the siding, or if the panels are cracked, warped, or split in a bunch of spots. A good pro's got the tools and the experience to fix it without chewing up the neighboring panels. Don't let a small headache turn into a full-blown mess because you tried to tough it out.
Related Articles
Keep troubleshooting with these hand-picked guides from FixlyGuide:
- The #1 Mistake Homeowners Make When Sealing a Deck (And How to Fix It) — Discover the crucial, often-missed step in deck sealing that prevents premature wear and water damage, ensuring your wood deck lasts for ye…
- The Urgent Truth About Missing Roof Shingles (And Your 3-Step Fix) — High winds can rip shingles off your roof, exposing your home to immediate water damage – here’s how to assess, temporary patch, and plan p…
- Is That Hail Damage to Your Siding—Or Something Worse? (And How to Know For Sure) — Distinguishing hail damage from other siding issues is crucial for proper repair and insurance claims. Learn how to identify hail damage an…
- Missing Shingles? The Real Trouble Is Under Your Roof — After a storm, missing shingles seem like a simple fix. But the high winds that tore them off likely broke the seals on surrounding shingle…
- The $50 Storm Damage Secret Your Insurance Adjuster Won't Tell You — High winds snatched your shingles? Don't panic. I'll show you how to quickly and safely assess the damage and make a temporary repair to pr…
- Why Does My Trim Look Like a Snake Ate It? (The Hidden Culprit) — That wavy, crooked trim isn't just shoddy workmanship—it's often a sign of underlying issues. Learn what causes your trim to warp and how t…
Should you do this yourself?
Answer five quick questions before you start. Safety outranks savings every time.
Your experience with work like this
How high do you have to work?
Does the job involve any of these?
Will it need a permit?
Specialty tools
Free and instant. Educational guidance only — not a quote, inspection, or professional diagnosis.
What should this project cost?
Enter your project details for a realistic cost range before you call anyone.
Spot repairs commonly run $400–$1,800; full replacement typically $9,000–$18,000 for an average home.
- Regional adjustment
- National average
- Labor share (typical)
- ~$2,948
- Quotes to collect
- 3 written estimates
Educational estimate based on national averages — not a binding quote. Always confirm with written local estimates.
Fixly Project Decision Box
- DIY difficulty
- Professional Recommended
- Estimated time
- Diagnosis 1–2 hours
- Cost level
- Moderate
Main tools / materials
- Non-contact voltage tester
- Outlet tester
- Flashlight
When to stop and call a pro
- Burning smell, scorch marks, or a warm outlet or switch plate
- A breaker that trips again right after being reset
- Any work inside the service panel
- Aluminum wiring or cloth-insulated wiring
Need professional help?
Talk to a Licensed ElectricianDecide what your roof needs
Two minutes of questions turns "something is wrong up there" into a clear next step.
- Repair or replace your roof?Answer 10 questions about age, leaks, and damage to get a clear next step.Open
- Compare contractor quotesScore up to four bids on price, warranty, licensing, and timeline.Open
- Get local estimatesSend one request and compare written estimates from vetted pros.Open
Free, no signup required. Estimates are educational guidance, not a quote or an inspection.
Get the print-ready PDF of this guide
A clean, ad-free, printable version you can keep on your phone or pin to the workshop wall. Free with a FixlyGuide account.
- Print-optimized layout
- Tools, materials & every step included
- Saved to your account
Frequently asked questions
Why is my vinyl siding flapping in the wind?+
Most often, vinyl siding flaps because it wasn't nailed properly during installation (too tight or too loose), or strong winds have managed to pry its interlocking lip from the panel below. Thermal expansion and contraction can also contribute to fasteners working loose over time.
Can I fix a loose siding panel myself?+
Yes, for a few isolated loose panels within easy reach, it's a very common DIY fix. You'll need a siding removal tool (zip tool), a hammer, and appropriate siding nails. The key is understanding how the panels interlock and how to nail them correctly.
What tools do I need to fix loose siding?+
The essential tool is a siding removal tool, often called a zip tool, which helps disengage and re-engage panels. You'll also need a hammer and some galvanized or aluminum siding nails (1.5 to 2 inches long) for re-securing.
How do I prevent my siding from coming loose again?+
Proper installation is paramount, ensuring nails are centered in slots and not driven too tightly. Regular inspections, keeping gutters clear, and trimming landscaping away from the house can also help prevent future issues. Avoid high-pressure washing directly into seams.
What happens if I don't fix a loose siding panel?+
Ignoring a loose panel is risky. It creates an opening for rainwater to get behind your siding, potentially leading to rot in your wall sheathing and framing. It also provides entry points for insects, increases drafts, and can worsen energy efficiency.
Should I use caulk or adhesive to fix loose siding?+
Generally, no. Vinyl siding is designed to float and expand/contract. Using caulk or adhesive restricts this movement, which can lead to buckling, cracking, or further damage as the material tries to move. Always use nails in the nailing hem, allowing for thermal movement.
How tight should I nail vinyl siding?+
This is crucial: don't nail it tight! Leave a gap of approximately 1/32 to 1/16 of an inch between the nail head and the siding panel. This small space allows the vinyl to expand and contract freely with temperature changes without buckling.
Can impact damage cause siding to become loose?+
Yes, direct impact from things like a thrown object, a falling branch, or even leaning a ladder improperly can bend, crack, or dislodge a vinyl siding panel from its interlock or pull it away from its fasteners.
What if my entire wall of siding is loose?+
If a large section or an entire wall of siding is loose, it's usually a sign of significant installation flaws, severe weather damage, or structural issues. In such cases, it's best to consult a professional siding contractor for a thorough assessment and repair.
Is it safe to work on siding from a ladder?+
Always prioritize safety. Ensure your ladder is on stable, level ground and properly secured. For heights above a single-story or if you feel uncomfortable, it's always safer to hire a professional who has the right equipment and experience to work at heights.
Discussion
Loading comments…