- Gather Your Gear — You won't need a mountain of tools, but having the right stuff saves a lot of cussing.
- Tools: Siding removal tool, hammer, utility knife, chalk line.
- Safety: Safety glasses, work gloves.
Roofing · Aging roof
| Project category | Roofing |
|---|---|
| Problem type | Aging roof |
| Trade required | Roofing |
| Urgency | Planned project |
| Safety risk | Low safety risk |
| DIY suitability | Pro recommended |
| Cost category | High cost |
| Typical timeline | Plan 4–12 weeks ahead for scheduling and material lead time |
| Contractor type | Licensed roofing contractor |
Repair option
Maintenance repairs to buy a season or two while you budget.
Replacement option
Planned replacement, which is almost always cheaper than a leak-driven emergency.
Common causes
- Normal weathering past the shingle service life
- Poor attic ventilation cooking the shingles from below
- Repeated repairs on the same slopes
Relevant tools:repair or replace roofproject cost estimatorhome improvement material prices
Published September 14, 2026Last updated September 14, 2026
Tools & materials you'll need
Affiliate linksAs an Amazon Associate FixlyGuide earns from qualifying purchases — at no extra cost to you. Prices and availability are accurate as of publication and subject to change.
Quick Answer
Listen, if your vinyl siding looks more like a funhouse mirror than a straight wall, you've got a problem with buckling or warping. Most times, it's not a defect in the siding itself, but a bad install that doesn't let the material breathe. Vinyl expands and contracts a fair bit with temperature swings, and if it's nailed down too tight, it's gotta go somewhere — usually outwards, making those ugly waves. The fix often means freeing up those panels so they can move like they're supposed to.
The Problem
You're standing there looking at your house, maybe after a hot summer day, and you spot it: your vinyl siding isn't flat. It's got ripples, waves, or downright bows in spots. It looks cheap, it looks rough, and it sure doesn't help curb appeal. Worse than that, this isn't just a cosmetic deal. Buckled siding can pull away from the wall, opening gaps that let moisture, bugs, and even little critters tuck in behind your home's protective skin. I've seen a small wave turn into rotten sheathing or a straight-up ant party because somebody ignored it too long. That's your siding telling you something's off, and nine times out of ten, it's because the material can't do its natural dance with the sun.
How It Works
Vinyl siding, like most materials, changes size with temperature. We call that thermal expansion and contraction. For every 18 feet of vinyl siding, you're looking at about half an inch of movement between a cold winter day at, say, 0°F and a scorching summer afternoon hitting 90°F. That's a whole lot of shift. A standard panel is 12 feet long, so it's constantly growing and shrinking by a quarter-inch or so.
Good siding work plans for that. Each panel has nail slots that are intentionally oblong, not round. The nail goes through the center of that slot, but it doesn't get hammered tight to the sheathing. No sir. You need a tiny gap — about the thickness of a dime — between the nail head and the siding panel. That lets the panel slide back and forth the way it should. Small detail, huge deal.
When installers skip that — and believe me, they do — or they use staples that clamp the siding too tightly, the panel gets locked in place. Then the sun beats down, that trapped vinyl heats up, tries to expand, and has nowhere to go. So it buckles, warps, or sags. The heat itself isn't the villain; it's the restraint that does the damage. I've pulled a water heater in Frisco last month that had exactly this kind of over-tight fastener issue on the wall behind it — same story, different material. It's a tug-of-war between movement and rigid fasteners, and the siding's the one that ends up looking beat up.
Step-by-Step Fix
Got wavy siding? Don't panic. A lot of the time, it's something you can fix yourself if you're careful. Here's how I go about it:
-
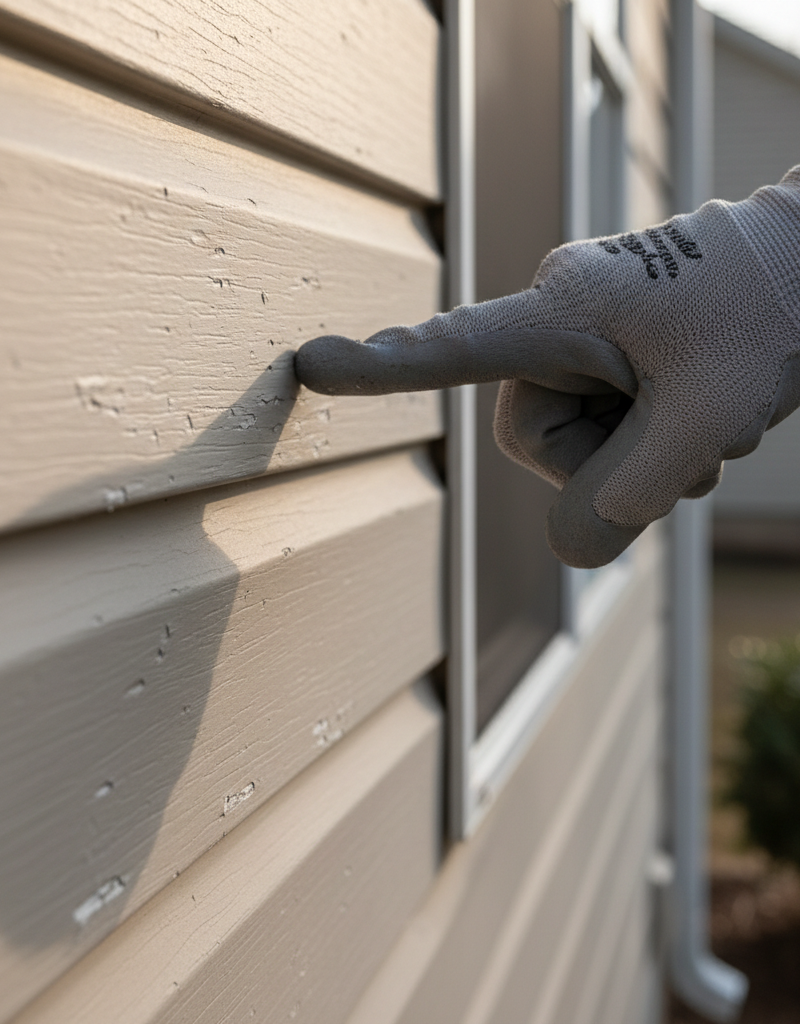
Assess the Damage — Take a hard look at the buckled area. Is it one panel or a bunch of them? Does it get worse at certain times of day, usually when the sun's hammering it? That'll help you find the real trouble spot. Sometimes you'll see a nail head driven too far through the panel, or a whole row acting up, which usually means the install was off across the board.
-
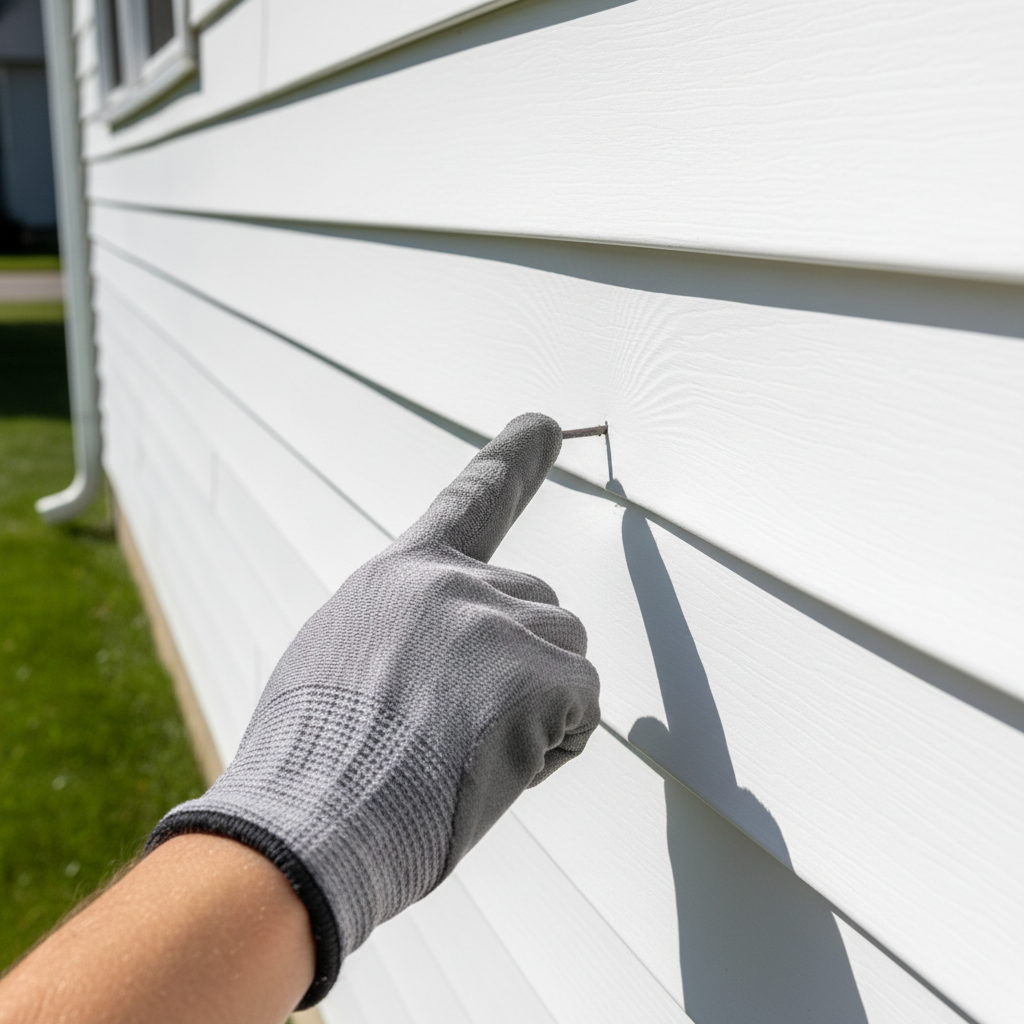
Gather Your Gear — You won't need a mountain of tools, but having the right stuff saves a lot of cussing.
- Tools: Siding removal tool, hammer, utility knife, chalk line.
- Safety: Safety glasses, work gloves.
-
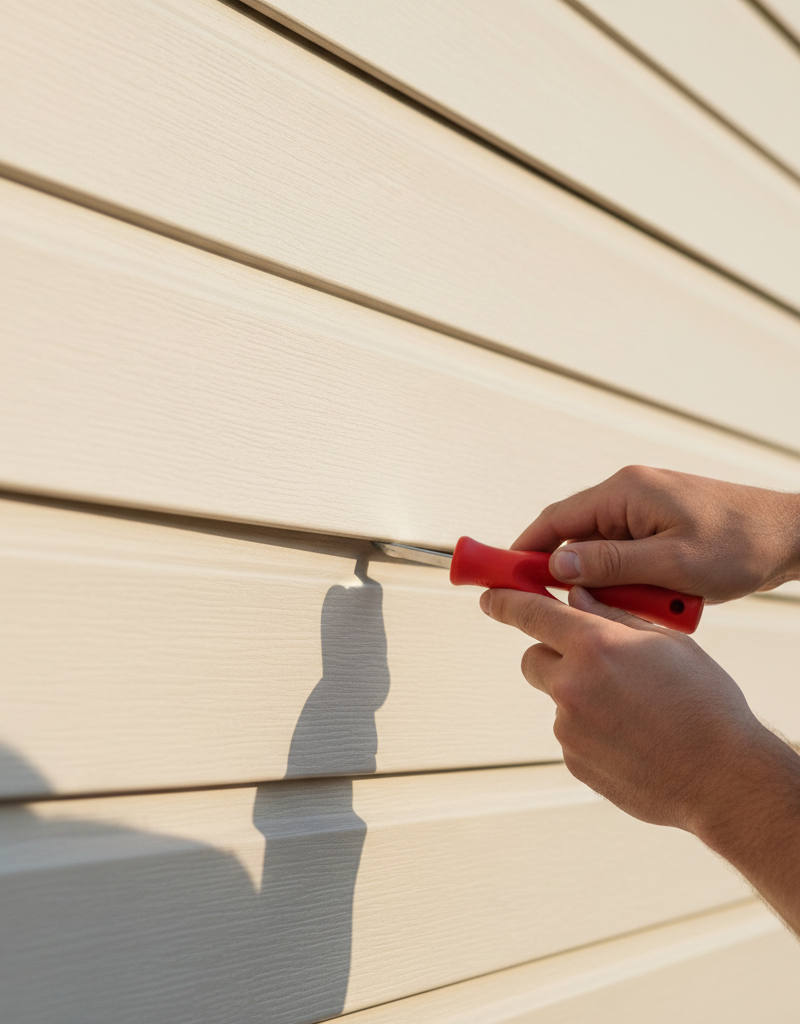
Locate the Problem Nails — Start from one end of the buckled panel and gently lift the bottom edge. Use your siding removal tool to unlatch the panel above it, which exposes the nailing hem on the buckled piece. You're hunting for nails driven too tight or nails sitting too far off to one side of the oblong slot. If you can't reach the nails, you may have to pop off the panel above first.
-
Loosen the Tight Nails — If you find tight nails, don't yank them all the way unless you're replacing the panel. Grab your hammer and ease them back just a hair — enough so the siding can slide. You want that dime's worth of space. If a nail went through the face of the siding instead of the slot, pull it and re-nail through the slot.
- Pro Tip: If the nails are really stubborn, you might need a pry bar or even to snip the nail head off with a small pair of nippers. Just don't chew up the siding while you're in there.
-
Check for Obstructions — Sometimes the nails aren't the only problem. I've seen insulation packed too tight behind panels, or old proud nail heads left over from a previous job. Clear out any debris or anything else stopping the siding from laying flat against the sheathing. Make sure the weep holes at the bottom aren't clogged up, either.
-
Re-nail if Necessary — If you had to pull a nail, re-nail through the center of the oblong slot, leaving that crucial 1/32-inch gap (the thickness of a dime) under the nail head. That's not a suggestion. It's critical for thermal movement. Use a galvanized roofing nail, about 1-1/2 inches long. Never nail into the siding itself, only the nailing hem.
-
Address Overlaps — Sometimes the buckling shows up at panel overlaps. Manufacturers call for a 1/4-inch overlap so the siding can move. If an overlap is too tight, or if the panels were cut too long and jam against a corner post or trim, they'll buckle. You may need to pull the panel, trim a little off the end with a utility knife, and reinstall it with about a 3/8-inch gap at each end where it meets trim or corner posts. That gives the siding room to breathe.
-
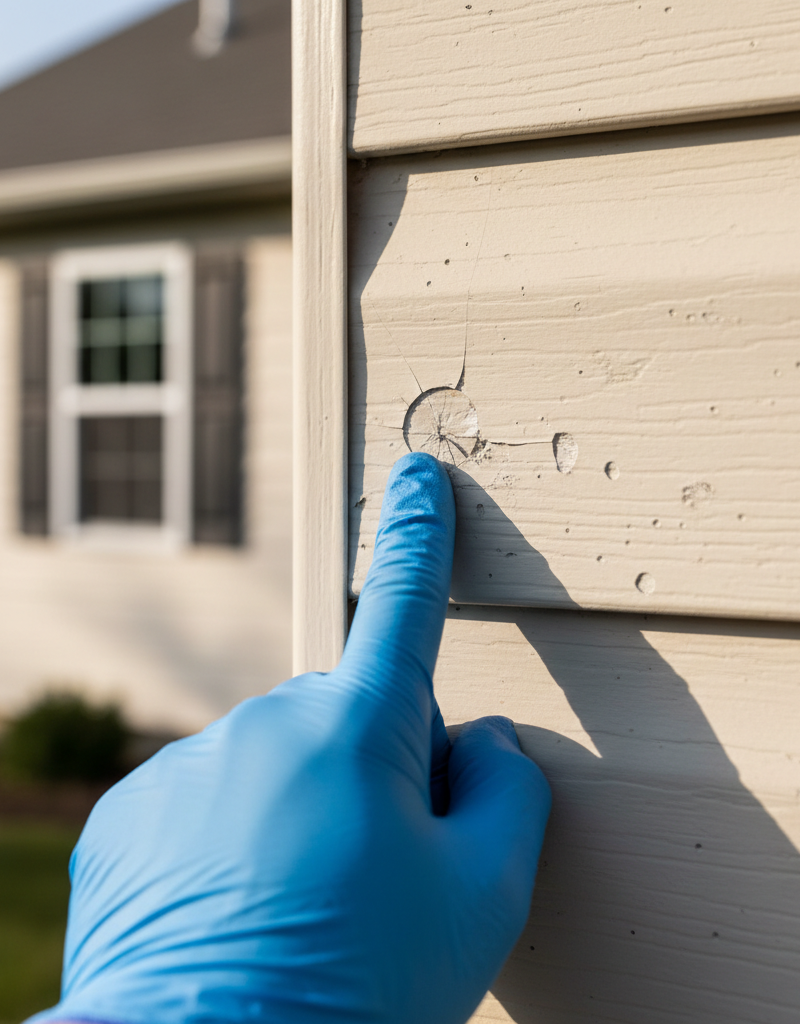
Replace Damaged Panels — If a panel is badly warped, cracked, or riddled with holes from bad nail placement, you're better off swapping it out.
- Steps for Replacement:
- Unzip the panel above the damaged one using your siding removal tool.
- Carefully pull out all the nails from the damaged panel's nailing hem.
- Slide the damaged panel out from under the adjacent panels and toss it.
- Measure and cut a new panel to the exact same length, making sure to cut it from the correct side (butt end vs. overlap end) to match the existing pattern.
- Slide the new panel into place, making sure it hooks into the panel below it and overlaps properly with its neighbors.
- Nail the new panel's nailing hem, following the loose nailing rule (center of slot, dime-thickness gap under nail head).
- Zip the panel above back into place.
- Steps for Replacement:
-
Re-engage Panels — Once you've loosened or replaced panels, make sure everything is locked back together the right way. Use your siding removal tool to re-engage the locking tabs if anything popped loose. A gentle tap with your fist or a rubber mallet usually does the trick — snug, not tight.
Common Causes
- Over-Nailing / Tight Nailing: This is the big one, hands down. Installers drive nails too tight and kill the siding's ability to move. Or worse, they nail through the face of the siding instead of the nailing hem, or they use staples that clamp it down too hard. I was on a job in Brighton last summer where a homeowner had hired a guy who did exactly that, and the whole south wall looked like a washboard by August. That thing was toast.
Related Articles
Keep troubleshooting with these hand-picked guides from FixlyGuide:
- The 3 Hidden Reasons Your Deck Boards Warp (and the Easy Fixes) — Deck board warping can ruin your outdoor space, but understanding the root causes and applying simple fixes can restore your deck's beauty.
- The $5 Gutter Gaffe That Floods Your Foundation (and How to Fix It) — Don't let overflowing gutters turn your heavy rain into heavy damage; discover the most common culprits and quick fixes homeowners can do t…
- The Mystery of the Loose Siding Panel: Why It Flaps and How to Fix It Right — Loose siding panels aren't just an eyesore; they can lead to serious water damage if not addressed quickly. Learn why your siding is flappi…
- The Invisible Hail Damage Mistake Most Homeowners Make (And How to Spot It) — Discover how to accurately assess hail damage on your home's siding, understand its hidden impacts, and perform essential repairs to protec…
- The #1 Mistake That Makes Deck Boards Warp (And the Easy Fix) — Discover the most common reason deck boards warp and how a simple, proactive fix can restore your deck's appearance and longevity.
- The Silent Fire Hazard Lurking In Your Laundry Room — Don't let a clogged dryer vent become a silent fire starter. Learn why this common oversight is so dangerous, the clear warning signs to lo…
Should you do this yourself?
Answer five quick questions before you start. Safety outranks savings every time.
Your experience with work like this
How high do you have to work?
Does the job involve any of these?
Will it need a permit?
Specialty tools
Free and instant. Educational guidance only — not a quote, inspection, or professional diagnosis.
What should this project cost?
Enter your project details for a realistic cost range before you call anyone.
Spot repairs commonly run $400–$1,800; full replacement typically $9,000–$18,000 for an average home.
- Regional adjustment
- National average
- Labor share (typical)
- ~$2,948
- Quotes to collect
- 3 written estimates
Educational estimate based on national averages — not a binding quote. Always confirm with written local estimates.
Decide what your roof needs
Two minutes of questions turns "something is wrong up there" into a clear next step.
- Repair or replace your roof?Answer 10 questions about age, leaks, and damage to get a clear next step.Open
- Compare contractor quotesScore up to four bids on price, warranty, licensing, and timeline.Open
- Get local estimatesSend one request and compare written estimates from vetted pros.Open
Free, no signup required. Estimates are educational guidance, not a quote or an inspection.
Get the print-ready PDF of this guide
A clean, ad-free, printable version you can keep on your phone or pin to the workshop wall. Free with a FixlyGuide account.
- Print-optimized layout
- Tools, materials & every step included
- Saved to your account
Frequently asked questions
How do you unbuckle vinyl siding?+
You unbuckle vinyl siding by carefully identifying and loosening the nails holding it too tightly. Use a siding removal tool to unlatch the panel above, expose the nailing hem, and back out the nails a fraction of an inch to allow for thermal movement.
What causes vinyl siding to warp?+
Vinyl siding warps primarily due to improper installation where panels are nailed too tightly, restricting their natural thermal expansion and contraction. Extreme heat can exacerbate the problem when the panels can't move freely, causing them to distort and buckle.
Can warped vinyl siding be repaired?+
Yes, often warped vinyl siding can be repaired. If the warping is due to tight nails, loosening them can allow the siding to flatten out. Severely damaged or heat-distorted panels may need to be cut out and replaced with new sections.
How much space should be left for vinyl siding expansion?+
You should leave approximately 1/32 of an inch (the thickness of a dime) between the nail head and the siding's nailing hem. Additionally, leave about 3/8 of an inch of gap at the ends of panels where they meet corner posts or trim to allow for horizontal expansion.
Does direct sun cause vinyl siding to warp?+
Direct sun doesn't directly cause warping, but the heat it generates can worsen buckling if the siding is installed incorrectly. If panels are nailed too tightly, the sun's heat causes them to expand and buckle because they have no room to move.
When should I replace buckled vinyl siding instead of fixing it?+
You should replace buckled vinyl siding if the panels are severely distorted, cracked, or brittle from prolonged stress or heat damage. If loosening nails doesn't resolve the issue, or if the panel's integrity is compromised, replacement is the more durable solution.
Can I prevent vinyl siding from buckling?+
Yes, you can prevent buckling by ensuring proper installation techniques are followed, specifically 'loose nailing' where nails are centered in the slots and not driven too tightly. Also, make sure panels are cut with adequate expansion gaps at the ends.
What tools do I need to fix buckled siding?+
To fix buckled siding, you'll need a siding removal tool (zip tool), a hammer for loosening/re-nailing, a utility knife for trimming if needed, and safety glasses. A chalk line can also be useful for ensuring straightness during re-installation.
Discussion
Loading comments…