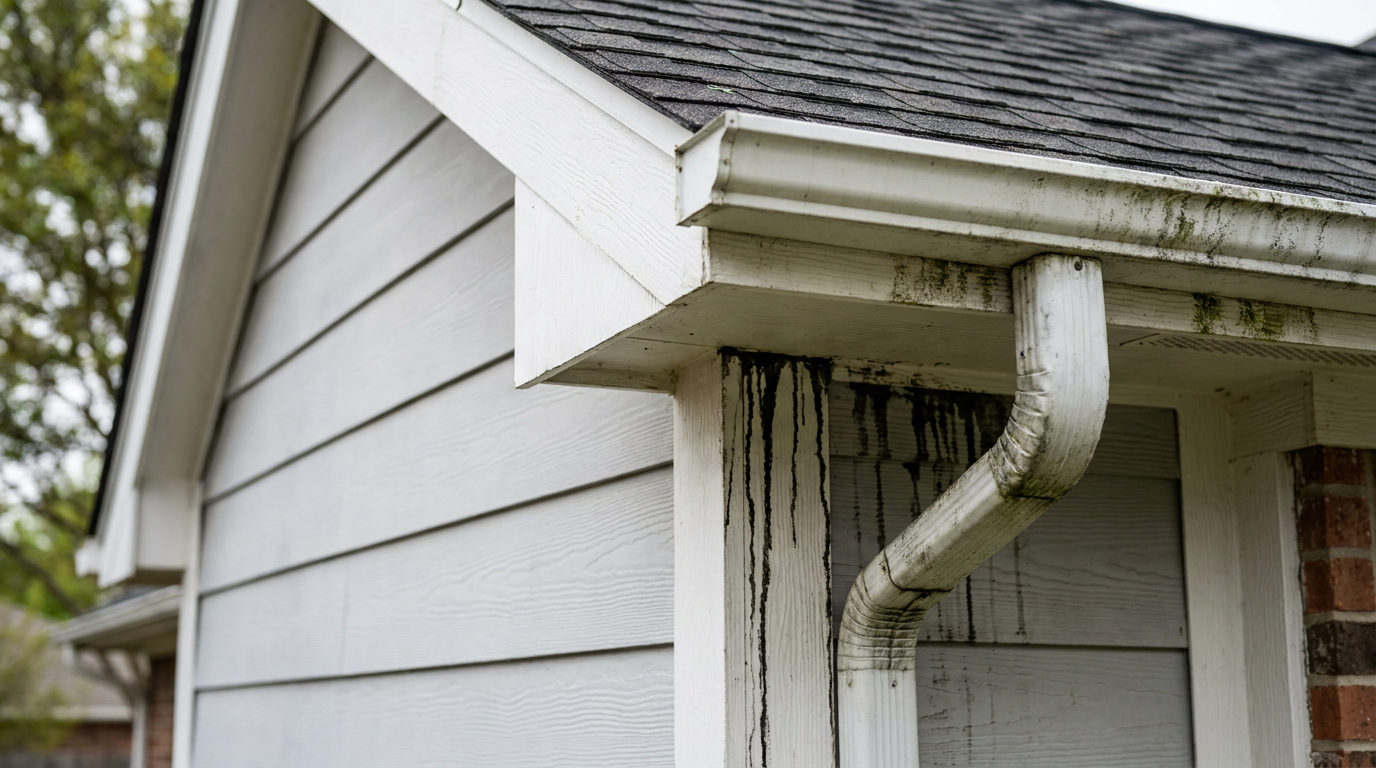
- Clogged Gutters: This is the 1 cause, no question. When gutters are full, rainwater has nowhere to go but over the edge, dragging roof dirt and algae right down the siding.
- Algae Runoff (Gloeocapsa magma): Asphalt shingles contain limestone, which algae likes to feed on. The black streaks on your roof are colonies of that algae, and rain carries it down onto your walls.
- Missing or Damaged Drip Edge: A proper drip edge matters. It’s metal flashing that guides water from the shingles straight into the gutter. Without it, water can curl back under the shingle and run down the fascia board and siding.
- Heavy Debris on the Roof: Leaves, pine needles, and dirt build up on the roof, especially in valleys or low-slope spots. The first hard rain turns it into a muddy slurry that spills over the side.
- Leaking Roof Flashing: Bad flashing around chimneys, dormers, or where a roof meets a wall can send water down the siding in narrow streams, which leaves very clear stains.
Roofing · Active leak
| Project category | Roofing |
|---|---|
| Problem type | Active leak |
| Trade required | Roofing |
| Urgency | Emergency — act now |
| Safety risk | High safety risk |
| DIY suitability | Pro recommended |
| Cost category | Moderate cost |
| Typical timeline | Emergency tarp same day; permanent repair usually within days |
| Contractor type | Licensed roofing contractor |
Repair option
Targeted flashing or shingle repair once the entry point is traced — water often travels before it drips.
Replacement option
Full replacement when the deck is saturated, the roof is near end of life, or leaks keep reappearing in new spots.
Common causes
- Failed flashing at a chimney, vent, or valley
- Cracked or lifted shingles over the leak path
- Ice damming or clogged gutters backing water under the edge
- Nail pops that opened a hole in the deck
Relevant tools:repair or replace roofemergency checklist
Published October 1, 2026Last updated October 1, 2026
Tools & materials you'll need
Affiliate links- AmazonOxygen Bleach Cleanere.g. OxiClean, or a dedicated siding cleaner.
As an Amazon Associate FixlyGuide earns from qualifying purchases — at no extra cost to you. Prices and availability are accurate as of publication and subject to change.
The Problem
You see it every time you pull into the driveway. Dark, ugly black or brownish streaks running straight down your siding, starting right at the edge of the roof or fascia board. It looks like the house is bleeding, plain and simple, and it makes the whole exterior look tired and neglected. You’ll notice it more on light siding too — white, beige, light gray, that sort of thing.
These stains aren’t random. They show up in the same spots over and over: under roof valleys, near corners, or right below places where shingles overhang the gutter line. Sometimes it’s just a faint shadow. Other times it’s a thick, nasty streak that looks like it’s welded on. You can hose it off all day and it barely moves. So what’s really going on? And is it just ugly, or is your roof or gutters trying to tell you something bigger and more expensive is brewing?
How It Works
To make sense of the stain, you’ve got to think about the roof like a system, not just a lid on the house. It’s a big sloped surface built to grab water and send it on its way. Along the way, it picks up dust, pollen, pollution, and airborne algae spores. In North Texas, that means a pile of dust and some pretty stubborn algae.
The main troublemaker behind those black streaks is a type of algae called Gloeocapsa magma. That stuff eats the limestone filler in most asphalt shingles. As it feeds, it builds a dark hardened shell to shield itself from UV rays — that’s the black staining you see up there, and folks usually call it “roof fungus,” even though it’s technically a cyanobacteria. When it rains, that water washes algae spores and all the grime off the shingles, over the roof edge, and down onto the siding below. The siding just catches it like a billboard. And since water follows the same paths every time — roof valleys, low spots, edges — the streaks get concentrated there.
Your gutters are supposed to stop that mess. They’re there to catch the water and move it away from the house. But if they’re packed with leaves, shingle grit, or other junk, the water sheets right over the top and dumps all that grime onto the siding. Same deal if your roof doesn’t have a proper drip edge — that’s the metal flashing that kicks water into the gutter instead of letting it run behind it. Without that piece, water hugs the fascia and siding, and you get the perfect setup for streaks.
Step-by-Step Fix
Ready to get rid of those stains for good? You’re looking at a two-part job: clean the siding, then fix what’s causing the runoff in the first place. Honestly, it’s a solid Saturday-morning project if you stay organized.
-
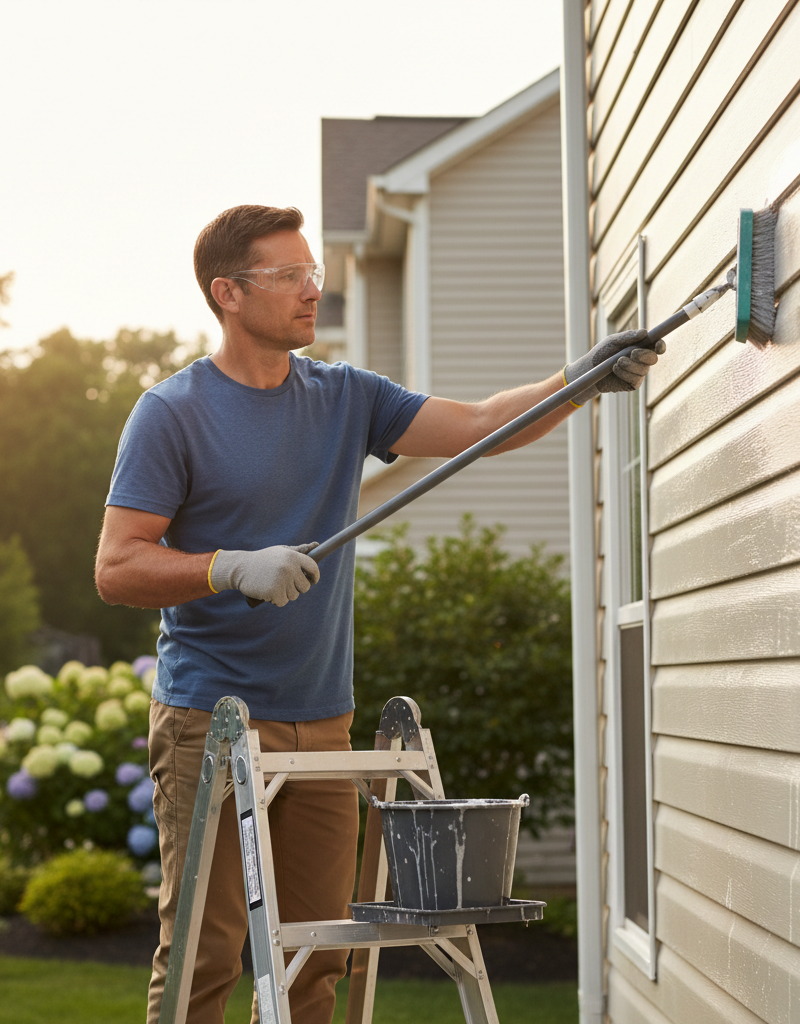
Safety First — You’ll be on ladders and around chemicals, so don’t get casual. Set the ladder on firm, level ground. Wear safety glasses so you’re not blinking through a splash, and throw on gloves and long sleeves to protect your skin. If you’re getting up high, have somebody foot the ladder. No hero stuff.
-
Do a Test Spot — Before you start spraying everything in sight, test a hidden area first. Mix the cleaner per the label and put it on a 2x2 foot section. Let it sit for the recommended time, then rinse it off. That’ll tell you fast if the product is going to discolor or mess up your siding.
-
Choose Your Cleaner — You’ve got a few decent options. Commercial siding cleaners work fine. You can also mix your own: one part oxygen bleach (like OxiClean) to two parts water is a good safe starting point. For the really stubborn stuff, a solution of 1 quart of household bleach, 1/3 cup of trisodium phosphate (TSP), and 1 gallon of water can work, but bleach can hurt nearby plants (cover them with plastic) and TSP is strong stuff, so respect it.
-
Apply the Cleaner — Work in manageable 10x10 foot sections, and start at the bottom, working your way up. That way the cleaner doesn’t streak down over the dirty areas and leave weird lines. A pump sprayer gives you the most even coverage. Let it sit for 5-10 minutes, but don’t let it dry. That’s where people get themselves in trouble.
-
Scrub the Stains — If the streaks are baked on, you’ll need a little elbow grease. Use a soft-bristle siding brush on an extension pole. That lets you work from the ground or a safe ladder spot. You’re trying to loosen the stain, not sandblast the wall — too much pressure can scar vinyl or mark up fiber cement. I pulled a water heater in Frisco last month that had exactly this kind of runoff line on the back wall, and the homeowner had scrubbed one spot so hard it left a shiny patch. Don’t do that.
-
Rinse Thoroughly — Now rinse from the top down. Gravity does the work for you and carries the cleaner and loosened dirt away. A garden hose with a standard nozzle is usually plenty. You can use a pressure washer on low — under 1,500 PSI — with a wide 40-degree tip, but be careful. Hold it too close or point it wrong, and you’ll force water behind the siding panels. That’s how you buy yourself mold and rot. Never spray upward.
-
Inspect the Gutters — Once the siding is clean and starting to dry, get the ladder back out and look inside the gutters above the stained areas. I’d put money on finding shingle grit, leaves, or some other packed-in mess. Scoop it out with a trowel or gutter scoop. Then check the downspouts too; flush them with a hose and make sure they’re running free.
-
Check the Drip Edge and Flashing — Look along the roof edge. You should see a metal L-shaped flashing called a drip edge tucked under the first row of shingles and hanging over the fascia. That’s what sends water into the gutter. If it’s missing, damaged, or installed wrong, water can run behind the gutter and down your wall. Also check any flashing where a roof plane meets a vertical wall. Gaps or rust there can create focused leaks that stain the siding in ugly little lines.
-
Consider Roof Cleaning or Zinc Strips — If your roof is covered in black streaks, the problem’s just going to come back. You might want a professional soft-wash — never pressure wash the shingles. For a longer fix, zinc or copper strips installed just below the ridge can help. Rain washes metallic particles down the roof and slows future algae growth for years. It’s a pretty effective prevention move.
Common Causes
Those black streaks are a symptom. Here’s what’s usually causing them:
- Clogged Gutters: This is the #1 cause, no question. When gutters are full, rainwater has nowhere to go but over the edge, dragging roof dirt and algae right down the siding.
- Algae Runoff (Gloeocapsa magma): Asphalt shingles contain limestone, which algae likes to feed on. The black streaks on your roof are colonies of that algae, and rain carries it down onto your walls.
- Missing or Damaged Drip Edge: A proper drip edge matters. It’s metal flashing that guides water from the shingles straight into the gutter. Without it, water can curl back under the shingle and run down the fascia board and siding.
- Heavy Debris on the Roof: Leaves, pine needles, and dirt build up on the roof, especially in valleys or low-slope spots. The first hard rain turns it into a muddy slurry that spills over the side.
- Leaking Roof Flashing: Bad flashing around chimneys, dormers, or where a roof meets a wall can send water down the siding in narrow streams, which leaves very clear stains.
- Sprinkler Overspray: Sometimes the roof isn’t the issue at all. If a sprinkler head is aimed wrong, it can keep hitting the side of the house. Add our hard North Texas water and a little dirt, and you’ll get stubborn brown or white stains before long.
Common Mistakes
I’ve seen plenty of homeowners try to handle this and make it worse. Don’t fall into these traps:
- Pressure Washing Incorrectly: Cranking a pressure washer up high is a bad move. It can drive water up and behind the lap joints of vinyl or fiber cement siding. Once moisture gets trapped back there, you’re asking for mold, mildew, and rot. Stick with low pressure — below 1,500 PSI — and a wide fan tip, and never spray upward.
- Using the Wrong Cleaners: Harsh solvents, acid-based cleaners, or abrasive powders can permanently etch, discolor, or wreck the finish on your siding. Test on a hidden spot first. Every time.
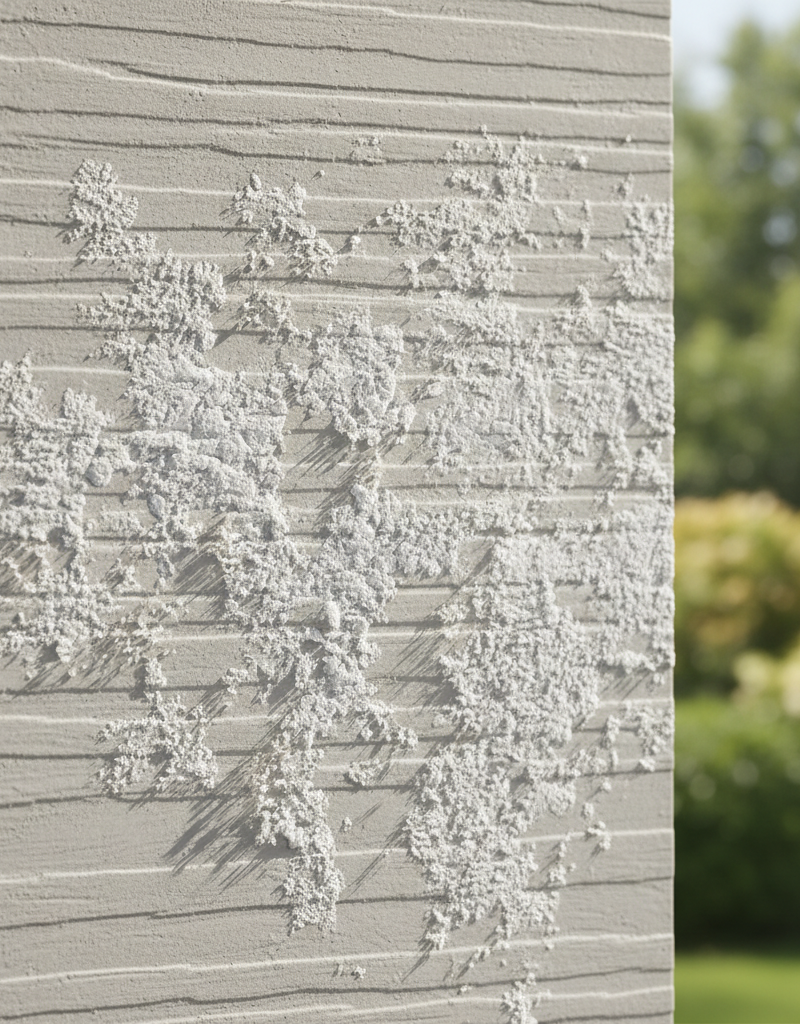
- Scrubbing with a Wire Brush: Never, ever grab a wire brush or steel wool for siding. It’ll scratch and gouge the material, and those marks are uglier than the stain you started with.
- Letting the Cleaner Dry: If the solution dries on the surface, you can end up with a chalky film or fresh streaks that are a pain to remove. Work in small sections and rinse before it gets a chance to dry.
- Ignoring the Gutters: Cleaning the siding without cleaning the gutters is wasted effort. Next rain, the clogged gutters will just spit out new stains all over your freshly cleaned walls.
- Not Rinsing Plants and Landscaping: Bleach-based cleaners can burn your shrubs and flowers. Hose down all the plants below the work area before you start. After you rinse the siding, give the plants another good soak to dilute any runoff.
Cost & Time Breakdown
This is usually a pretty budget-friendly DIY job, but the price can jump if the real fix involves a roofer or gutter pro. Here’s the rough breakdown.
| Task | DIY Cost | Pro Cost | Time (DIY) |
|---|---|---|---|
| Siding Cleaning | $20–$50 (cleaner, brush) | $250–$600 | 2–4 hours |
| Gutter Cleaning | $5 (gloves, bucket) | $150–$300 | 1–2 hours |
| Drip Edge Installation | $50–$100 (materials) | $300–$750 | 3–5 hours |
| Roof Soft Washing | Not a DIY job | $400–$900 | N/A |
| Zinc Strip Installation | $100–$200 (materials) | $500–$1,200 | 2–4 hours |
Tips & Prevention
Once you’ve got the siding clean, keep it that way. A little prevention goes a long way, and it sure beats scrubbing the same mess twice a year.
- Clean Your Gutters Twice a Year: This one’s non-negotiable. Hit them in late fall after the leaves are down, then again in late spring to clear pollen, seeds, and shingle grit. Clean gutters are your first defense against siding stains.
- Install Gutter Guards: If you’ve got a lot of trees, decent gutter guards can be worth the money. They won’t eliminate cleaning altogether, but they can stretch it from twice a year to once every 2-3 years.
- Trim Overhanging Branches: Cut back any limbs touching or hanging right over the roof. That cuts down on leaves, acorns, moss — all the junk that ends up on the roof and in the gutters.
- Get Your Roof Cleaned Professionally: If your asphalt shingle roof is covered in black algae streaks, the siding stains are going to keep coming back. Hire a pro for a soft wash. It kills the algae without beating up the shingles.
- Install Zinc or Copper Strips: For a long-term fix, have a roofer install zinc or copper strips along the peaks of the roof. Every time it rains, metal ions wash down the surface and help stop algae, moss, and mildew from growing. A 50-foot roll of zinc strip costs about $40 and can protect your roof for 20 years.
- Regularly Inspect Your Roof Flashing: Once a year, take a visual look — binoculars from the ground are fine — at the flashing around your chimney, dormers, and vents. Check for rust, gaps, or loose sections.
When to Call a Professional
Cleaning the siding is usually a DIY job, but the root cause might not be. Stop and call a licensed roofer or gutter installer if you run into any of this:
- Your roof is missing a drip edge entirely, or the one that’s there is rusted through or hanging loose. Proper installation is what makes it work.
- You notice soft spots on the roof, crumbling shingle edges, or an excessive amount of shingle granules in the gutters. Those are signs of a roof that’s going south and needs a pro to look at it.
- The staining comes with water damage inside your attic or on interior ceilings. That points to an active leak, not just runoff.
- You’re not comfortable working on a ladder, especially on a second-story roofline. A fall isn’t worth whatever you’d save. Pros have the safety gear and insurance for a reason.
Related Articles
Keep troubleshooting with these hand-picked guides from FixlyGuide:
- That Brown Stain Above Your Shower Isn't a Roof Leak — Discover why that ugly brown stain on the ceiling below your attic bathroom vent is more likely caused by condensation from your shower tha…
- Those Ugly Black Streaks on Your Roof Aren't Dirt — Those unsightly black streaks are actually a type of algae called Gloeocapsa magma feeding on your shingles, but they can be cleaned and pr…
- The #1 Gutter Mistake That Causes Overflow (And How to Fix It in 20 Minutes) — Overflowing gutters during heavy rain are usually caused by a readily fixable clog, often due to a common cleaning mistake.
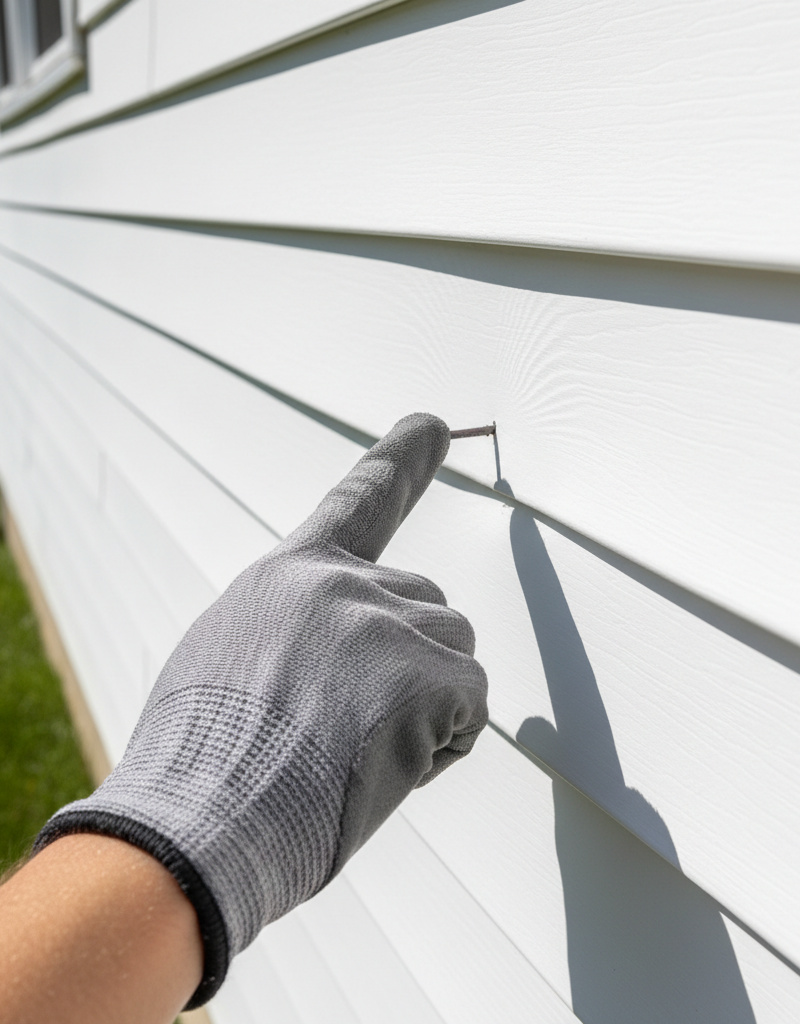
- The Mystery of the Loose Siding Panel: Why It Flaps and How to Fix It Right — Loose siding panels aren't just an eyesore; they can lead to serious water damage if not addressed quickly. Learn why your siding is flappi…
- The Unseen Danger After a Storm: What to Do About a Sagging Roof Deck — A sagging roof deck after a storm isn't just an eyesore; it's a serious structural problem that demands immediate attention to prevent coll…
- Pocket Door Off Track? 6 Reasons It's Stuck and How to Fix It — A pocket door that's come off its track is usually caused by a loose roller bracket or a worn-out track, but it's often a straightforward f…
Should you do this yourself?
Answer five quick questions before you start. Safety outranks savings every time.
Your experience with work like this
How high do you have to work?
Does the job involve any of these?
Will it need a permit?
Specialty tools
Free and instant. Educational guidance only — not a quote, inspection, or professional diagnosis.
Estimate your own project cost
National averages are a starting point. Enter your details for a range that fits your house.
Roof replacement cost
- Per square (installed)$604 – $866
Add $500–$2,500 if decking is rotten and needs replacement. Storm damage may be covered by insurance.
Educational estimate only — always confirm with written local bids.
What should this project cost?
Enter your project details for a realistic cost range before you call anyone.
Spot repairs commonly run $400–$1,800; full replacement typically $9,000–$18,000 for an average home.
- Regional adjustment
- National average
- Labor share (typical)
- ~$2,948
- Quotes to collect
- 3 written estimates
Educational estimate based on national averages — not a binding quote. Always confirm with written local estimates.
Fixly Project Decision Box
- DIY difficulty
- Professional Recommended
- Estimated time
- Inspection 1–2 hours · repairs 1–3 days
- Cost level
- High
Main tools / materials
- Binoculars for a ground-level look
- Flashlight for attic checks
- Moisture meter
- Roofing cement (temporary patch only)
When to stop and call a pro
- Active leak near lights, fans, or any wiring
- Sagging, bulging, or water-filled ceiling
- Steep, wet, or two-story roof — do not climb it
- Storm or hail damage you plan to claim on insurance
Need professional help?
Free roof assessment first — no phone calls until you ask for them.
Get Local Roofing HelpDecide what your roof needs
Two minutes of questions turns "something is wrong up there" into a clear next step.
- Repair or replace your roof?Answer 10 questions about age, leaks, and damage to get a clear next step.Open
- Compare contractor quotesScore up to four bids on price, warranty, licensing, and timeline.Open
- Get local estimatesSend one request and compare written estimates from vetted pros.Open
Free, no signup required. Estimates are educational guidance, not a quote or an inspection.
Get the print-ready PDF of this guide
A clean, ad-free, printable version you can keep on your phone or pin to the workshop wall. Free with a FixlyGuide account.
- Print-optimized layout
- Tools, materials & every step included
- Saved to your account
Frequently asked questions
Can I just use a pressure washer to get the stains off?+
It's risky. Using high pressure can force water behind siding panels, causing mold and rot. If you do use one, keep it on a low setting (under 1,500 PSI) with a wide 40-degree tip, and never spray upwards into the siding seams.
Are the black streaks on my siding mold?+
It's usually not mold, but a type of algae called Gloeocapsa magma that has washed down from your roof. This algae feeds on the limestone in asphalt shingles. While it looks bad, it's typically not as destructive as mold.
How often should I clean my siding?+
A full cleaning is usually only needed every 2 to 4 years. However, you should inspect it annually. If you address the root cause, like clogged gutters or roof algae, you will significantly extend the time between cleanings.
Will bleach damage my vinyl siding?+
A properly diluted solution of household bleach (typically 1 part bleach to 10 parts water, or stronger for cleaning formulas) is safe for most vinyl and fiber cement siding. However, you should always test it on a small, hidden area first to be certain.
What's the best cleaner for siding stains?+
For most algae-based stains, a commercial siding cleaner or a homemade solution with oxygen bleach works great. For very stubborn stains, a mix including water, TSP, and household bleach is effective, but be sure to protect your plants and rinse thoroughly.
My gutters are clean but I still have stains. What's next?+
If your gutters are clear, check for a missing or damaged drip edge along the roofline. Also, inspect the roof itself; if it's covered in algae, the stains will keep returning until the roof is cleaned.
How can I permanently stop siding stains from coming back?+
The most effective long-term solution is to have zinc or copper strips installed at the peak of your roof. As rain washes metallic particles down, it creates an environment where algae and moss can't grow, preventing future stains on both the roof and siding.
Are siding stains a sign of a bad roof?+
Not necessarily, but they can be. While often caused by simple gutter clogs, persistent or localized staining can indicate failing flashing or a roof leak. If you see lots of shingle granules in your gutters along with the stains, it's a strong sign your roof is aging and needs a professional inspection.
Discussion
Loading comments…