- Dust, cobwebs, and even dead bugs can pile up inside the sensing chamber. That junk can mess with the sensor and make it trip for no good reason. Don’t just flick it with a feather duster—you need to clean it right.
- Safety First: If your alarm is hardwired, shut off the right breaker in your electrical panel. You don’t want to fool with it while it’s live.
- Tools: Grab a can of compressed air (the same kind you’d use on a keyboard) and a soft-bristle brush attachment for your vacuum.
Electrical · Panel or service upgrade
| Project category | Electrical |
|---|---|
| Problem type | Panel or service upgrade |
| Trade required | Electrical |
| Urgency | Planned project |
| Safety risk | High safety risk |
| DIY suitability | Licensed pro only |
| Cost category | High cost |
| Typical timeline | Permit plus utility scheduling, commonly 2–6 weeks |
| Contractor type | Licensed electrician |
Repair option
Add a subpanel when the main service is adequate.
Replacement option
Full service upgrade with utility coordination and permits.
Common causes
- Obsolete or recalled panel brands
- Service capacity too small for added loads
- No room for required AFCI/GFCI breakers
Relevant tools:project cost estimatorcompare quotes
Published October 4, 2026Last updated October 4, 2026
Tools & materials you'll need
Affiliate links- AmazonPhotoelectric smoke detectorIf replacing an ionization alarm near the kitchen
As an Amazon Associate FixlyGuide earns from qualifying purchases — at no extra cost to you. Prices and availability are accurate as of publication and subject to change.
The Problem
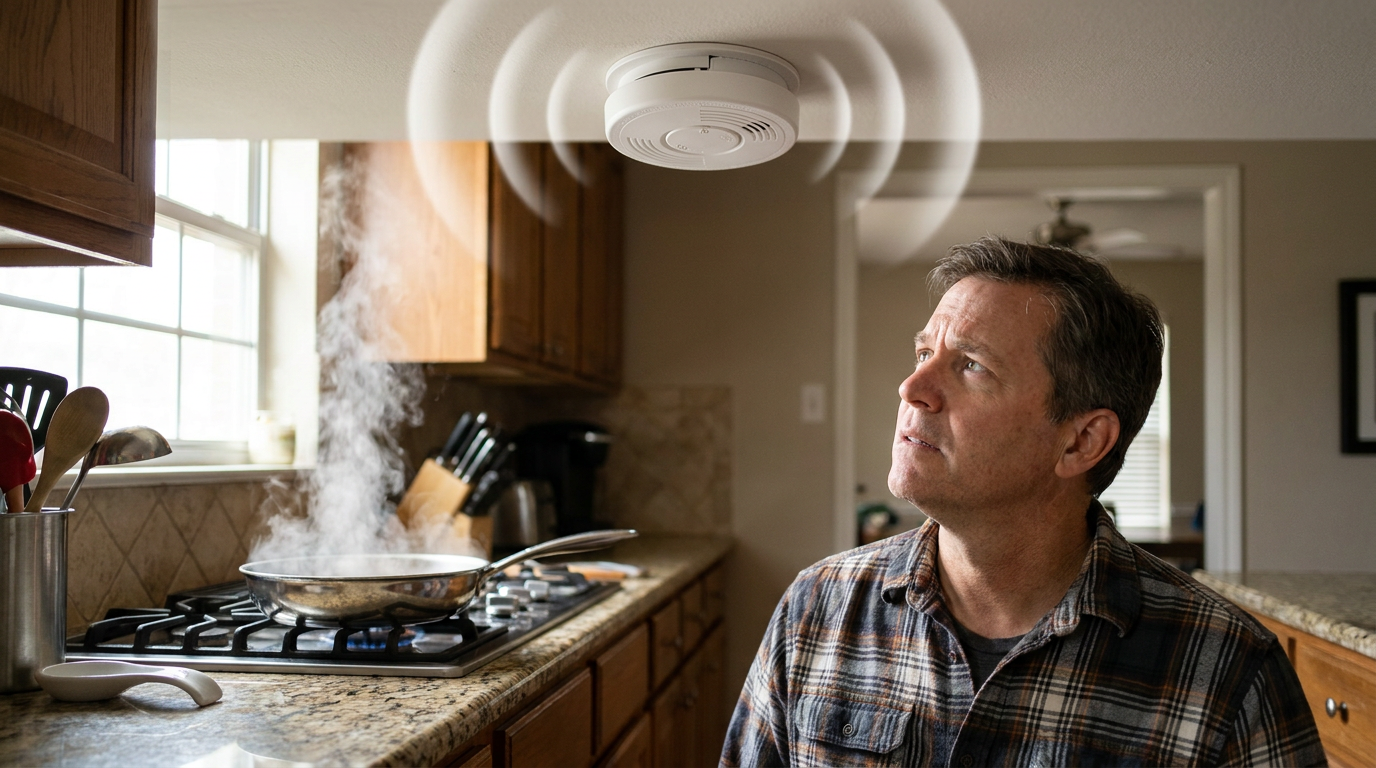
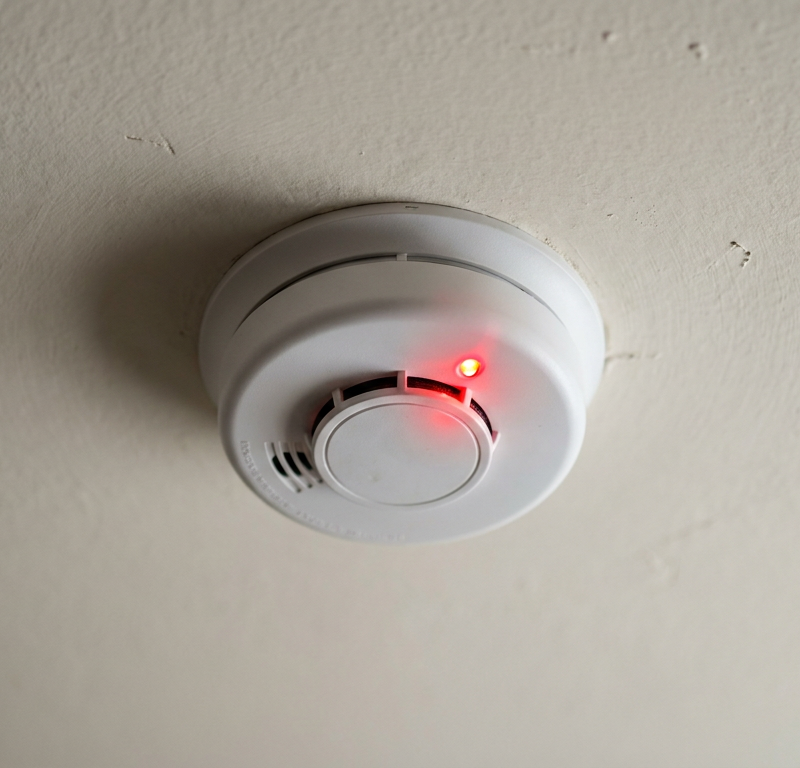
You’re searing a steak, roasting vegetables, or maybe just making toast. Everything’s going fine. Then it happens: the smoke detector starts screaming. No fire. No billowing smoke. Just a normal amount of cooking vapor. And now you’re standing there, waving a dish towel at the ceiling like that’s gonna help, trying to shut the thing up before the whole family—or the fire department—shows up.
That’s not just annoying; it’s a real problem. Once your smoke alarm cries wolf every time you cook, you stop trusting it. And that’s how people get tempted to disable it “just for a little while,” which is a bad move every single time. A smoke detector that false-alarms nonstop is almost as dangerous as one that doesn’t work at all.
How Smoke Detectors Work
If you want to figure out why your alarm is so touchy around cooking, you’ve got to know how it “sees” smoke. Most homes use one of two main types: ionization or photoelectric. They work on totally different principles, and one of them is a lot more likely to get fooled by dinner.
Ionization smoke detectors are the most common and usually the cheaper option. Inside the unit, there’s a small chamber with a tiny, safe amount of radioactive material (Americium-241). That material ionizes the air particles in the chamber, which creates a small, steady electrical current between two charged plates. When smoke particles—even the microscopic ones from searing a piece of chicken—get into that chamber, they interrupt the current. The detector senses the drop and sets off the alarm. Here’s the catch: these sensors are fantastic at picking up tiny, invisible particles from a fast, flaming fire. But they’re also great at picking up the tiny, invisible particles from browning food in a hot pan. No dice. They can’t tell the difference.
Photoelectric smoke detectors, on the other hand, work more like a tripwire. Inside the sensing chamber, a beam of LED light points away from a light sensor. Under normal conditions, that light doesn’t hit the sensor. When larger, visible smoke particles—the kind you get from a smoldering, smoky fire—drift into the chamber, they scatter the light beam. Some of that scattered light reaches the sensor, and the alarm goes off. Since photoelectric alarms are looking for bigger particles, they’re much less likely to get tricked by the tiny, invisible stuff from normal cooking. They’re better at catching slow, smoldering fires, like a cigarette dropped in a couch cushion.
Then you’ve got dual-sensor alarms, which combine both technologies in one unit. Best of both worlds, right? Usually, yeah. But if you’ve got an ionization alarm anywhere near the kitchen, you’re basically setting yourself up for nuisance alarms. I pulled a water heater in Frisco last month that had exactly this kind of setup nearby, and the homeowner swore the detector hated his bacon. He wasn’t wrong.
Step-by-Step Fix for Cooking Nuisance Alarms
Ready to take your kitchen back from the tyranny of the false alarm? Work through these steps in order. Most of the time, one of the first few fixes it.
1. Identify Your Alarm Type
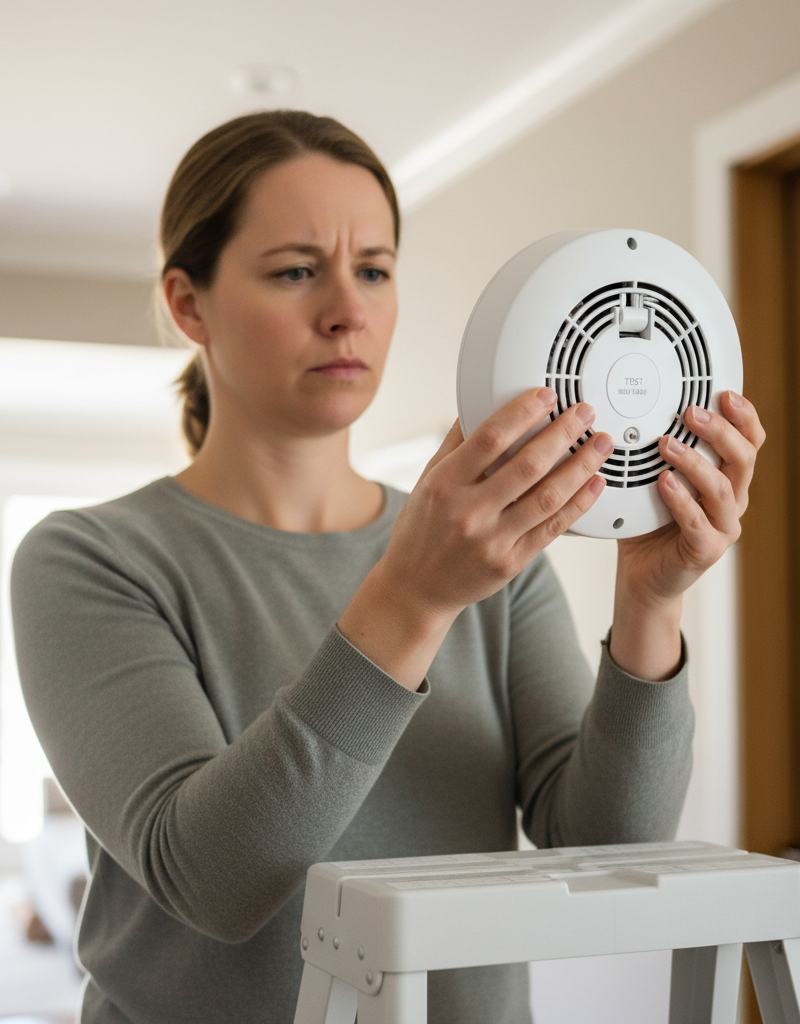
- Before you do anything else, figure out what you’re dealing with. Check the back of the smoke detector. Most manufacturers will print “Ionization,” “Photoelectric,” or “Dual-Sensor” right on the label. If you see a “P,” that means photoelectric. An “I” means ionization. No clear label? Search the model number online and you’ll usually get your answer fast. If it’s an ionization alarm within 20 feet of your kitchen appliances, you’ve probably found the troublemaker.
2. A Thorough Cleaning
- Dust, cobwebs, and even dead bugs can pile up inside the sensing chamber. That junk can mess with the sensor and make it trip for no good reason. Don’t just flick it with a feather duster—you need to clean it right.
- Safety First: If your alarm is hardwired, shut off the right breaker in your electrical panel. You don’t want to fool with it while it’s live.
- Tools: Grab a can of compressed air (the same kind you’d use on a keyboard) and a soft-bristle brush attachment for your vacuum.
- Process: Twist the detector off its mounting bracket. If it’s hardwired, unplug the wiring harness. Use the soft brush to gently vacuum the vents and both sides of the unit. Then hold the compressed air can upright and give the vents a few short bursts to blow out any stubborn dust from the internal chamber. Give it a minute or two, then reconnect it and mount it back up.
3. Check Your Placement (The 20-Foot Rule)
- Building codes and fire safety folks are pretty clear on this. A smoke alarm should never be installed closer than 10 feet from a cooking appliance if you want to avoid nuisance alarms. If you ask me, 20 feet is the sweet spot. If yours is mounted on the wall or ceiling right outside the kitchen door, it’s too close. Every time you open the oven or a pot starts steaming, you’re basically aiming a puff of particles right at the sensor.
- The Fix: Move the alarm. Yeah, that can mean a little drywall patching and paint work, but it’s the best long-term answer. Put it farther down the hall, around a corner, or somewhere cooking vapors aren’t going to head straight for it.
4. Improve Kitchen Ventilation
- Sometimes the alarm isn’t the real problem—the air is. If you don’t vent cooking fumes, they hang around and eventually find the detector. That’s especially true in newer, tighter homes.
- Run the Fan: Turn on your range hood before you start cooking, not after the pan’s already smoking. Use a higher setting for frying, searing, or broiling. A decent range hood should vent to the outdoors, not just recirculate the air through a charcoal filter.
- Crack a Window: If you don’t have a range hood, or yours just recycles air, opening a nearby window can make a huge difference. Sometimes that’s all it takes to keep the alarm from chirping out of nowhere.
5. Swap to a Photoelectric Alarm
- If your alarm is ionization and it’s anywhere near the kitchen, this is the best fix, hands down. Replacing it with a photoelectric alarm will cut down cooking-related false alarms because it’s built to ignore the small, invisible particles from cooking and focus on the larger particles from a real fire. You can pick up a standalone photoelectric alarm for $20-$30.
- Best Practice: The National Fire Protection Association (NFPA) actually recommends using a mix of both types throughout the house. Put photoelectric alarms near kitchens and bathrooms, where steam can cause grief too, and use ionization or dual-sensor alarms in bedrooms and hallways.
6. Adjust the Sensitivity (On Some Models)
- A few newer “smart” smoke detectors let you tweak the sensitivity. Check the manual. A lot of them have a hush button or an app setting that lets you temporarily calm the thing down for a short period, like 15 minutes, while you’re cooking. That’s a handy feature—it lets the alarm do its job without acting like it’s at DEFCON 1 every time you make bacon.
7. Check the Manufacturing Date
- This one catches people all the time. Smoke detectors don’t last forever. On the back of every alarm, there’s a “Date of Manufacture” or “Replace By” date. They’re only designed to last for 10 years from the date of manufacture (and for CO detectors, it’s often only 7 years). After that, the sensors wear out and get unreliable. They can miss a fire, or more commonly, start false-alarming for no good reason. If your alarm is more than 10 years old, it’s toast. Don’t waste time cleaning it; replace it.
Common Causes of Cooking False Alarms
- Wrong Detector Type: An ionization alarm is the wrong tool near a kitchen. It’s doing exactly what it was built to do: detect tiny airborne particles.
- Proximity to Kitchen: If it’s within the 10-20 foot “nuisance zone” of your stove, oven, or toaster, that’s the most common placement mistake.
- High Heat & Humidity: Steam from a pot of pasta or the blast of heat when you open a 450°F oven can shift the temperature and humidity inside the alarm chamber enough to set it off.
- Airborne Grease & Cooking Oils: Over time, grease particles can coat the inside of the smoke detector, collect dust, and interfere with the sensor.
- Dust and Debris: A dusty sensor is a twitchy sensor. It doesn’t take much to throw it out of whack.
- Poor Ventilation: If cooking fumes can’t escape, they build up and eventually trip the alarm, even one that’s in the right place.
- Old Age: Sensors past their 10-year expiration date get unpredictable and cause a lot of false alarms.
Common Mistakes to Avoid
- Just removing the battery. Don’t do it. Ever. It’s way too easy to forget to put it back in, and then your house is unprotected. An annoying alarm is better than a silent one.
- Covering the alarm with a plastic bag or shower cap. Same problem as above. People forget to remove it, and now you’ve disabled a life-safety device.
- Repeatedly hitting the “hush” button without investigating. The hush button is for a temporary break, not a permanent fix. If you’re using it every day, something’s wrong and you need one of the fixes above.
- Using a cheap, battery-only alarm when a hardwired one is required. Building codes in most areas now call for hardwired, interconnected alarms in new construction and major remodels. If you replace a hardwired alarm, you’ve got to use another hardwired one.
- Painting over a smoke detector. Paint can clog the vents and sensing chamber and ruin the unit. Never paint a smoke or CO detector.
- Ignoring the expiration date. That 10-year lifespan isn’t a suggestion. It’s the hard stop on reliability. Write the replacement date on your calendar.
Cost & Time Breakdown
Fixing a trigger-happy smoke alarm is one of the cheapest and fastest DIY jobs you can tackle. Here’s the usual rundown.
| Task | DIY Cost | Pro Cost | Time |
|---|---|---|---|
| Cleaning Existing Alarm | $5 (for compressed air) | $75–$125 | 10 minutes |
| Replacing a Battery-Only Alarm | $20–$40 per alarm | $100–$150 | 5 minutes |
| Replacing a Hardwired Alarm | $25–$50 per alarm | $125–$200 | 15-20 minutes |
| Relocating a Hardwired Alarm | $40–$70 (plus drywall repair) | $200–$400+ | 1–3 hours |
Tips & Prevention
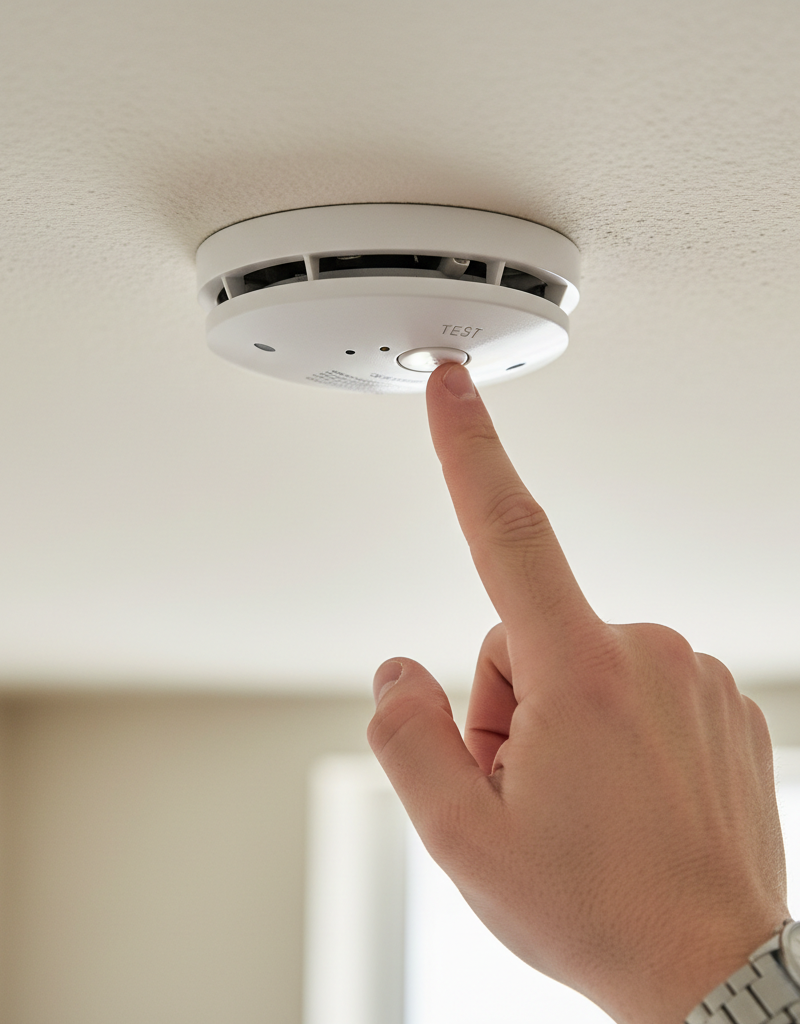
- Test monthly, replace yearly. Test every alarm in the house once a month with the test button. Replace the batteries in all units once a year, even if they seem fine. Pick an easy date to remember, like New Year’s Day or the start of Daylight Saving Time.
- Clean them twice a year. When you change your clocks for Daylight Saving Time, pull the detectors down and give them a proper cleaning with a vacuum and compressed air.
- Know your alarm’s lifespan. Write the installation date on the inside of the alarm with a permanent marker. Set a calendar reminder for 9 years from that date so you’re not scrambling at the last minute.
- Use your range hood religiously. Get in the habit of turning the fan on before you turn on the heat. It’s the easiest way to keep cooking fumes under control.
- Install the right alarm in the right place. Use kitchen-friendly photoelectric models anywhere steam or cooking fumes might be an issue.
- Consider smart detectors. If you’re replacing old alarms, look at smart models that send alerts to your phone, tell you which alarm is going off, and usually do a better job of cutting down nuisance trips.
When to Call a Professional
Most of the time, a picky smoke detector is a pretty straightforward DIY fix. Still, call a licensed electrician if you run into any of these:
- You need to move a hardwired alarm and you’re not comfortable running new electrical cable through walls or ceiling space.
- Your home has an older, more complicated, or low-voltage fire alarm system instead of standard standalone alarms.
- You’ve replaced a hardwired alarm and it still doesn’t work, or it makes the other alarms on the circuit act up. That can point to a wiring problem that needs proper diagnosis.
- You’re not sure about the electrical code requirements in your area for smoke and CO detector placement and wiring. Better to have a pro set it right than guess and miss something.
Related Articles
Keep troubleshooting with these hand-picked guides from FixlyGuide:
- Why Your Smoke Alarm Won't Stop Blaring (When There's No Fire!) — False alarms from your smoke detector are more than just annoying; they can make you ignore real emergencies. Learn why they happen and how…
- The Real Reason Your Smoke Alarm Chirps Every 30 Seconds (It's Not Always the Battery) — Don't just swap batteries; a smoke detector chirping every 30 seconds can signal various issues, from dust to improper installation, demand…
- Why One Smoke Detector Triggers Them All (And How to Stop the Chaos) — Find out why a single smoke detector going off can cause all the others in your home to blare, and how to troubleshoot these interconnected…
- Why Your Extension Cord Keeps Tripping the Breaker (And the Simple Test to Find the Hidden Cause) — Discover why your extension cord keeps tripping the circuit breaker and learn how to safely diagnose and fix the real problem with a simple…
- Why Your Smoke Detector Just Dies After 5 Years (And What to Do) — Think your smoke alarm should last forever? Think again. Here's why your detectors fail silently after a few years and what you absolutely…
- Why Did Just One Electric Stove Burner Stop Working? — It's a common kitchen puzzle: one electric stove burner suddenly quits while the others work perfectly. We dive into the simple, independen…
Should you do this yourself?
Answer five quick questions before you start. Safety outranks savings every time.
Your experience with work like this
How high do you have to work?
Does the job involve any of these?
Will it need a permit?
Specialty tools
Free and instant. Educational guidance only — not a quote, inspection, or professional diagnosis.
What should this project cost?
Enter your project details for a realistic cost range before you call anyone.
Outlet and switch work usually $150–$400; panel upgrades commonly $1,800–$4,200.
- Regional adjustment
- National average
- Labor share (typical)
- ~$709
- Quotes to collect
- 3 written estimates
Educational estimate based on national averages — not a binding quote. Always confirm with written local estimates.
Fixly Project Decision Box
- DIY difficulty
- Professional Recommended
- Estimated time
- Diagnosis 1–2 hours
- Cost level
- Moderate
Main tools / materials
- Non-contact voltage tester
- Outlet tester
- Flashlight
When to stop and call a pro
- Burning smell, scorch marks, or a warm outlet or switch plate
- A breaker that trips again right after being reset
- Any work inside the service panel
- Aluminum wiring or cloth-insulated wiring
Need professional help?
Talk to a Licensed ElectricianBefore you start
Check the difficulty, permits, and safety risk — then decide whether to call a pro.
- Estimate this projectGet a cost range for your scope and ZIP before you call anyone.Open
- Get local estimatesSend one request and compare written estimates from vetted pros.Open
Free, no signup required. Estimates are educational guidance, not a quote or an inspection.
Frequently asked questions
Can I just use a smoke detector with a hush button?+
A hush button is a great feature for temporarily silencing an alarm, but it's not a permanent solution. If you find yourself needing to use it every time you cook, it means there's an underlying issue with the alarm's type or location that you need to address.
Is it okay to take the battery out of my smoke detector while I cook?+
No, never disable a smoke detector by removing its battery. It's far too easy to forget to replace it, leaving your family unprotected. A functioning smoke alarm is a critical life-safety device that should never be intentionally disabled.
How close is too close for a smoke detector to the kitchen?+
The National Fire Protection Association (NFPA) standard says to install smoke alarms at least 10 feet away from cooking appliances. To be safe and avoid nearly all nuisance alarms, I always recommend a distance of 20 feet, especially if it's an ionization-type alarm.
Will a photoelectric smoke alarm solve the problem?+
In most cases, yes. Photoelectric alarms are designed to detect larger smoke particles typical of smoldering fires and are much less sensitive to the small, invisible particles produced during cooking. Swapping an ionization alarm near the kitchen for a photoelectric model is often the most effective fix.
Why does my smoke alarm go off when I open the oven?+
It can be a blast of hot air, a small puff of smoke from food drippings burning on the oven floor, or even just a sudden change in humidity. All of these can be enough to trigger a sensitive or dusty ionization smoke alarm located too close to the kitchen.
Do I need a special type of smoke detector for the kitchen?+
While there are no 'kitchen-proof' smoke detectors, a photoelectric alarm is the best choice for areas near a kitchen. You should not install any smoke detector *inside* the kitchen itself, but rather in the adjacent hallway or room, following placement guidelines.
How often should I clean my smoke detectors?+
You should clean your smoke detectors at least once a year, but twice a year is better. A good routine is to clean them every time you change your clocks for daylight saving time. Use a vacuum's soft brush attachment and a can of compressed air.
Can high humidity from boiling water set off a smoke alarm?+
Yes, especially with ionization alarms. A dense cloud of steam can disrupt the electrical current in the sensing chamber, fooling the detector into thinking it's smoke. This is another reason why photoelectric alarms are a better choice for hallways near bathrooms or kitchens.
Discussion
Loading comments…