- Steam & Humidity: A hot shower or a dishwasher venting right under a detector can set it off. The unit reads steam particles like smoke. Bad airflow in bathrooms and kitchens makes it worse.
- Cooking Fumes: Burnt toast, pan-fried steaks, or high-heat cooking can throw off enough particles to fool the alarm, especially photoelectric models. Put one too close to the kitchen and you’re asking for nuisance alarms.
- Power Surges/Fluctuations: A quick dip or spike in your home’s power can confuse an older detector and make it send a false trigger.
- Age: Detectors usually last 7 to 10 years. After that, the sensing parts start wearing out. An old unit is way more likely to false alarm.
- Improper Installation/Placement: Too close to a vent, a window, a door, or stuck in a dead-air spot, and you can get nuisance alarms or miss real smoke altogether.
Electrical · Panel or service upgrade
| Project category | Electrical |
|---|---|
| Problem type | Panel or service upgrade |
| Trade required | Electrical |
| Urgency | Planned project |
| Safety risk | High safety risk |
| DIY suitability | Licensed pro only |
| Cost category | High cost |
| Typical timeline | Permit plus utility scheduling, commonly 2–6 weeks |
| Contractor type | Licensed electrician |
Repair option
Add a subpanel when the main service is adequate.
Replacement option
Full service upgrade with utility coordination and permits.
Common causes
- Obsolete or recalled panel brands
- Service capacity too small for added loads
- No room for required AFCI/GFCI breakers
Relevant tools:project cost estimatorcompare quotes
Published September 25, 2026Last updated September 25, 2026
Tools & materials you'll need
Affiliate linksAs an Amazon Associate FixlyGuide earns from qualifying purchases — at no extra cost to you. Prices and availability are accurate as of publication and subject to change.
Quick Answer
If one smoke detector in your house starts hollering and all the others jump in, you’ve got an interconnected system. They’re linked, wired or wireless, so one unit trips the whole chain. Handy for safety. Miserable when there’s no actual fire. The real job is finding out which detector’s causing the false alarm. Once you find that troublemaker, a cleaning or a replacement usually fixes the whole mess.
The Problem
I’ve been on plenty of calls where homeowners are near their wit’s end. They tell me, “My smoke alarm went off again! All of ’em! But there’s no fire, no smoke, nothing!” Sound familiar? You’re making dinner, sitting on the couch, whatever — then the whole house starts screaming at once. Not one chirp. Full alarm. Every detector in the place is losing its mind.
You run around, wave a towel, check the oven, open a window, and still get no dice. It’s loud, it’s annoying, and yep, it always seems to happen at 2 AM. What’s going on? Usually it’s one bad detector feeding junk into the interconnected system, and the rest of the alarms just follow along like sheep.
How It Works
Here’s how these systems are supposed to behave, and where they go off the rails. Most newer homes — especially anything built in the last couple decades — have interconnected smoke and carbon monoxide (CO) detectors. If one unit senses smoke or CO, it sends a signal to every other connected alarm, and all of them sound off. That’s the whole point. If a fire starts downstairs, you want to hear it upstairs before things get ugly.
There are two main ways these alarms talk to each other: hardwired or wireless. Hardwired systems tie into your home’s electrical setup, usually with an interconnect wire linking the units together. They’ve also got battery backup, usually a 9-volt or AA batteries, so they still work if the power goes out. Wireless systems use radio frequencies — basically little walkie-talkies — to share the alarm signal. They’re usually battery-powered, though some newer ones use a long-life sealed battery or plug into an outlet.
Each unit has its own sensor. Smoke alarms might use photoelectric, ionization, or a combo of both. CO alarms use an electrochemical sensor. When one detector senses trouble, it trips its own alarm and sends that same trigger to the others. The headache starts when one sensor gets dirty, too sensitive, or just plain worn out. Then it starts tossing false signals, and the rest of the system dutifully echoes the noise through the house.
Step-by-Step Fix
Alright, let’s quiet the circus down. This isn’t rocket science, but you do need to be methodical. I’ve done this a hundred times; you can too.
-
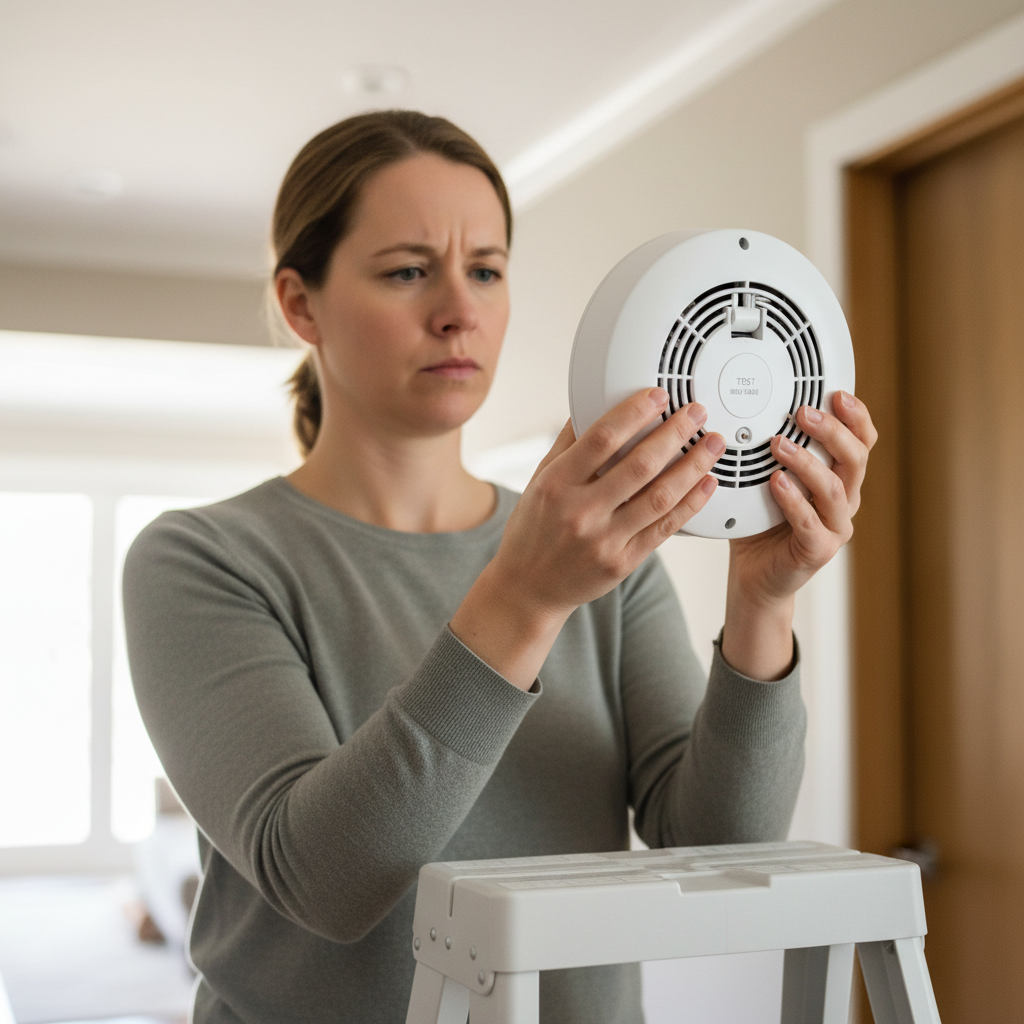
Identify the Triggering Unit — This is step one, every time. Most interconnected smoke detectors have an indicator light that changes when they’re the one setting off the alarm. Usually, it’s a rapidly flashing red or green light on the culprit, while the other units just sit there with a steady red or green light. If you catch that during a false alarm, you’ve found your troublemaker. If not, don’t sweat it; we’ll dig it out.
- Tool Check: A step ladder might be handy so you can actually see the light.
- Safety First: If the alarm’s got everyone panicked, don’t stand there trying to troubleshoot. Get everybody out first, then come back if it’s safe and you know there’s no real danger.
-
Silence the System & Disconnect Power — Hit the "Hush" or "Silence" button on one detector. That should shut the whole system up for a bit. If it doesn’t, you may have more than one bad unit, or one that’s being stubborn as all get-out. Next, kill power to the circuit that feeds the detectors. Go to the electrical panel and flip the breaker labeled "Smoke Detectors," "Alarms," or whatever circuit they’re tied into. If you can’t sort that out, you can shut off the main breaker, but that’ll take out everything.
- Pro Tip: Snap a photo of the breaker panel before you touch anything. Saves you from playing guesswork later.
-
Remove Batteries from All Units — Even with the breaker off, the battery backups are still live. Pull the batteries from every single interconnected smoke detector in the house. Twist the detector counter-clockwise off its mounting bracket, open the battery compartment, and yank ’em out. That gives the system a full reset.
- Material Prep: Keep a little container nearby so the batteries don’t roll under the fridge or disappear into the floor vent.
-
Isolate & Test the Culprit (If Known) — If you already found the suspect in Step 1, now’s its time. Leave only that detector disconnected from its wiring harness if it’s hardwired, or pull its battery. Turn the breaker back on. If the alarm stays quiet, great — that’s your bad unit. If it still screams, you either picked the wrong one or there’s another issue hanging around.
-
Systematic Disconnection (If Culprit Unknown) — If you couldn’t tell which unit started it, now you’ve got some detective work to do. Leave all detectors disconnected from their wiring harness if they’re hardwired, or keep the batteries out. Start with the unit closest to your electrical panel or the most central one in the house. Reconnect that detector’s harness and put its battery back in. Restore power at the breaker. If it instantly alarms, well, there’s your culprit. If not, kill the power again, disconnect that one, and move on to the next unit. Tedious? Sure. But it works. In a bigger house with a dozen detectors, it can take 15-20 minutes.
- My Story: I pulled a water heater in Frisco last month that had exactly this kind of goofy alarm issue tied to a nearby detector — not the heater itself, just a unit above it packed with dust and grease from years of kitchen air. Same song, different dance. We chased it down one by one, and that little rascal was the whole problem.
-
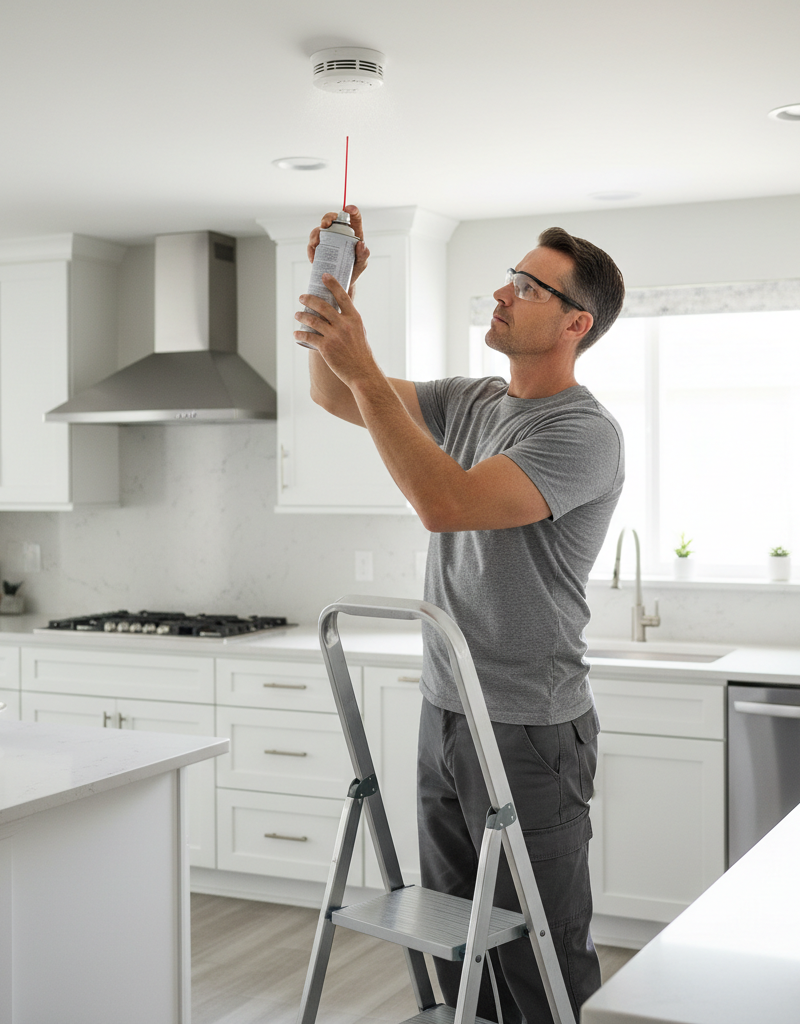
Clean the Suspect Unit — Once you’ve found the bad actor, or even if you’re just doing routine maintenance, clean it. Use compressed air to blow out dust, cobwebs, and any little bugs hiding in the vents or sensor chamber. Don’t use a vacuum with a brush attachment — that can shove junk deeper inside or damage delicate parts. A light wipe on the outside with a slightly damp cloth is fine, but skip the harsh chemicals.
- Tool Up: Grab a can of compressed air. That thing’s gold in a homeowner’s toolbox.
-
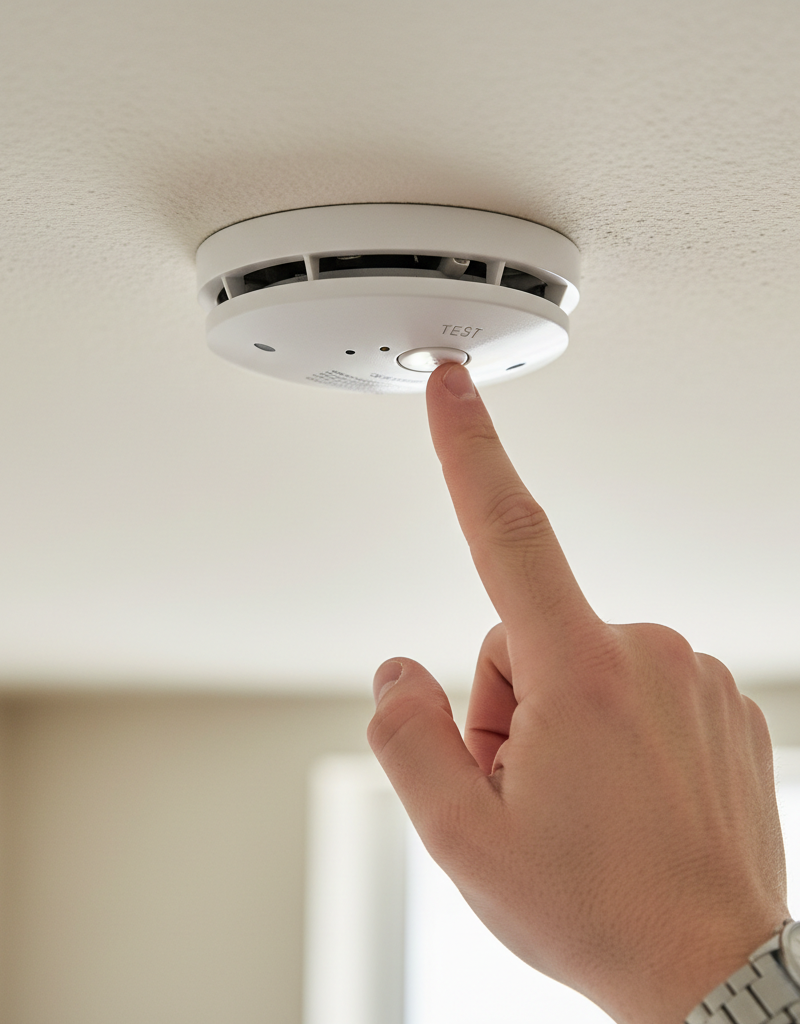
Replace Batteries and Test — After you’ve cleaned or replaced the suspect unit — more on replacement in a minute — put fresh batteries in all your detectors. Make sure you’ve got the right type: 9V, AA, or AAA depending on the model. Reconnect any hardwired units to their harnesses. Turn the breaker back on. Give it a minute or two to wake up. Then press the "Test" button on each detector. They should all sound, which tells you the interconnect is doing its job.
- Material Check: Use fresh, good-quality alkaline batteries. Don’t cheap out on this part.
-
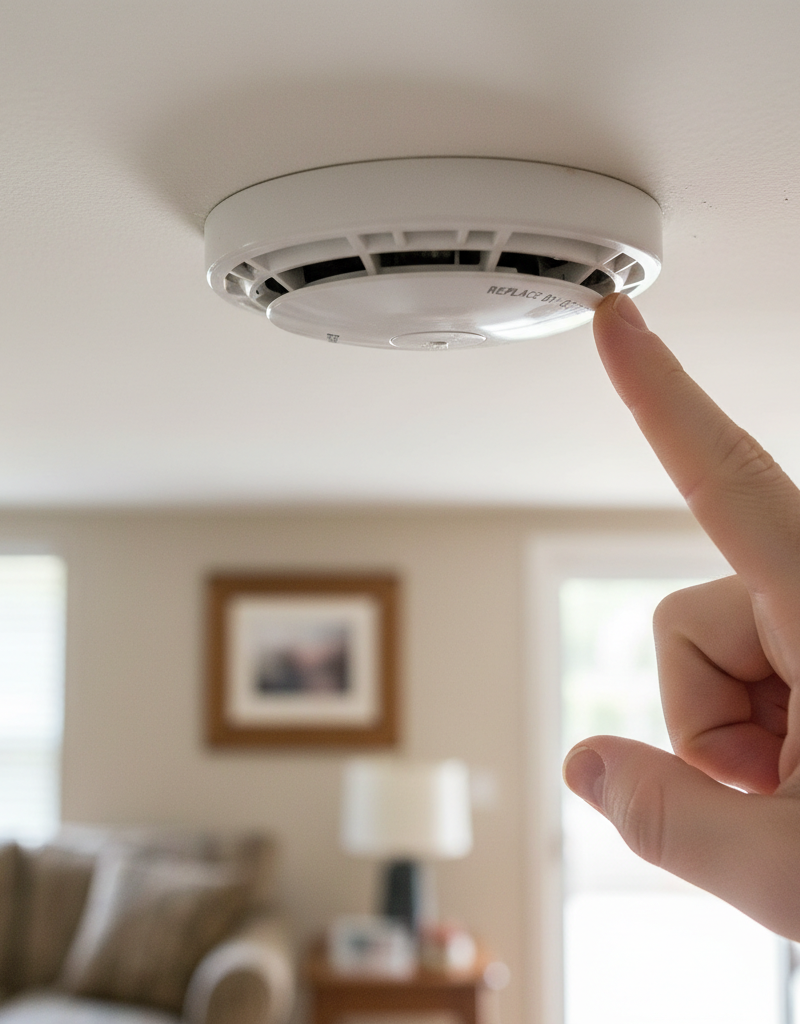
Consider Replacement — If cleaning doesn’t solve it, or the unit’s older than 7-10 years, check the manufacture date on the back and replace it. Smoke detectors don’t last forever. Sensors wear out. When one unit starts acting up, that’s usually a sign the guts are getting tired. Replacing one bad detector is almost always cheaper than swapping the whole system, especially if they’re hardwired.
- FYI: If you’re replacing an old hardwired unit, try to match the brand and model if you can. Different brands sometimes use different harnesses, and that can make life easier.
Common Causes
- Dust & Debris: This is probably the top offender. Smoke detectors, especially ionization types, are touchy. A little dust, lint, or a tiny bug in the chamber can trip one off. If it happens after you’ve gone a while without cleaning, well, there’s your answer.
- Steam & Humidity: A hot shower or a dishwasher venting right under a detector can set it off. The unit reads steam particles like smoke. Bad airflow in bathrooms and kitchens makes it worse.
- Cooking Fumes: Burnt toast, pan-fried steaks, or high-heat cooking can throw off enough particles to fool the alarm, especially photoelectric models. Put one too close to the kitchen and you’re asking for nuisance alarms.
- Power Surges/Fluctuations: A quick dip or spike in your home’s power can confuse an older detector and make it send a false trigger.
- Age: Detectors usually last 7 to 10 years. After that, the sensing parts start wearing out. An old unit is way more likely to false alarm.
- Improper Installation/Placement: Too close to a vent, a window, a door, or stuck in a dead-air spot, and you can get nuisance alarms or miss real smoke altogether.
Common Mistakes
- Ignoring the Indicator Light: That little LED isn’t there for decoration. A rapidly flashing light usually tells you which unit is kicking off the alarm. Don’t miss that clue.
- Just Changing Batteries (When Hardwired): If a hardwired detector is false alarming, swapping the battery alone often won’t fix it because the unit runs mostly off house power. You need a full reset — disconnect the harness and remove the battery.
- Using a Vacuum Cleaner to Clean: A brush attachment can shove debris deeper into the sensor chamber or damage sensitive parts. Stick with compressed air.
- Replacing with a Different Brand/Model (Hardwired): There are some universal setups out there, but it’s usually easier and safer to stick with the same brand and model so the interconnect plays nice.
- Placing Detectors Too Close to Heat Sources: Don’t mount them directly over ovens, furnaces, or where fireplace smoke blasts them. That’s a false-alarm factory.
- Not Testing After Troubleshooting: You’ve done the work, so finish the job. Hit the test button on every detector to make sure the whole system is back online and talking right.
Cost & Time Breakdown
| Task | DIY Cost | Pro Cost | Time |
|---|---|---|---|
| Troubleshooting & Cleaning | $5–$15 (compressed air) | $150–$300 (service call) | 30–60 minutes |
| Single Detector Replacement | $20–$50 (new unit) | $180–$350 (unit + labor) | 15–30 minutes |
| Multiple Detector Replacement | $40–$100 (2 units) | $300–$600+ (multiple units + labor) | 1–2 hours |
| System Inspection/Reset | $0 (if you follow steps) | $100–$250 (inspection only) | 20–40 minutes |
Tips & Prevention
- Clean Regularly: Once or twice a year, hit all your detectors with compressed air and clear out the dust and debris. That little bit of upkeep can save you a pile of grief.
- Check Manufacturing Dates: Every 7-10 years, swap out your smoke detectors. Carbon monoxide detectors usually last 5-7 years. Flip ’em over and check the back — the date’s usually right there. It’s not a matter of if they fail after that, it’s when.
- Strategic Placement: Keep detectors away from bathrooms, kitchens, and heating vents. Try for at least 10 feet away from cooking appliances and shower stalls if you can. Mount them high on the wall or ceiling, but not in dead air spaces where circulation’s poor.
- Test Monthly: Press the test button on each detector once a month. That tells you the battery and alarm are working. If one doesn’t respond, dig into it right away.
- Good Quality Batteries: When you change batteries — usually twice a year, around daylight savings time — use reputable alkaline brands. They last longer and act more reliably. I always tell homeowners, don’t skimp on the batteries in something that could save your life.
- Don't Paint Over Them: Seriously, I’ve seen folks do it. Paint over the vents or cover, and you can block smoke or CO from getting inside. That makes the detector useless.
When to Call a Professional
Look, I’m all for DIY, but sometimes you’ve gotta call in the cavalry. If you’ve gone through all these steps — cleaning, disconnecting one at a time, replacing batteries — and the false alarms keep coming back, it’s time for a pro. Same goes if you’re dealing with a complicated hardwired system and you’re not comfortable working around electrical stuff. If the breaker labeled for the detectors also feeds other important circuits and you can’t isolate it cleanly, or if you suspect bad wiring, don’t fool with it. Electrical problems can get dangerous fast, and a licensed electrician can track down the issue, verify the wiring, and make sure the interconnected system is working the way it should. For the peace of mind alone, it’s money well spent — not to mention your safety.
Related Articles
Keep troubleshooting with these hand-picked guides from FixlyGuide:
- Why Your Smoke Alarm Won't Stop Blaring (When There's No Fire!) — False alarms from your smoke detector are more than just annoying; they can make you ignore real emergencies. Learn why they happen and how…
- The Annoying Chirp: 3 Hidden Reasons Your Smoke Detector Won't Shut Up — That persistent smoke detector chirp isn't always a low battery; several lesser-known issues can cause it.
- The Real Reason Your Smoke Alarm Chirps Every 30 Seconds (It's Not Always the Battery) — Don't just swap batteries; a smoke detector chirping every 30 seconds can signal various issues, from dust to improper installation, demand…
- Why Your Smoke Detector Just Dies After 5 Years (And What to Do) — Think your smoke alarm should last forever? Think again. Here's why your detectors fail silently after a few years and what you absolutely…
- Why Only Half Your Outlet Works (And The Simple Fix Most Homeowners Miss) — Discover why one-half of an electrical outlet might stop working, often due to a simple wiring issue or tripped breaker, and how to safely…
- Why Are My Walls Sweating? The Unexpected Cause You’re Missing — Find out why moisture builds up on your interior walls, leading to peeling paint and potential mold, and get a straightforward, step-by-ste…
Should you do this yourself?
Answer five quick questions before you start. Safety outranks savings every time.
Your experience with work like this
How high do you have to work?
Does the job involve any of these?
Will it need a permit?
Specialty tools
Free and instant. Educational guidance only — not a quote, inspection, or professional diagnosis.
What should this project cost?
Enter your project details for a realistic cost range before you call anyone.
Outlet and switch work usually $150–$400; panel upgrades commonly $1,800–$4,200.
- Regional adjustment
- National average
- Labor share (typical)
- ~$709
- Quotes to collect
- 3 written estimates
Educational estimate based on national averages — not a binding quote. Always confirm with written local estimates.
Before you start
Check the difficulty, permits, and safety risk — then decide whether to call a pro.
- Estimate this projectGet a cost range for your scope and ZIP before you call anyone.Open
- Get local estimatesSend one request and compare written estimates from vetted pros.Open
Free, no signup required. Estimates are educational guidance, not a quote or an inspection.
Get the print-ready PDF of this guide
A clean, ad-free, printable version you can keep on your phone or pin to the workshop wall. Free with a FixlyGuide account.
- Print-optimized layout
- Tools, materials & every step included
- Saved to your account
Frequently asked questions
Why do all my smoke detectors go off at once when there's no smoke?+
This is typically due to an interconnected system where one faulty or triggered unit signals all others. Common causes include dust, steam, cooking fumes, or an aging detector, causing a false alarm that propagates through the network.
How do I find which smoke detector is causing the false alarm?+
Look for an indicator light that flashes rapidly on the unit initiating the alarm. If you can't spot it during an alarm, you'll need to systematically disconnect each detector (both power and battery) and reintroduce them one by one to identify the faulty unit.
Can dust cause a smoke detector to go off?+
Absolutely. Dust, lint, and even small insects accumulating in the sensing chamber are very common reasons for false alarms. Regular cleaning with compressed air can often resolve this.
How often should I clean my smoke detectors?+
It's a good practice to clean your smoke detectors with compressed air once or twice a year, especially if you notice frequent false alarms or live in a dusty environment. Don't use a vacuum with a brush, as it can damage the sensors.
My smoke detector is hardwired; do I still need to change the battery?+
Yes, hardwired smoke detectors always have a battery backup, usually a 9-volt or AA batteries. This battery ensures the detector still works during a power outage. It should be replaced annually or semi-annually.
How long do smoke detectors last?+
Smoke detectors have a lifespan of about 7-10 years from their manufacture date, which you can usually find on the back of the unit. After this period, their sensing capabilities degrade, making them less reliable and more prone to false alarms.
What kind of batteries should I use in my smoke detector?+
Always use fresh, high-quality alkaline batteries of the correct size (9V, AA, or AAA) as specified by the manufacturer. Avoid rechargeable batteries as they may not provide consistent power over time.
Should I replace all my smoke detectors at the same time?+
If your detectors are all the same age and approaching their 7-10 year lifespan, it's generally a good idea to replace them all at once. This ensures consistent performance and simplifies maintenance schedules. However, if only one unit is failing prematurely, you can replace just that one.
Can I paint over my smoke detectors?+
No, never paint over smoke detectors. Paint can clog the sensing vents and interfere with the detector's ability to detect smoke or carbon monoxide, rendering it ineffective and unsafe.
What if my smoke detector keeps going off even after cleaning and battery replacement?+
If false alarms persist after cleaning and replacing batteries, the detector itself is likely faulty or has reached the end of its life. It's best to replace that specific unit. If multiple units are acting up, or if you suspect wiring issues, it's time to call a licensed electrician.
Discussion
Loading comments…